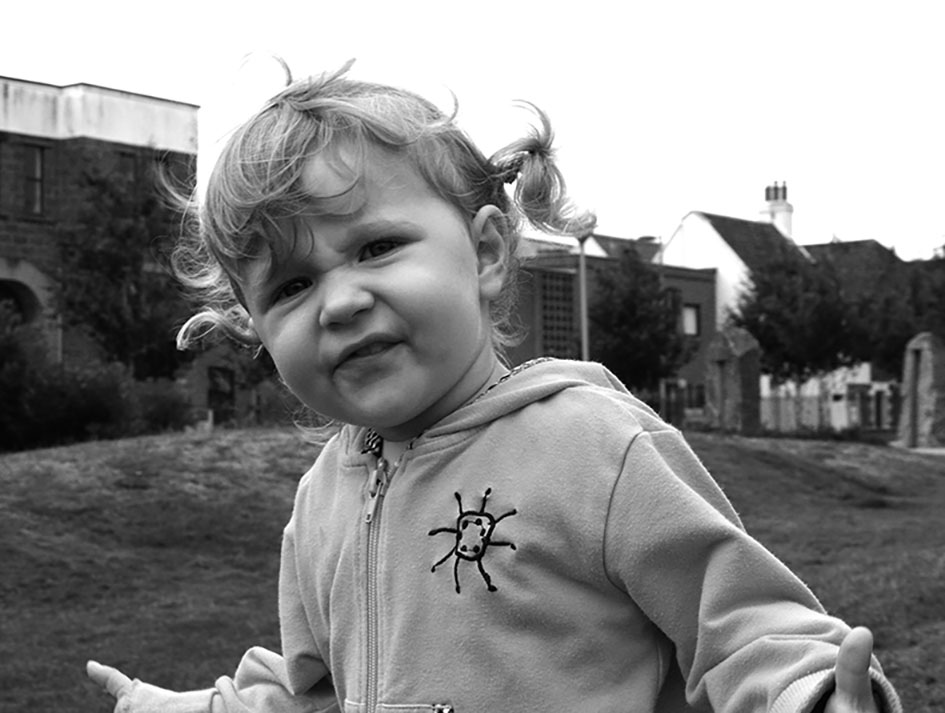
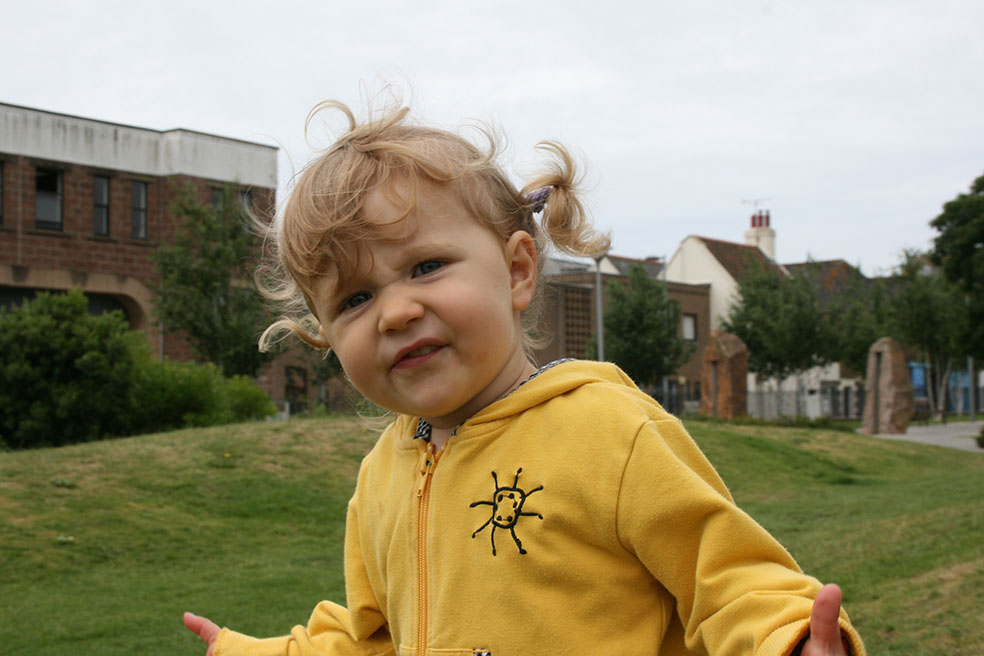
This is the original and the edited version of one of my environmental portrait images. We used the Adobe Photoshop to edit the image. To begin with, I cropped the image to get rid of some of the background, so the foreground filled more of the image. I then experimented with the saturation , by either making it more saturated or less saturated. I decided to make my image black and white, because it creates a natural vintage feel to the image. Once I had done the saturation, I then slightly adjusted the contrast of the image, so that the image looked more defined. To finish I flattened the image.
When editing my image, I tried applying the rule of thirds so that the photo looked more pleasing to the eye. I also really like the use of the natural light in this image because it softly eliminates the girls face and features.
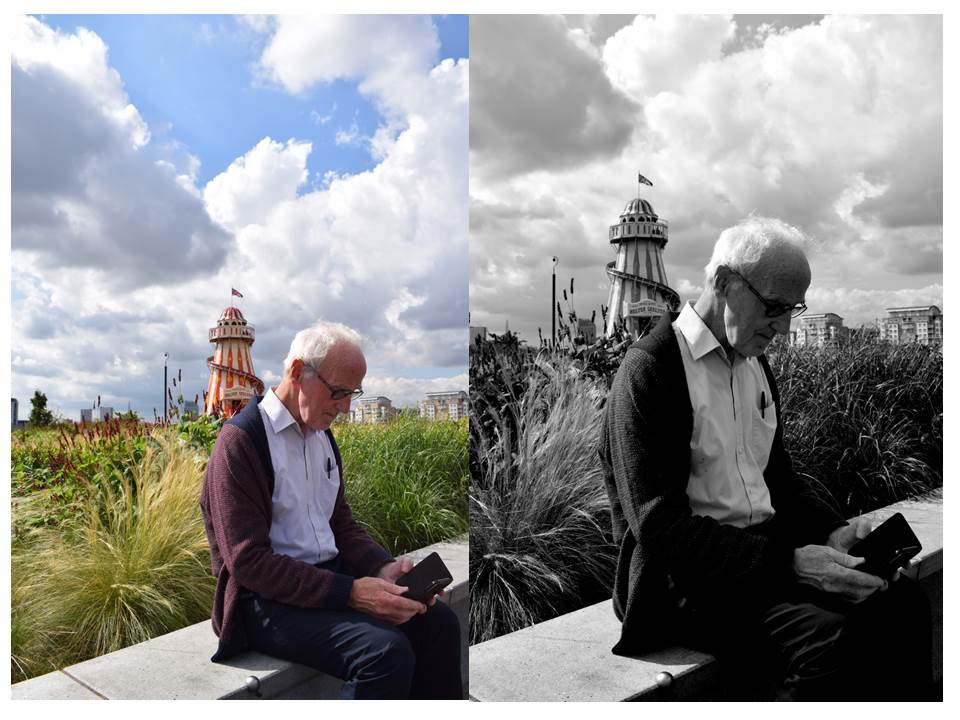
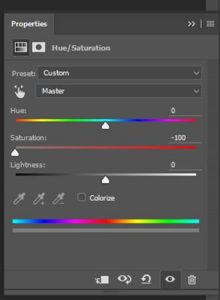
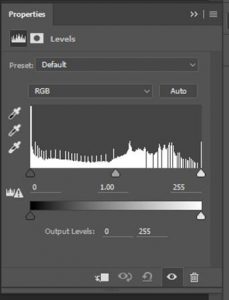
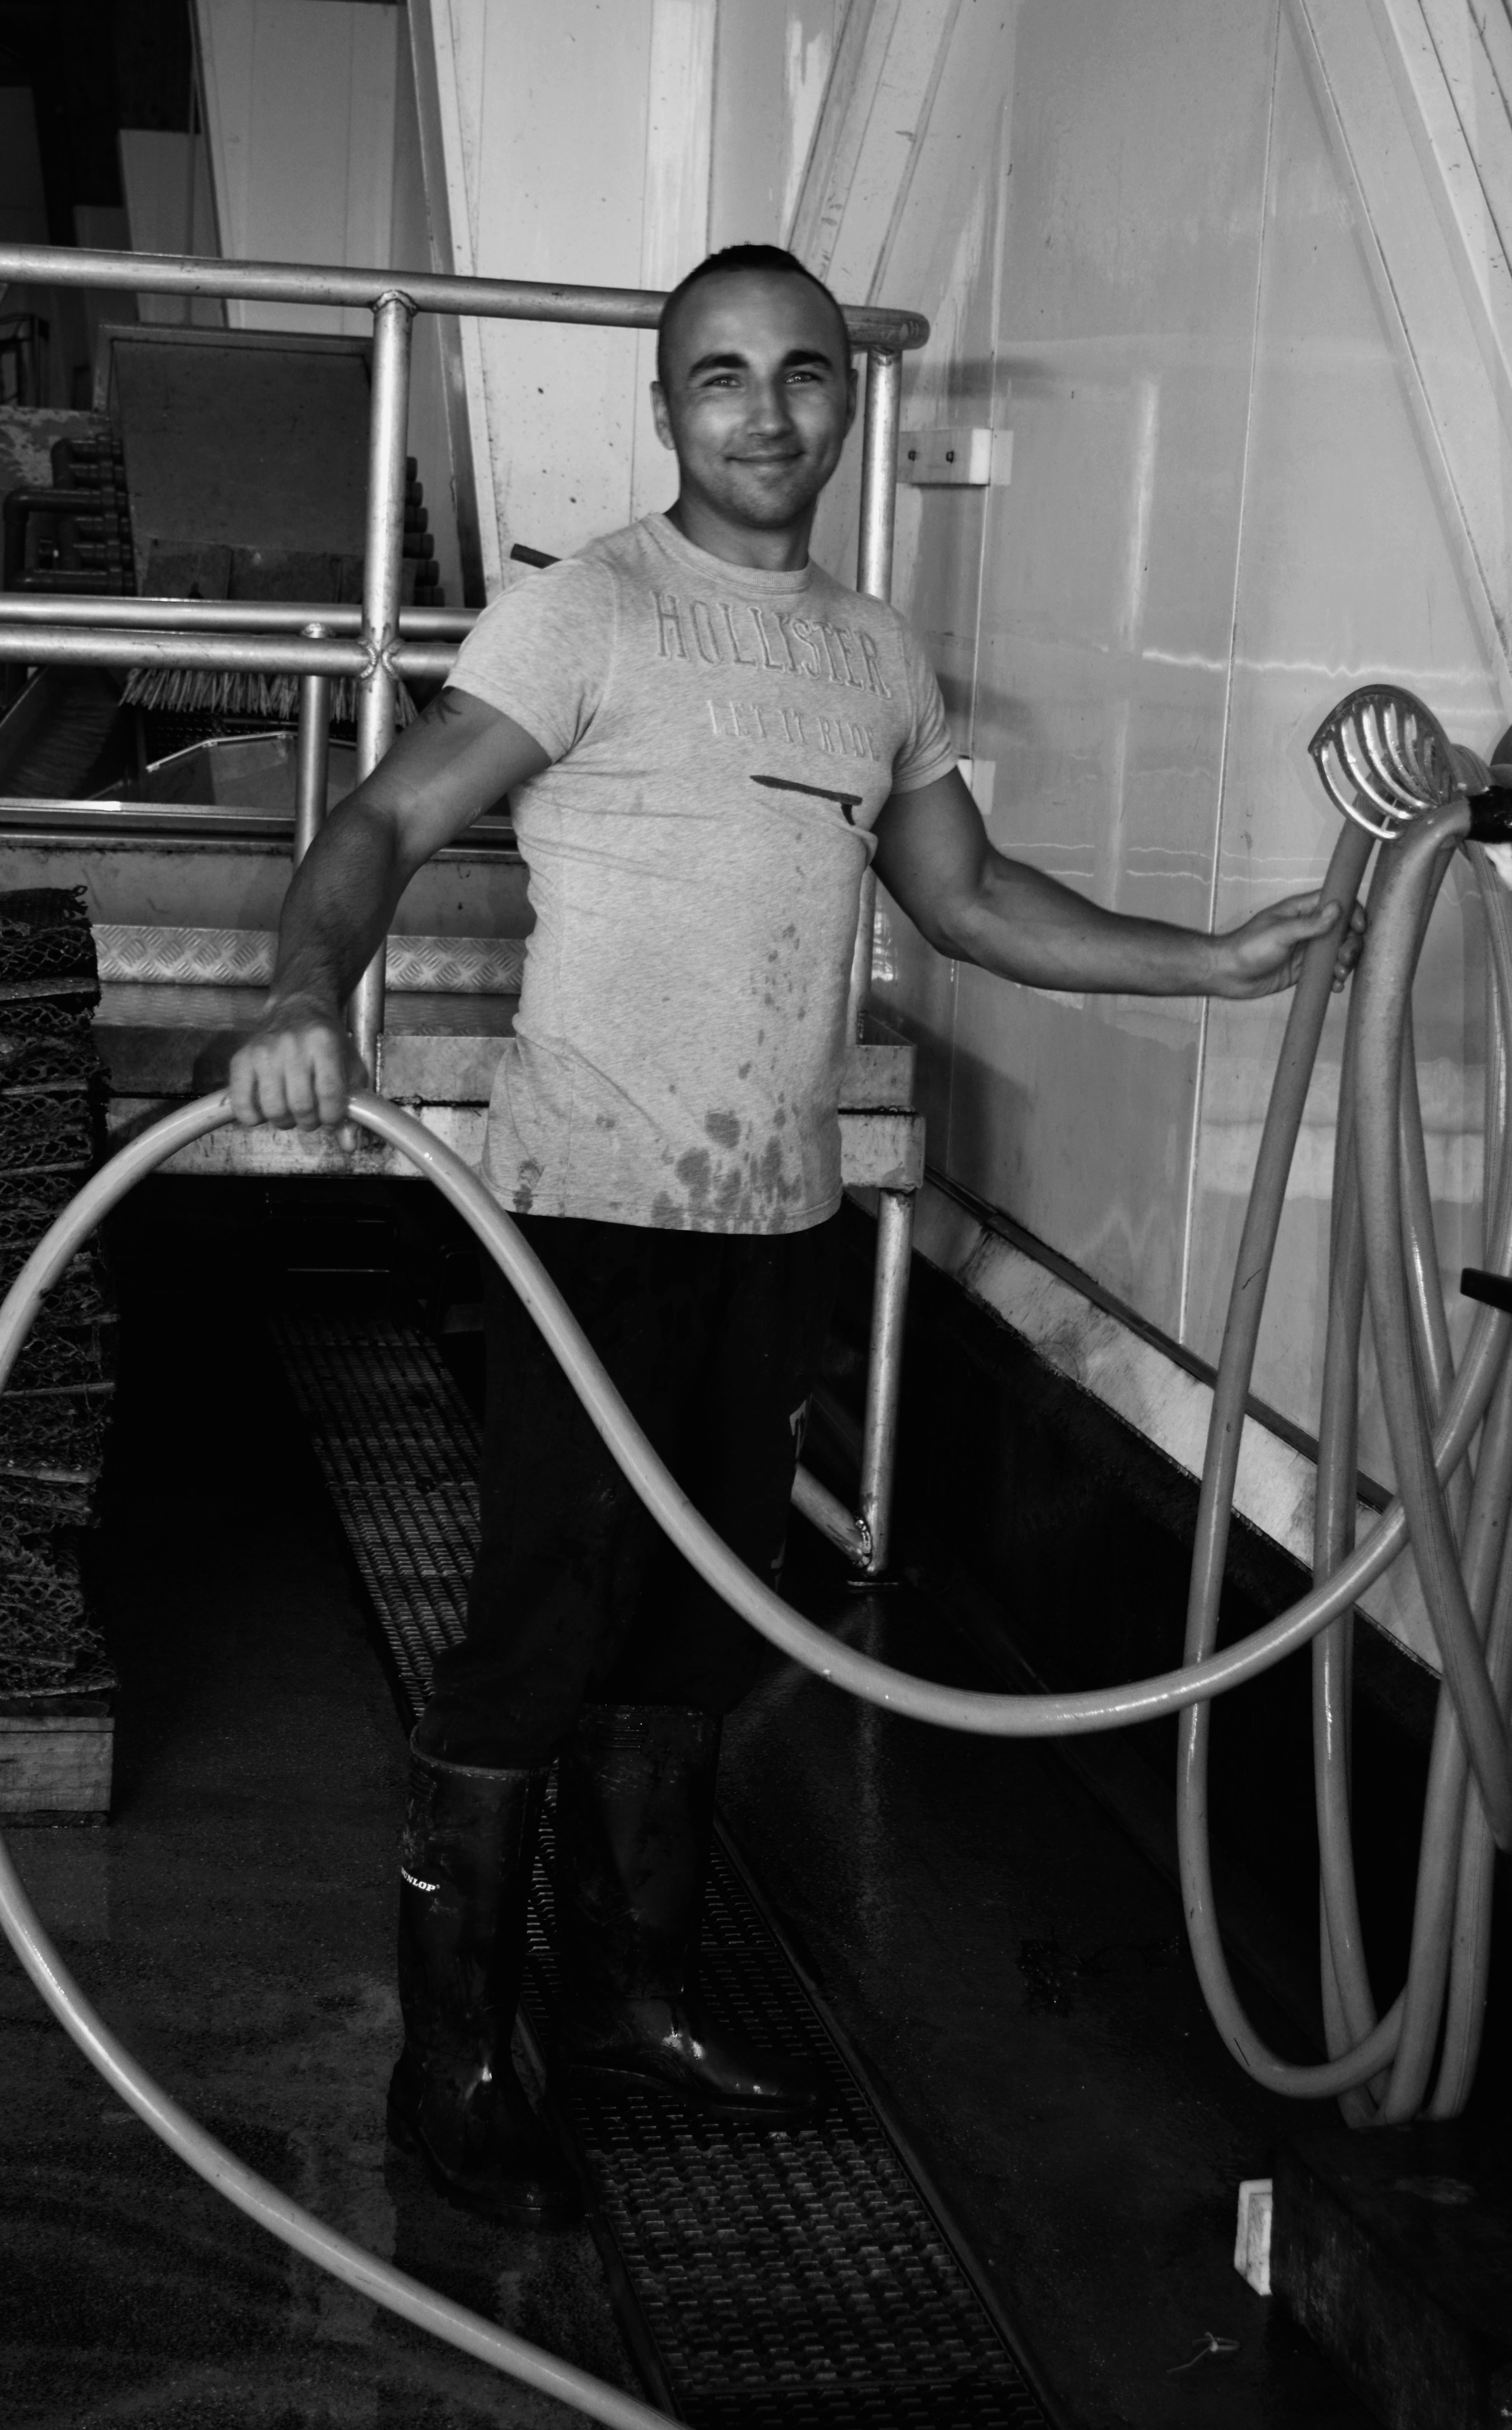
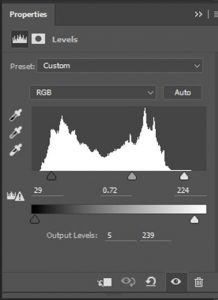
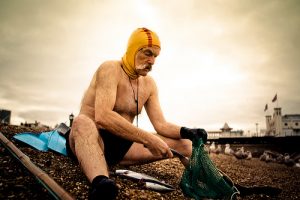
When editing this photo I cropped out all the unimportant things of the image and focused on the man. I then de-saturated the photograph by using the saturation tool and turning it to -100. This took all the colour out the photograph. I then adjusted the contrast using the levels tool. This allowed me to adjust the dark’s, grey’s and whites of the image. Then I combined all these layers to create one picture by using flatten image.
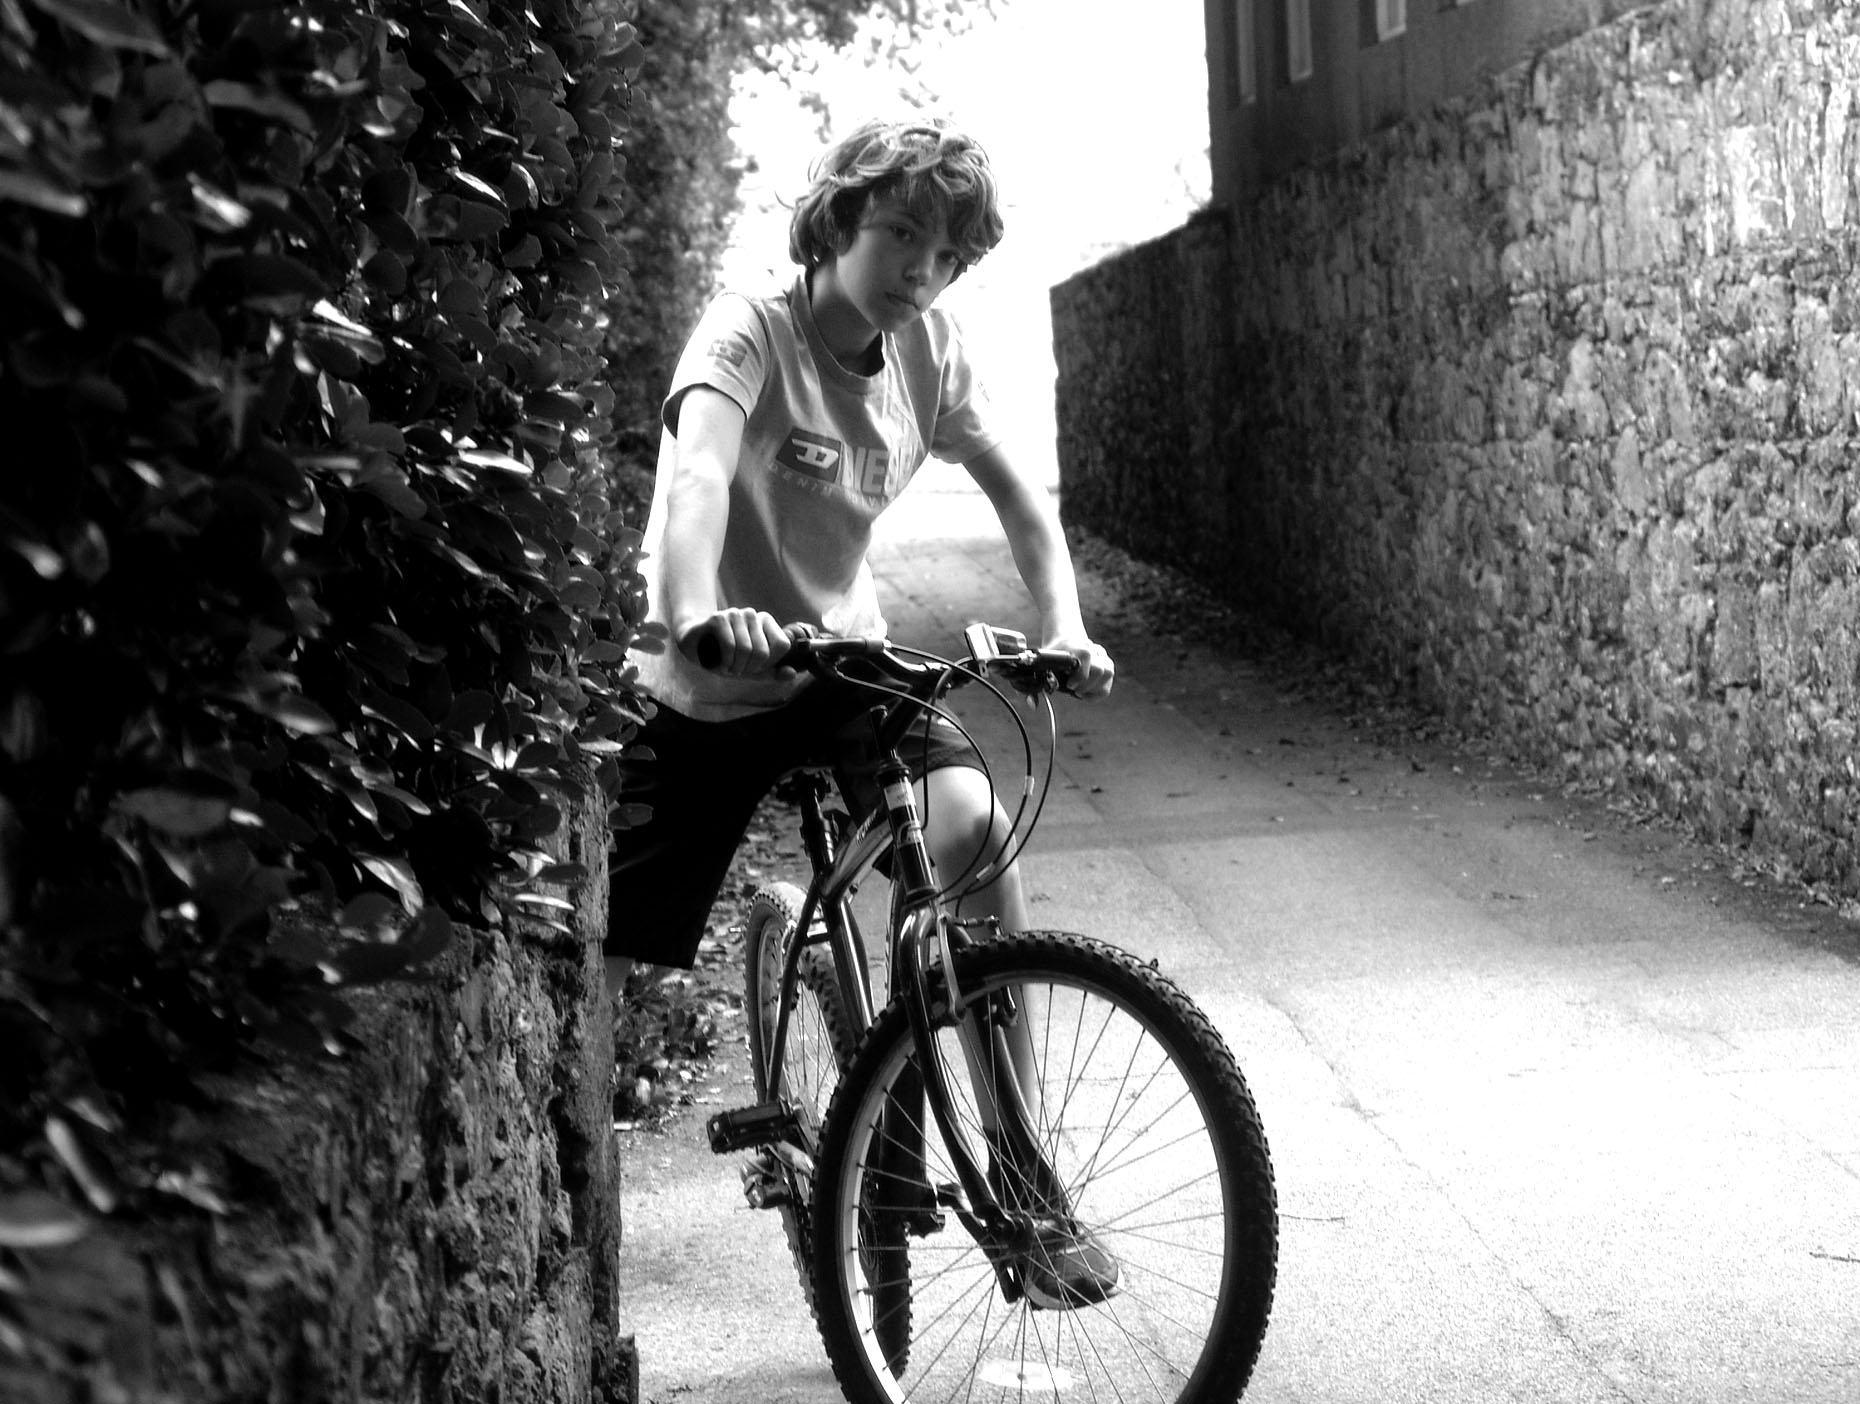
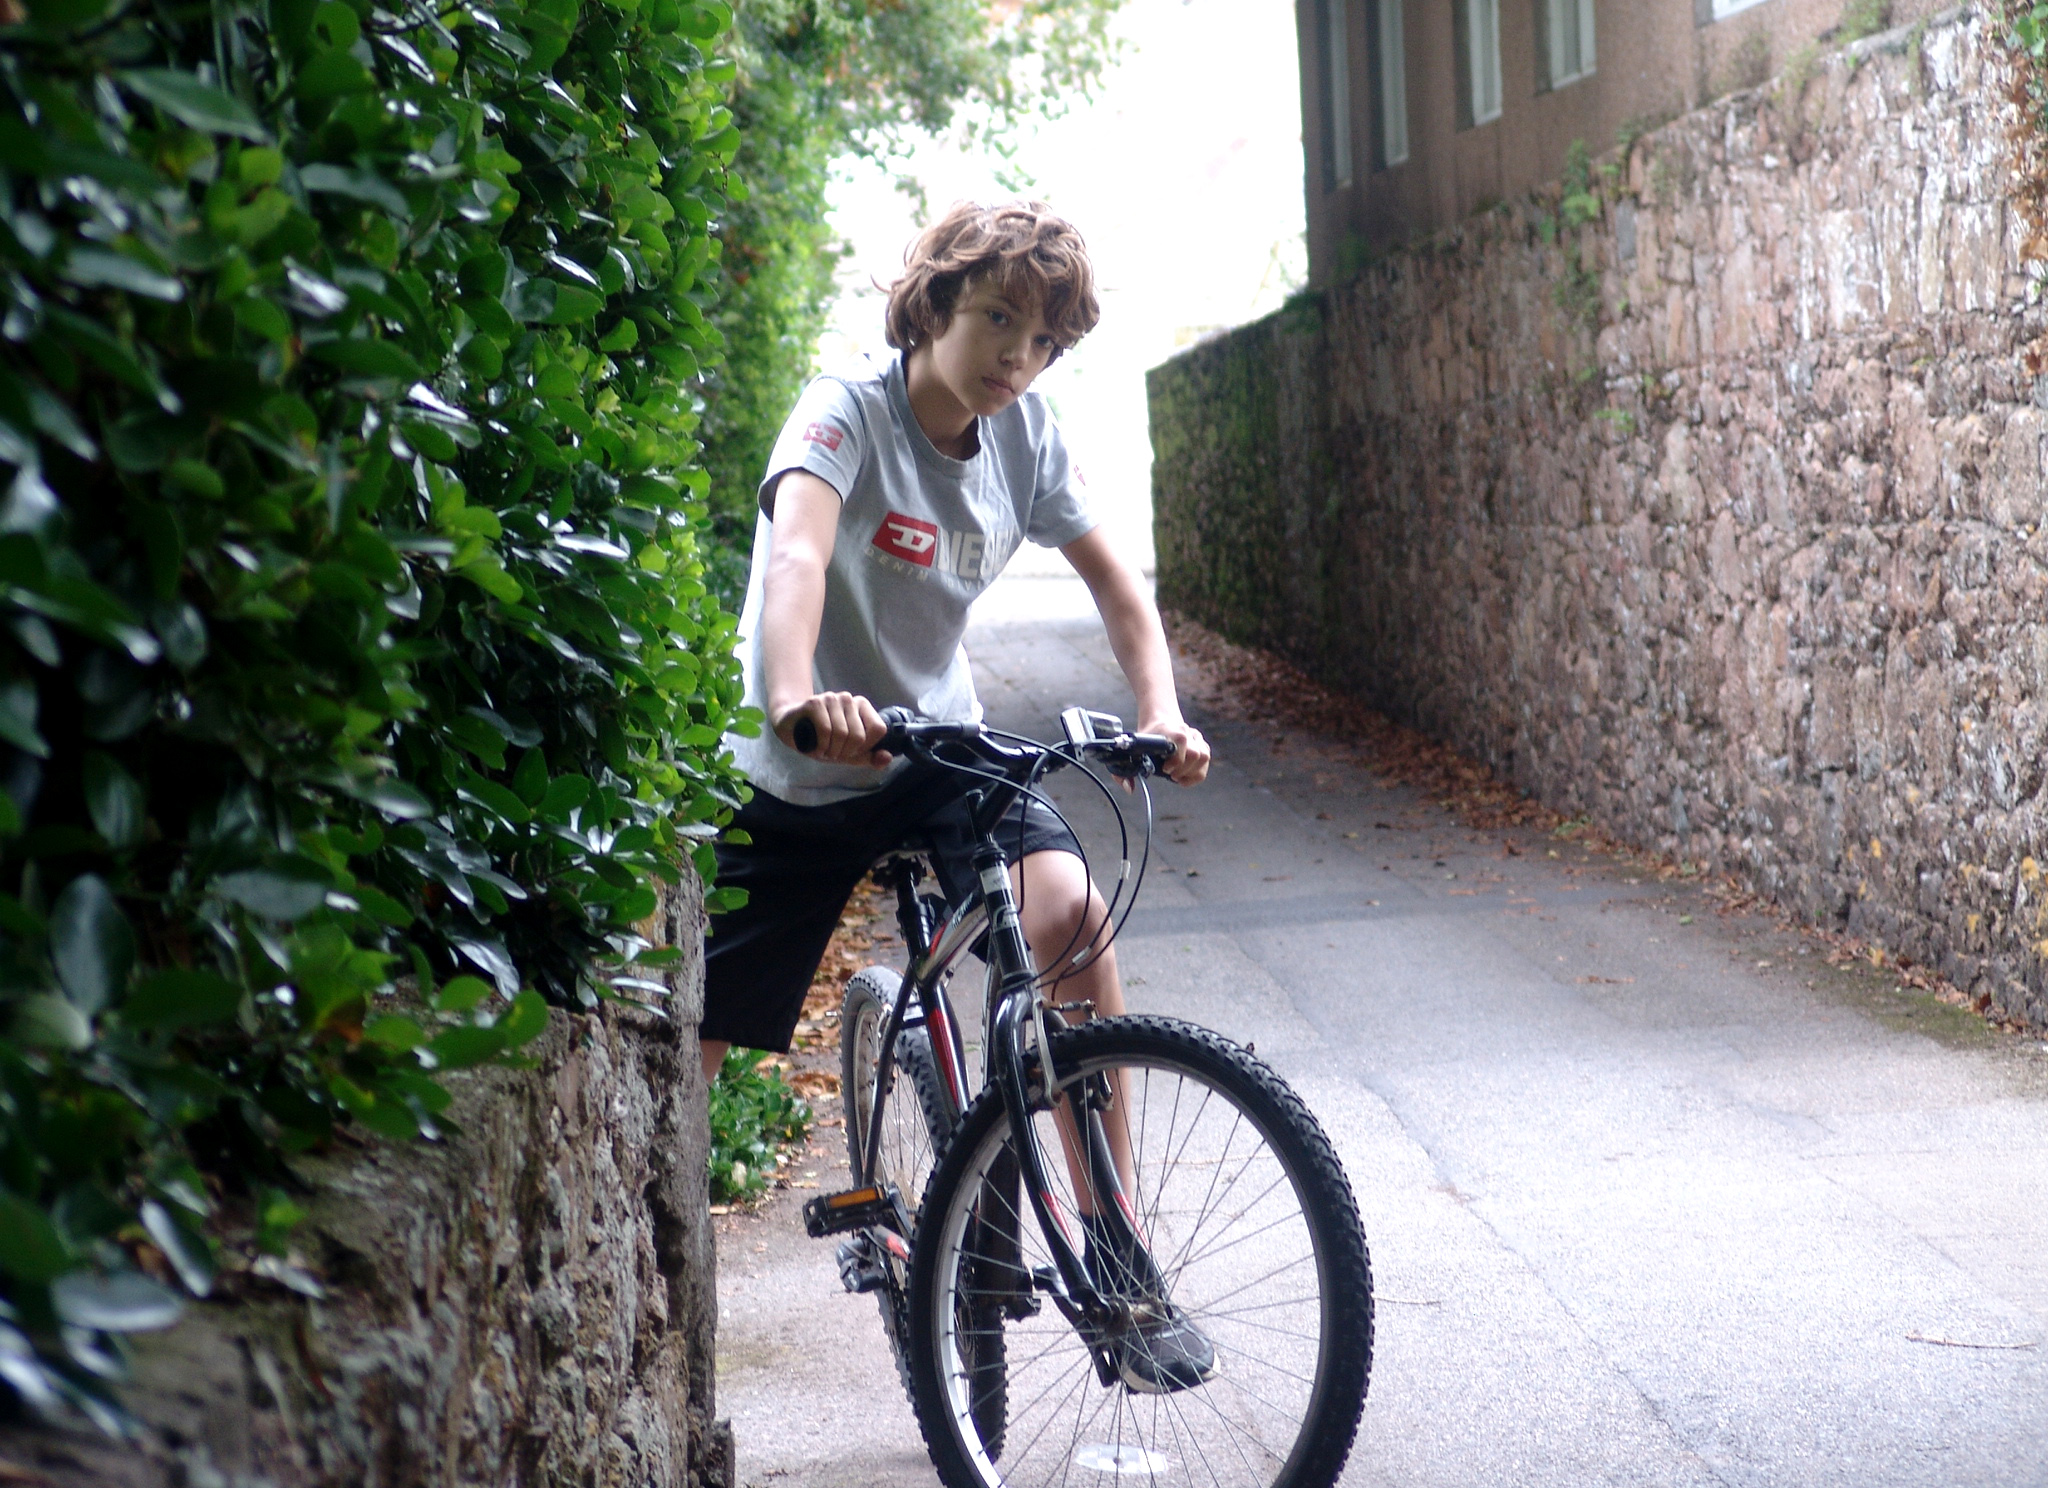
The top photograph is the edited version, and the bottom is the original.
To edit the photograph, I firstly cropped the boundaries so that composition of the photograph fits in well with the rule of thirds. I secondly, changed the photograph to black and white by decreasing the saturation to nothing. I did this because traditionally, portrait photographs were taken in black and white. Finally, I adjusted the contrast using the levels tool. By doing this, I enhanced the dark areas and enhanced the bright areas. To compliment both of these factors I then adjusted the grey scale to create a balance between the two sides of light.
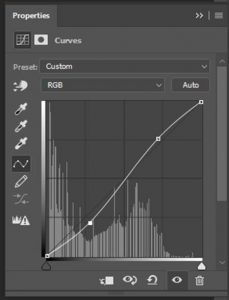
I edited this image by lowing the saturation so that the image turned to black and white. I then used the Levels tool and altered the histogram so there was more contrast and also the Curves tool to change the lighting in specific areas of the photograph. I think that by having the image in black and white it makes the photo seem more like how original environmental portraits.
This week Mr Mckinlay will be encouraging all students to experiment with their development of camera skills and how to curate the blog posts effectively.
To include : ISO / WB / APERTURE / SHUTTER SPEED / HIGH / LOW ANGLE / CANTED ANGLE / HARD FOCUS / SOFT FOCUS / DEPTH OF FIELD /
Mr Cole will be teaching a range of Adobe Photoshop techniques so that all students can select the most successful images from their Environmental Portrait contact sheets, and then edit them effectively.
To include : FILE MANAGEMENT / ADJUSTMENT LAYERS / CROPPING / BLENDING TECHNIQUES
Each Lesson you should make a blog post to summarise the skills you learned and showcase a finalised image using Adobe Photoshop.
You will also be expected to compare and contrast your work with at least one ENVIRONMENTAL PORTRAIT photographer and analyse your final choice of image (using formal analysis)
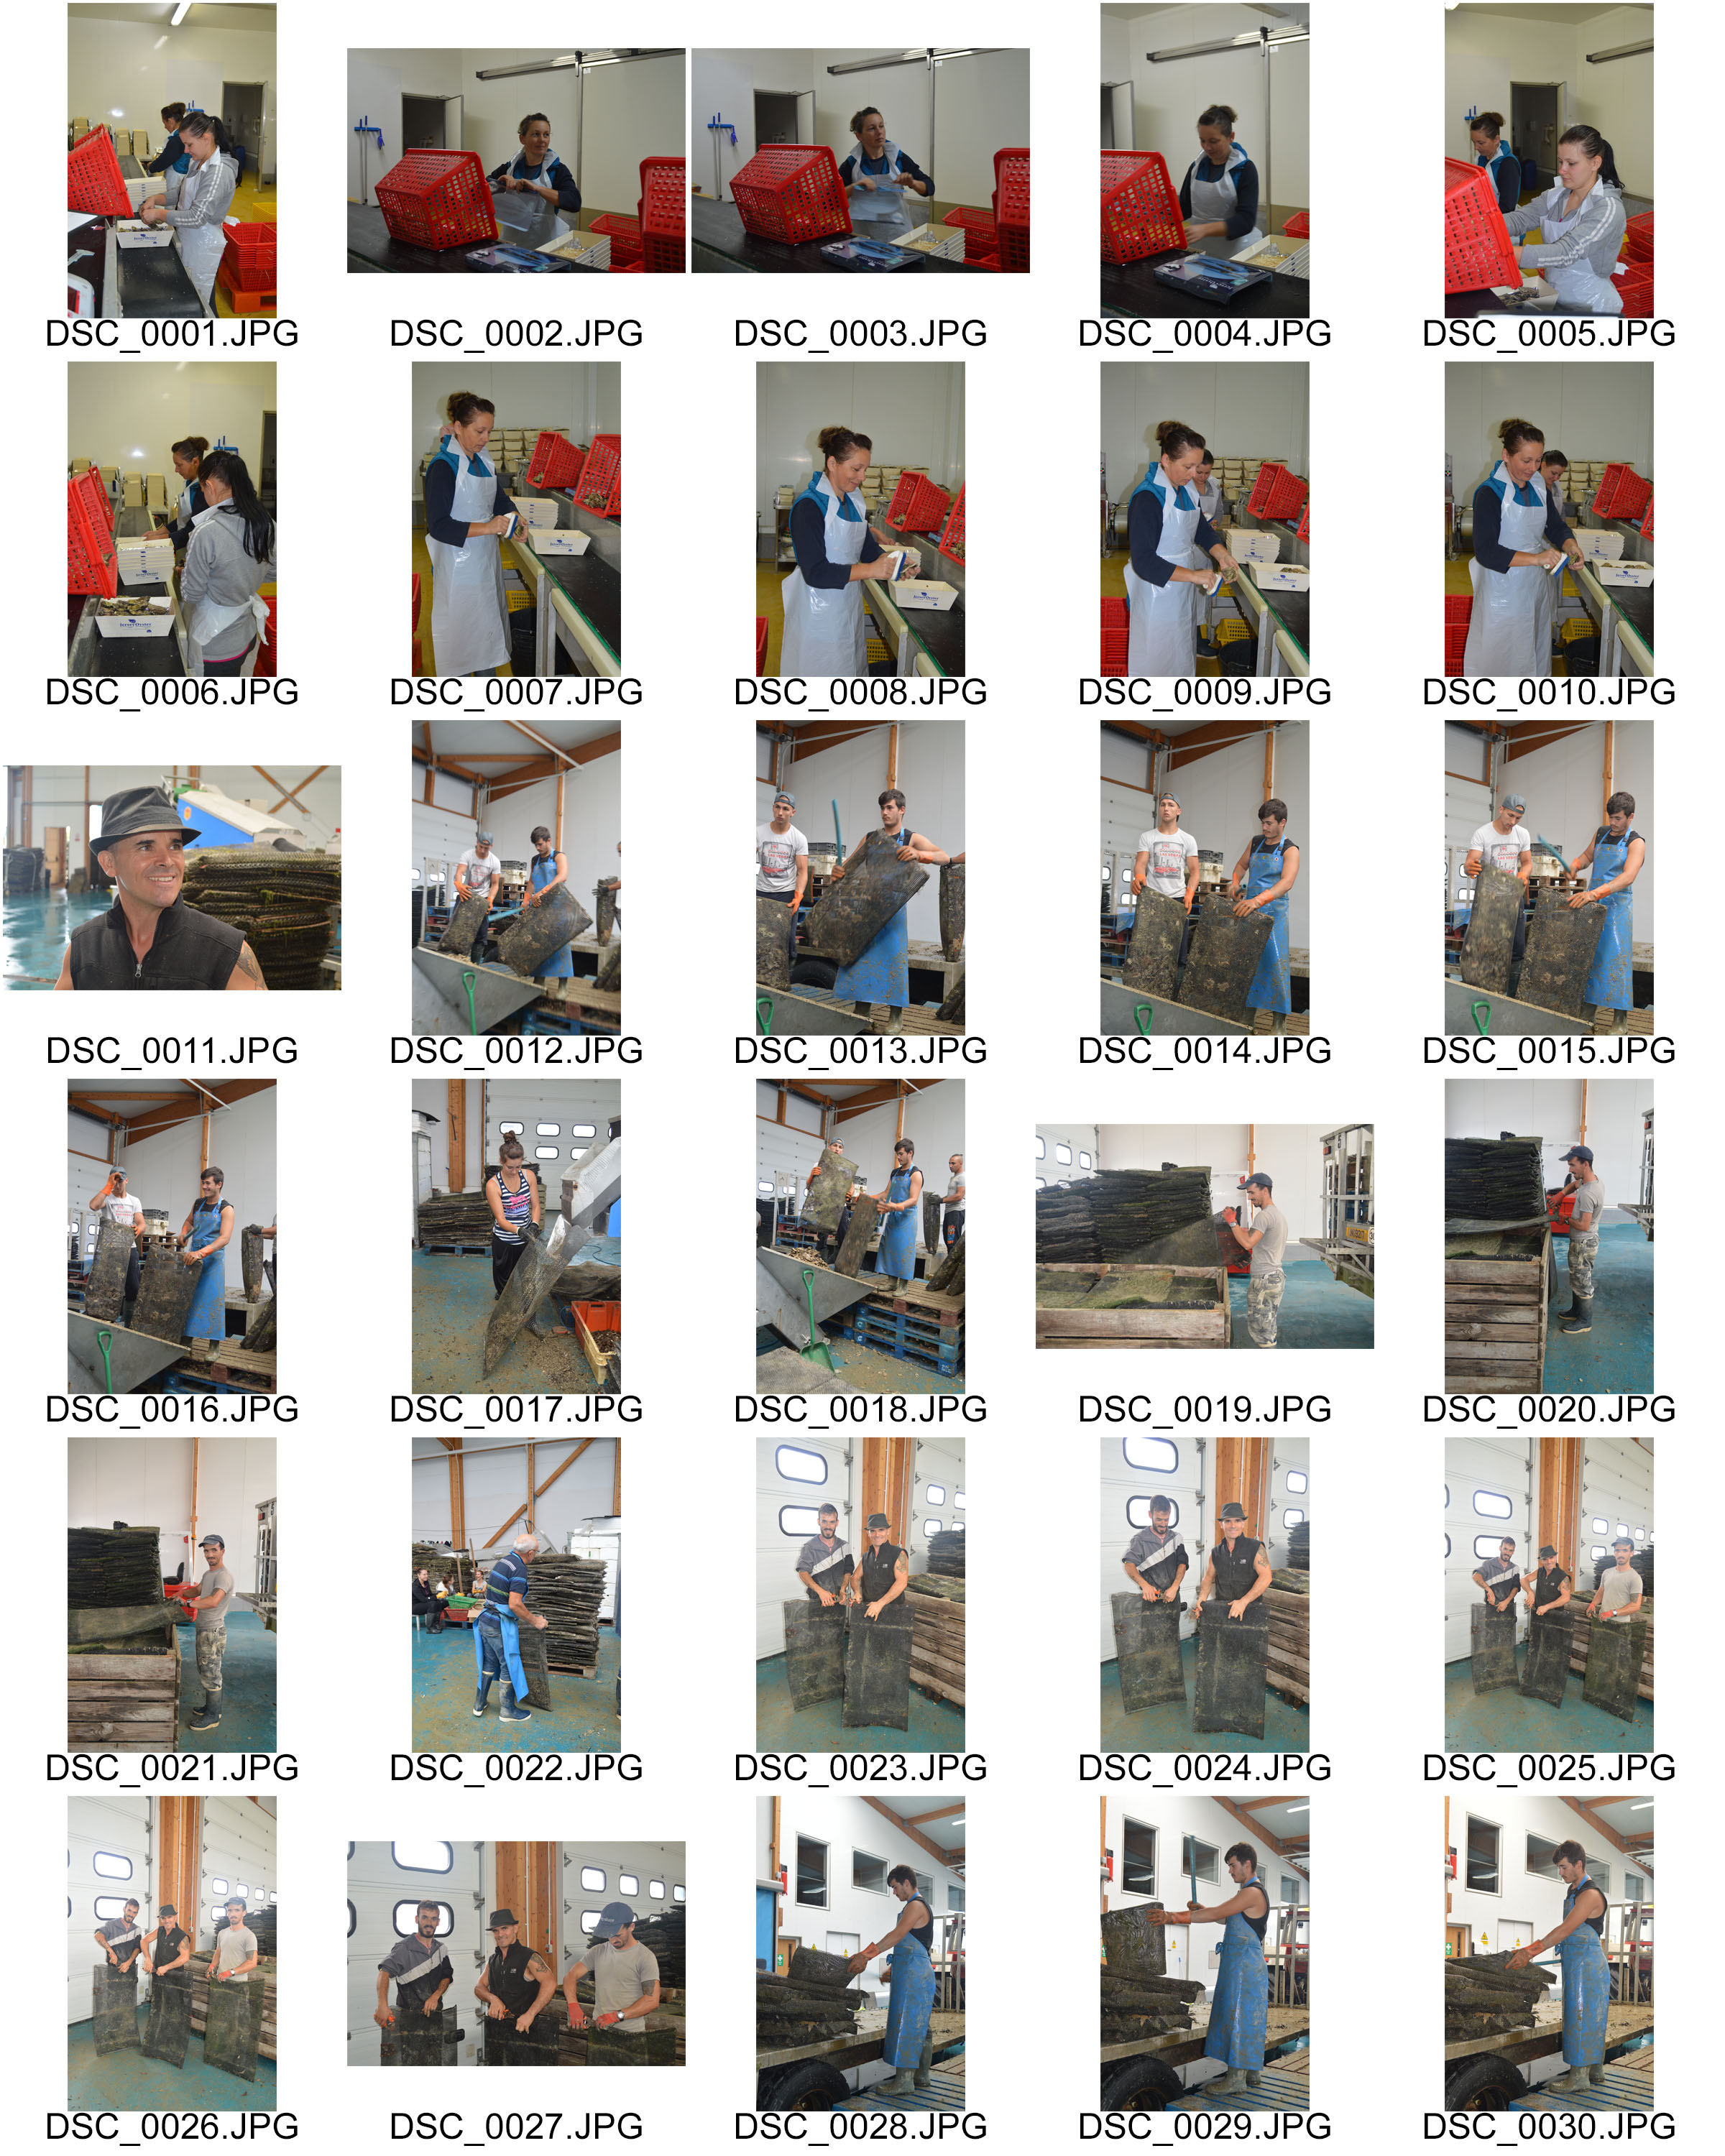
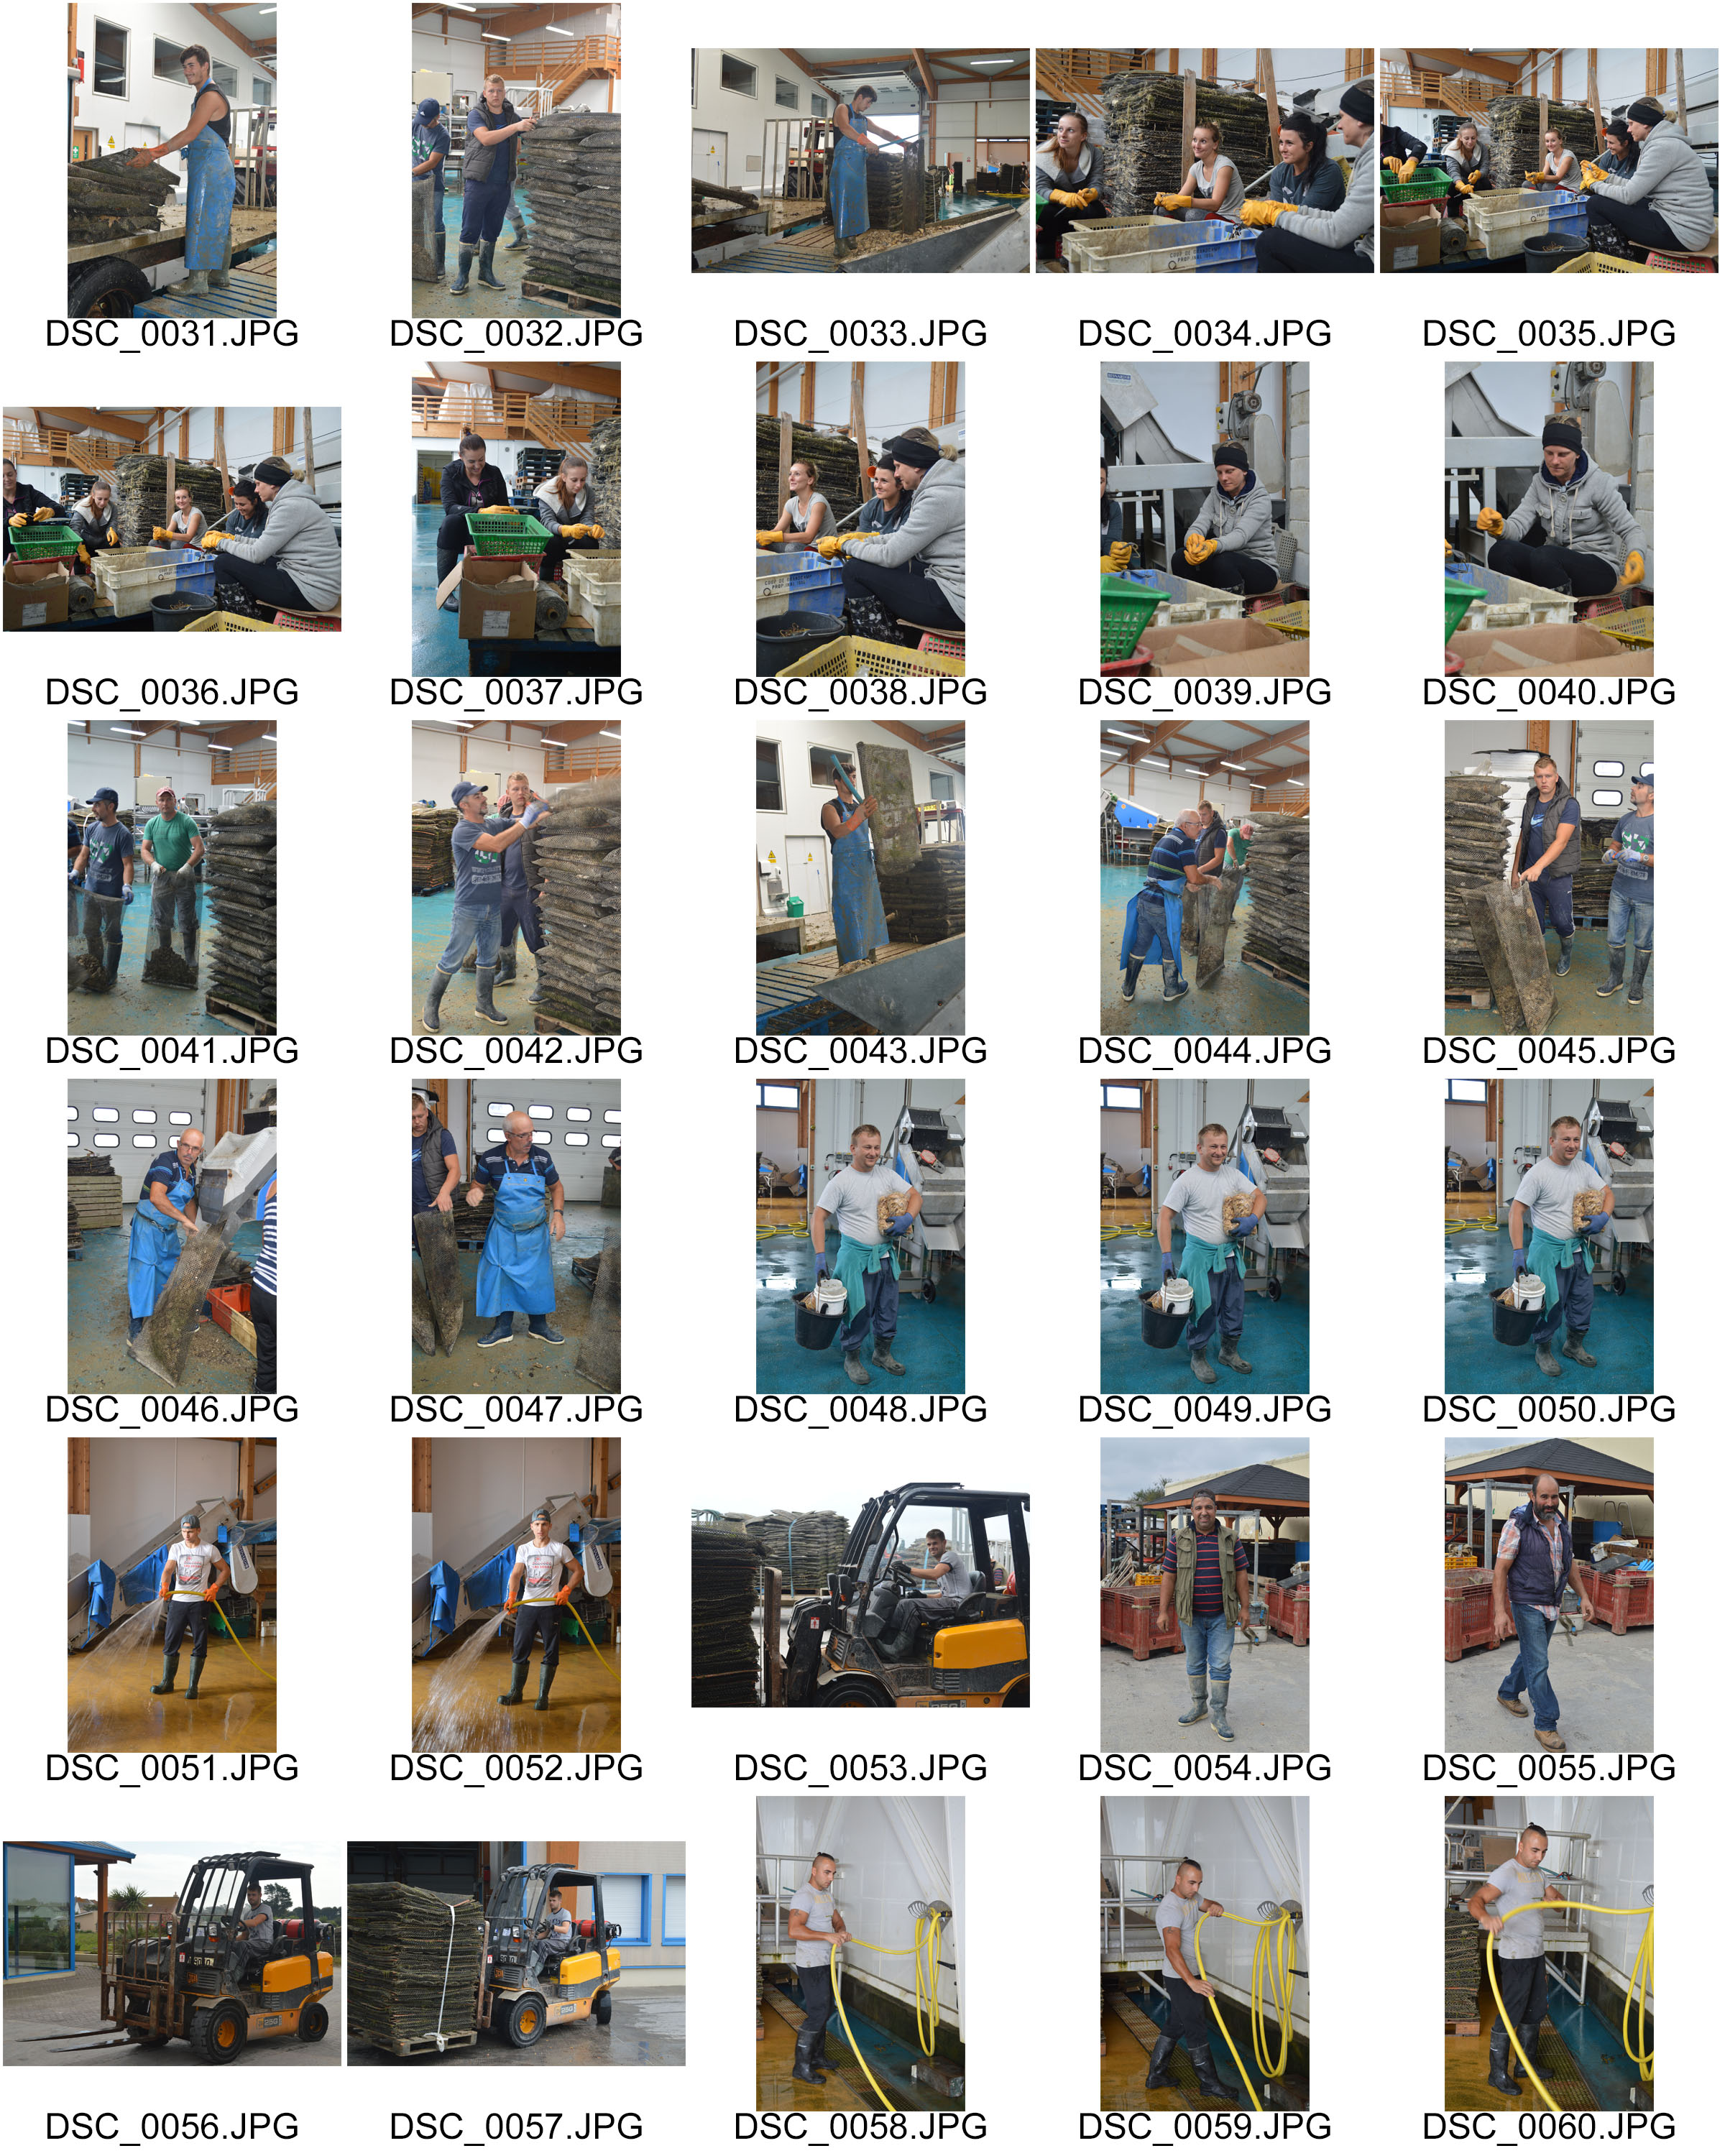
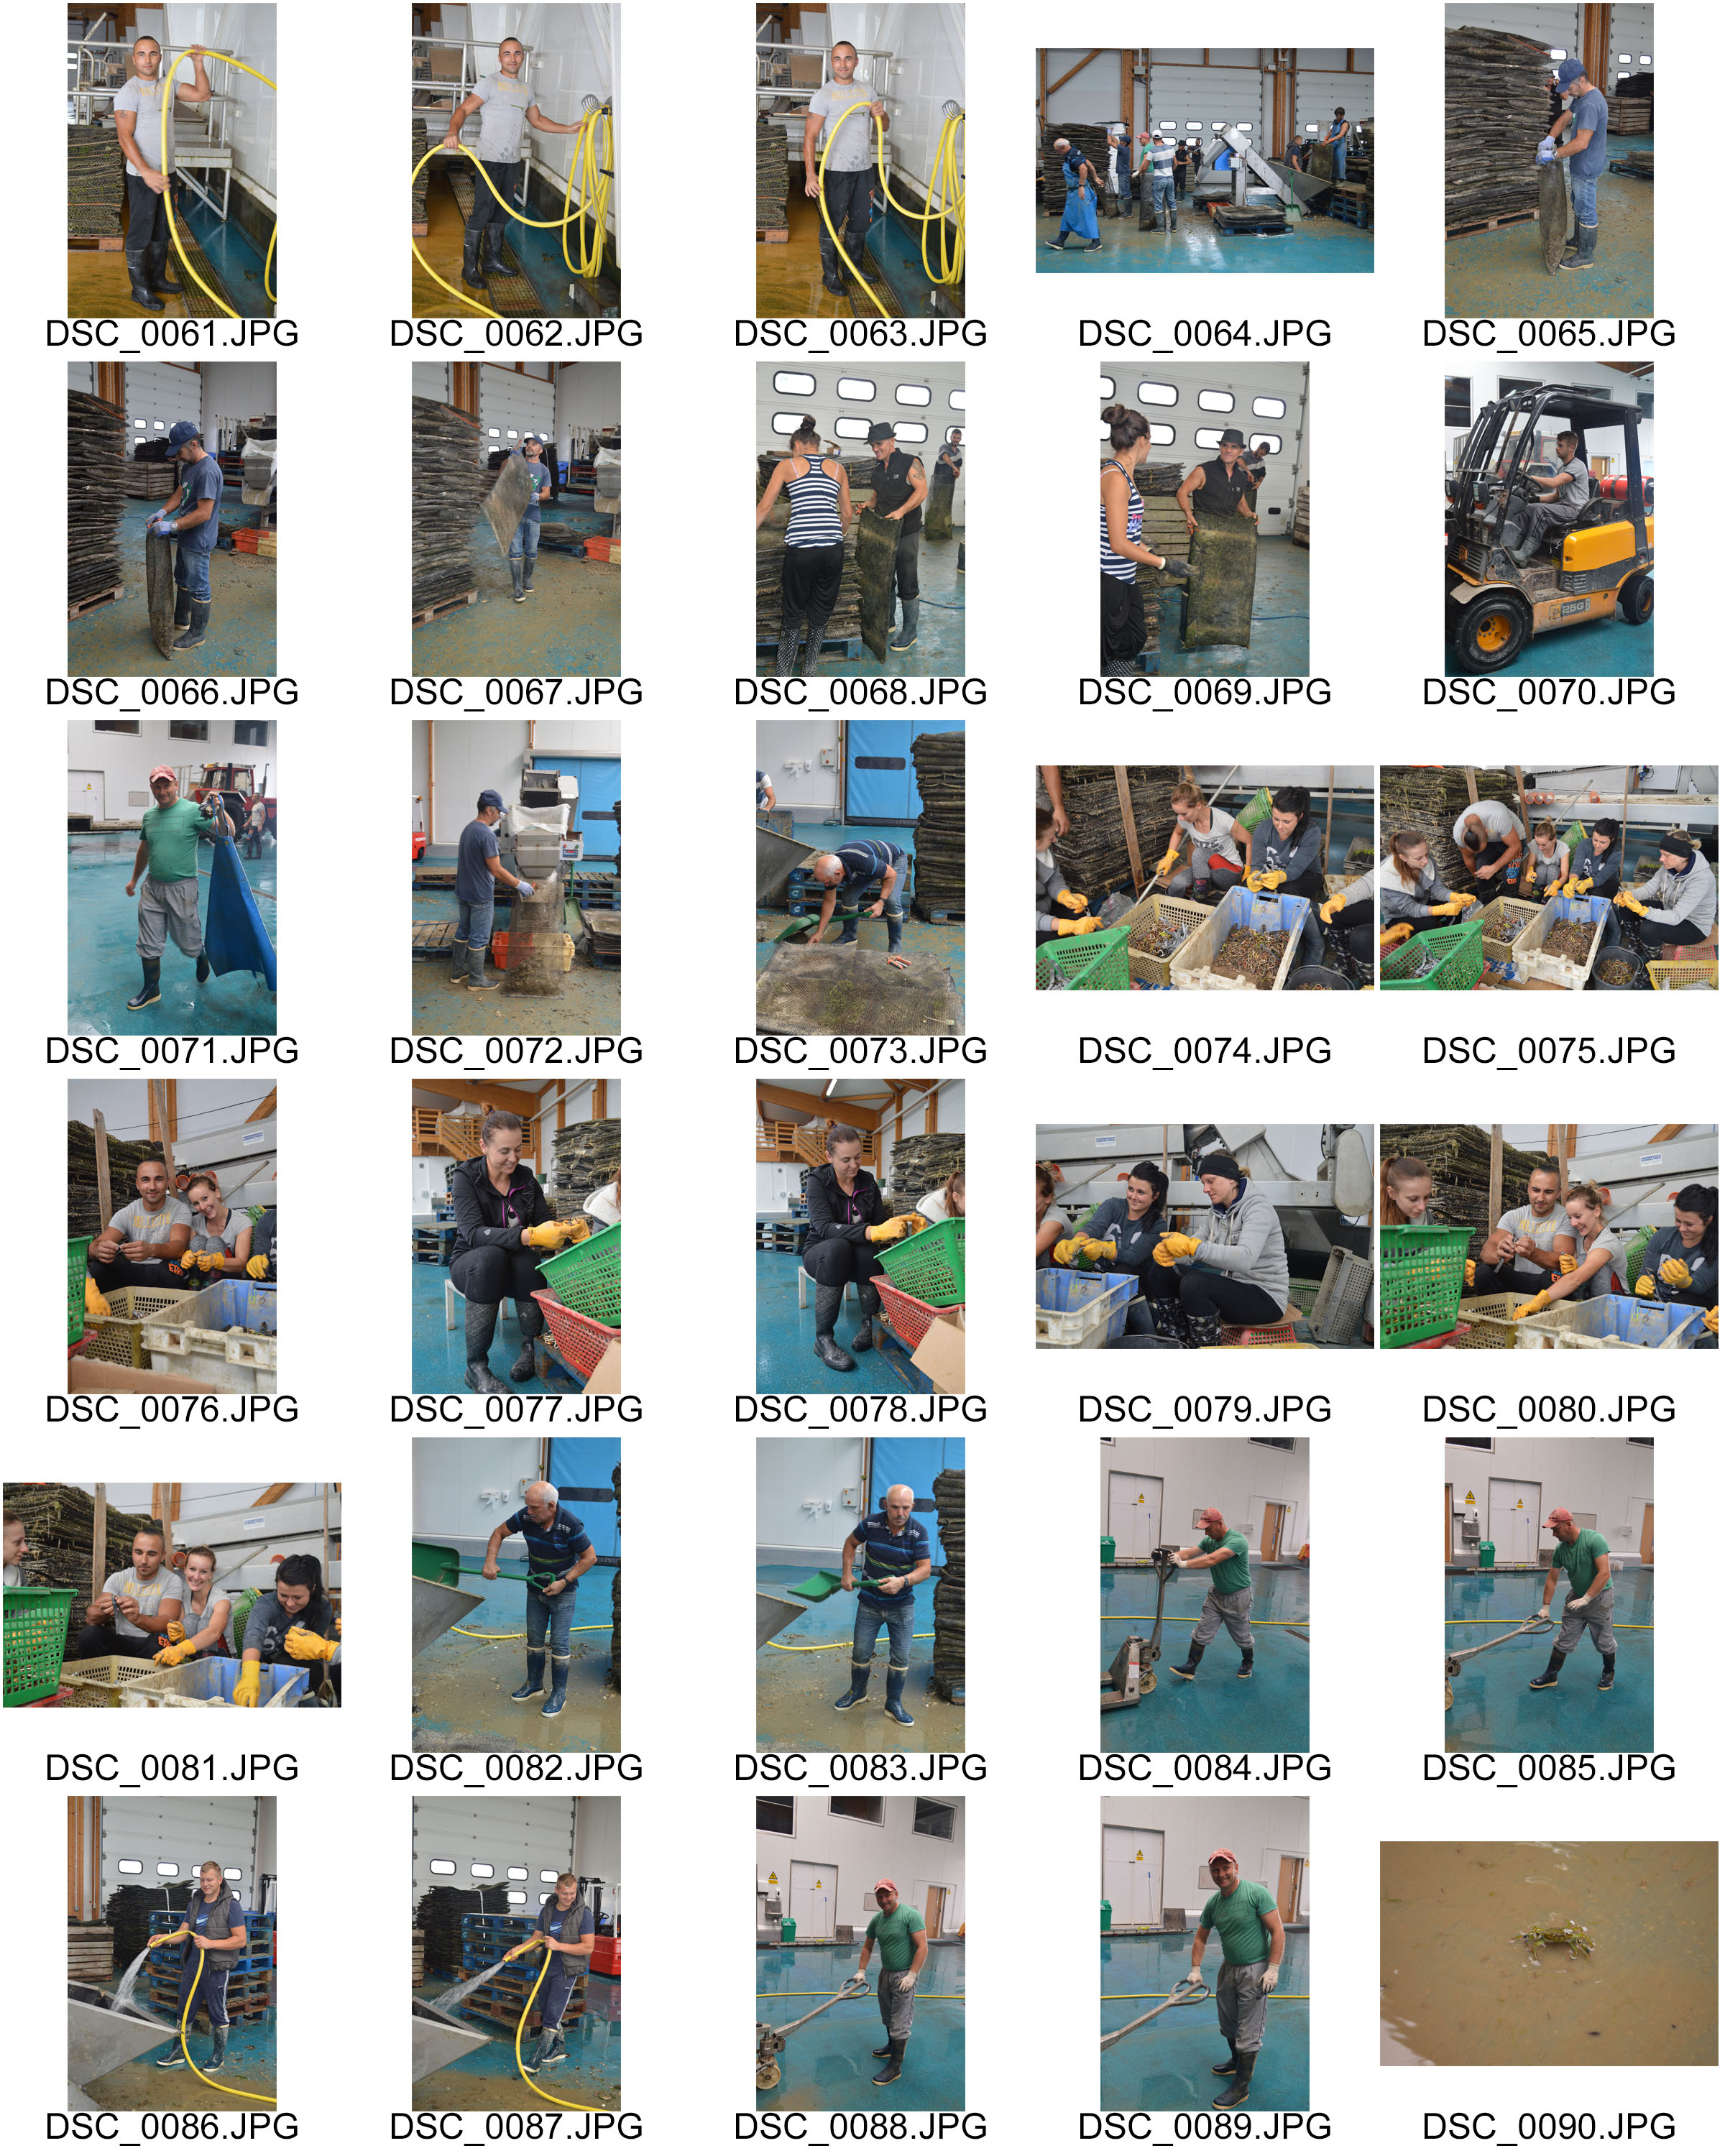
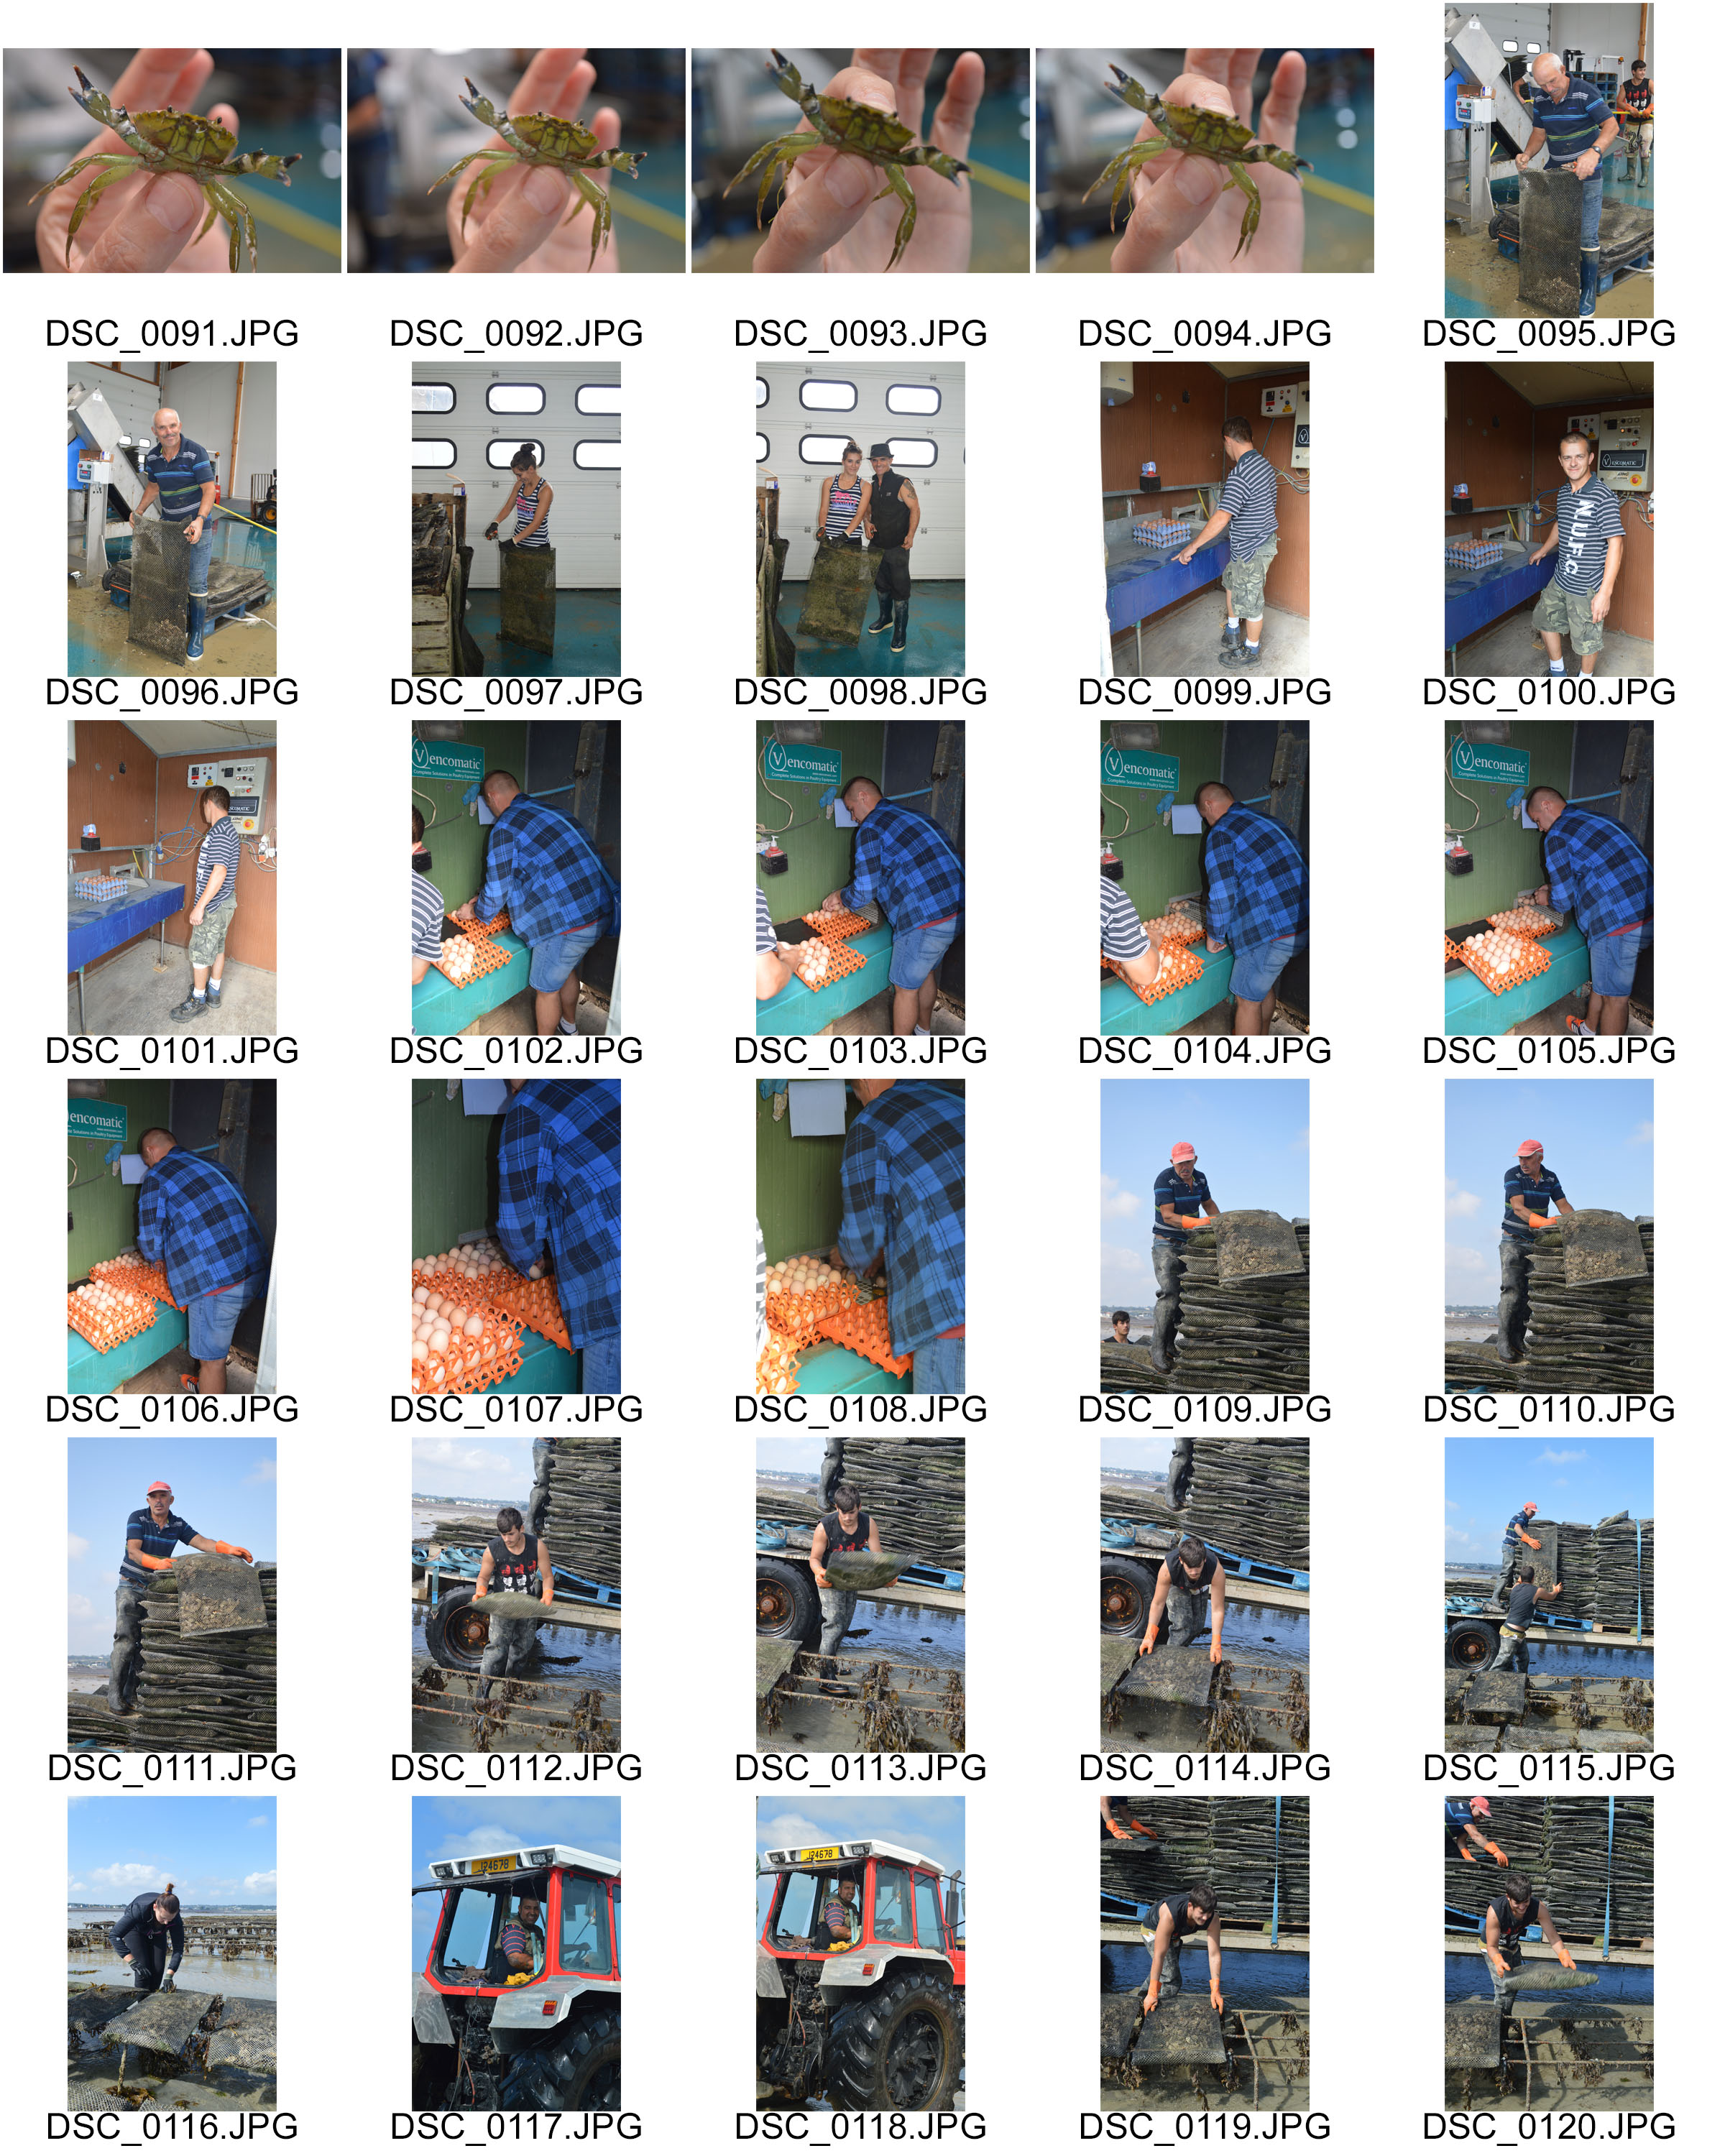
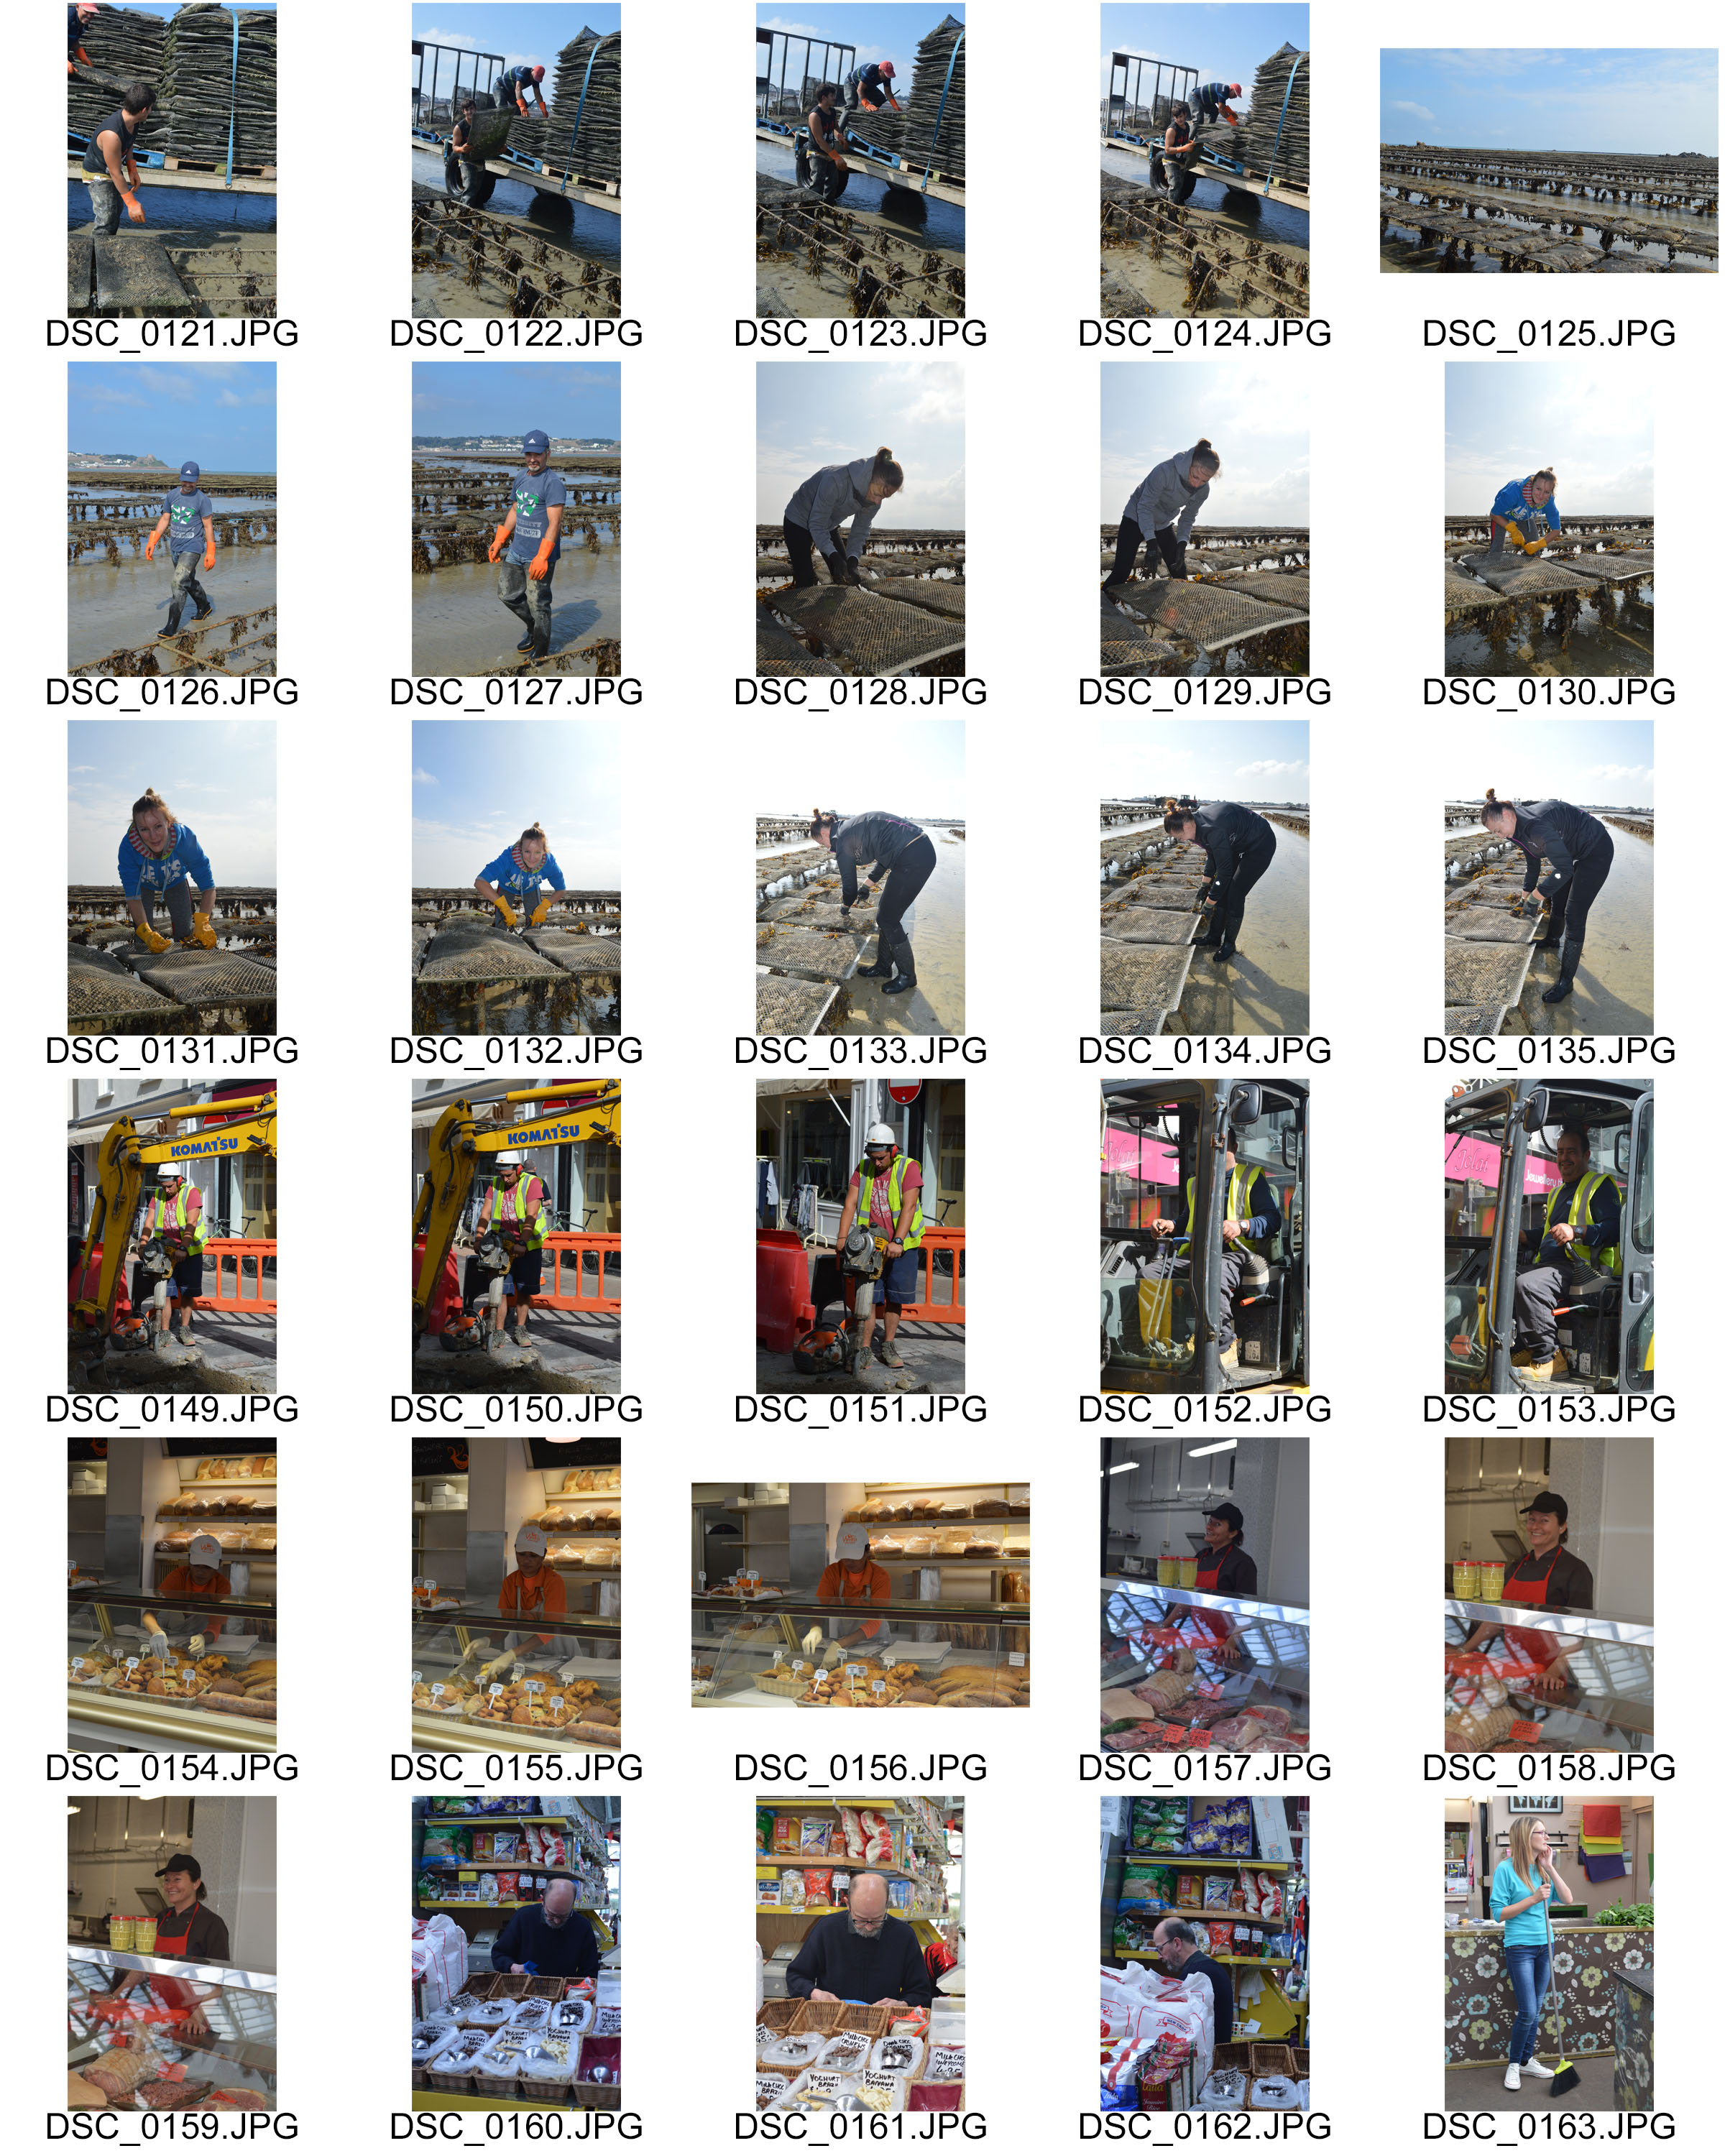
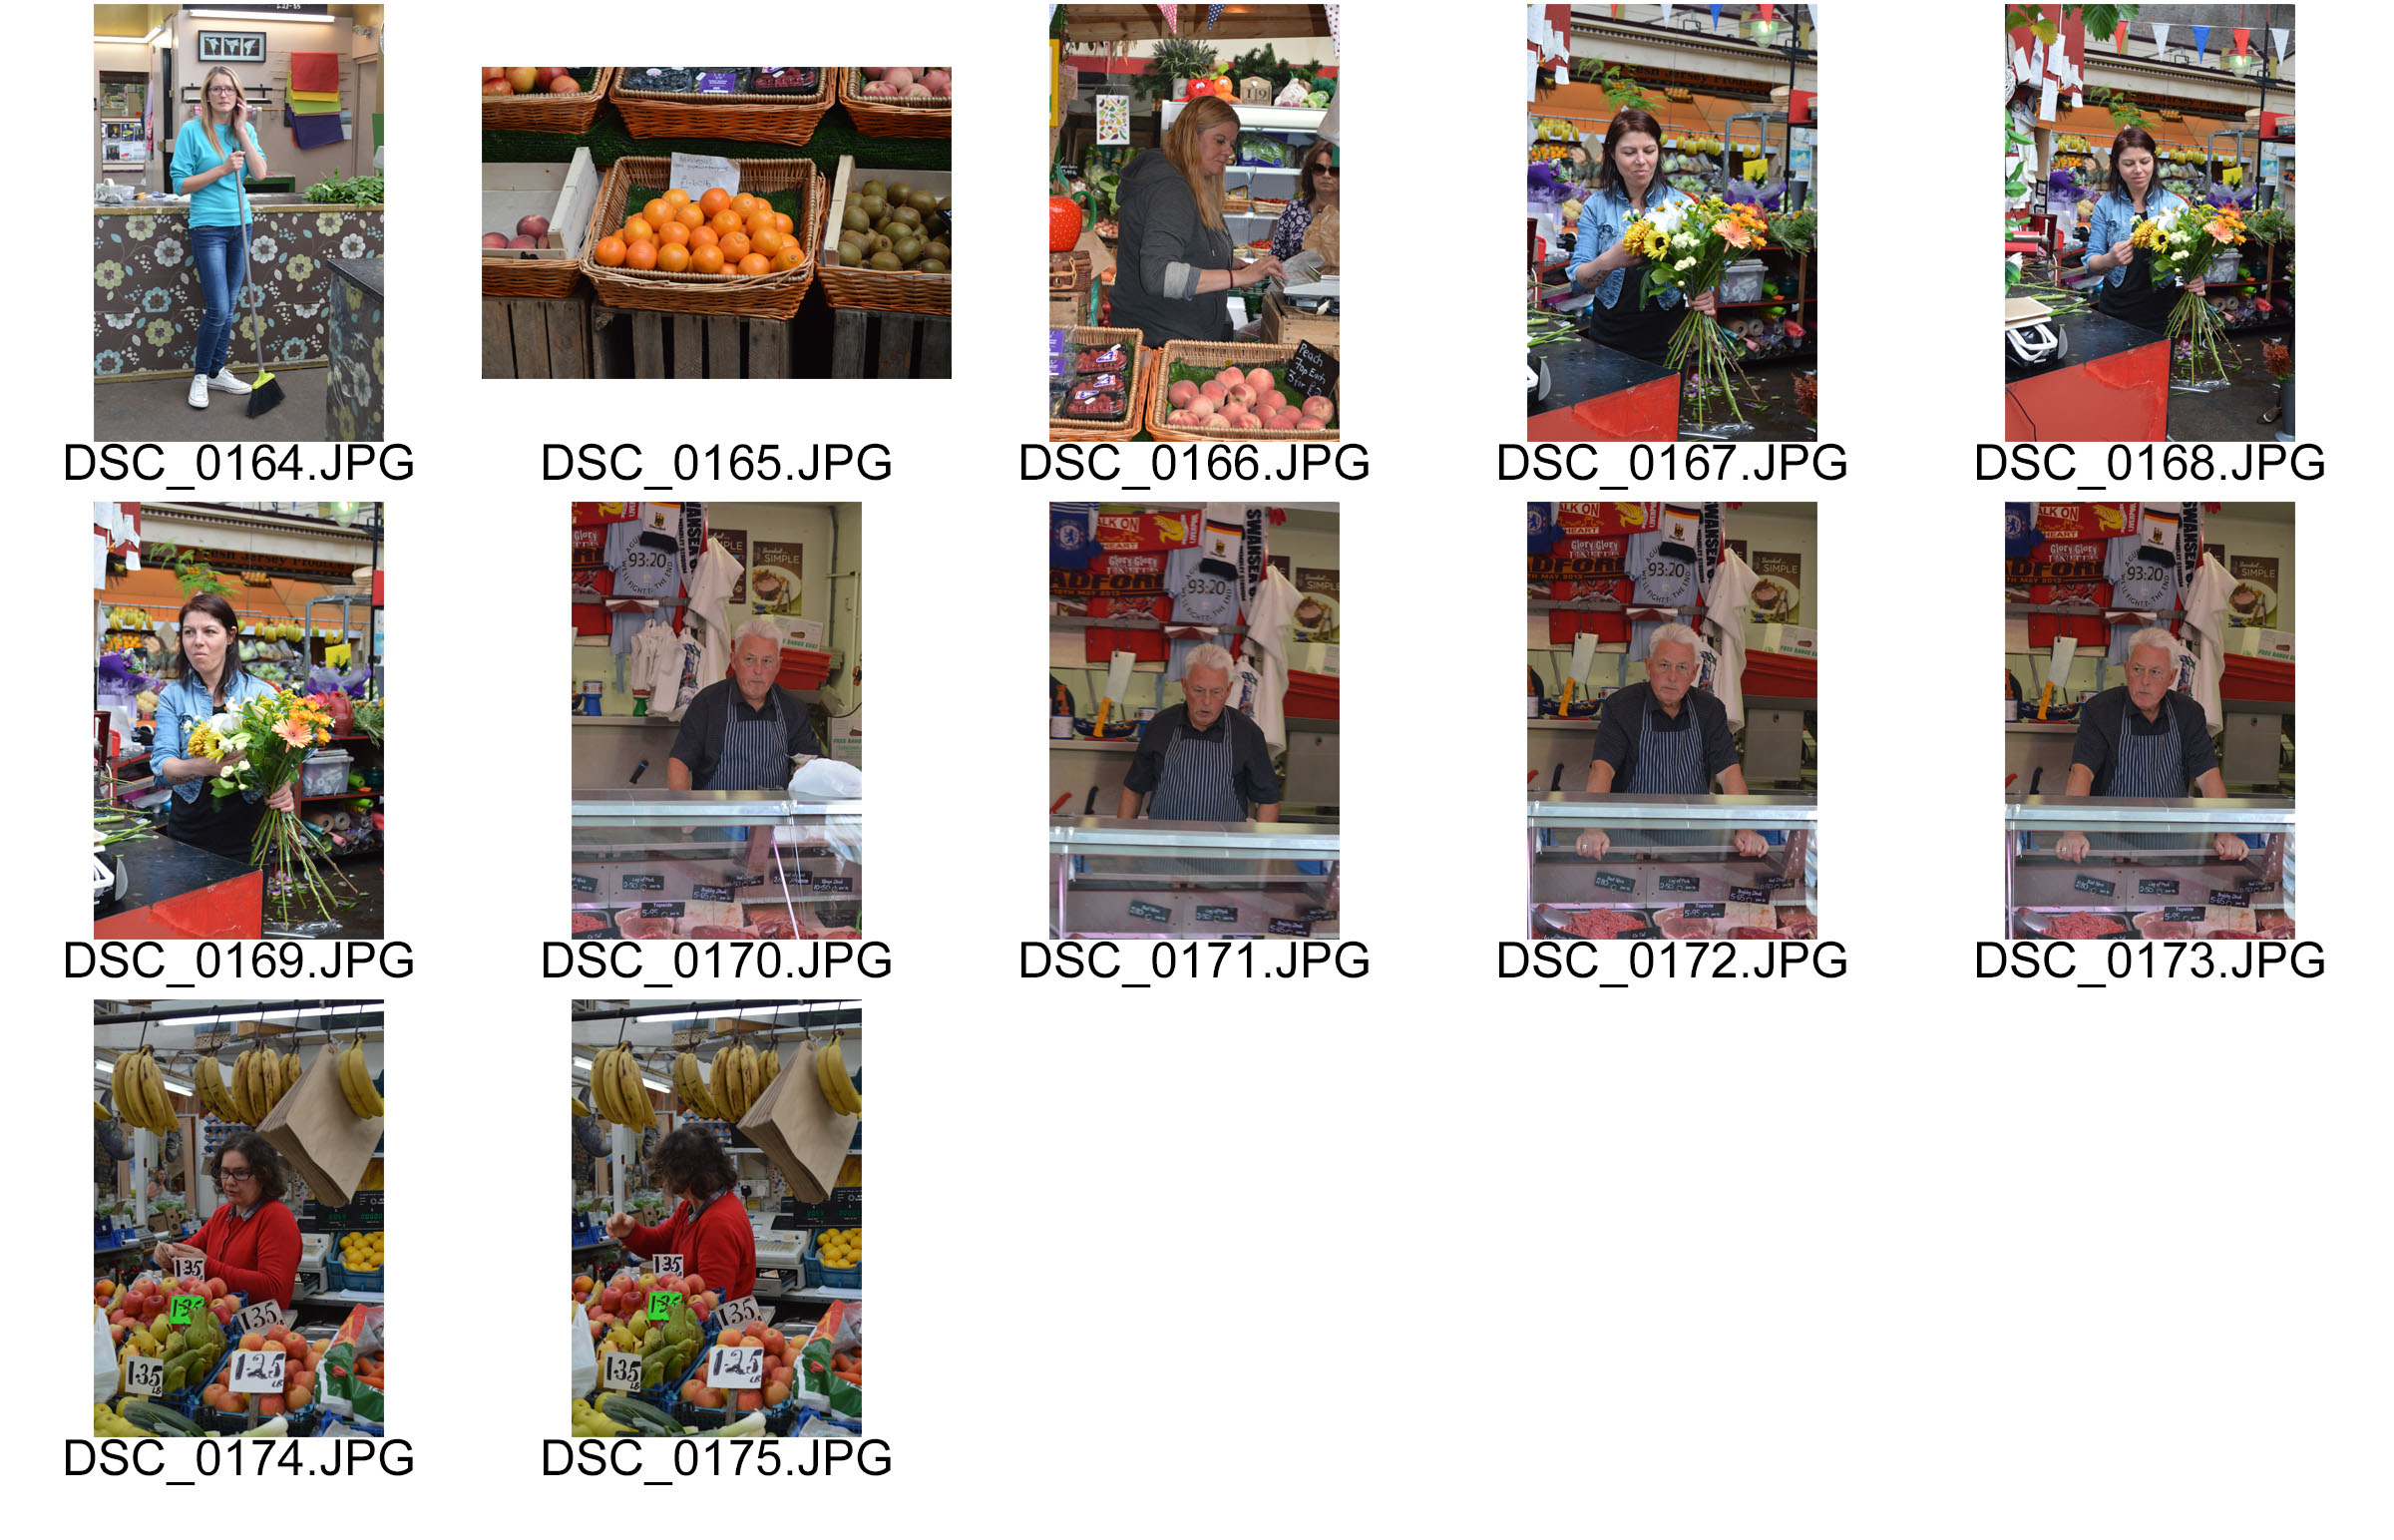
For this shoot i focused my photographs on people in a work environment. I wanted to capture photographs of people doing manual jobs showing them in action but still focus on them and their expression to whether they are happy, sad and any other emotions they might have to their working environment. I will edit these photos so that they are black and white to stop the colour taking away from the portrait
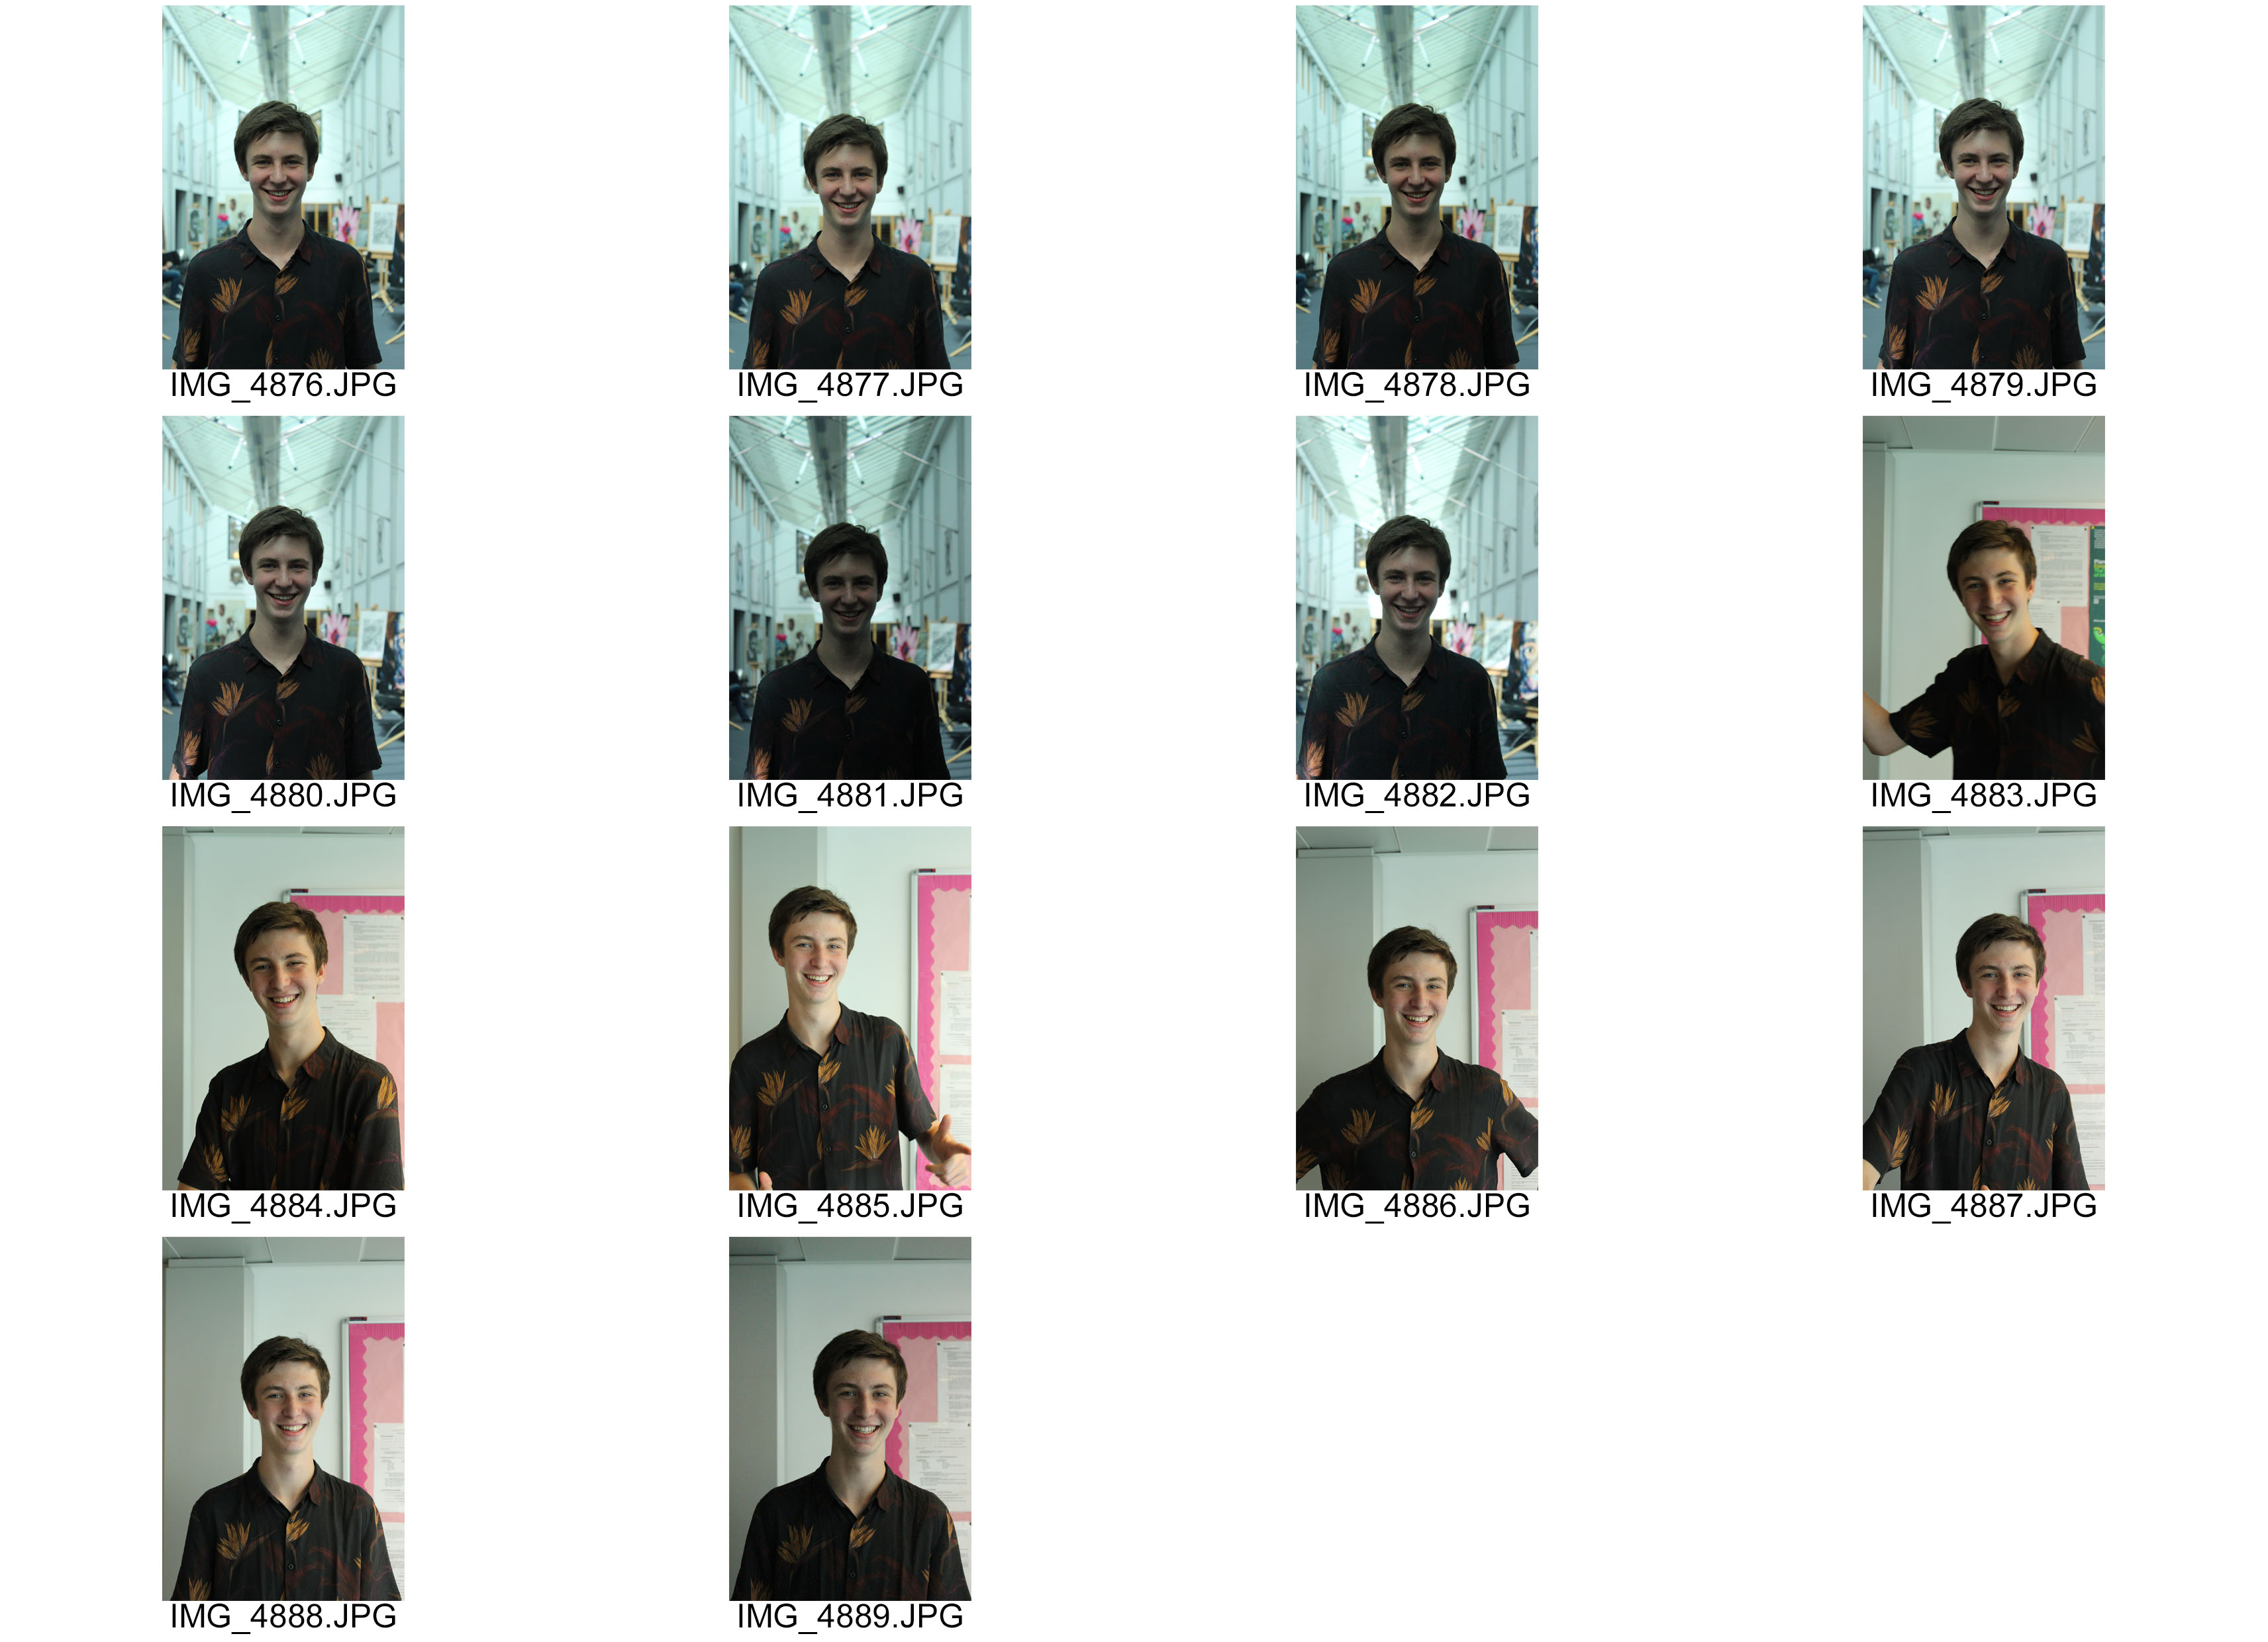
Today in the lesson, we experimented with using different ISO settings on our cameras. We went around the school and chose a model to take portraits of, positioned them in an area which was light in colour and took their photo using each of the ISO settings ranging from 100-6400. We then repeated this but in an area which was dark in colour. For each image, I had to tell our subject to keep still so I could get the best possible outcome.
Here is the photoshoot. Now, the difference is hugely noticeable because the light conditions weren’t perfect but it still gives me a vague idea of the uses of ISO and it’s benefits; the lower the ISO number, the less sensitive it will be to light. However, a higher number increases sensitivity to light.
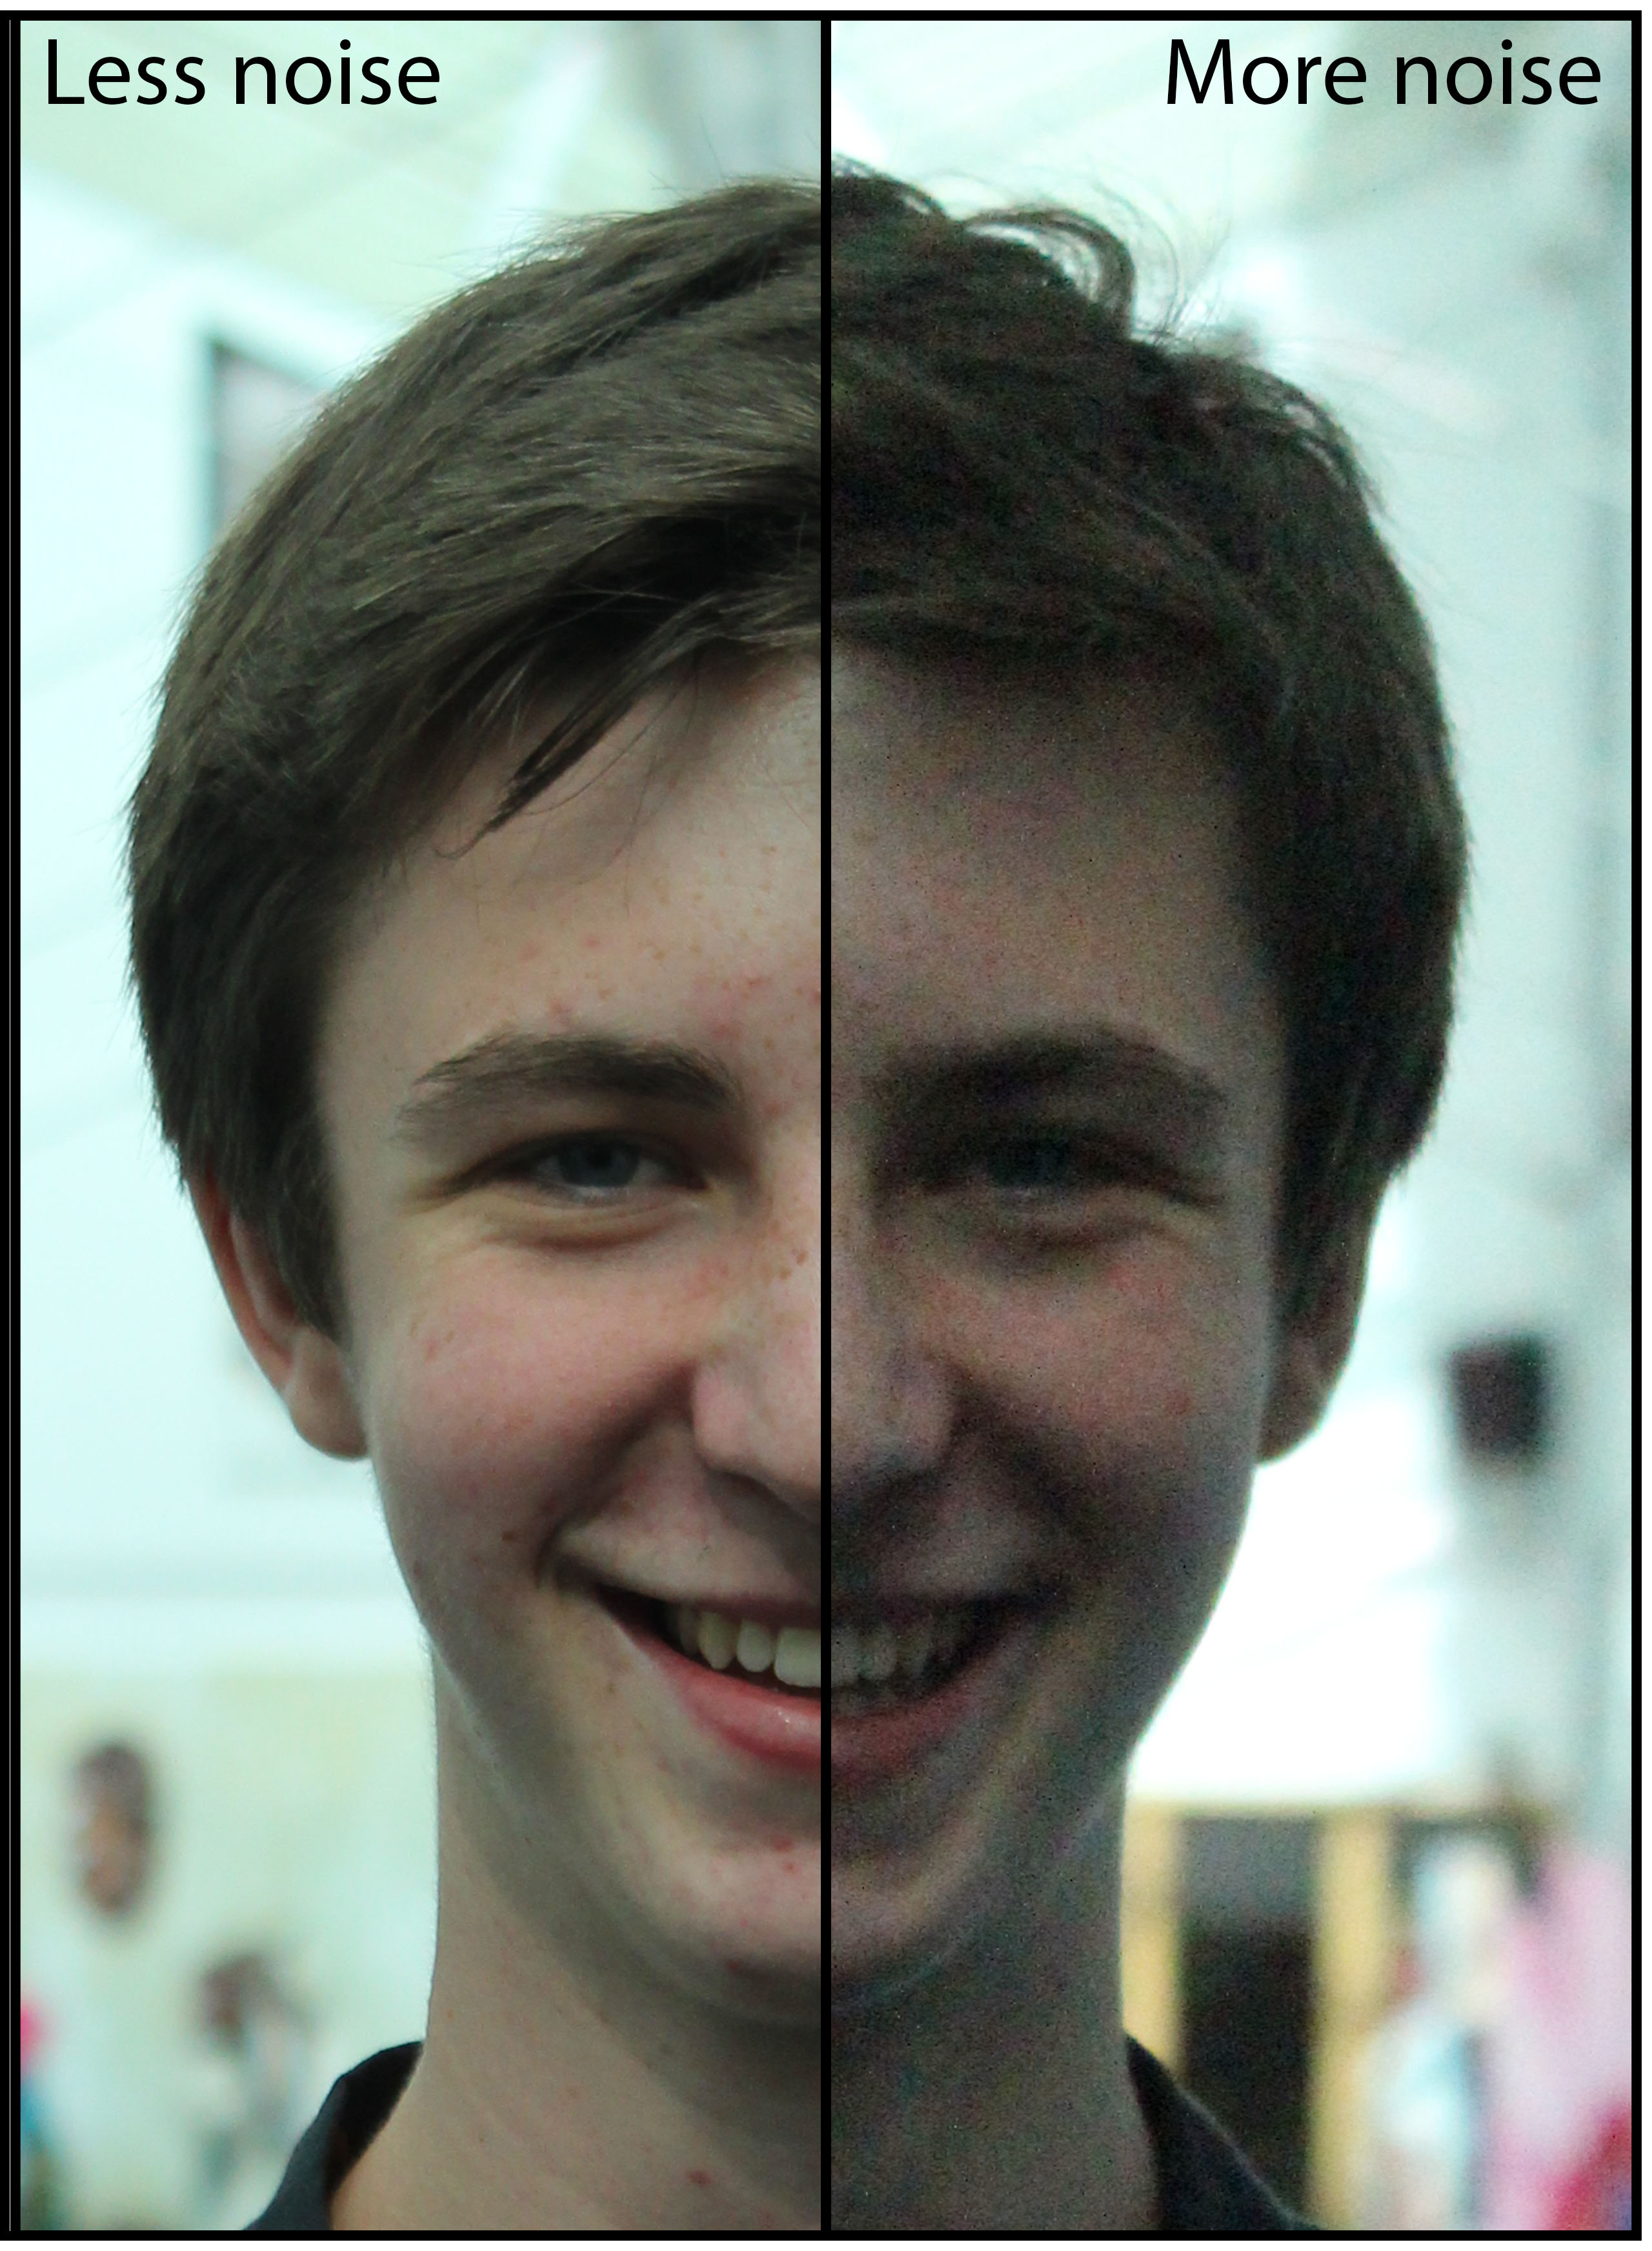
I then combined two photographs of Jack – my model so it is clear for you to see the difference ISO can make to an image. The left doesn’t have noise – the quality is better, however, the right does have noise so the texture and look; the overall quality isn’t as good. These tow photos have been merged but are from the exact same shoot where Jack was stood in the same position.
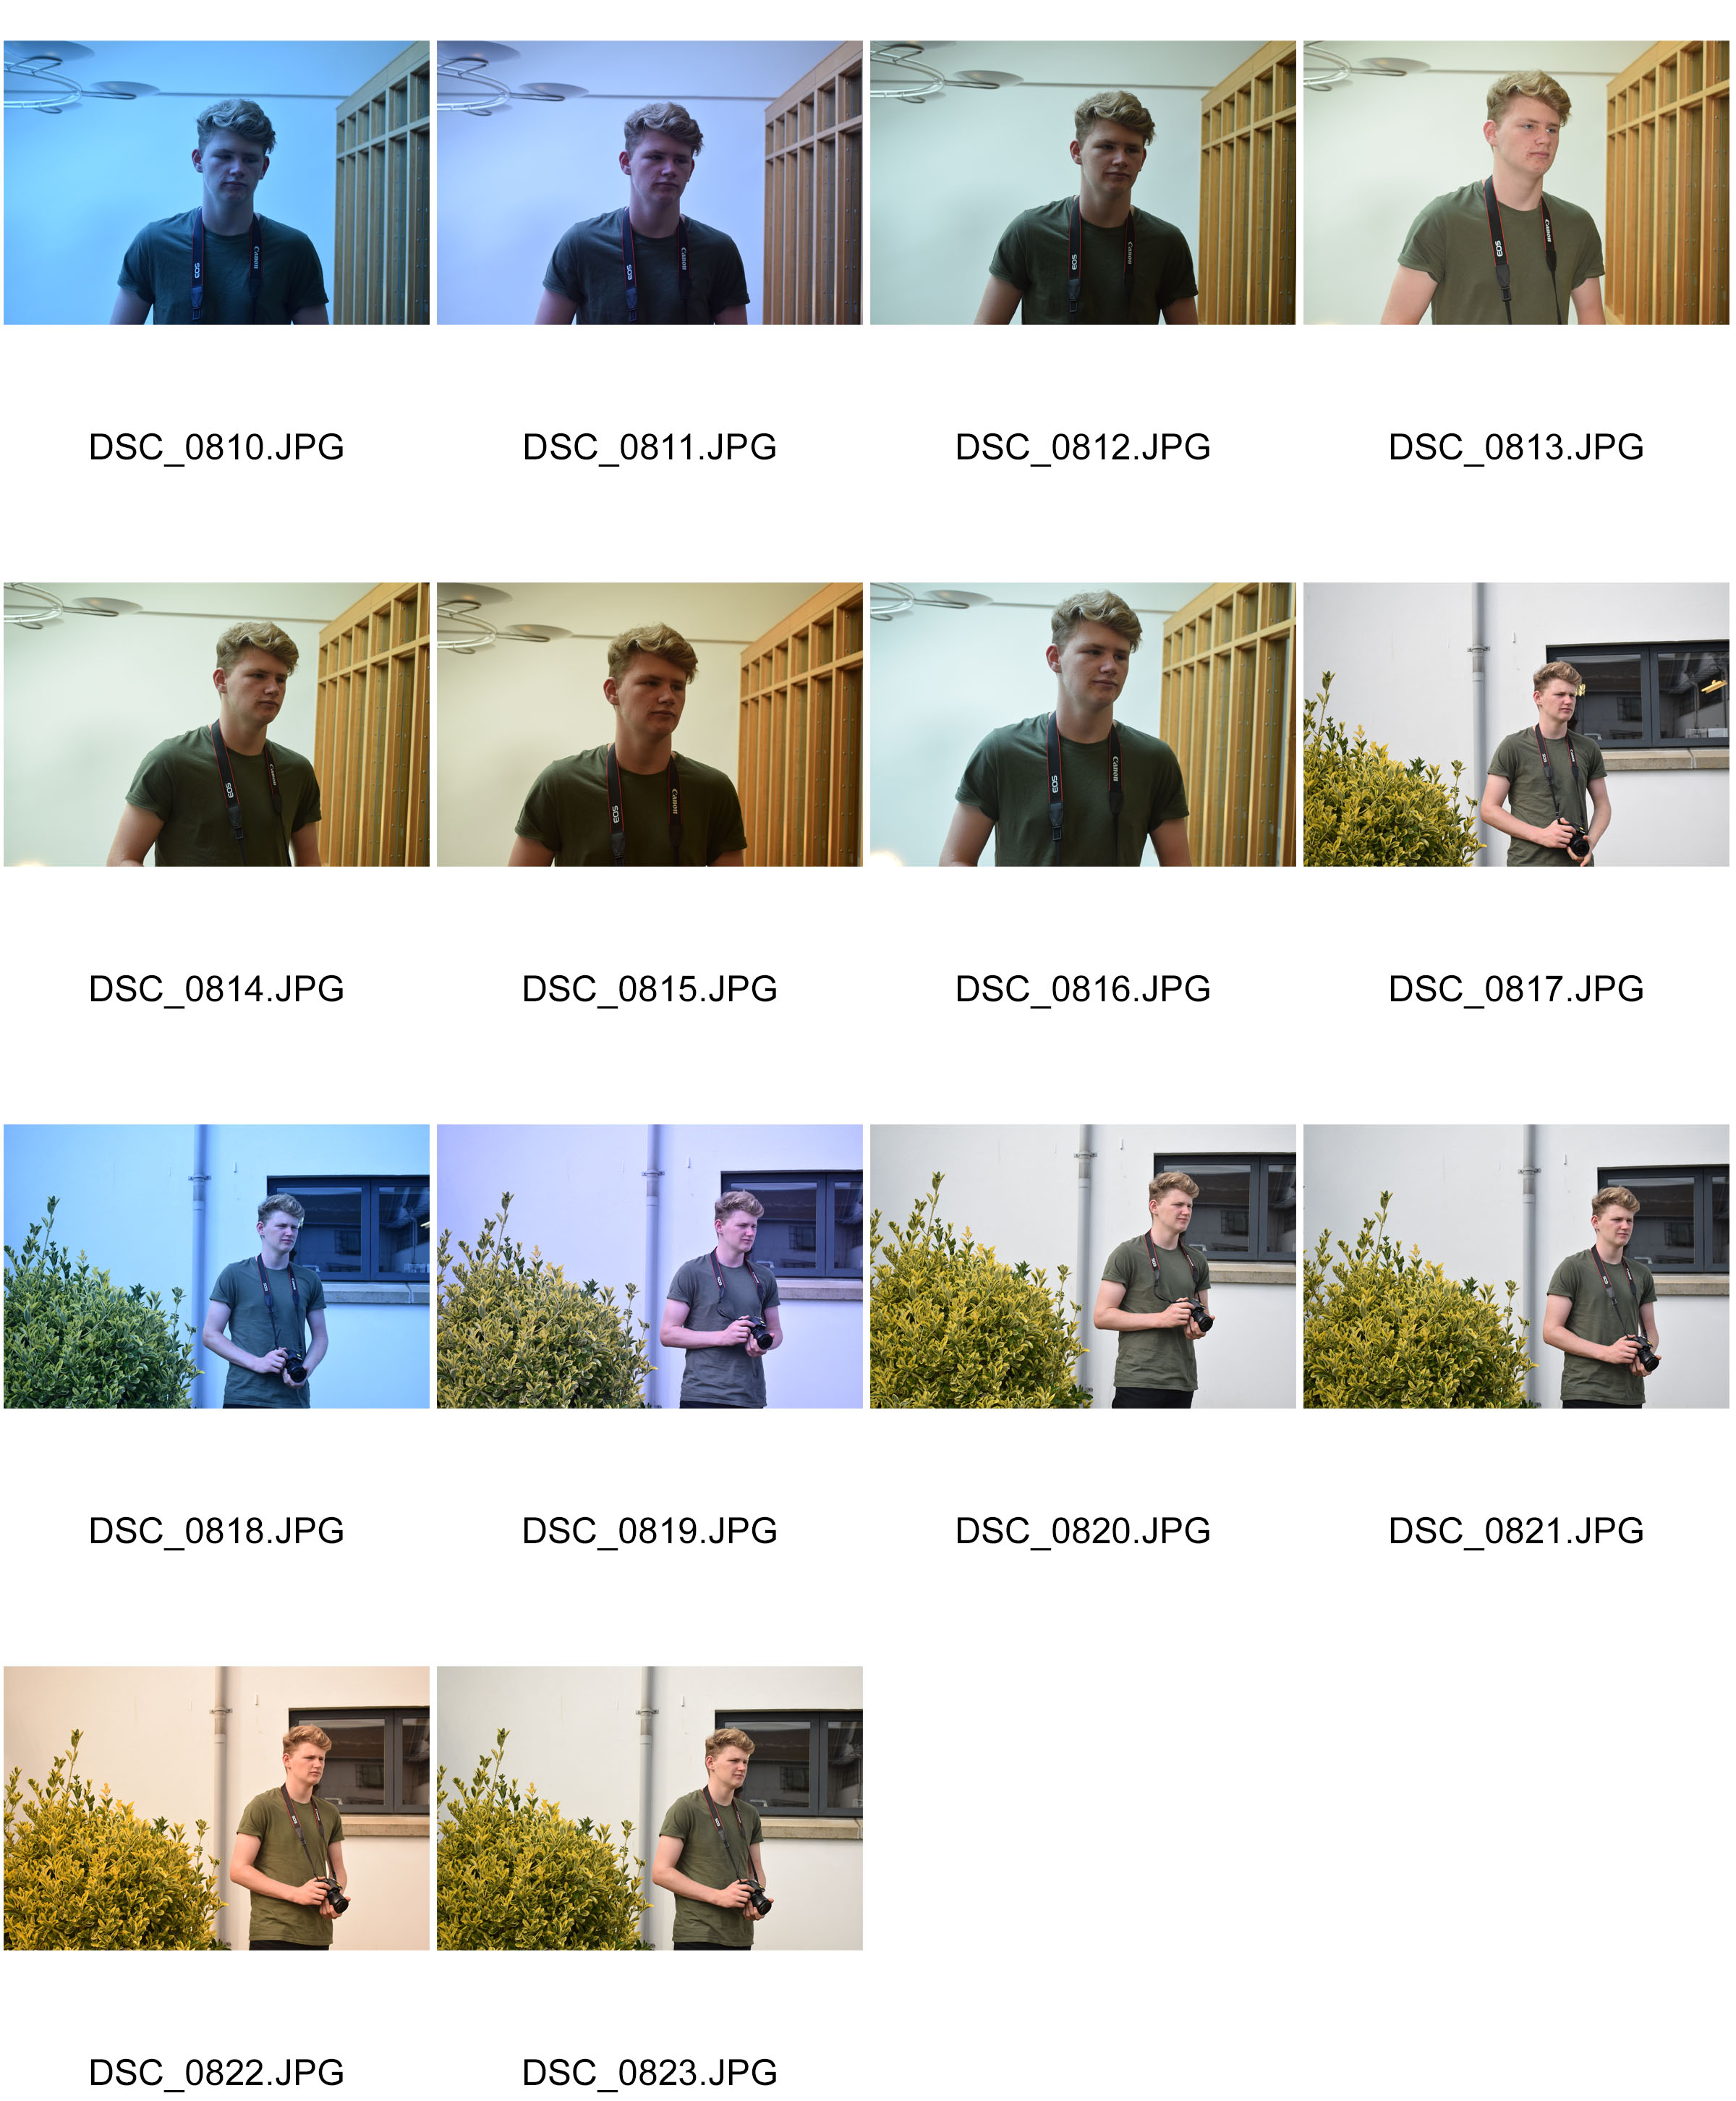
Here I have created a contact sheet. A contact sheet is a piece of photographic paper where the photos you have taken are displayed and dated. These photos allow you to see each photo clearly, this allows you to select the best ones easily. I also have taken the same photo but put a different white balance setting on them each time.
This is the Kelvin scale. The Kelvin scale is a scale that measures temperature. This is used a lot in white balance. When light is exposed to harsh white light it is seen as blue where as if it exposed to indoor light that is as harsh it is seen as orange going onto red. The Kelvin scale puts these things in a range that can be measured.
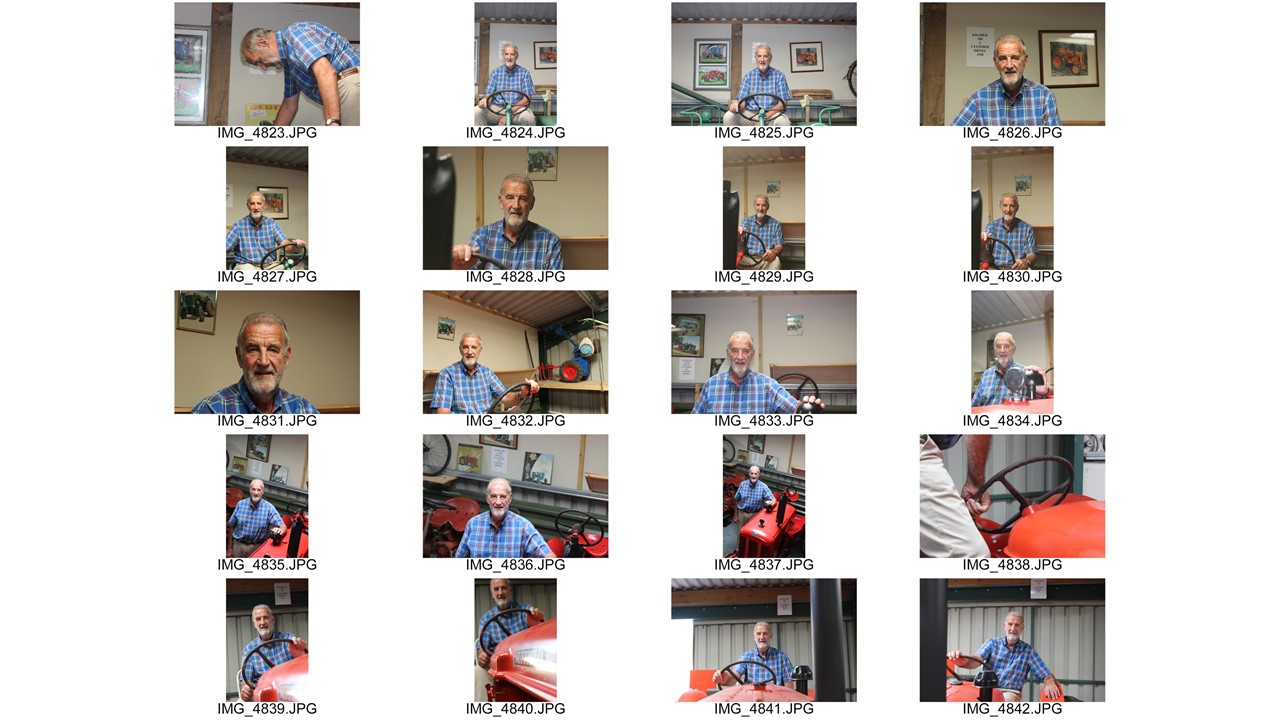
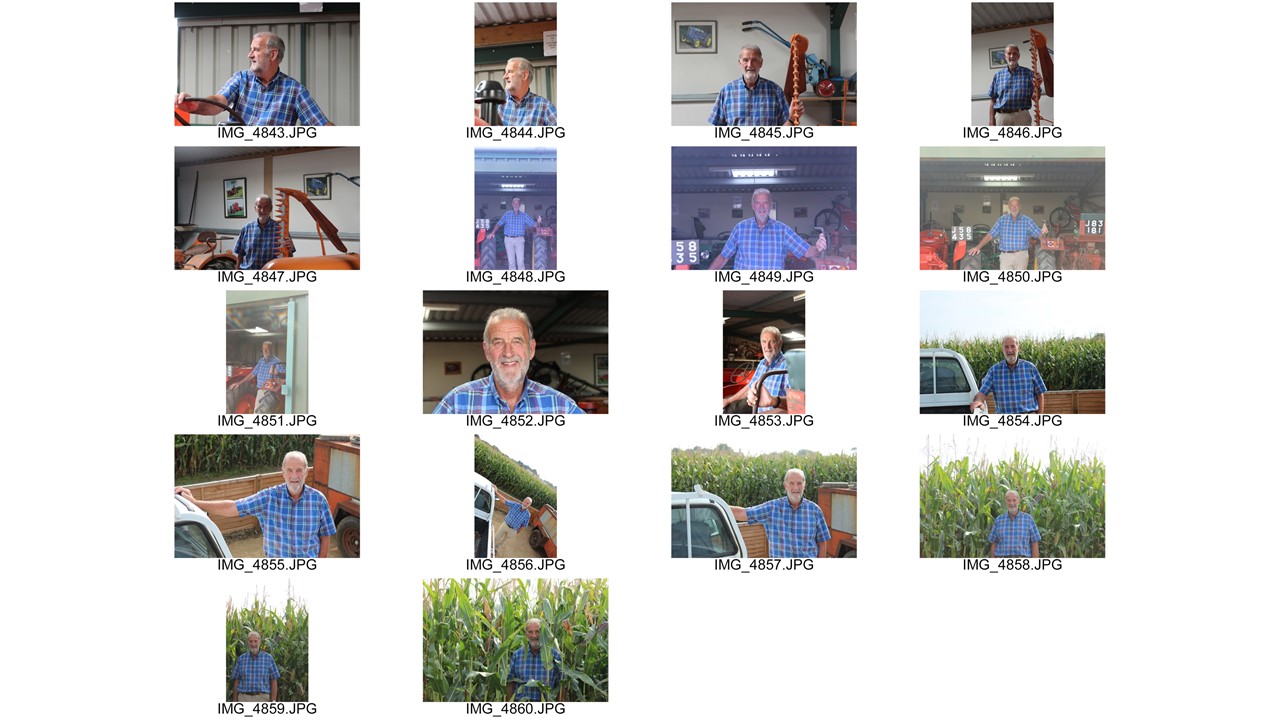
For my final environmental portraiture photoshoot, I decided to capture my Papa in his true natural surroundings; his island-renowned tractor collection consisting of over 50 tractors!
He treasures this lifelong collection so dearly. He refurbishes each of tractors gradually to make them look their best and stores them in security-guarded sheds. He has already had a successful year; Bing advertised in the JEP’s section – ‘Jersey’s Biggest Collectors’ a few months ago. He’s also had a double page spread about his compilation of farm machinery in an English magazine. I knew he’d be up for posing again! I thought this shoot captured the essence of environmental photography.
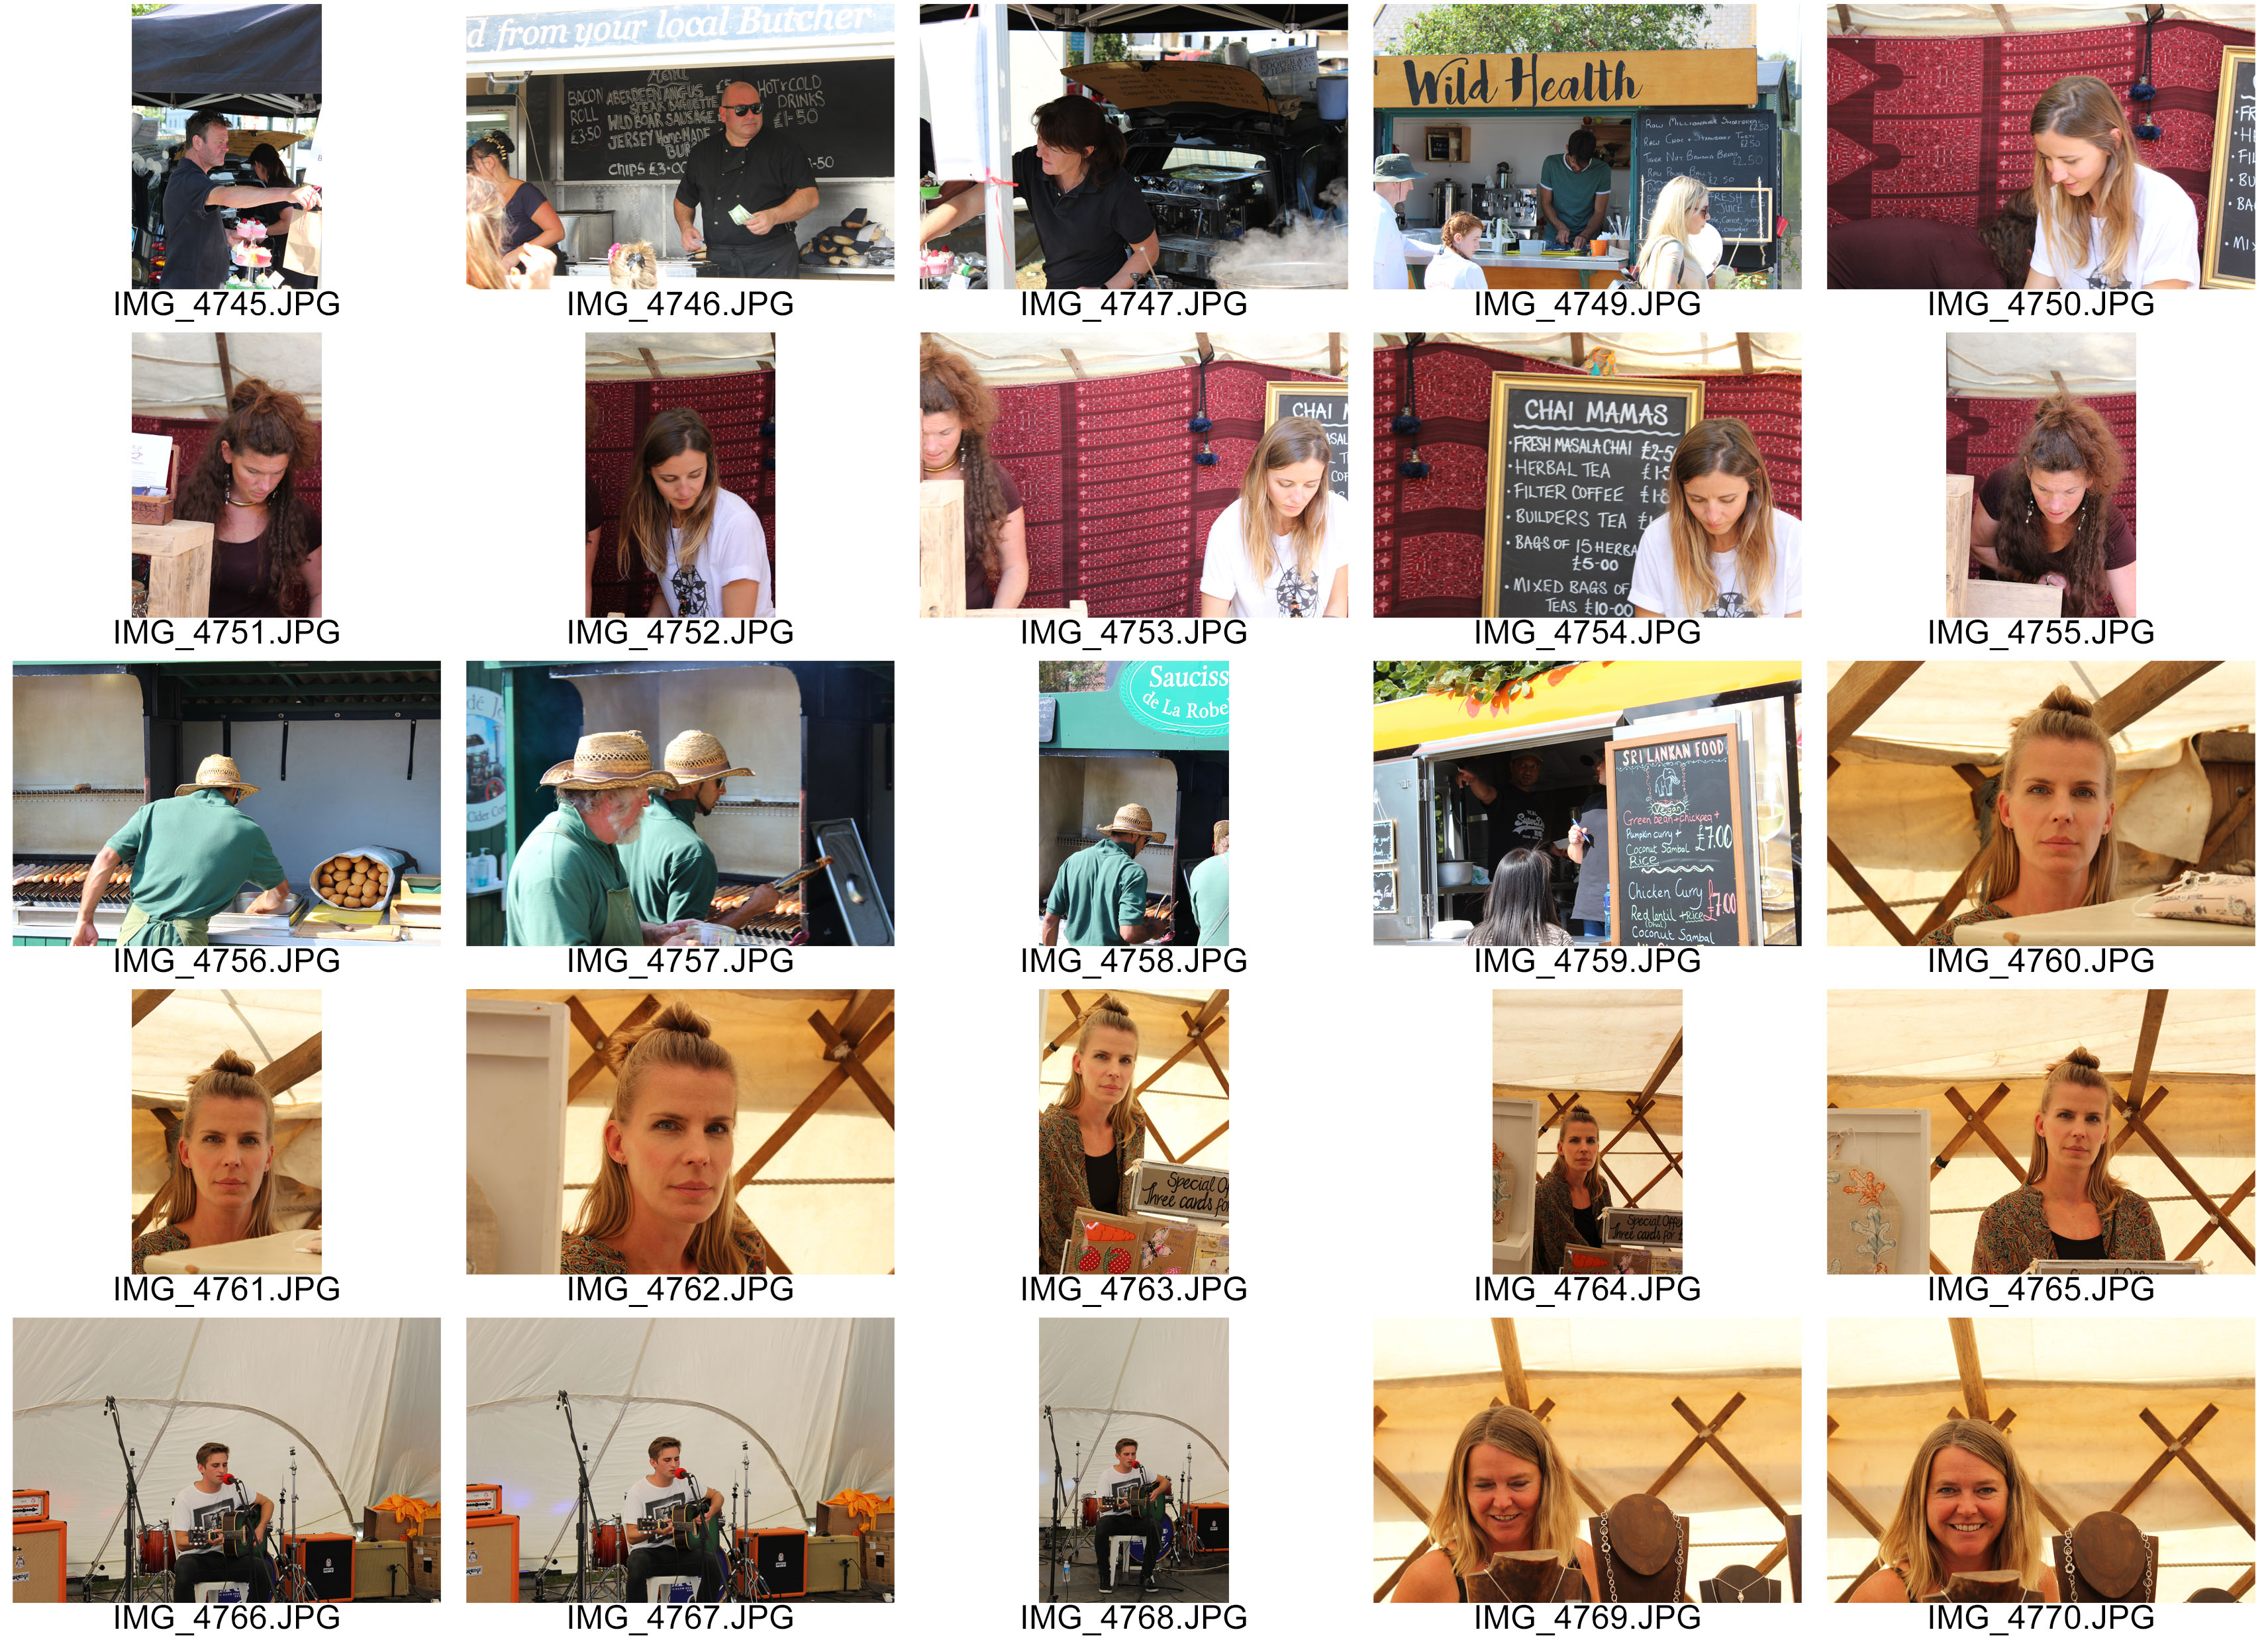
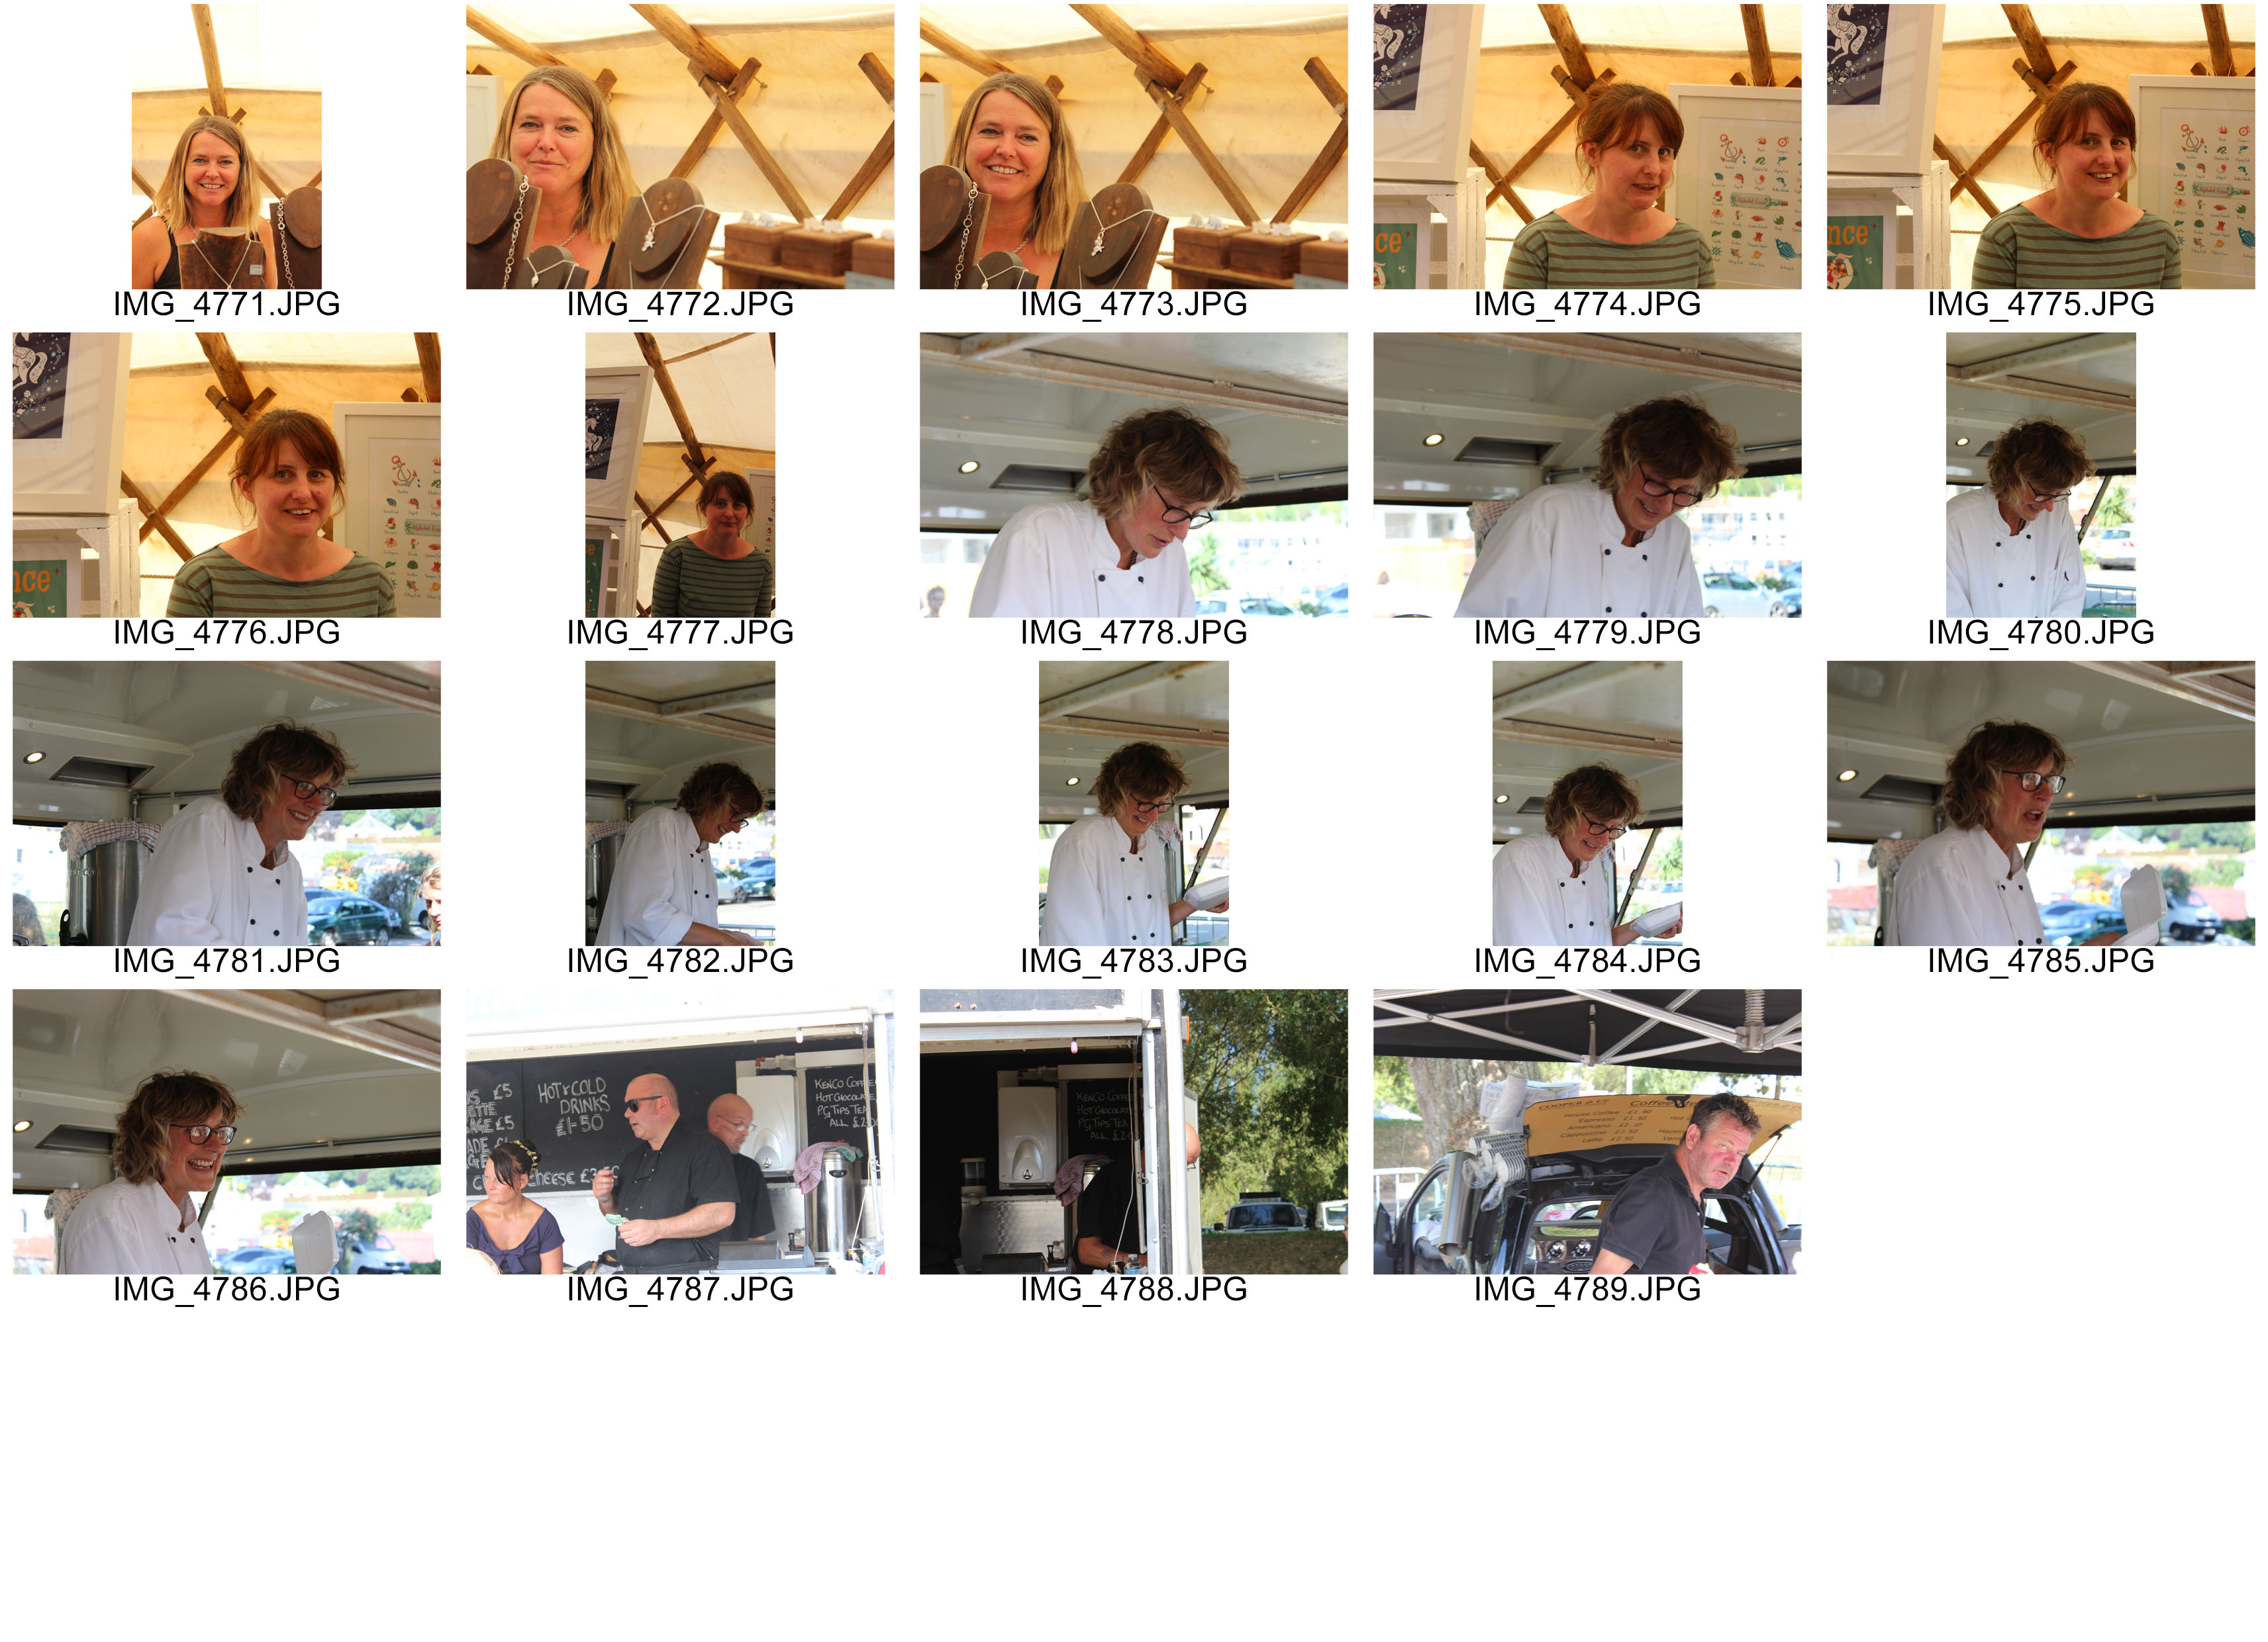
My second photoshoot involved further use of environmental portraiture. This time, I thought the scenes at Spice Music and Arts annual festival would be perfect; self-employed business with their stalls scatters around everywhere! From jewelry to textiles, from art to food and from music to interactive activities. Because this was public; street photography, I had to ask for permission from stall-holders, however, my mum was also holding a stall there. The end was product is very pleasing and I feel I have captured the criteria of this task in a nutshell.