
Monthly Archives: September 2016
Filters
Camera Handling – IOS

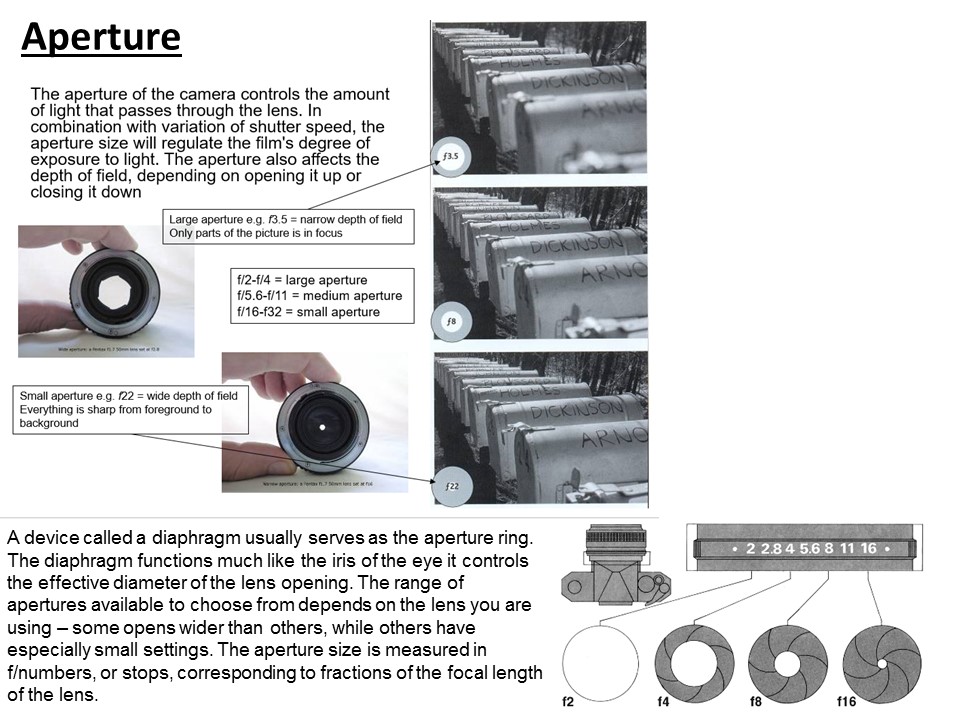
Camera Handling – Aperture
Camera Handling – Focal Length
Final Image – Environmental Portraits
Final Image
Evaluation
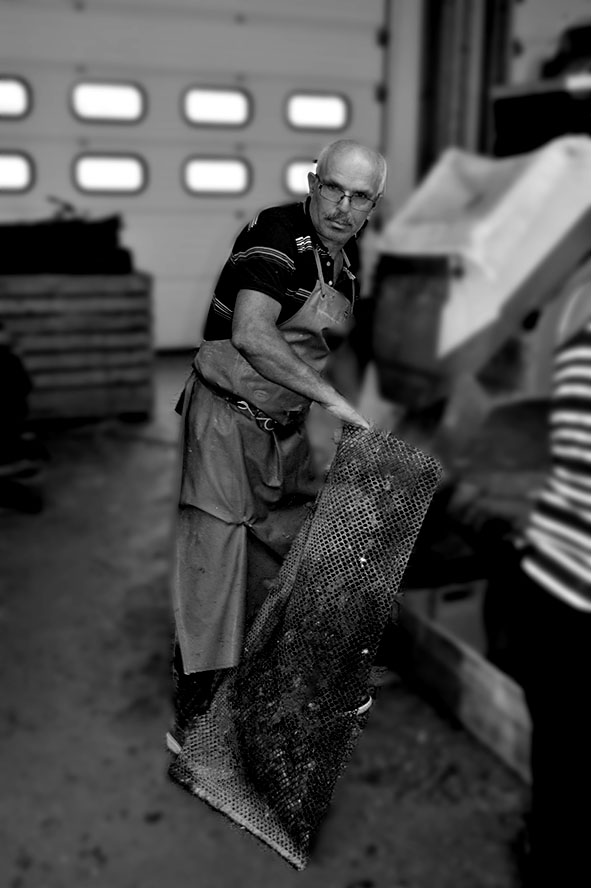
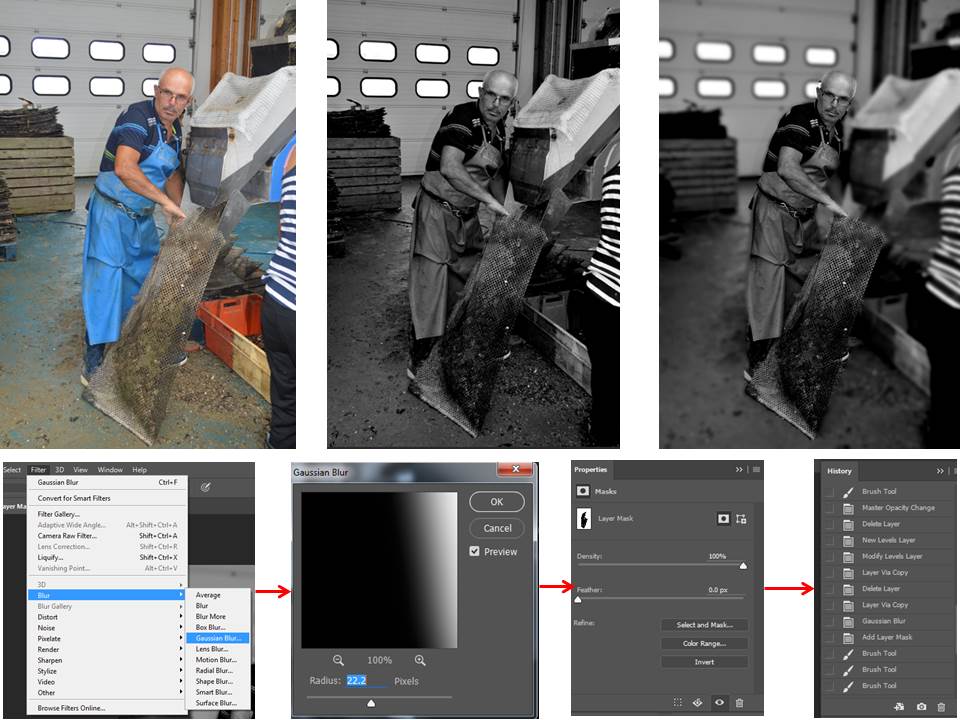
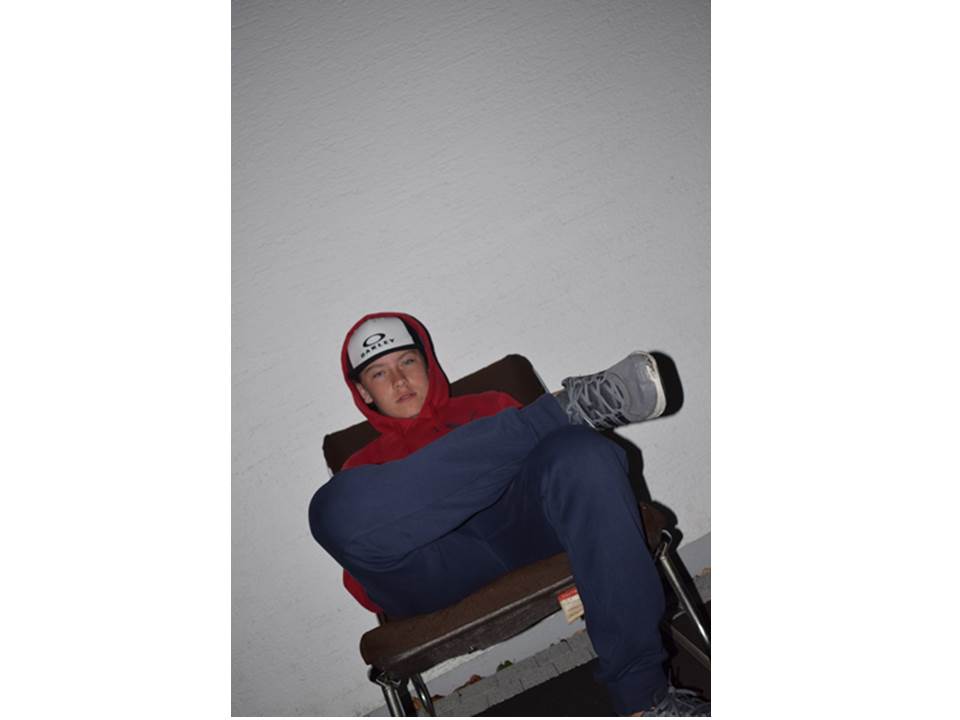
I cropped a bit off of the side of this image and the bottom so that the worker was in the place i wanted and the composition was right. The image was taken from a front on view point with the camera looking directly at the persons face this creates an original environmental portrait. The image was taken so that his whole body was in the image with an even boarder as i wanted people to be able to see the work they were doing. When editing the image i made sure the portrait was central so that they were the focal point. i wanted this image to break the rule of thirds as i like the simplistic effect of the worker being the focus of the image. The original image didnt have high contrast to begin with so when editing i turned the image black and white and increased the brightness and contrast so there was a bigger contrast between pure white and pure black. the image is over exposed and under exposed in different parts to create an even contrast. I blurred the background of the image so that the man was the complete focal point of the image, i also blurred the background because it was messy and took away from the image. i blurred the image to a radius of 22 so that it was blurred but not to harsh.
‘Environmental Portraits’ Edits Using Adobe Photoshop – COLOUR SPLASH
 In today’s lesson, we experimented with colour splash. Colour splash involves using the de-saturation tool to then make your image black and white. Then you use the brush tool to basically paint through the layers to make one subject in the image, for example, the foreground in colour and the background in black and white. It has a really good effect.
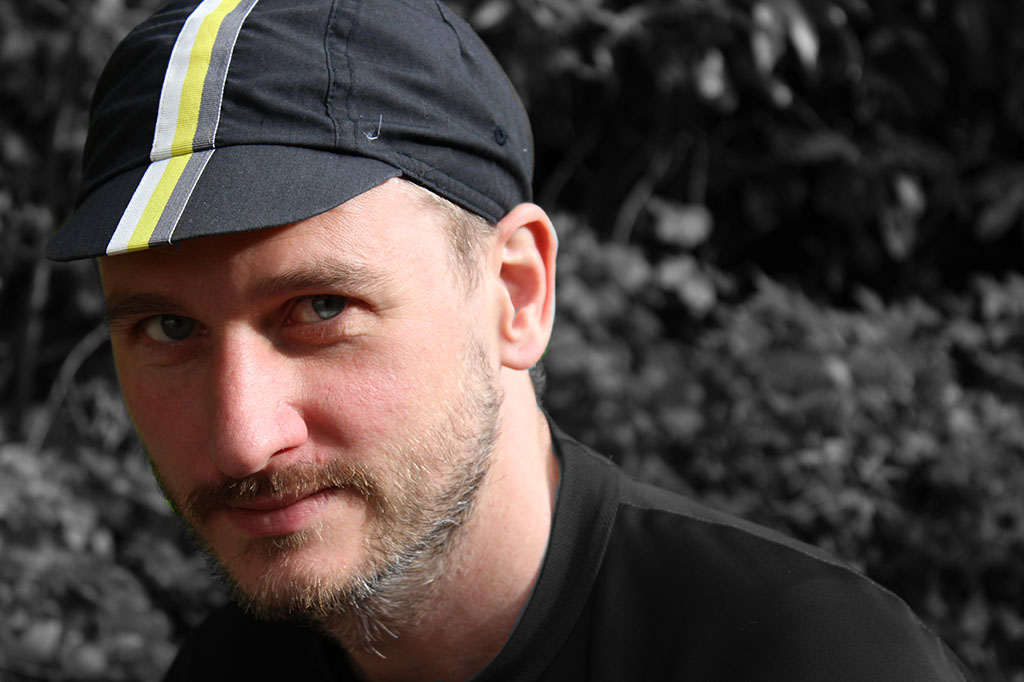
I experimented this with two different photographs from my environmental portraiture series and my favourite one is the cycling one as I think it works best with the colours in this one compared to the second attempt.
I then compressed and flattened the image to save it to allow me to put it on the blog as this post.
Color Splash Edits- Using Environmental Portraits
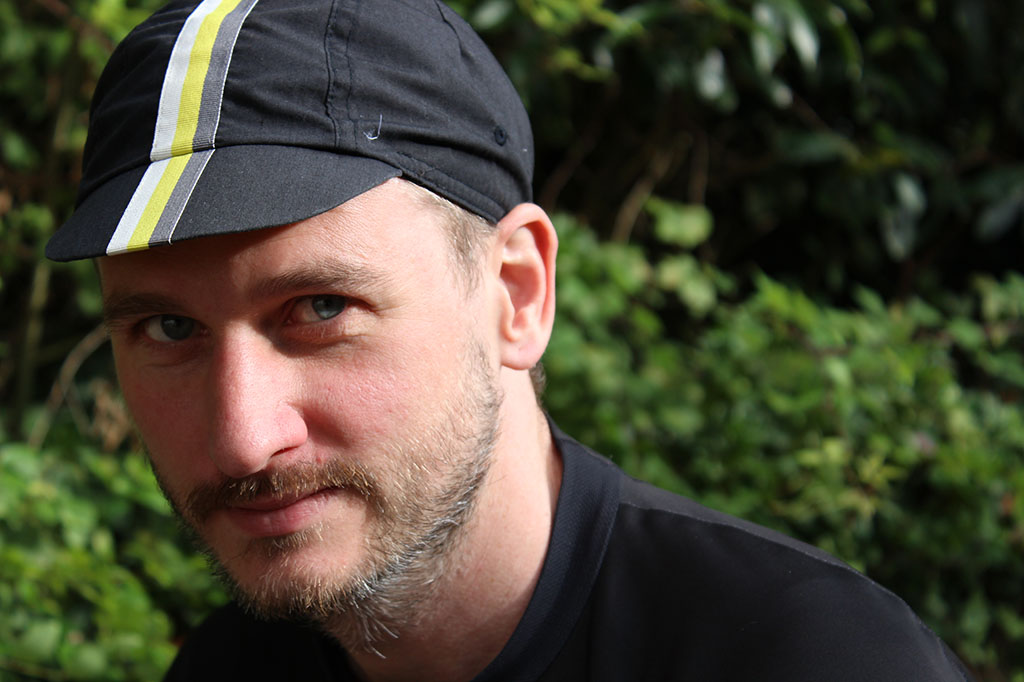
Edited Original
Here is the Original and the Edited version of one of my Environmental Portraits. We did a method called Color Splash. This is when we changed the saturation of the image by making it black and white. We then used a small brush to highlight the areas of the image that we wanted to go back to color. I made the image brighter and added more contrast.
Camera Handling Skills
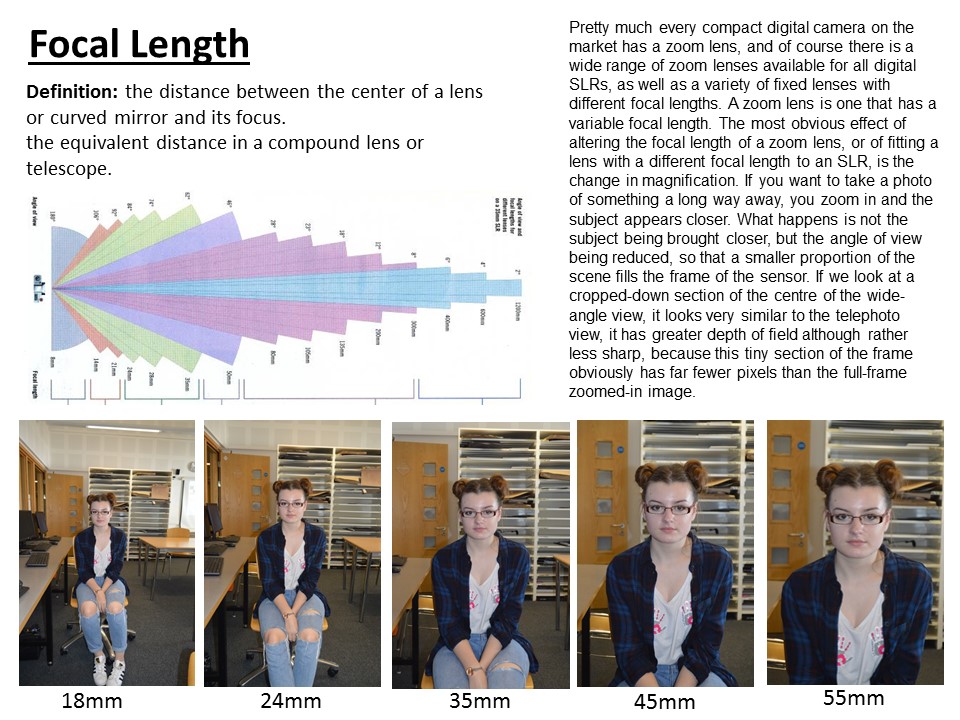
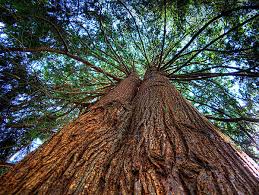
Focal Length

The focal length of the lens is the distance between the lens and the image sensor when the subject is in focus, usually stated in millimeters. The focal length tells us the angle of view, the magnification and how large the individual elements will be. The longer the focal length, the narrower the angle of view and higher the magnification. The shorter the focal length, the wider the angle of view and the lower the magnification.
Depth of Field
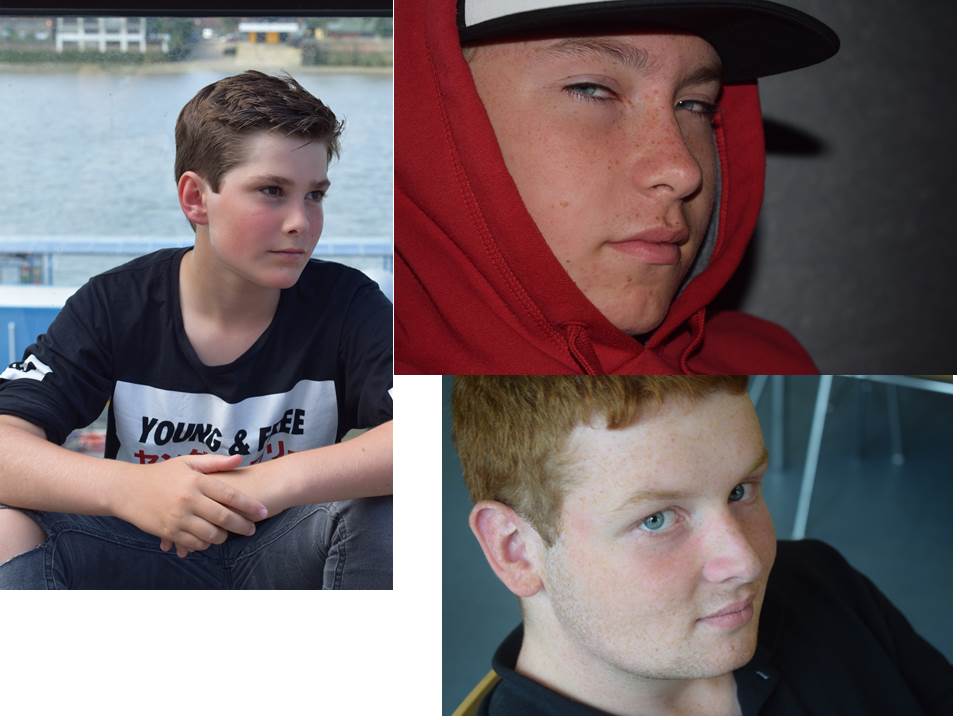
Here is some examples of depth of field. Depth of Field is the distance between the nearest and the furthest objects that give an image. Here I have used depth of field in all three of these pictures.Three things that will affect how you control the depth of field of your images are aperture, distance from the thing you a taking a photo of to the camera.
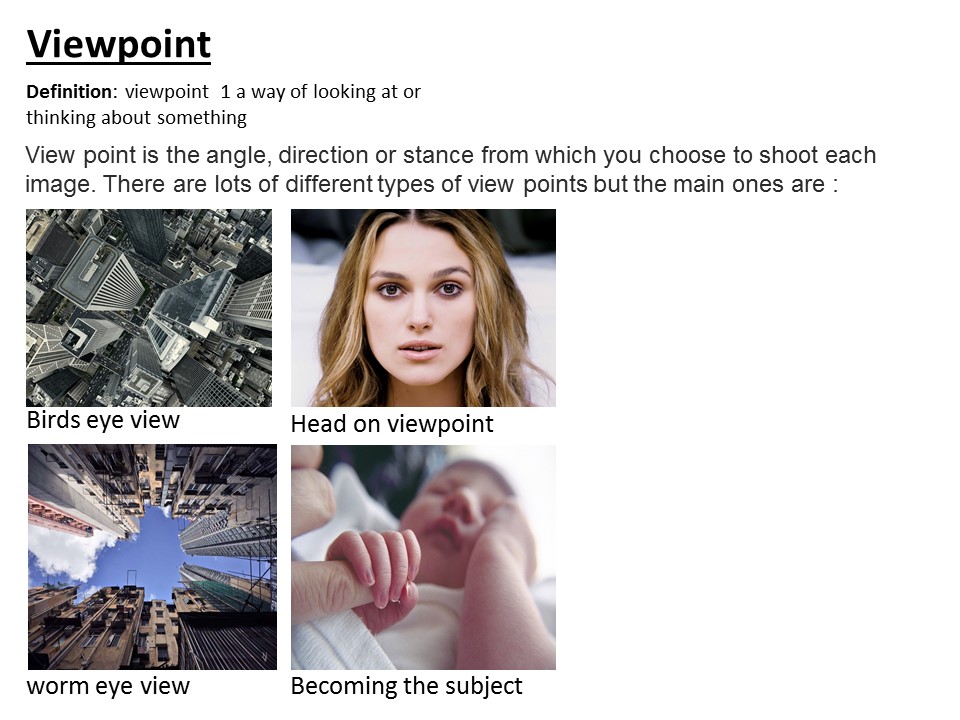
View Point

Eye Level- The camera is held by the photographer and shot at the same height level with the eyes of the objects that will be the object of the photo. This forms a flat angle between objects with a camera.
Bird eye-Generally bird’s eye view done in a place that has a height of more distant objects separately from the camera. This view is like you are looking through a birds eyes as it it says in the name.
Frog eye– The image is taken with the camera closer as close to the floor. This angle is quite difficult to take, especially for the type of camera that does not have flexible lcd screen.
Angles
High Angle-High angle is an angle that is used to create a low impression of the image object . High angle is the angle of the picture were taken from above the eye line. The camera is placed above, highlight the object from top to the bottom. This makes the audience feel the subject of photography has widened perspective from the top and smaller at the bottom.
Low Angle-Low Angle is an angle that is used to create impression of height, sturdy and elegant. The shooting is done from the bottom of the object of picture, so that the object is higher than the camera. This creates the impression of images perspective that have up impression and form like a cone.
Canted Angle- is a type of camera shot where the camera is set at an angle on its roll axis so that the shot is composed with vertical lines at an angle to the side of the frame, or so that the horizon line of the shot is not parallel with the bottom of the camera frame.
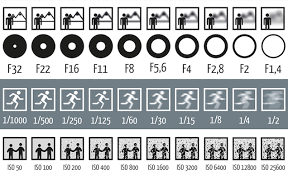
Aperture-your aperture opens up and lets more light into the camera sensor and increases your shutter speed. For your 18-105mm lens, the aperture varies between f/3.5 and f/5.6, so try to keep it in that range.
Shutter speed- is the length of time when the film or digital sensor inside the camera is exposed to light, also when a camera’s shutter is open when taking a photograph
ISO- this measures the sensitivity of the image sensor. The lower the number the less sensitive your camera is to light and the finer the grain. Higher ISO settings are generally used in darker situations to get faster shutter speeds.

White balance-is the process of removing unrealistic color casts, so that objects which appear white in person are rendered white in your photo. Proper camera white balance has to take into account the “color temperature” of a light source, which refers to the relative warmth or coolness of white light.
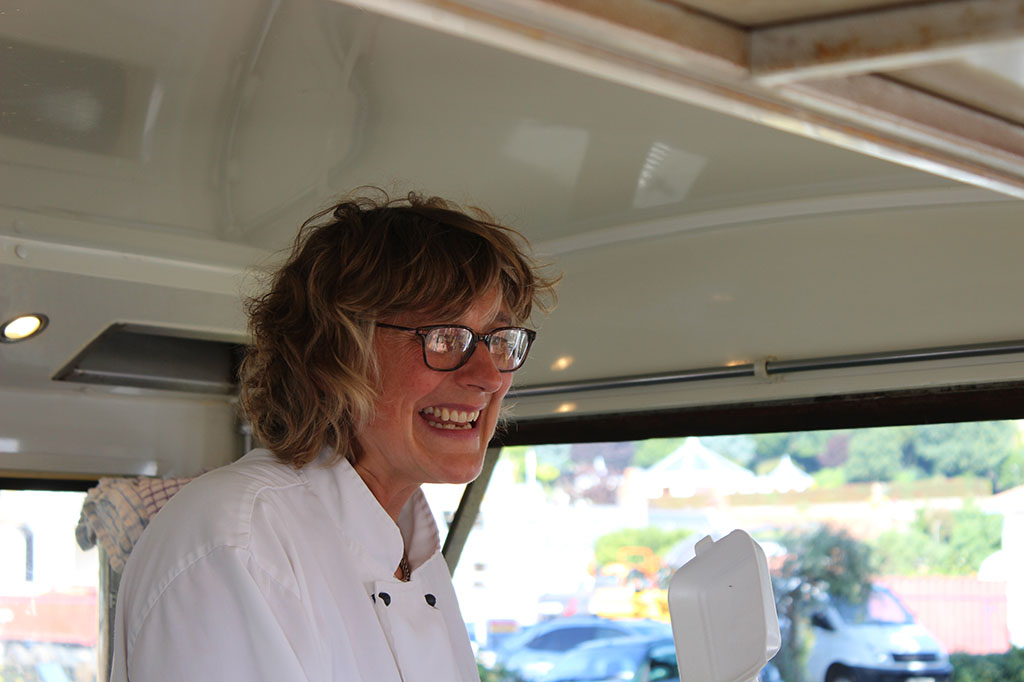
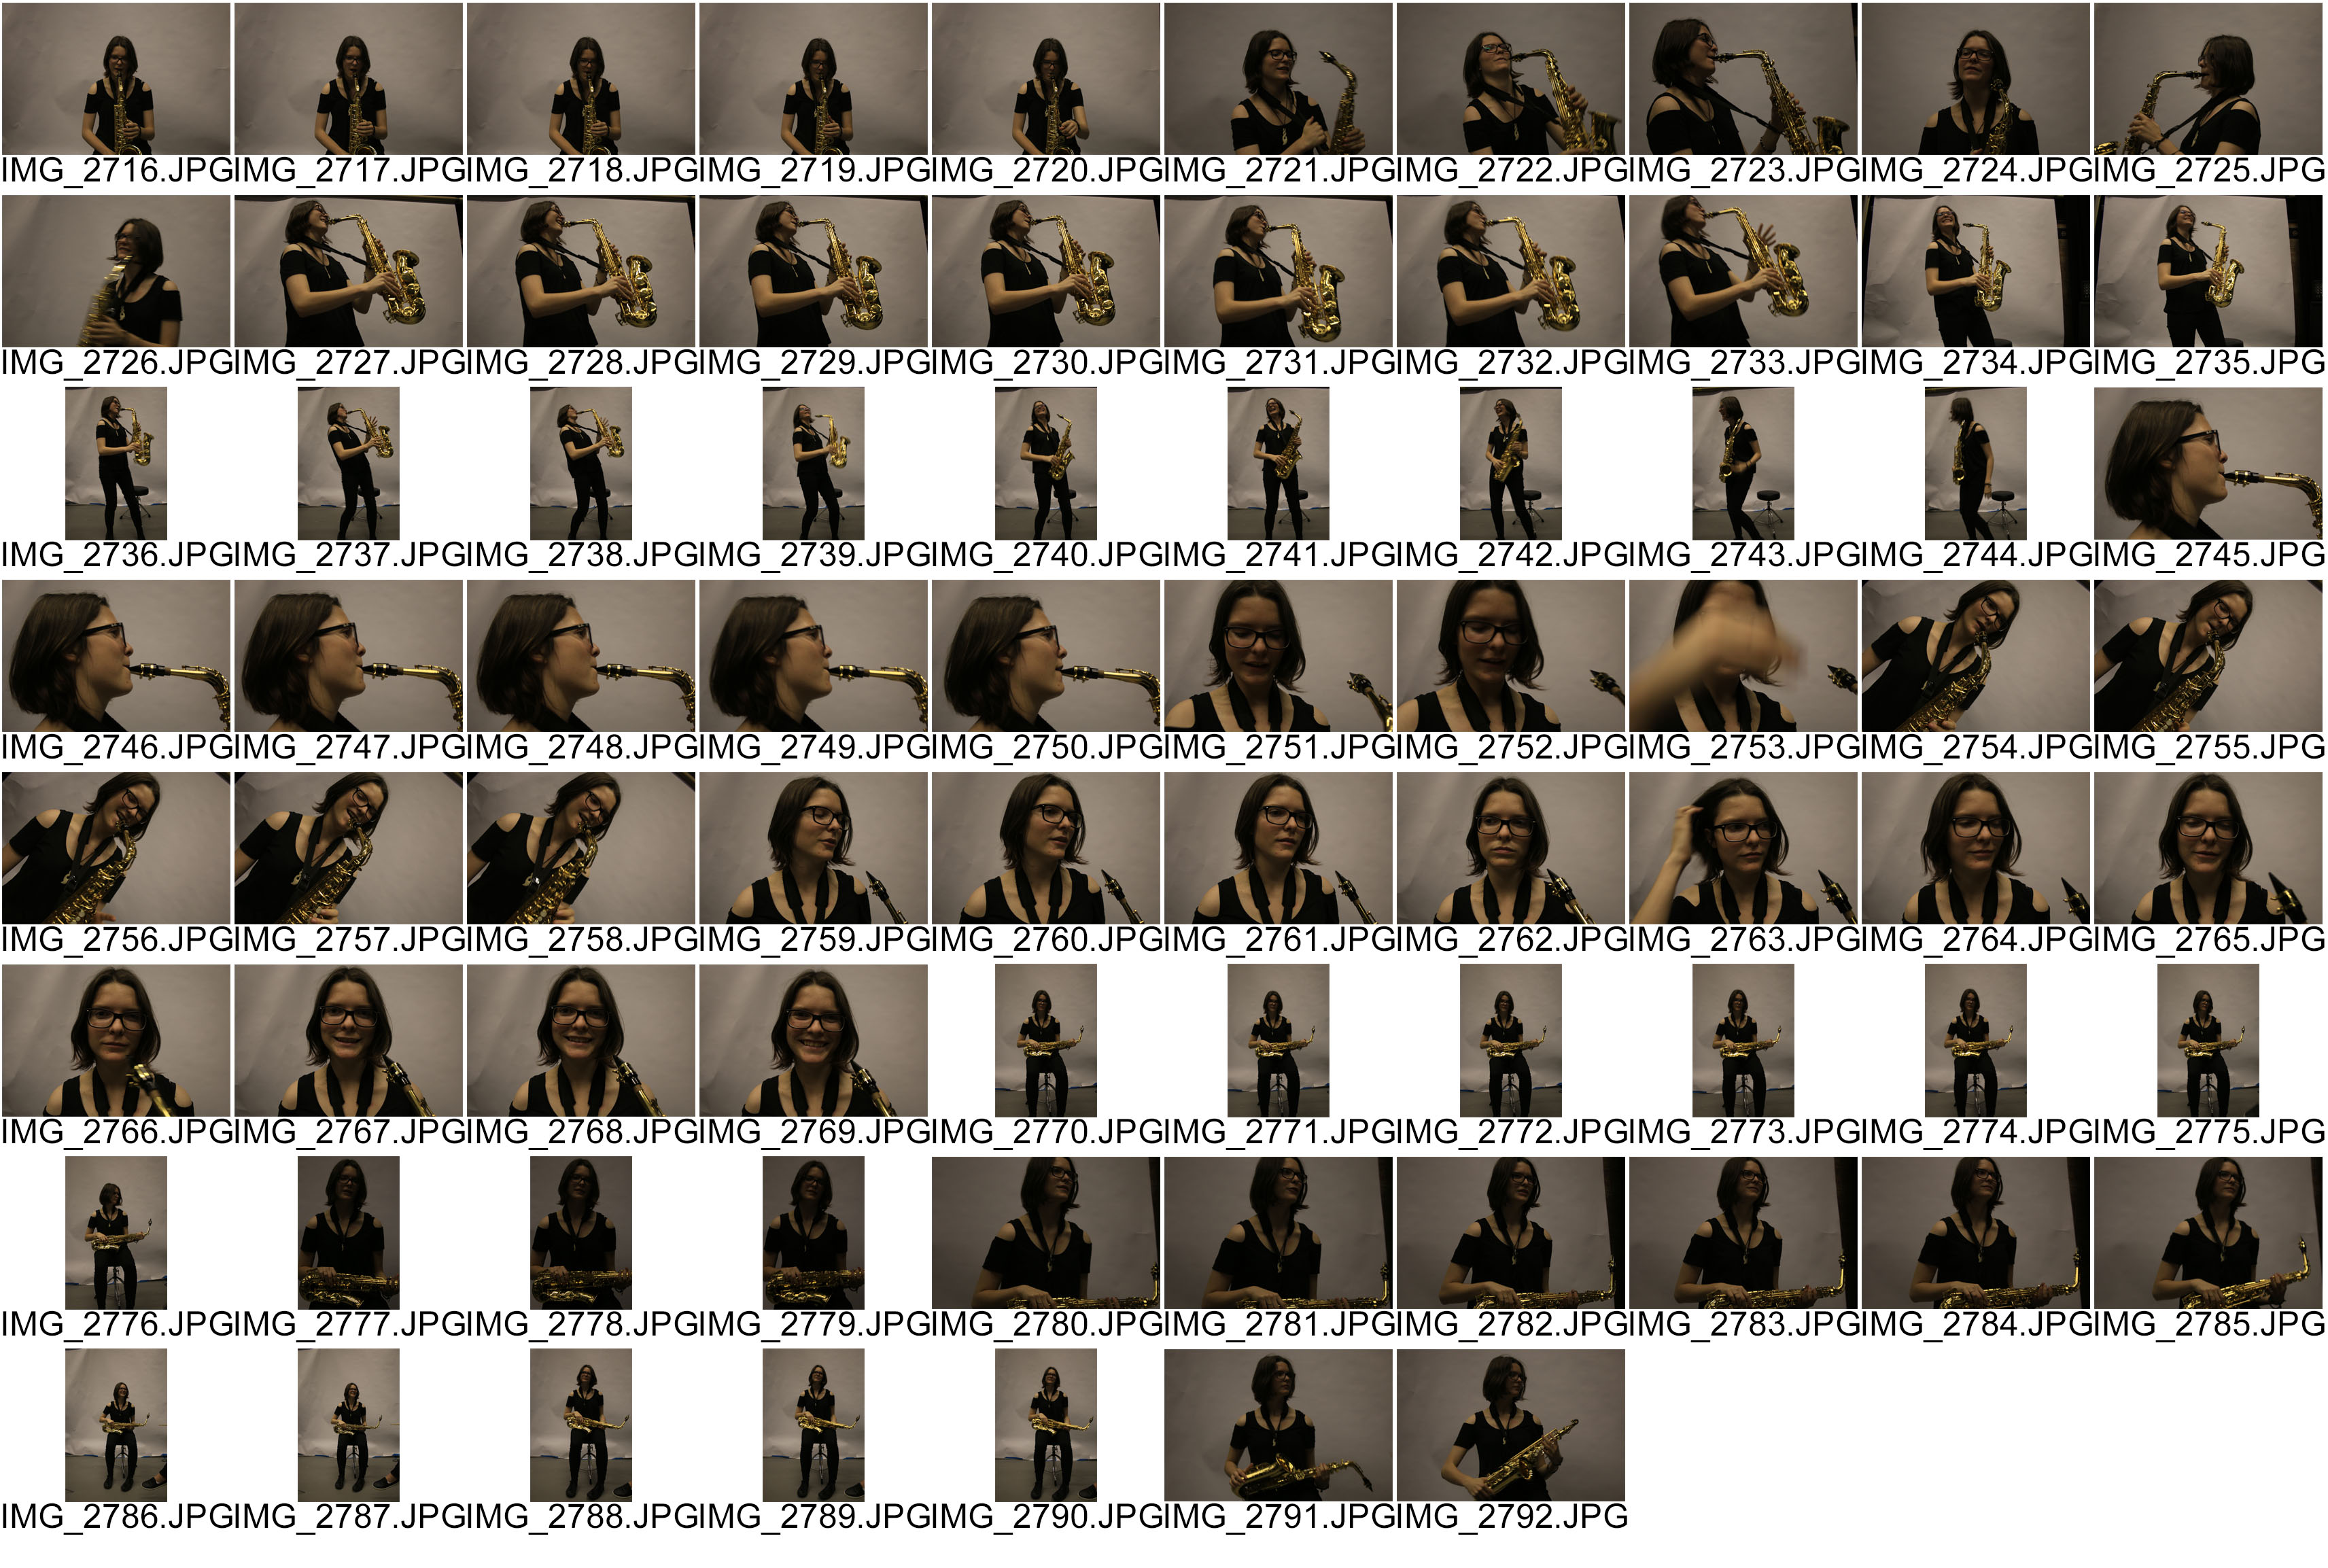
Environmental Portraits-Shoot 3
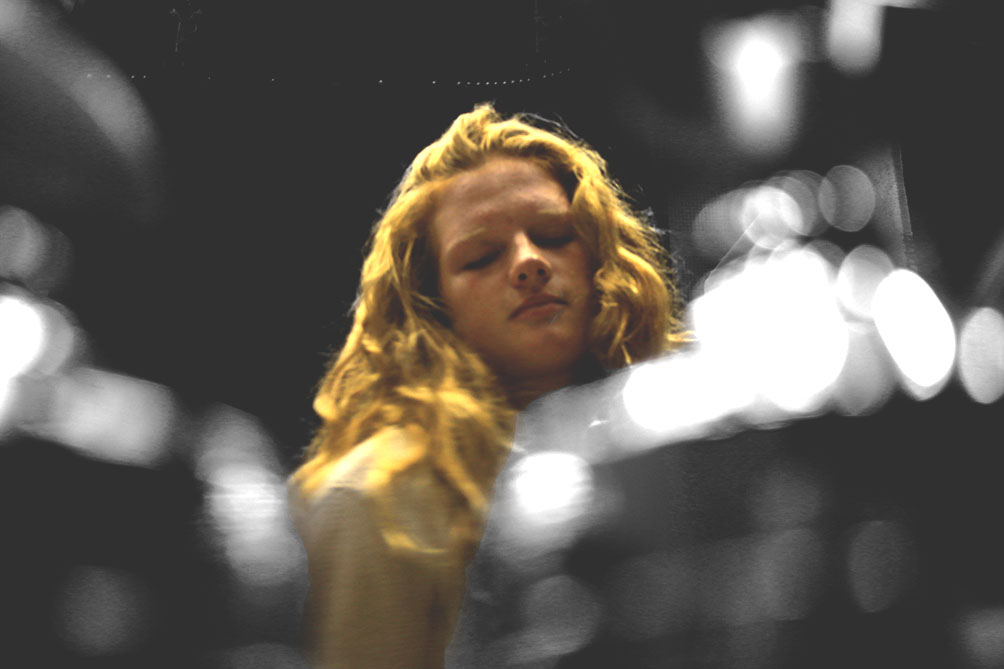
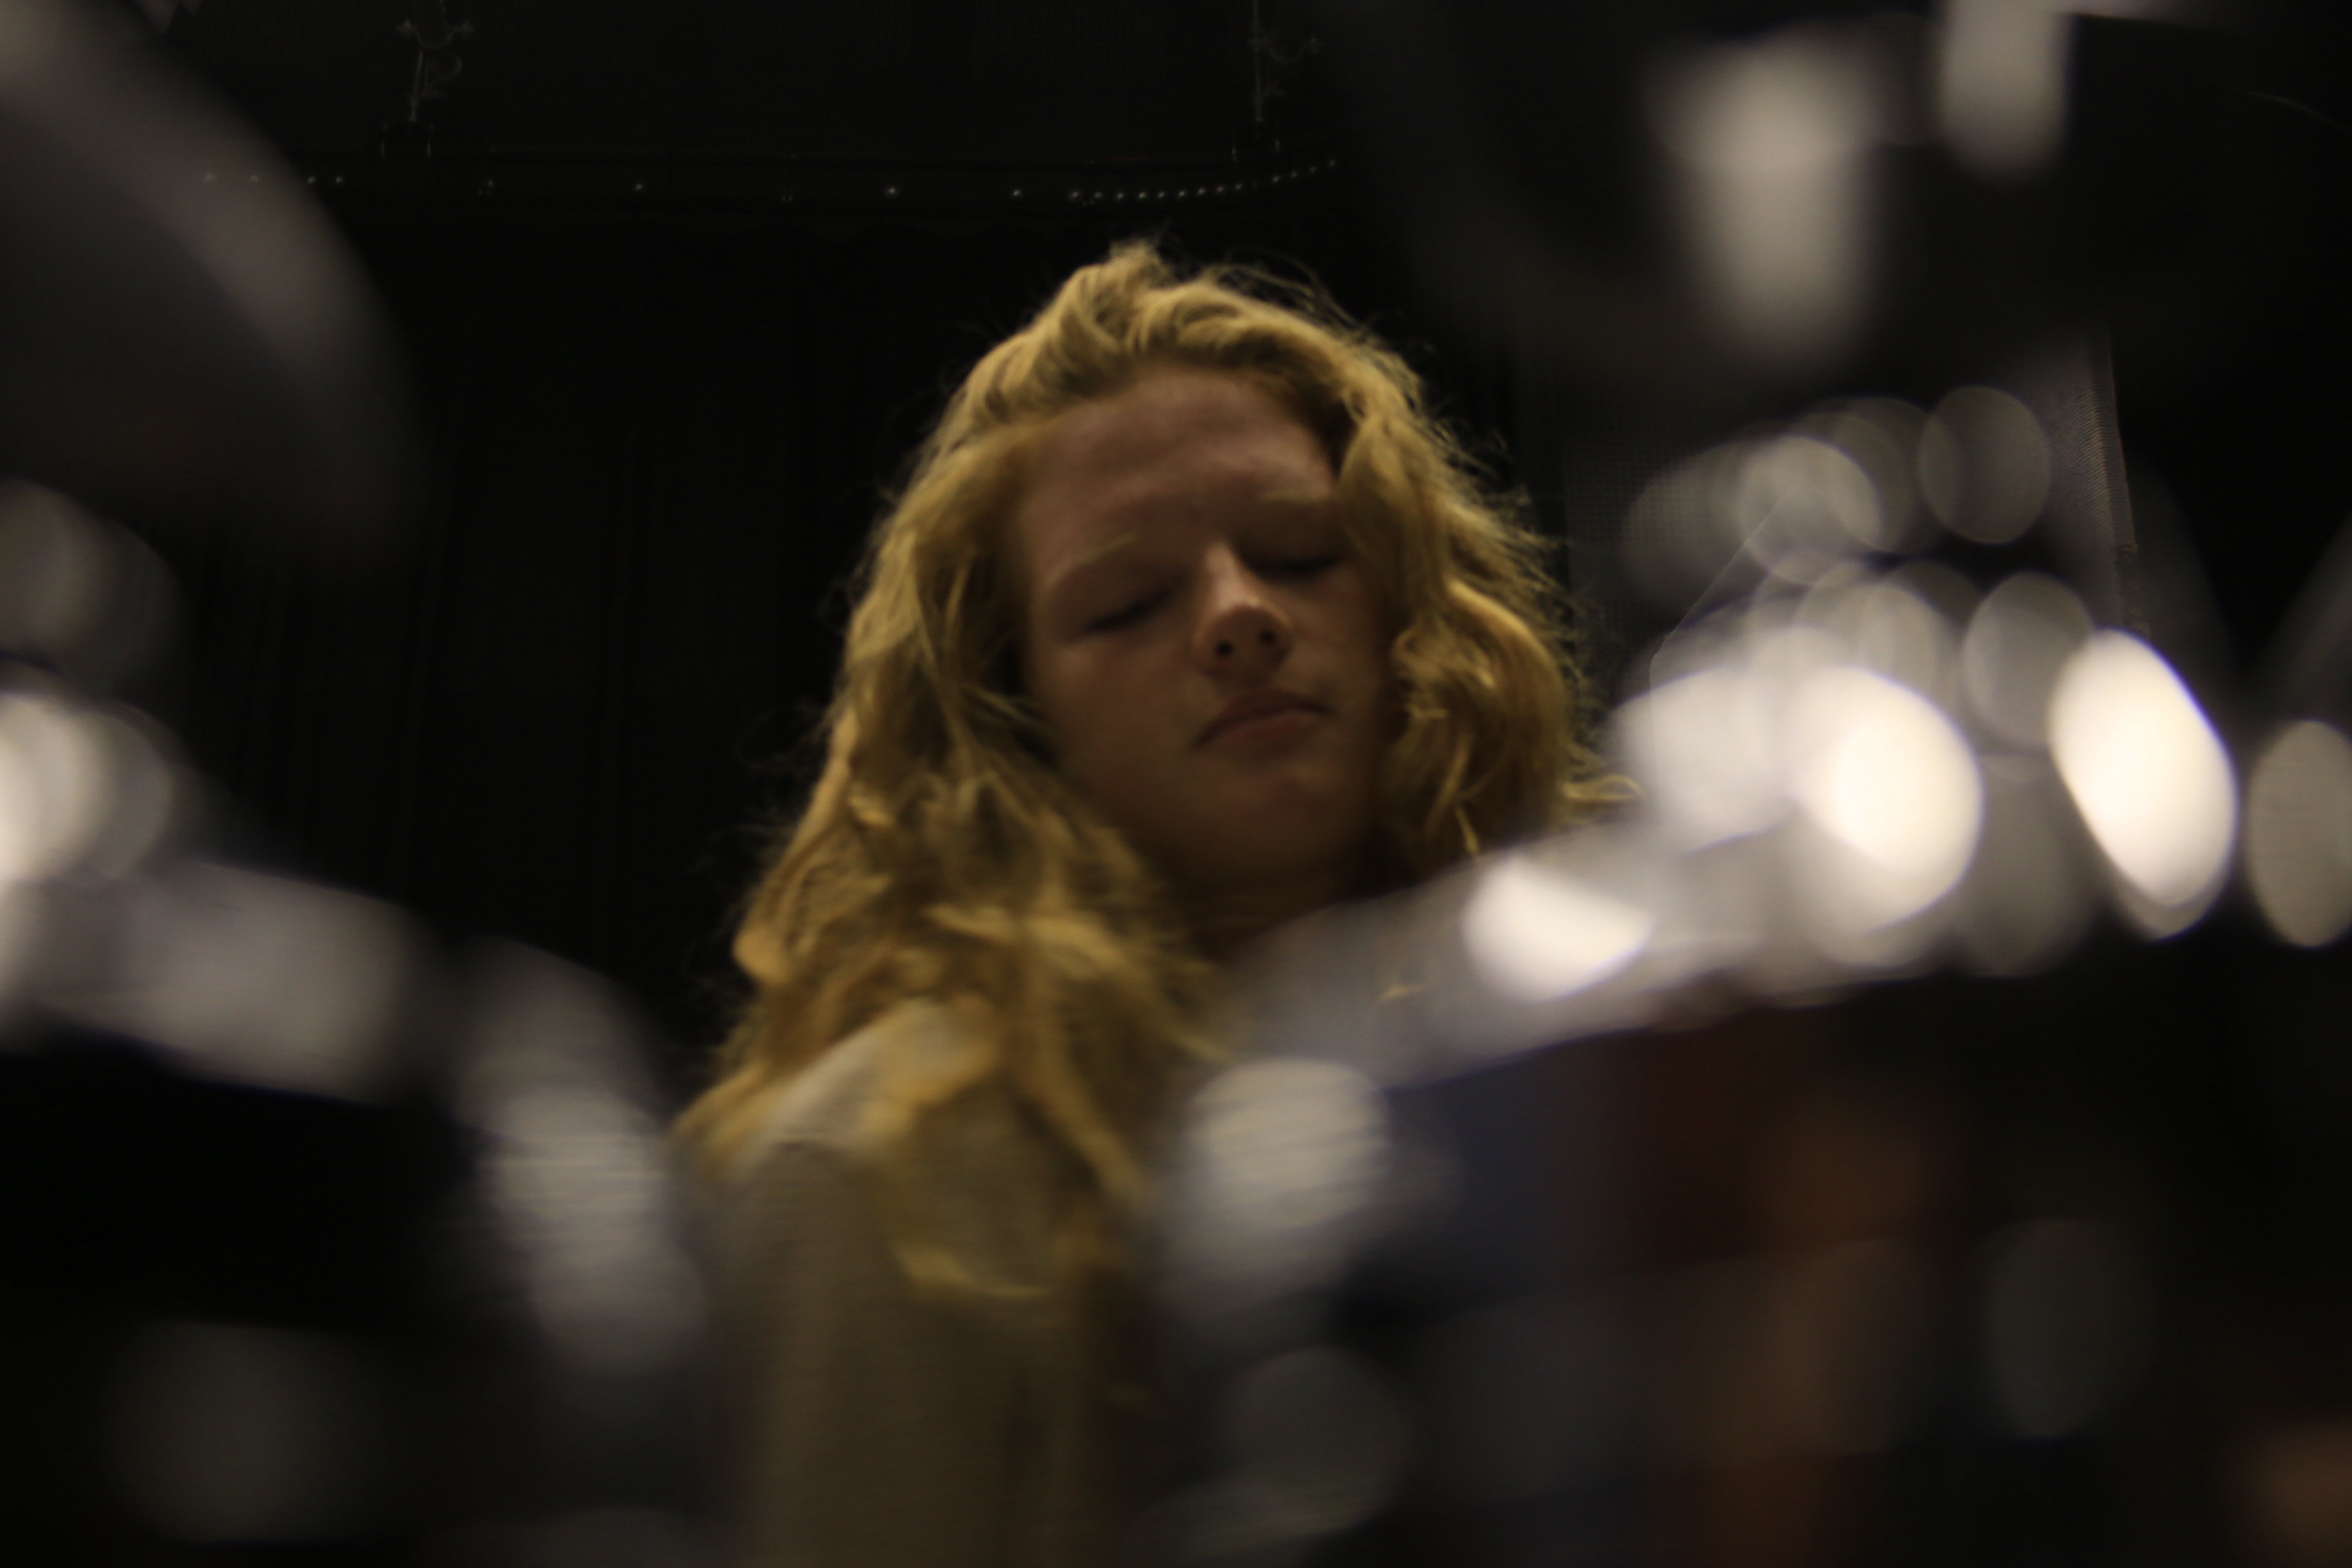
Environmental Portraits-Shoot 2
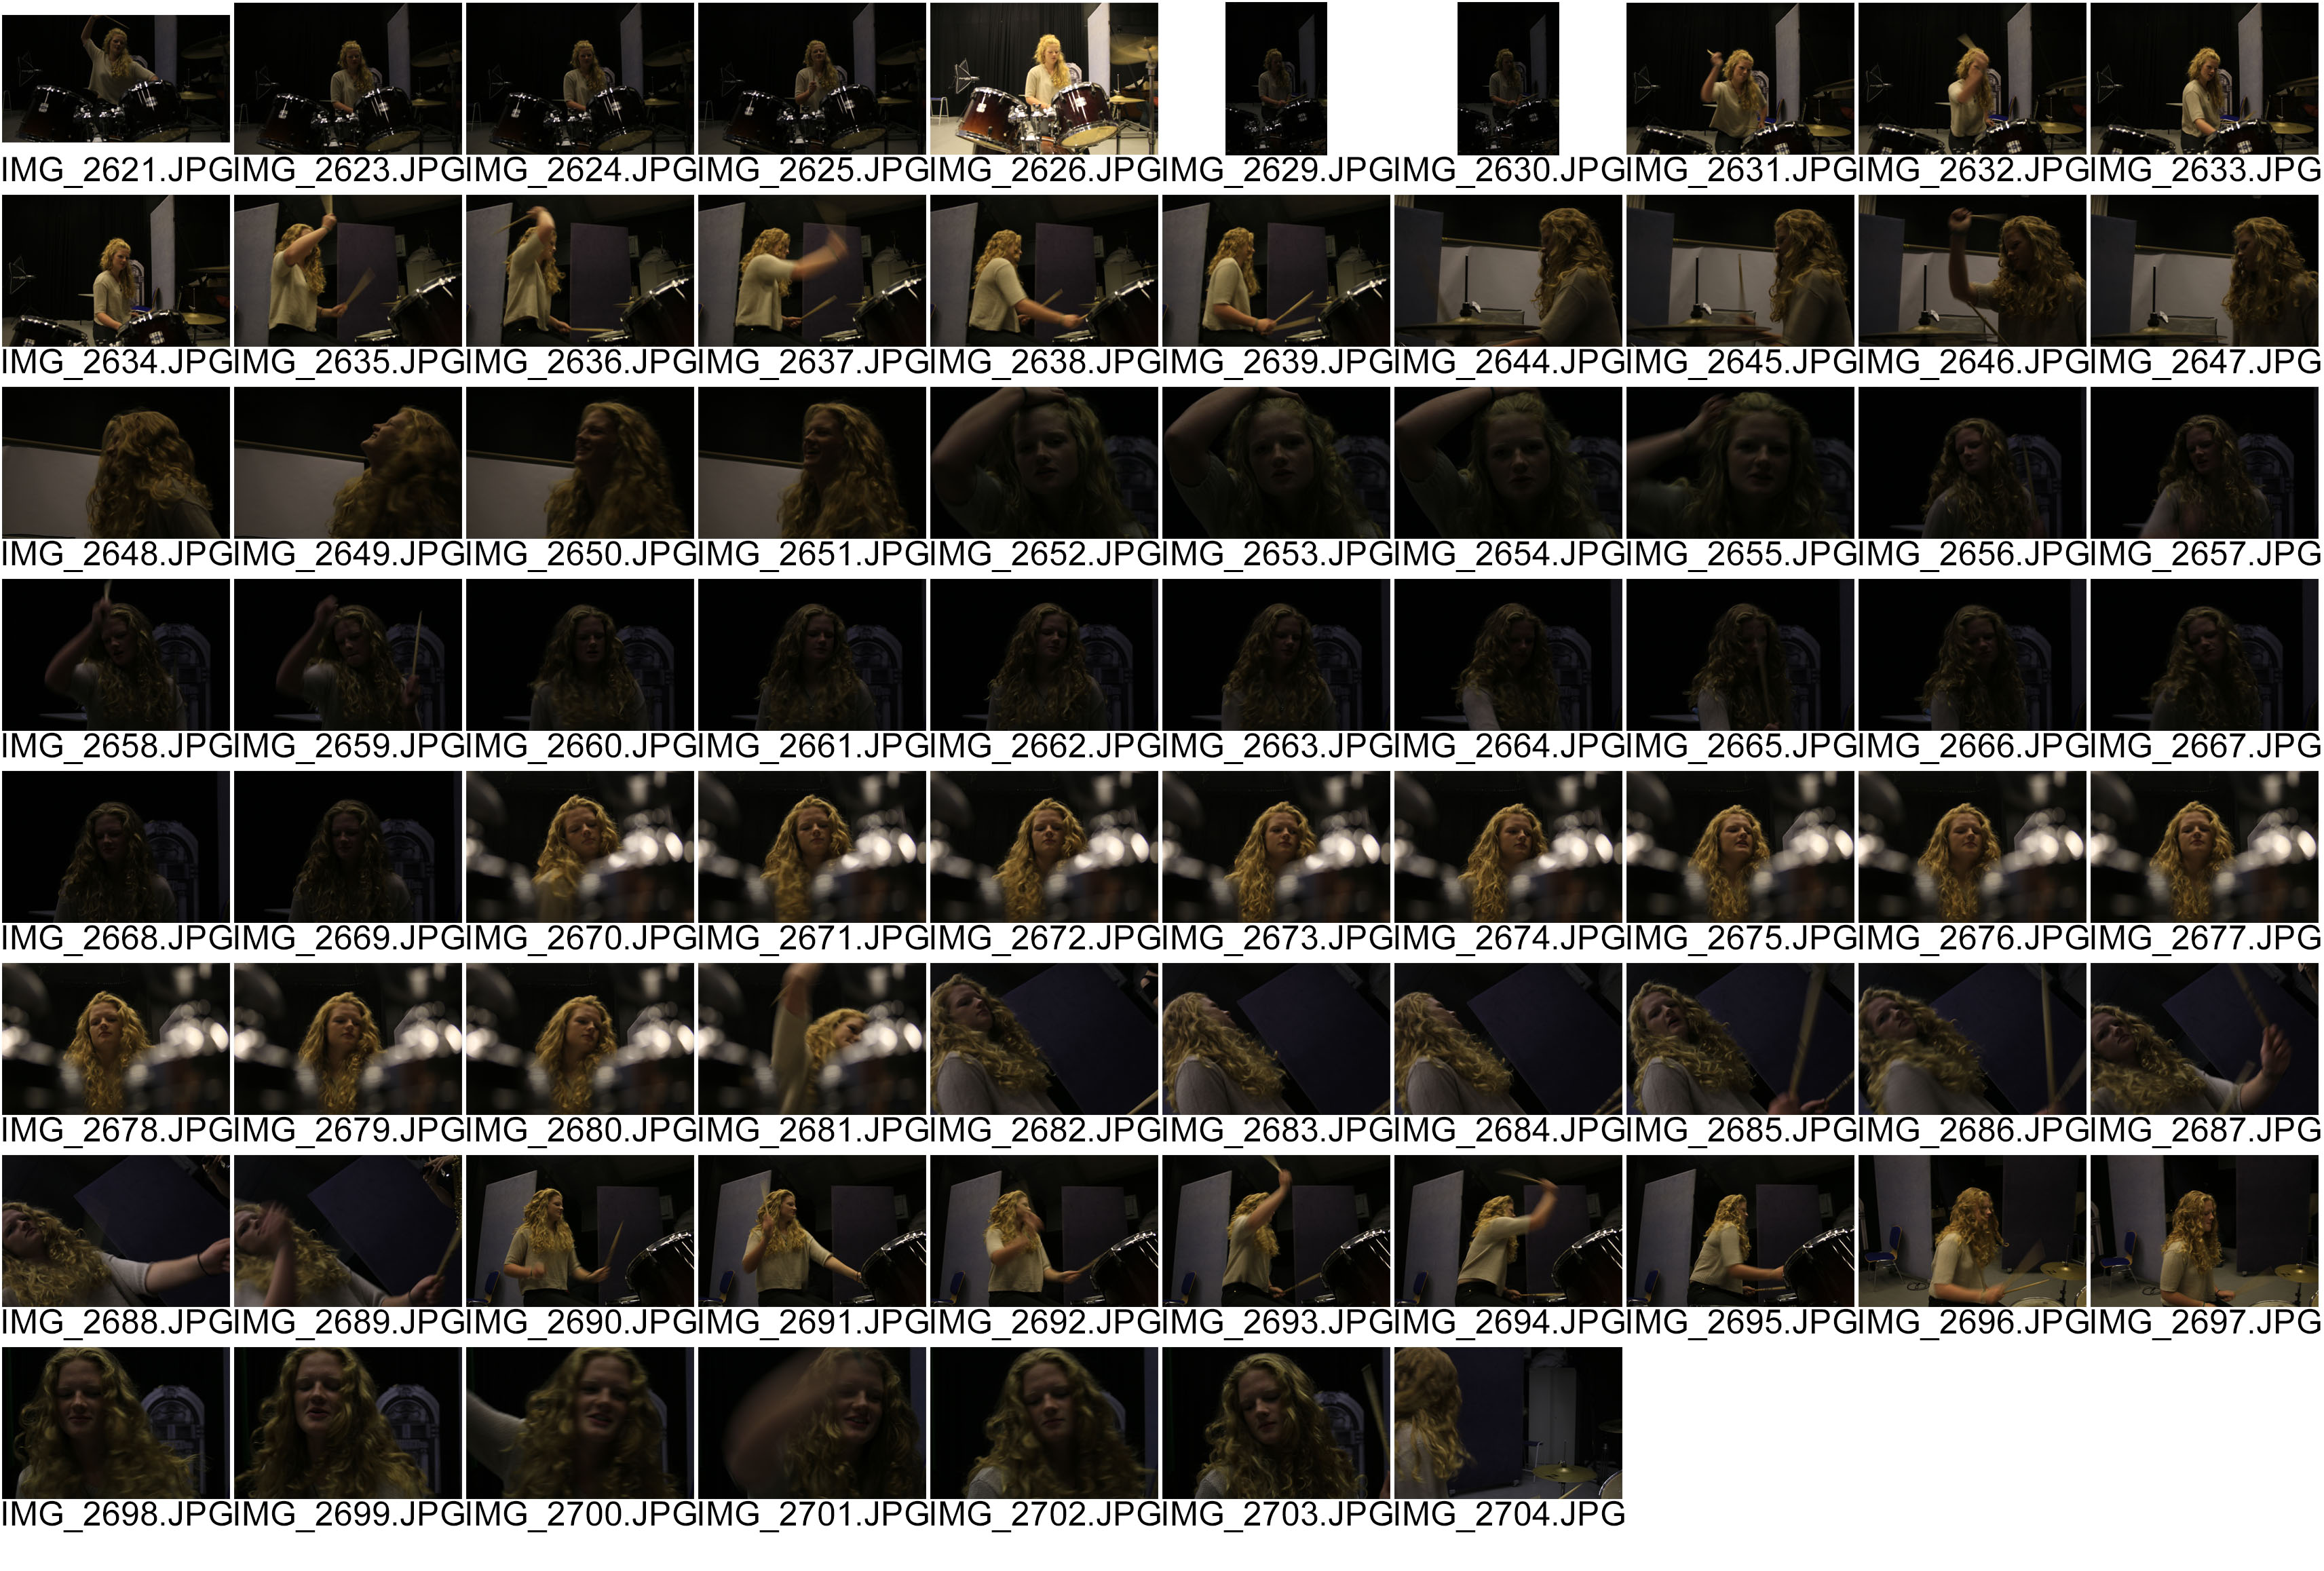
For my second Environmental portrait shoot, I took photos of my friend who is amazing at playing the drums . We decided to take the photos in a recording studio. We experimented with different angles and a different IOS.