
Daily Archives: September 30, 2016
Filters
Shutter Speed Experimentation
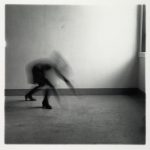
Inspiration: Francesca Woodman


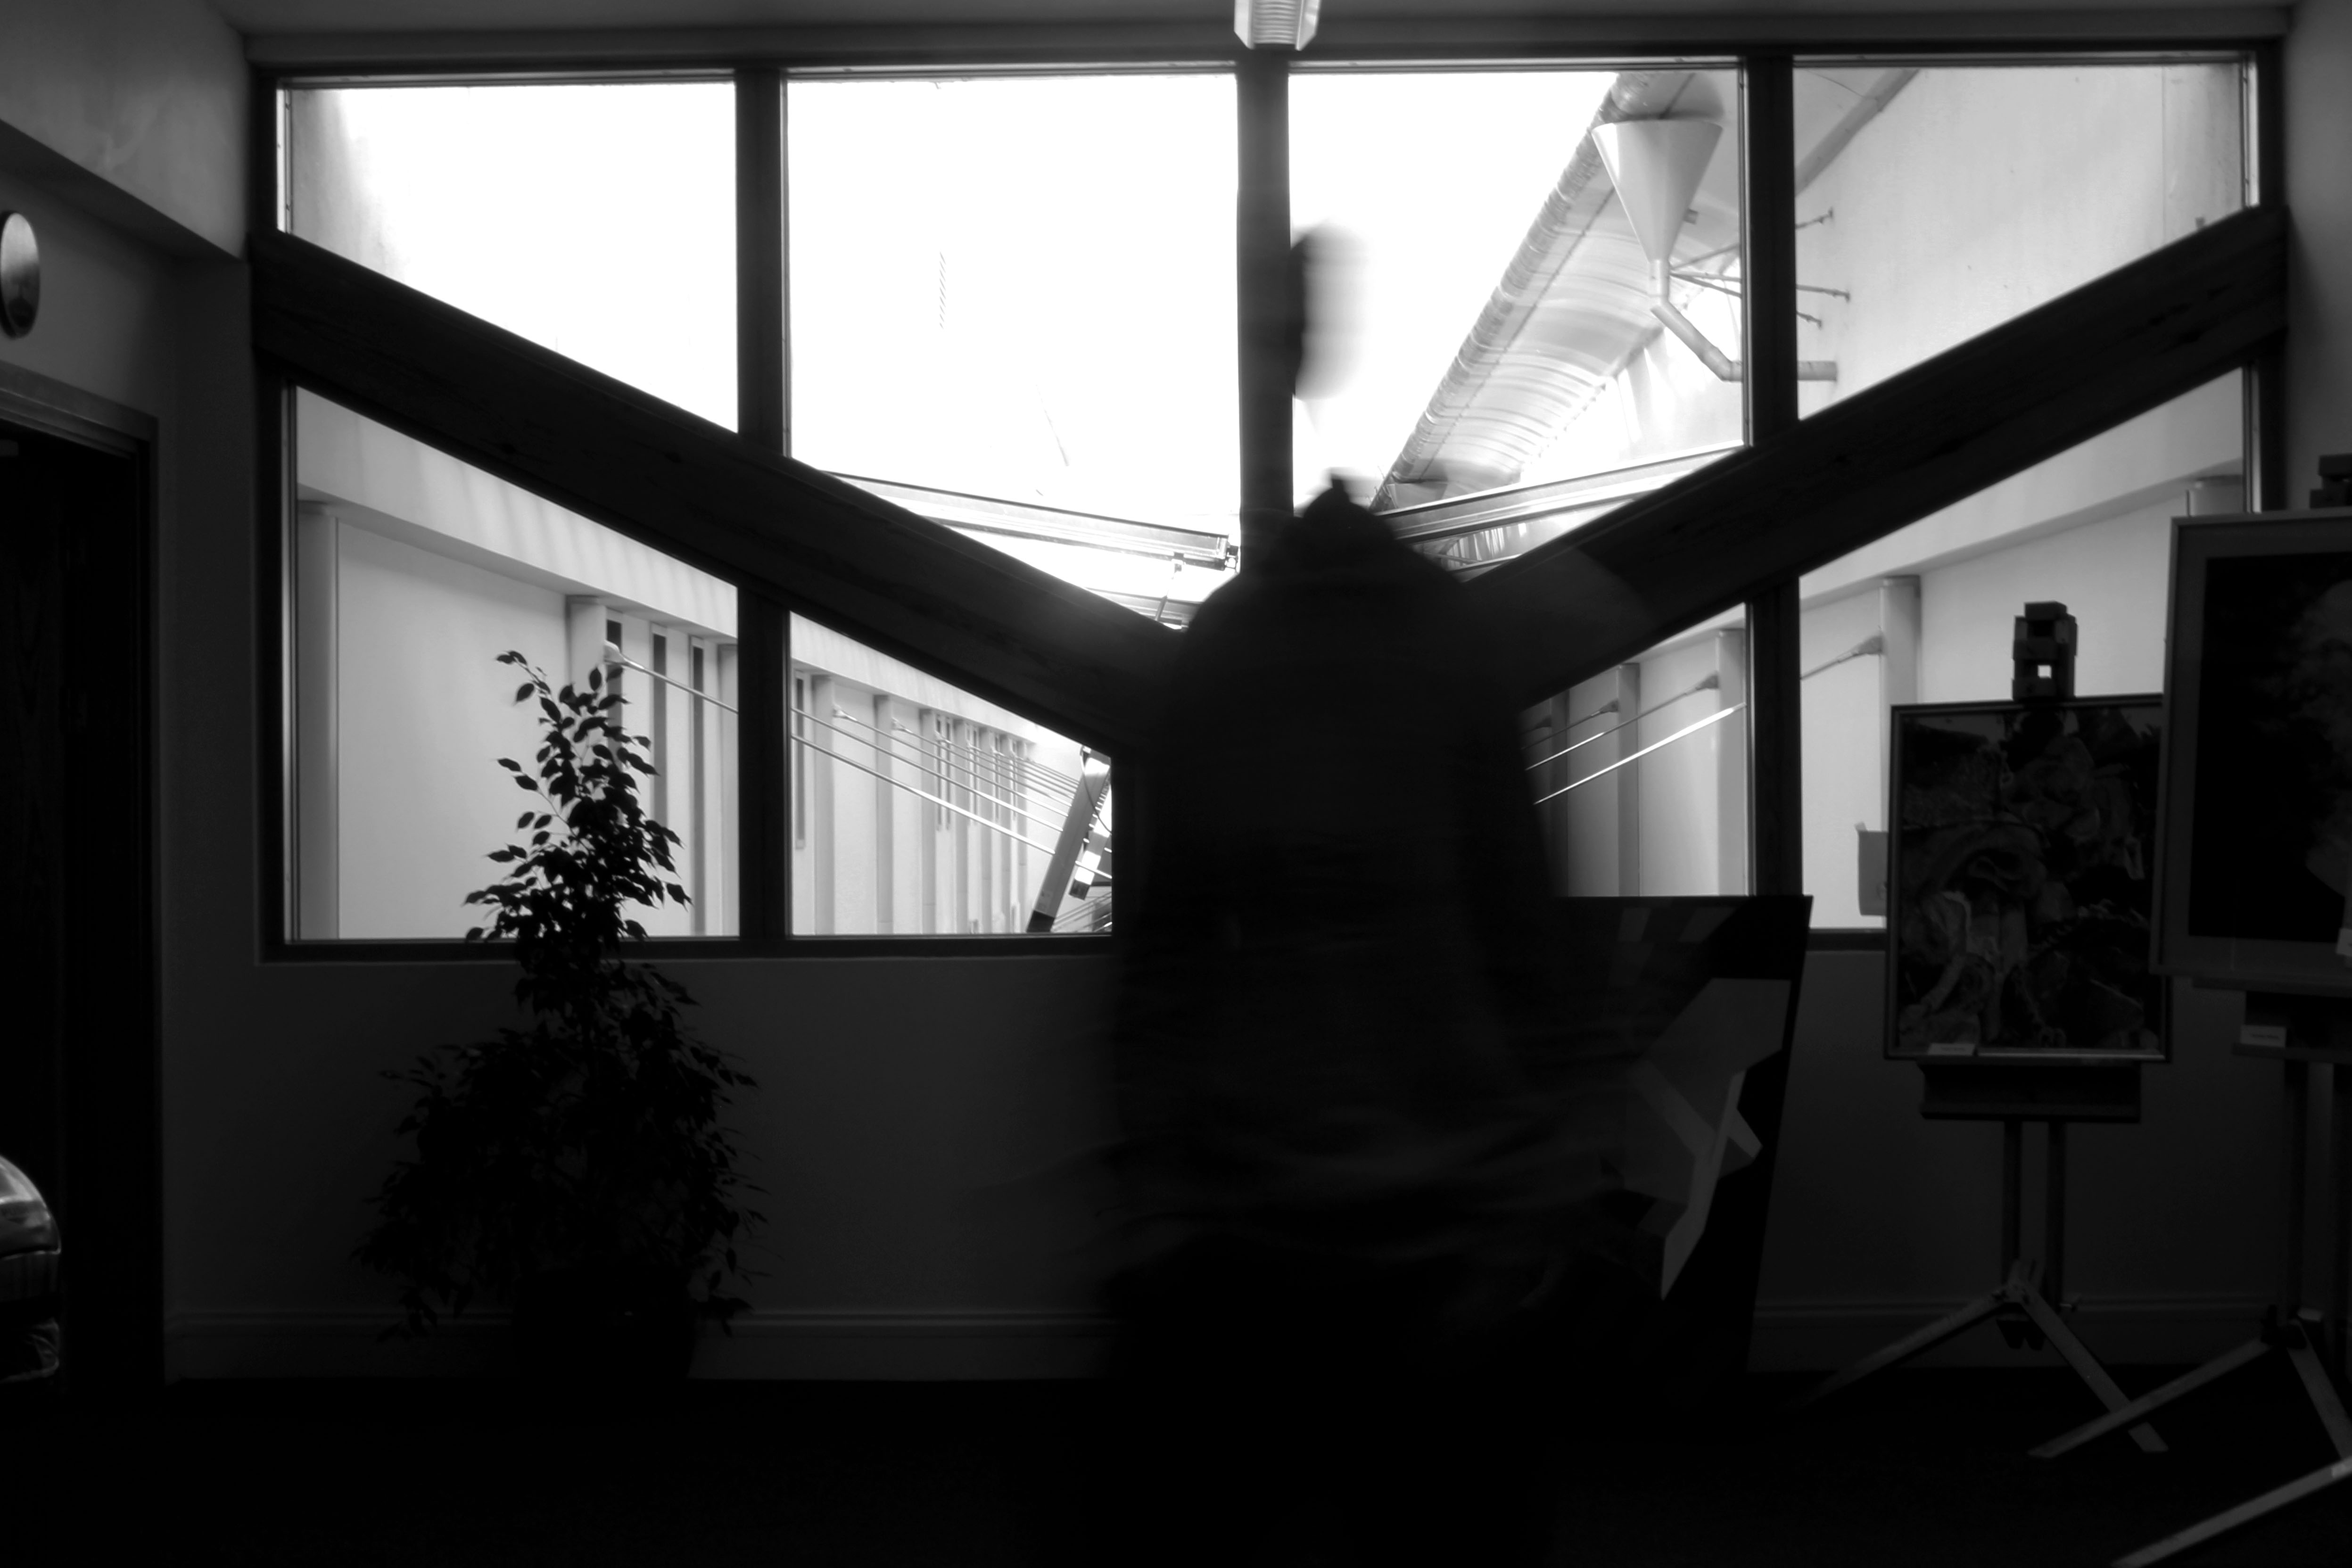
In the lesson today, we experimented with different shutter speeds, how to use them and two they alter your images.
Shutter speed is the time for which a shutter is open at a given setting on a camera.
- If you’re using a slow shutter speed (anything slower than 1/60) you will need to either use a tripod.
- Shutter speed is measured in seconds – or in most cases fractions of seconds. The bigger the number the faster the speed (i.e. 1/1000 is much faster than 1/30).
- When considering what shutter speed to use in an image you should always ask yourself whether anything in your scene is moving.
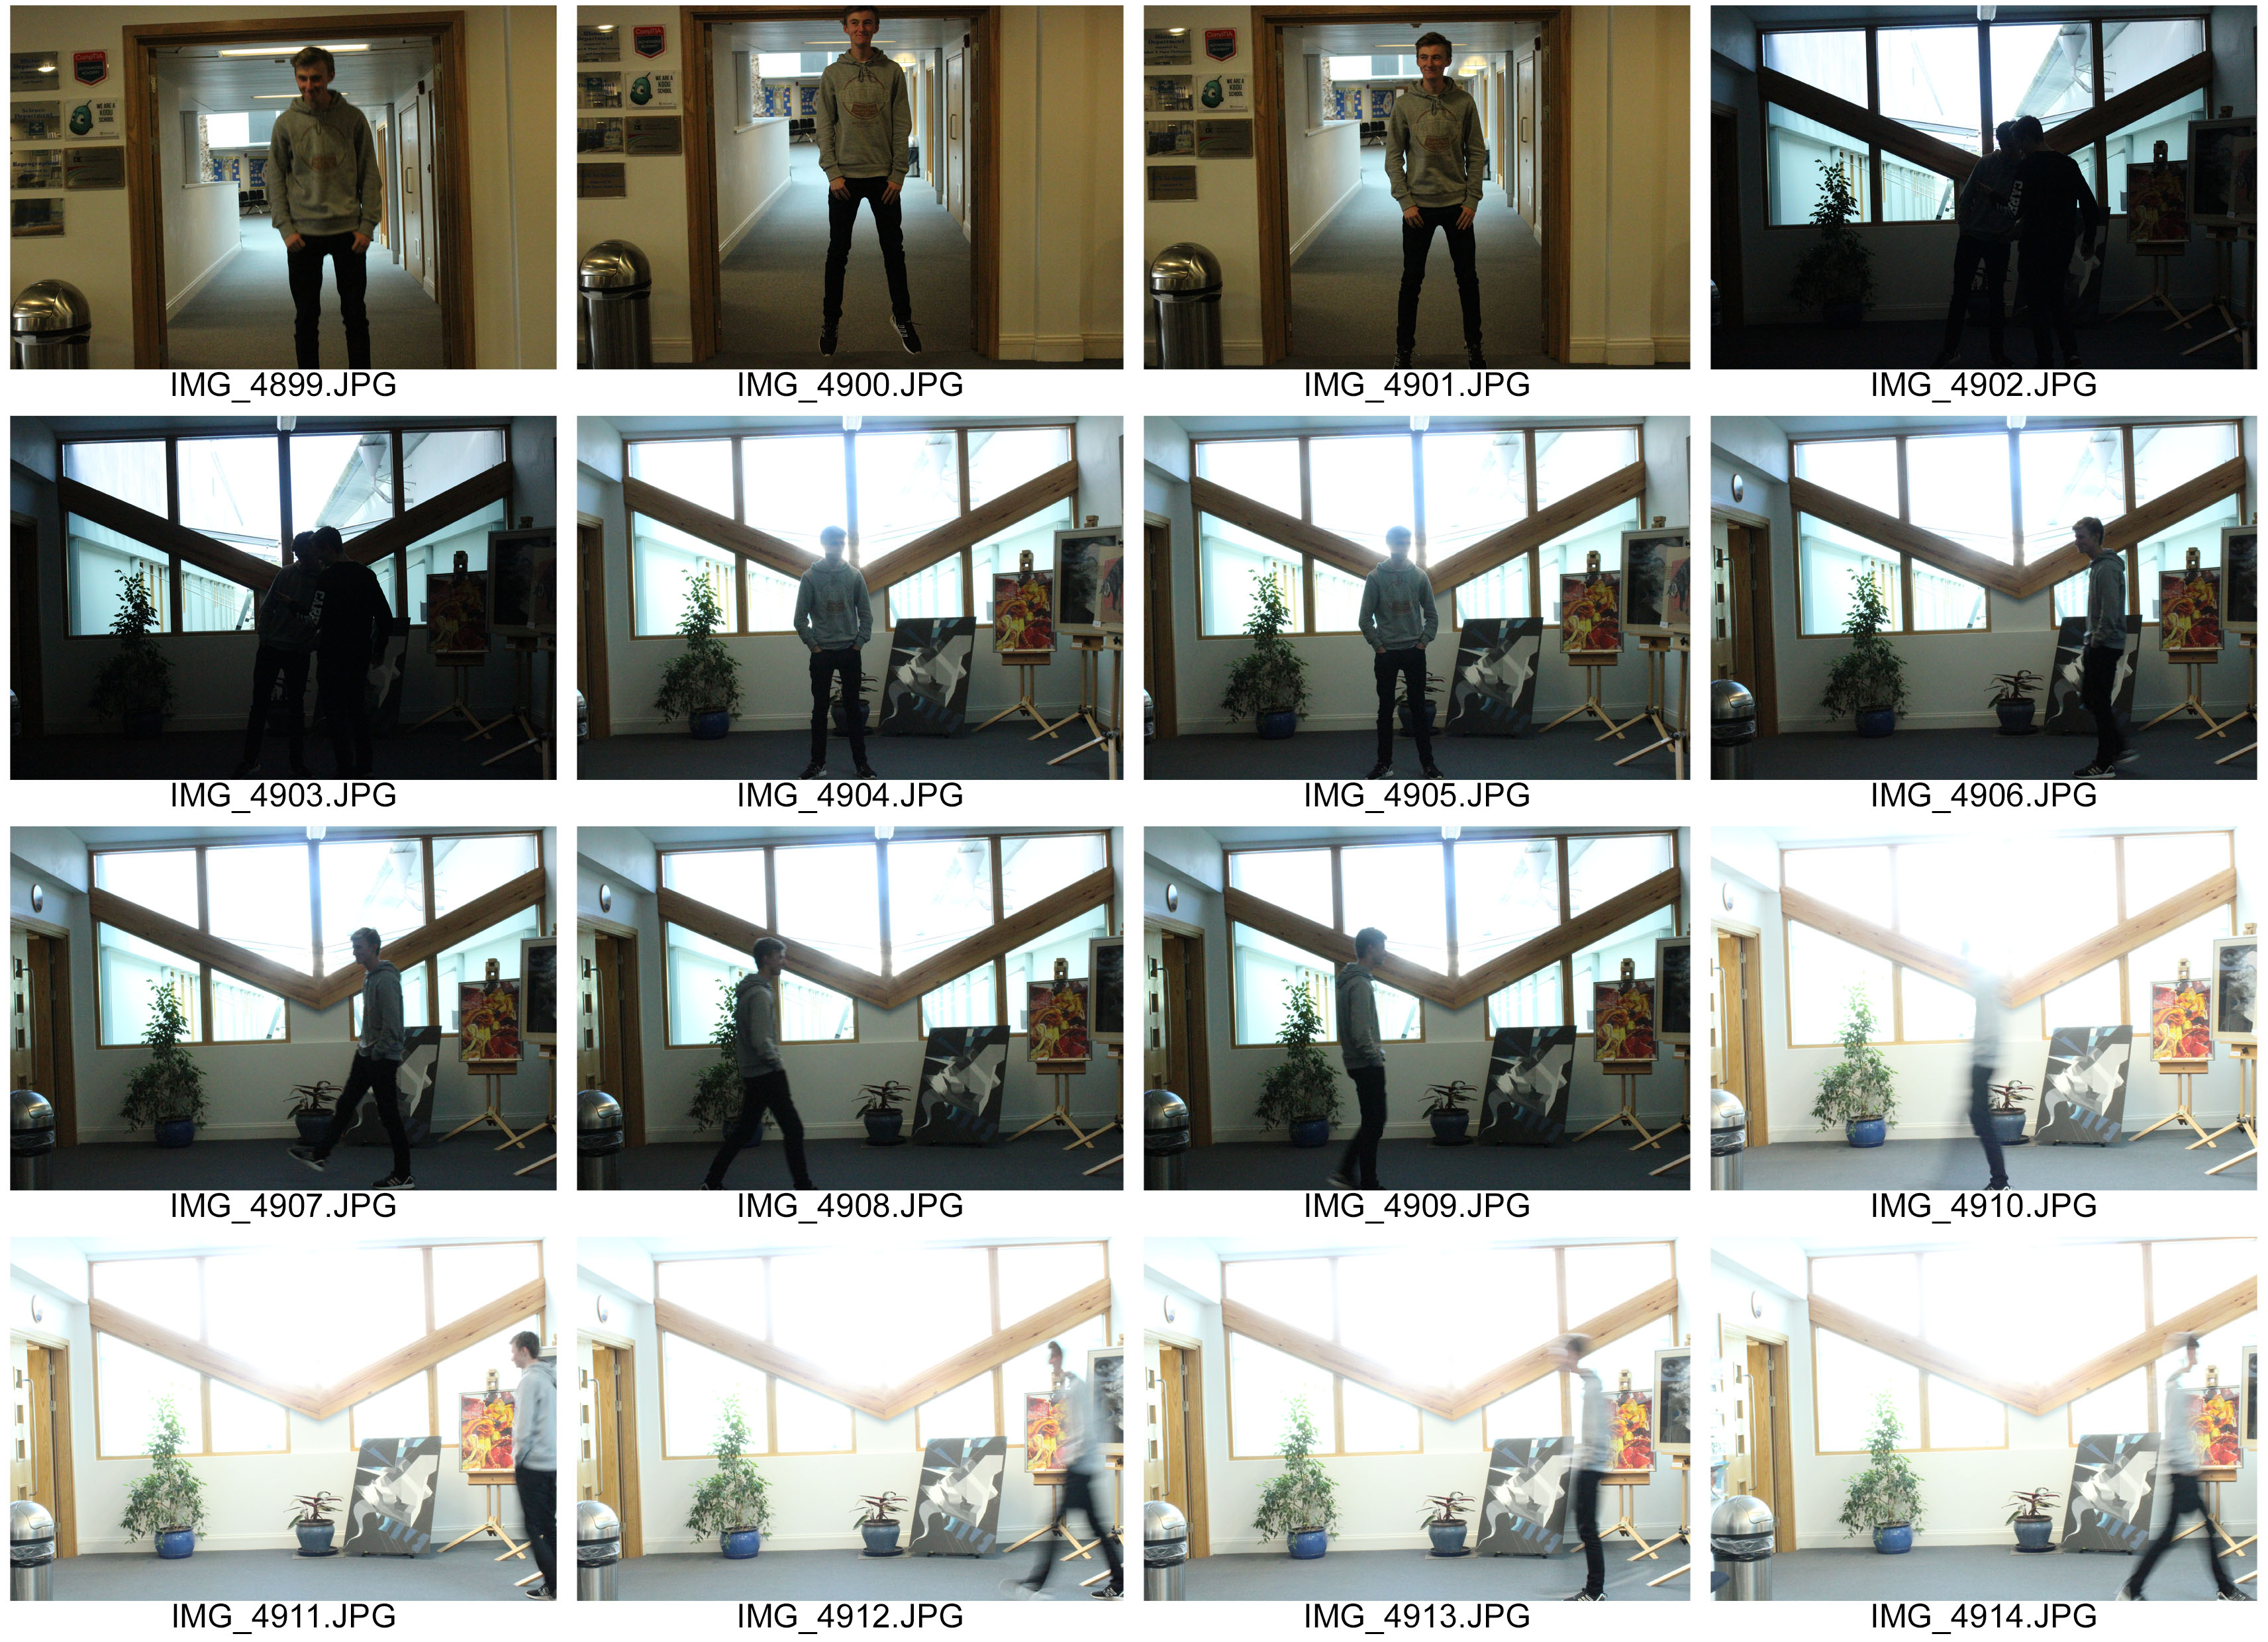
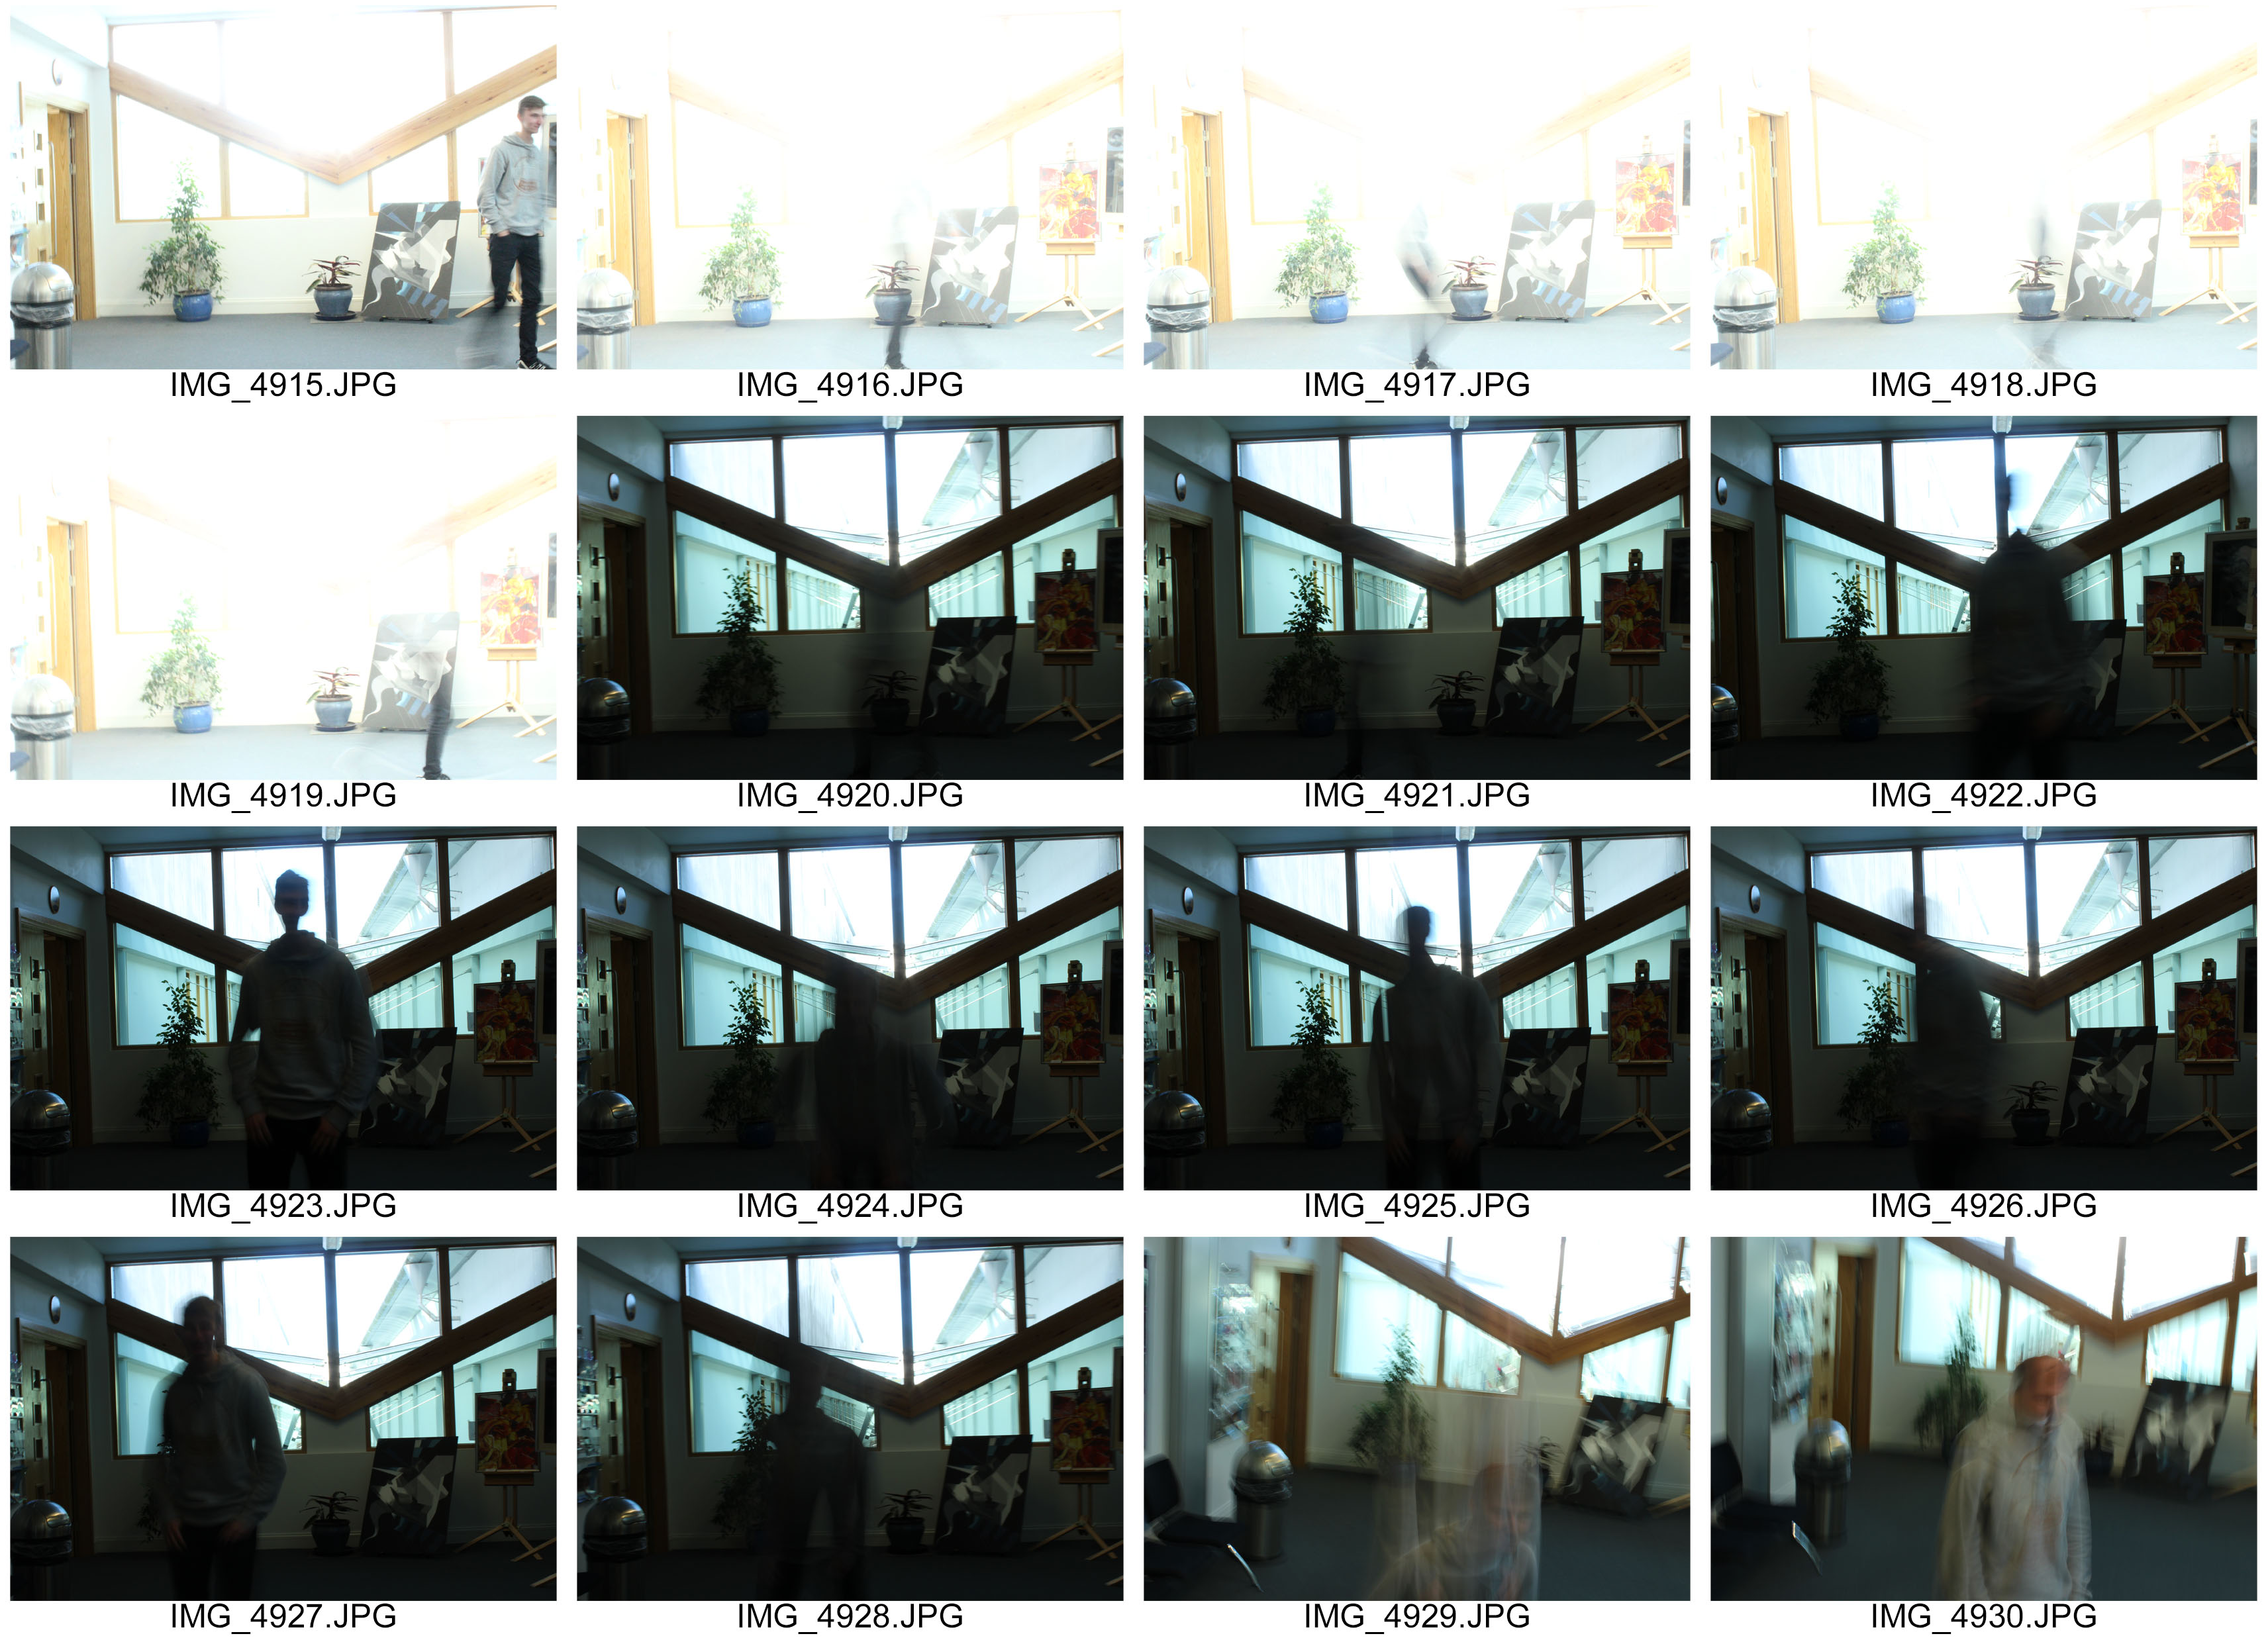
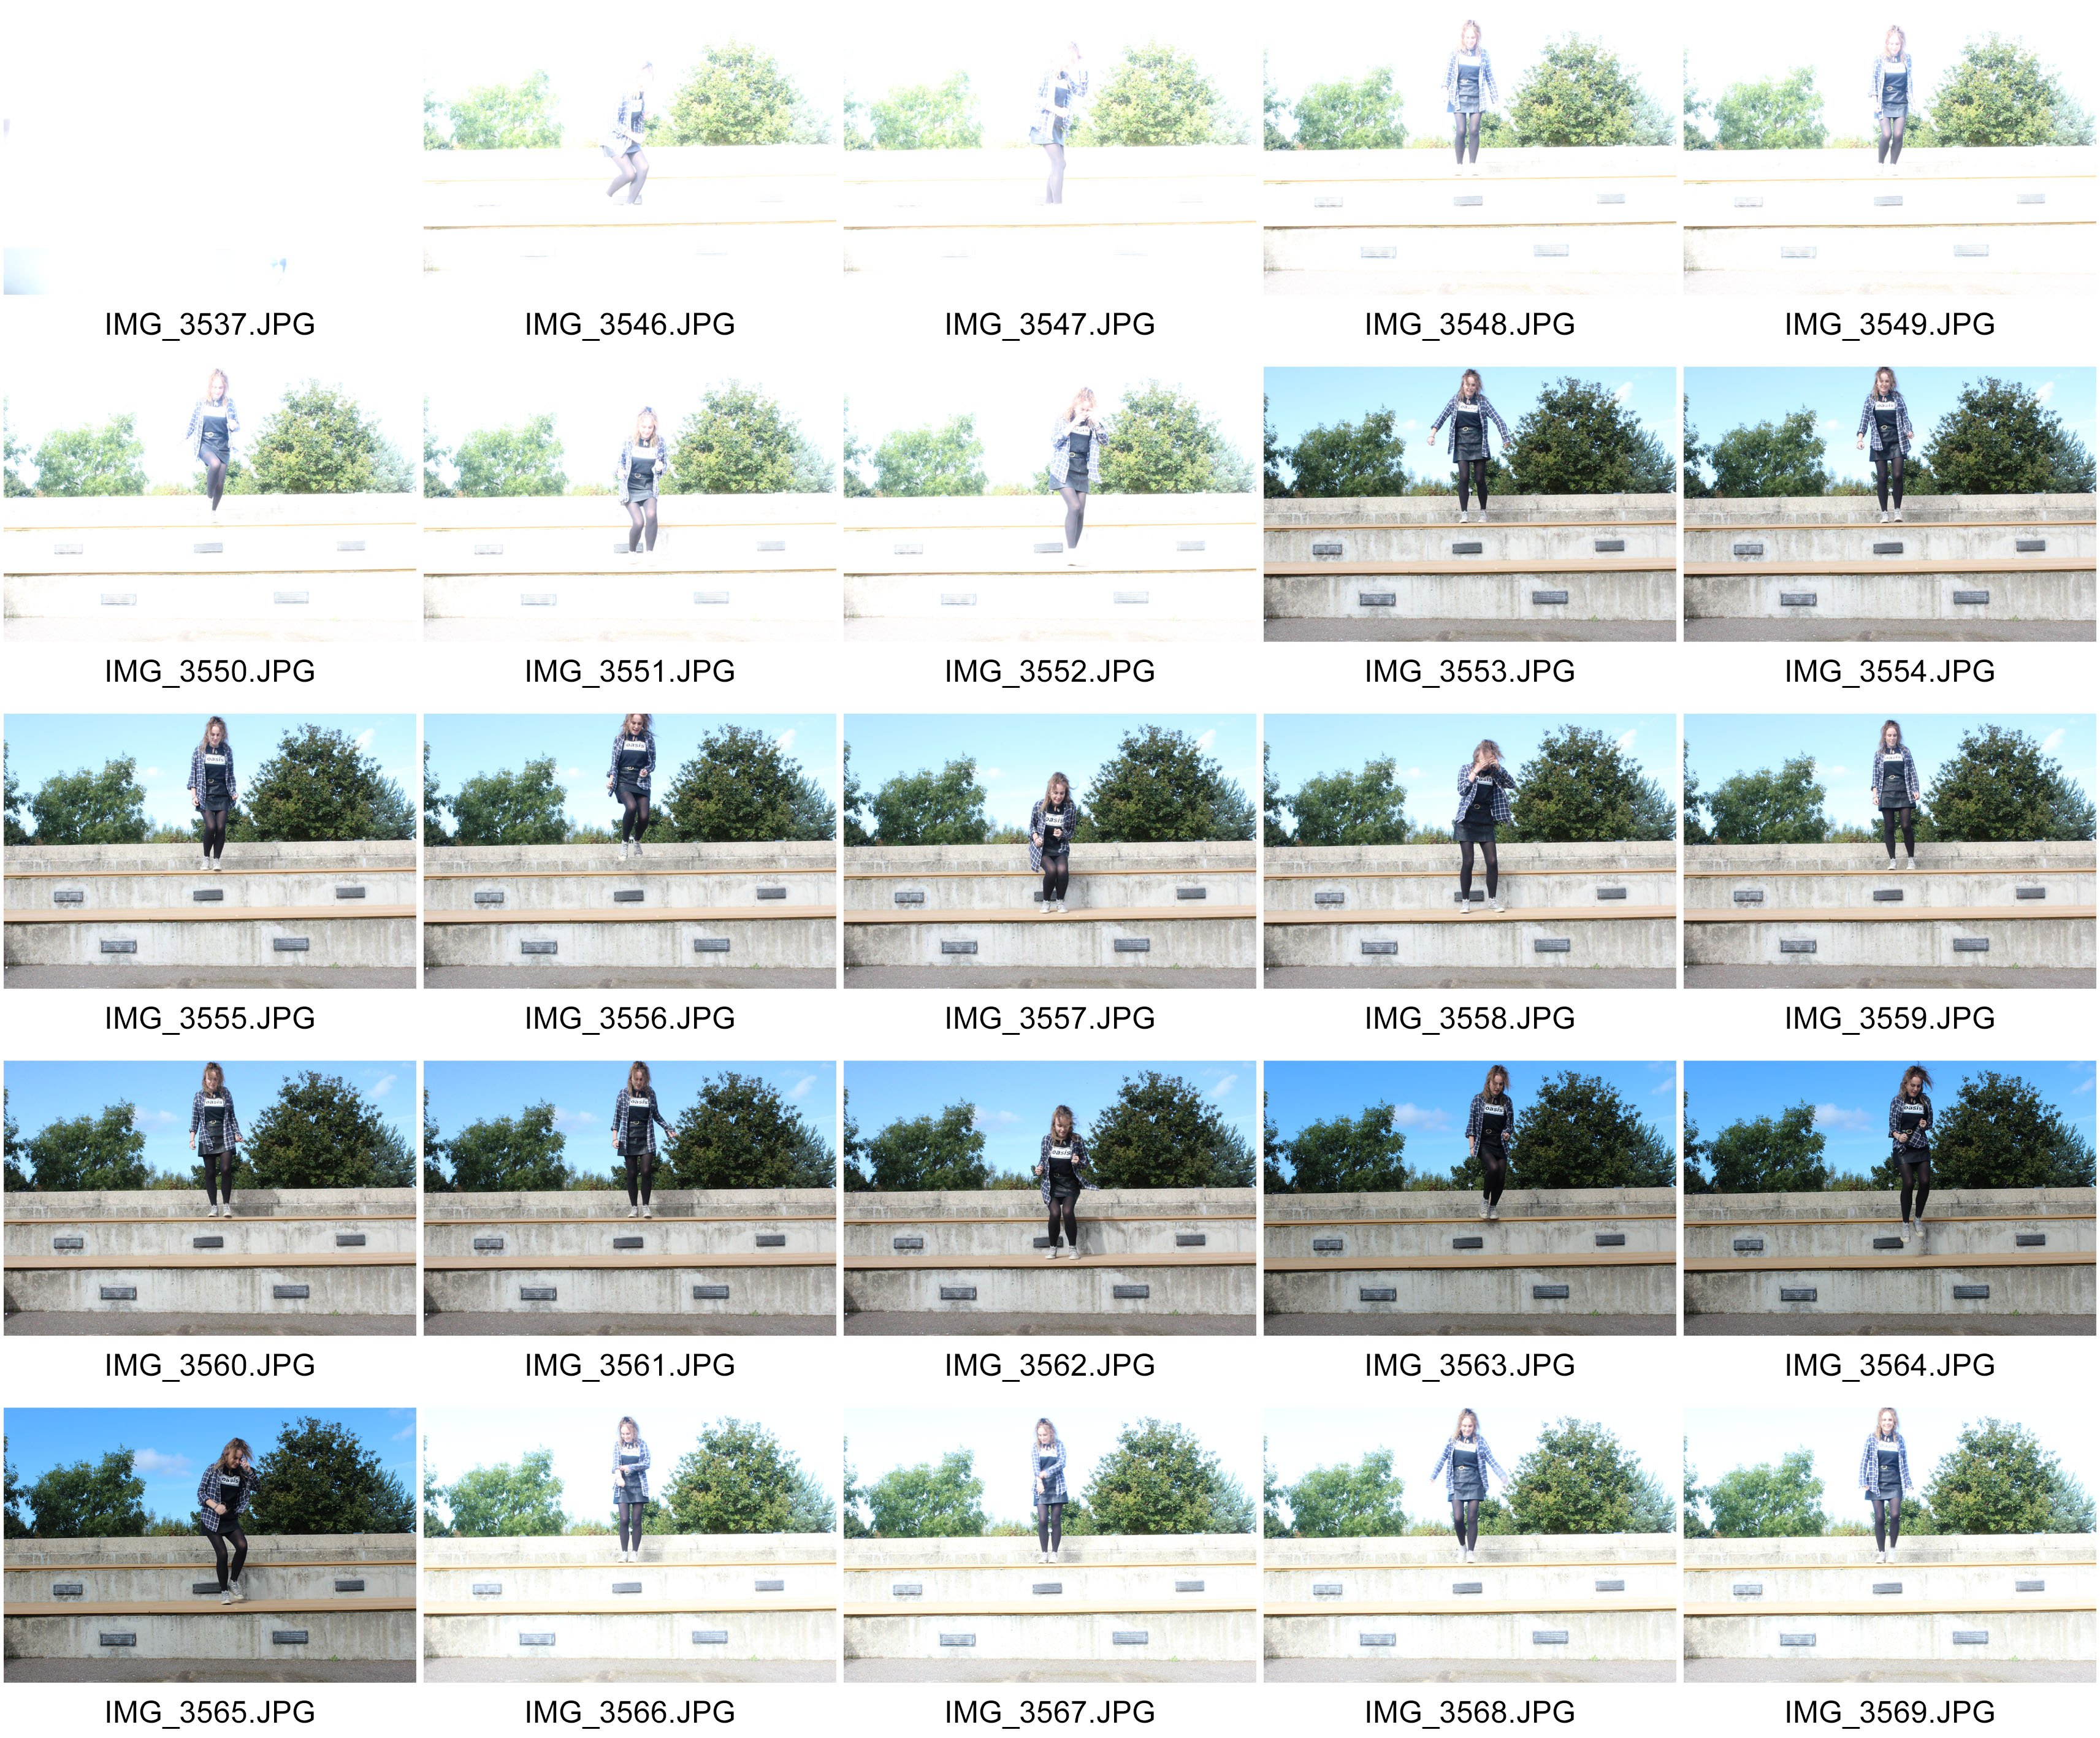
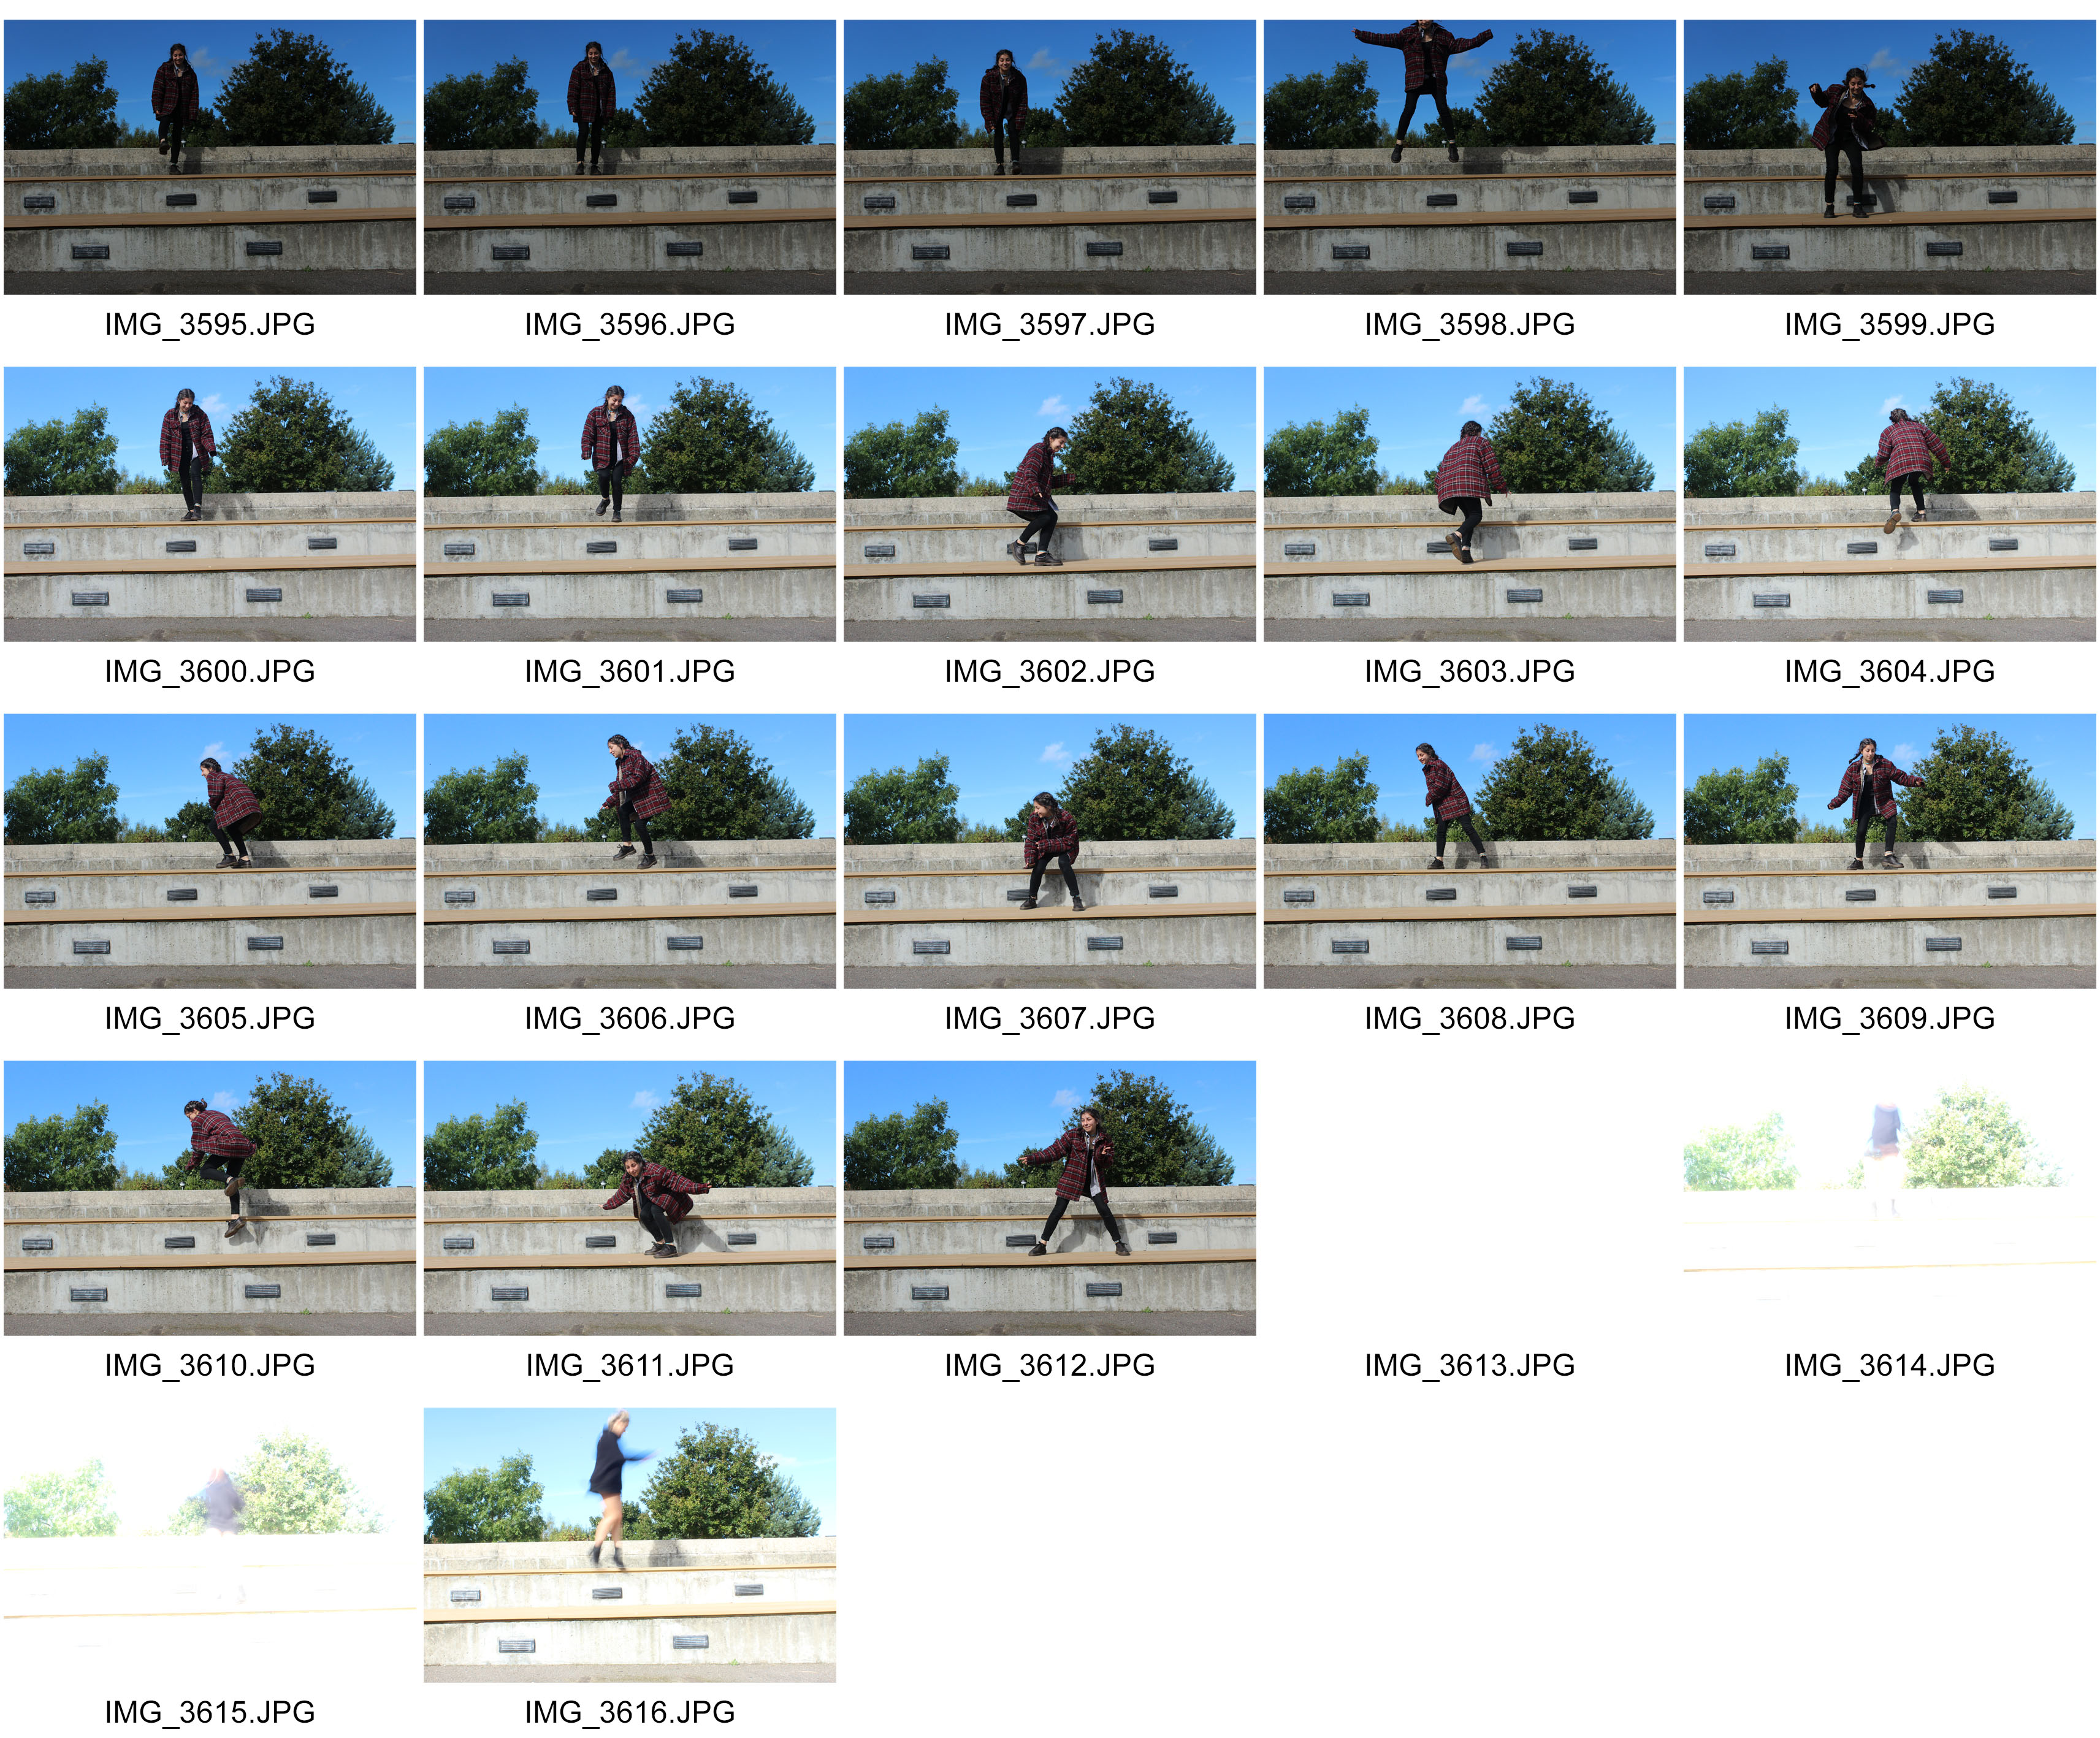
In today’s lesson we experimented with different shutter speeds with a deliberately moving object. I used Matt, my model to help me experiment with different shutter speeds. I told him to walk across a corridor several times to enable me to capture lots and lots of different frames of movement. I attempted to cause blur by using slow shutter speeds – this made the shutter close in the chosen time – I experimented with 2 seconds and in my opinion, this worked really well! I believe the last 8 or so worked out the best.
I tried to pair shutter speed and ISO together so they complemented each other and balanced each other out. However, in some images, the quality was quite grainy. This is why the I chose the last 5 or so as my favourites because they are the most clear.
Also, to enhance the quality of my photographs, I used a tripod to stabilize the camera when taking the pictures and this was the first time I had used a tripod. If I was to try out shutter speed again, I would definitely use a tripod again as this really aided the outcome.
Shutter Speed Experimentation
In photography, shutter speed or exposure time is the length of time when the film or digital sensor inside the camera is exposed to light, also when a camera’s shutter is open when taking a photograph. The amount of light that reaches the film or image sensor is proportional to the exposure time.
If the shutter speed is fast, it can help to freeze action completely. If the shutter speed is slow, it can create an effect called “motion blur”, where moving objects appear blurred along the direction of the motion.
Depending on the speed of the shutter , it can effect how exposed the image is. If the speed of the shutter is low, about 3 seconds then, the image is going to be over exposed because a lot of light is getting into the camera. If the speed of the shutter is high, about 1/60 of a second , then the image is going to have a low exposure.

The image above is the display shown on the camera when on the shutter speed setting. The TV sign in the top left corner stands for Time Value. The number next to it shows the speed of the shutter.
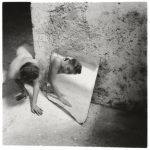
Francesca Woodman – Inspiration
These photographs from Francesca Woodman are inspirational to me. The photos are taken at a face on angle with a high exposure. This is because the slow shutter speed takes in a lot of the light and therefore compliments the sense of blurriness. I particularly like these 2 photographs because they include a spookiness that has been well captured. The sense of depth has been limited to blank walls behind the person which successfully compliment the expressionless face.


Final Images- Environmental Portraits
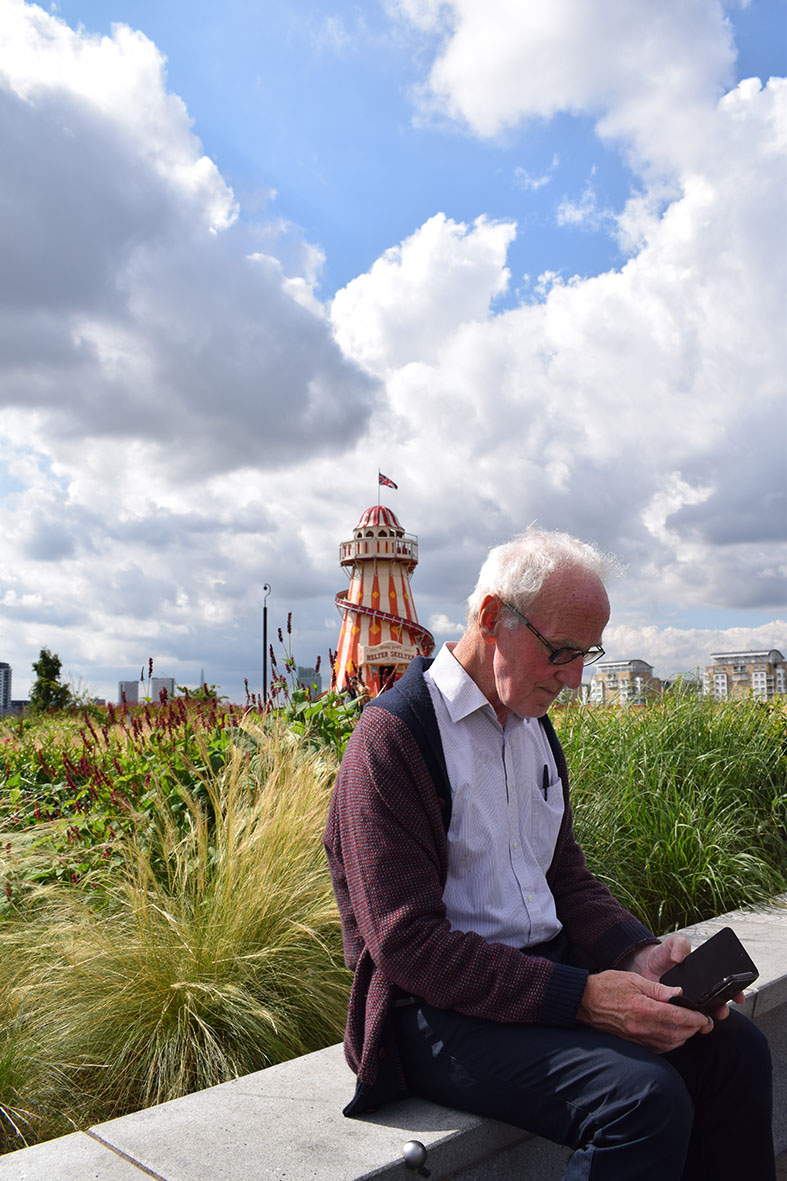
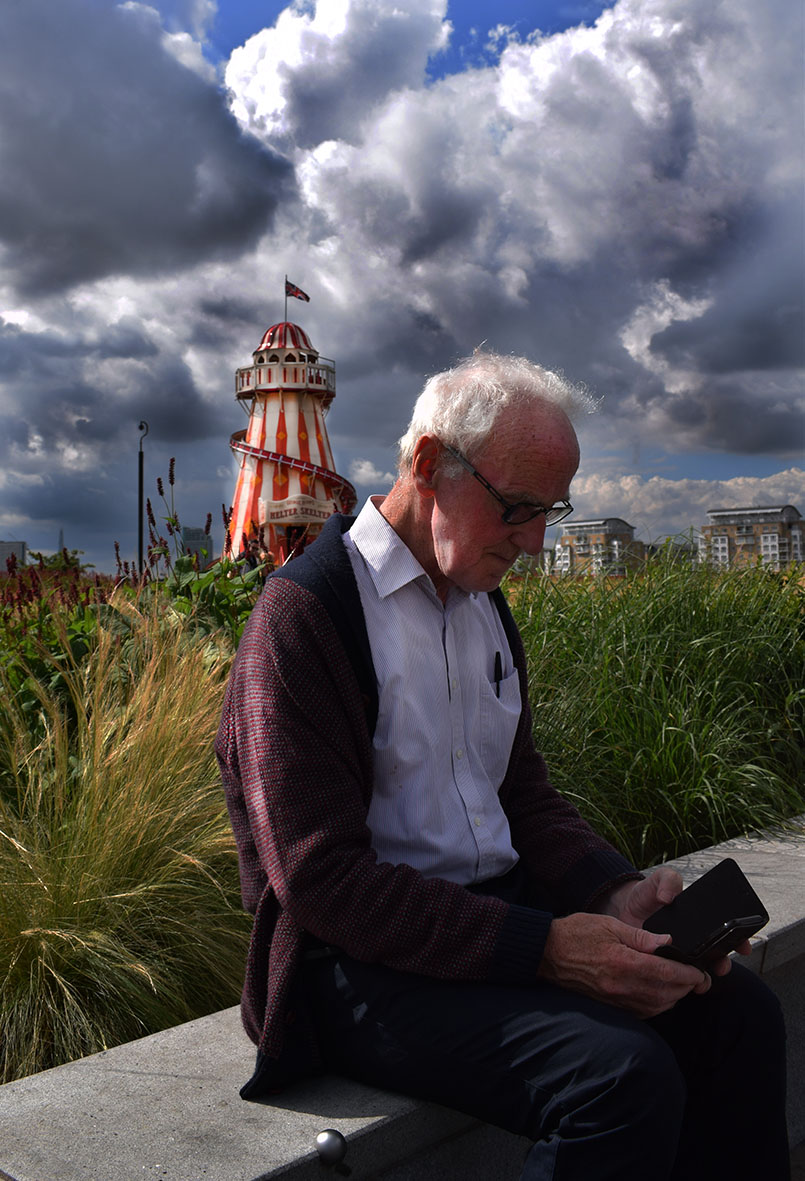
Here I have taken a picture of an old man sitting on a wall with a Helter Skelter behind him. When editing I cropped the photo so only the important objects would be in the photo. I then increased the contrast and brightness on the image. When I looked at the image I really wanted the clouds to look more dramatic and heavy.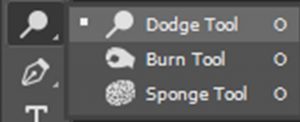 So I used the burn tool to bring out the darkest parts of the clouds. However, the Helter Skelter looked very dark as well as the mans face. So to add a little more light to certain parts of the picture I used the dodge tool. I also used this tool on some of the edges of the clouds to give them some light. I did no other editing as I did not want to change the picture too much.
Week 5 // Street Photography
Street photography is photography conducted for art or enquiry that features unmediated chance encounters and random incidents within public places. Street photography does not necessitate the presence of a street or even the urban environment. The concept of the “flaneur” or people watcher is often referred to…as is the candid portrait.
“The decisive moment”—–Henri Cartier-Bresson
Born: August 22, 1908, Chanteloup-en-Brie, France
Died: August 3, 2004,)
…was a French humanist photographer considered a master of candid photography, and an early user of 35 mm film. He pioneered the genre of street photography, and conceived of photography as capturing a decisive moment.


Task / blog post 1 [ Introduction to Street Photography]
- Design an introductory post to define and explain what street photography is / can be
- Choose 2 x street photographers from the list below and write a short biography about them and their work
- Select a key image from both photographers and analyse using a combination of the 3 types of analysis you have learned
Task / blog post 2 [How we use shutter speed and angles in street photography]
- Explore the use of shutter speed to capture a range of street photographs / candid portraits (your images)
- Explore the use of various angles and viewpoints (POV) to capture a range of your own street photographs in various locations
- Include your contact sheet and describe and explain your process / analyse
Task / blog post 3 [Selection of successful images from Week 5]
- Choose a small range of images (3-5) to edit and present
- Analyse and discuss your choices…why, how, what , who etc
- Compare and contrast your work to your 2 x Street Photographers
EXTENSION TASK…LOOK AT EXAMPLES OF juxtaposition IN STREET PHOTOGRAPHY AND CREATE A POST DESCRIBING AND EXPLAINING HOW WE CAN EXPLOIT THIS TECHNIQUE

Homework Assignment STREET PHOTOGRAPHY
- AIM TO TAKE 100-150 PHOTOGRAPHS
- SHOW THE INFLUENCE OF AT LEAST 1 STREET PHOTOGRAPHER IN YOUR IMAGES
- EXPLORE 3 DIFFERENT AREAS OF TOWN / VILLAGE / HOUSING AREA ETC
- SHOW HOW YOU CAN USE SHUTTER SPEED TO CREATE different effects WITHIN STREET PHOTOGRAPHY
- DEADLINE MONDAY 10TH OCTOBER 2016
INSPIRATIONAL STREET PHOTOGRAPHERS
Trent Parke, Bruce Gilden, Diane Arbus, Robert Frank, Raghubir Singh, William Klein, Elliott Erwitt, Garry Winogrand, William Egglestone, Lee Friedlander, Martin Parr, Joel Meyerowitz, Paul Strand, Bill Brandt…but there are many more to discover and explore
 Trolley Car, New Orleans, 1955")

Tony Ray-Jones listed the following shooting advice to himself in his personal journal:
- Be more aggressive
- Get more involved (talk to people)
- Stay with the subject matter (be patient)
- Take simpler pictures
- See if everything in background relates to subject matter
- Vary compositions and angles more
- Be more aware of composition
- Don’t take boring pictures
- Get in closer (use 50mm lens or smaller)
- Watch camera shake (shoot 250 sec or above)
- Don’t shoot too much
- Not all eye level
- No middle distance
Tony Ray-Jones
Some more tips to help with your Street Photography…
http://petapixel.com/2015/12/22/10-tips-for-successful-street-photography/