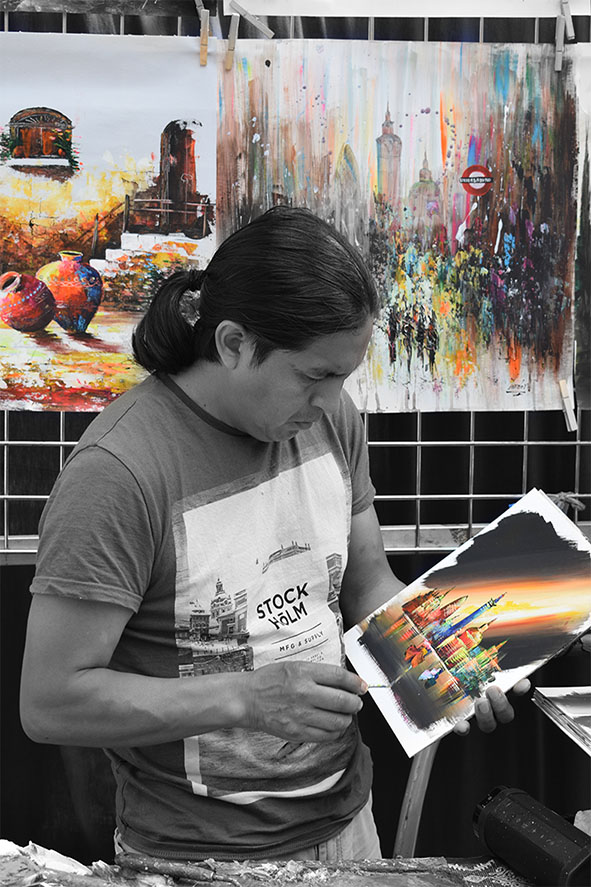
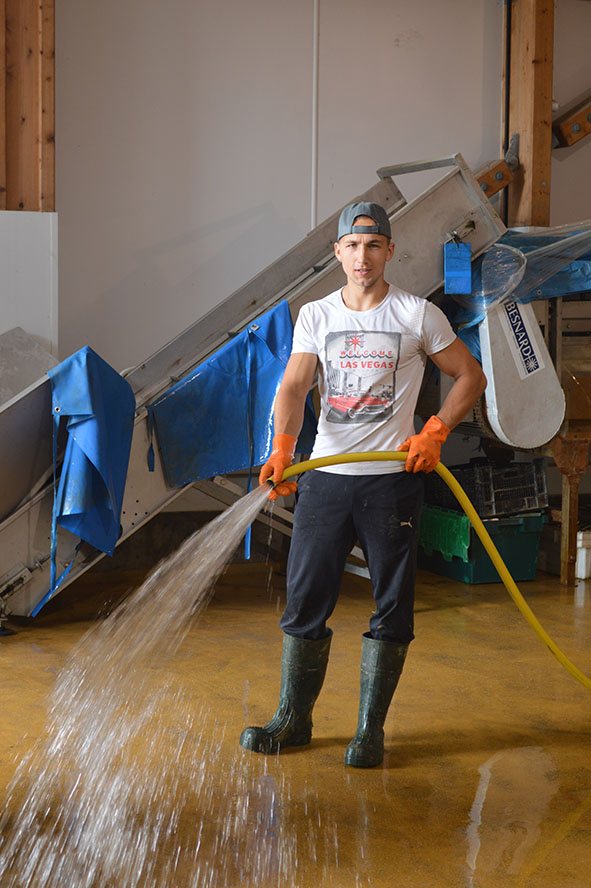
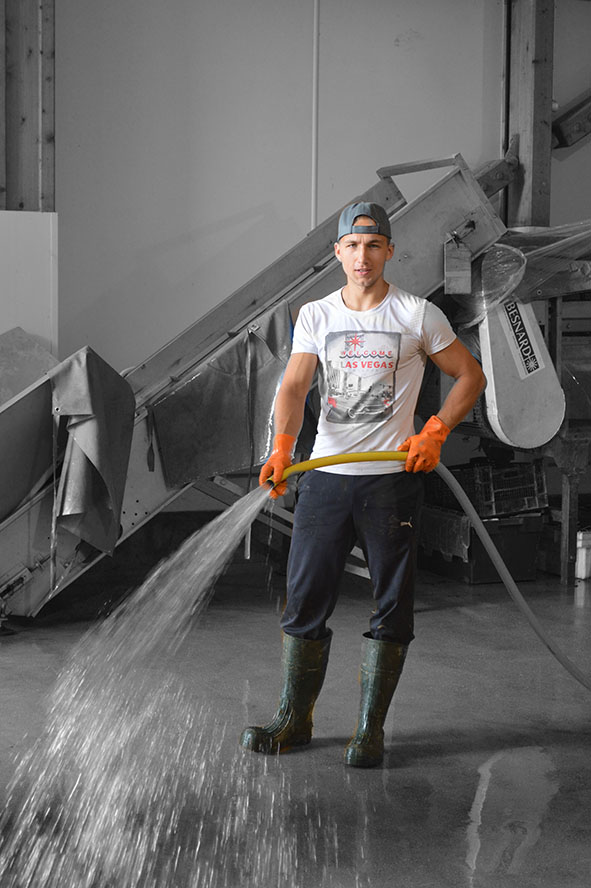
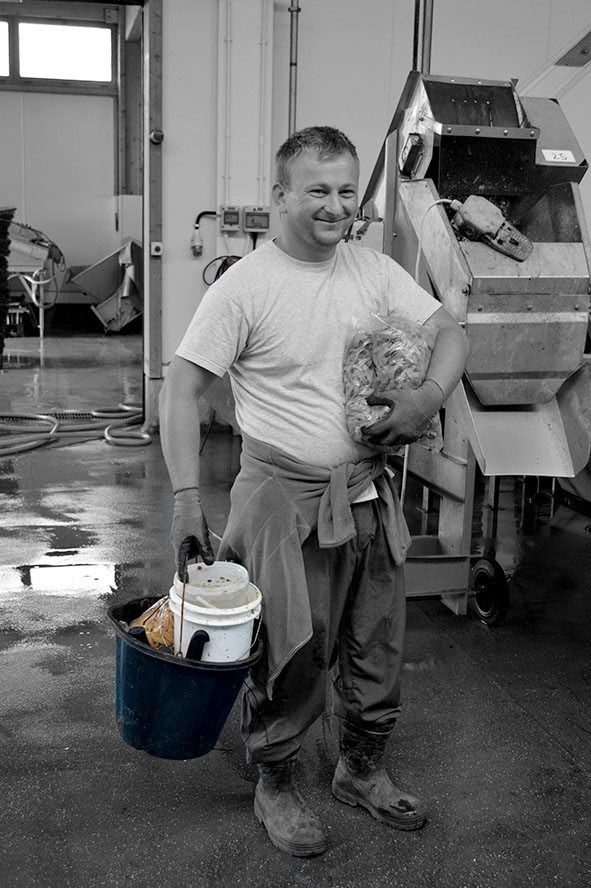
I have created a colour splash. I did this by making the image black and white then using the brush tool I started to add colour to certain parts of the picture. I chose to add colour to his art because they’re the main parts of the photo and have the most colour. By making the man black and white makes the colours in his pictures more noticeable.
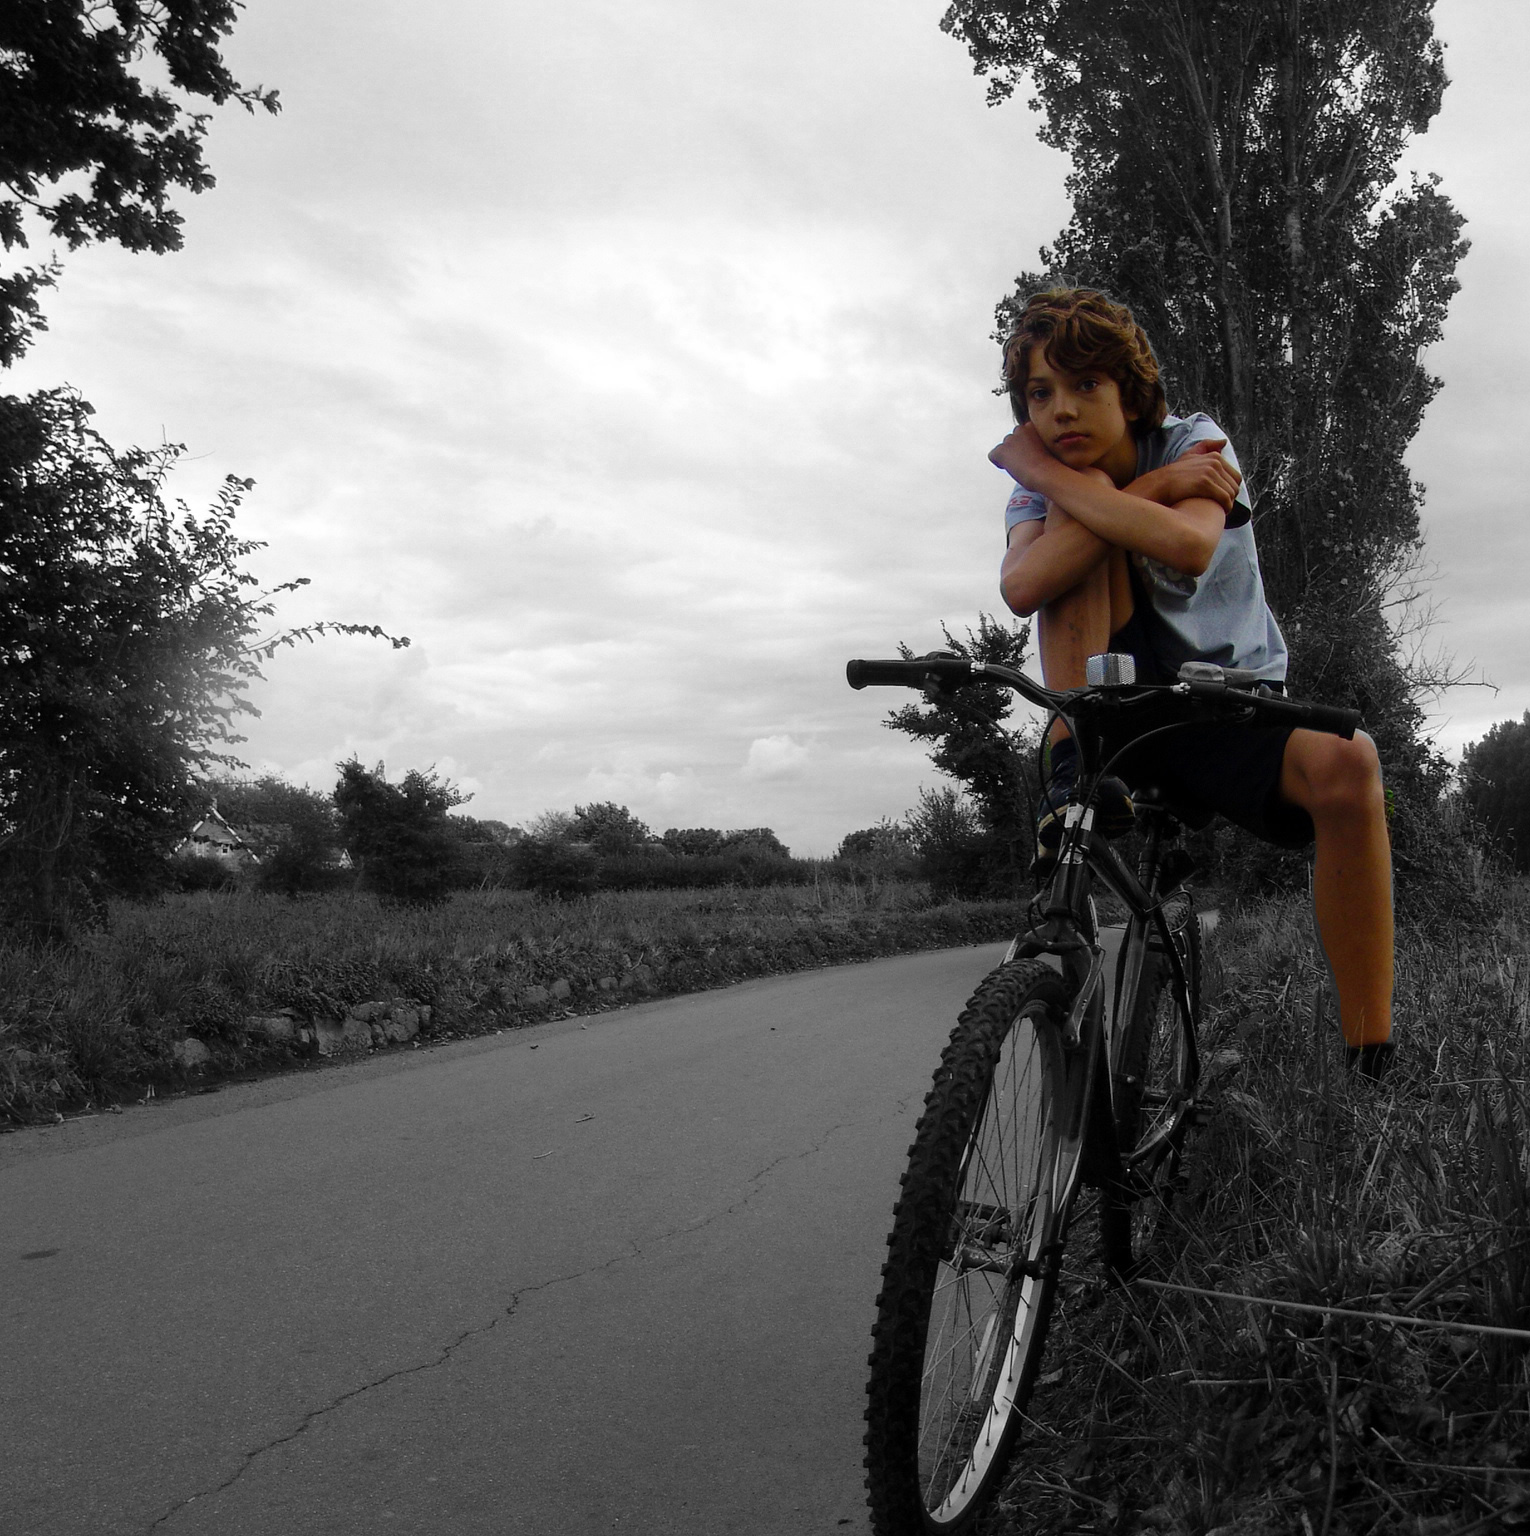 Today, I used a color splash technique to select various parts in the photograph to remain in color but other parts in black and white. To start off, I duplicated the layer using Ctrl + J. I made the background black and white and the new layer as color. In the toolbox I clicked the black square. Then using the brush tool, I selected areas of which I wanted to keep in color. Carefully, I used the opacity tool and the zoom tool to have a precise level of accuracy in selecting the finer areas of the photograph.
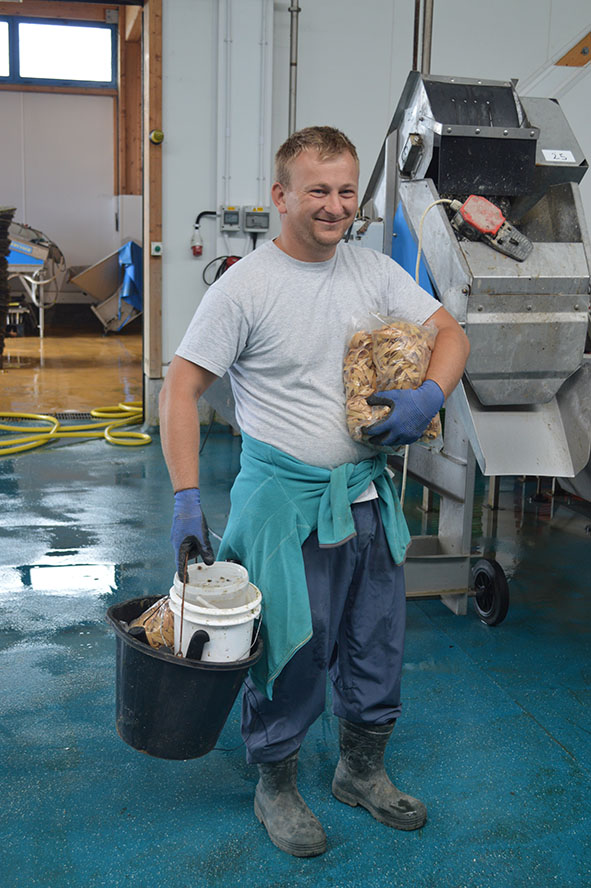
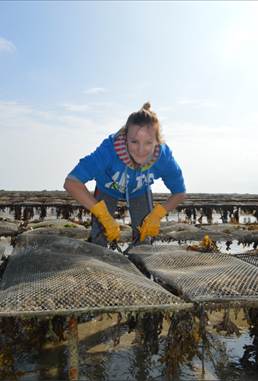
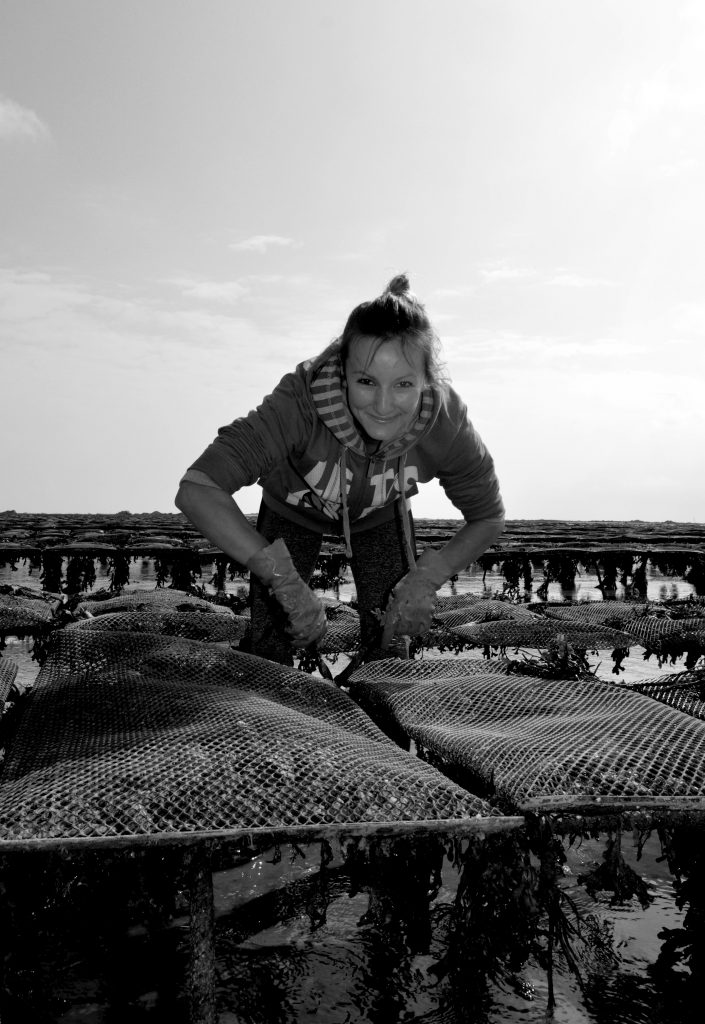
I didn’t crop this image much because i really like the placement of the person and the background. The woman is breaking the rule of thirds and is in the centre of the image making her the focal point. Depth of field is then all throughout the image created by the oyster beds around the model. the are in the foreground, mid and background creating lots of depths. The oyster beds also break the rule of thirds creating a strict line through the middle making there two separate parts of the image that the woman holds together.The two sections of the image create high contrast between light and dark also giving the photo more depth. the line through the middle of the photograph gives the image leading lines and takes your eye across the centre of the image. i really like this photo because she is looking at the camera whilst doing work which makes it a good Environmental portrait.
Just another Hautlieu Creative site