

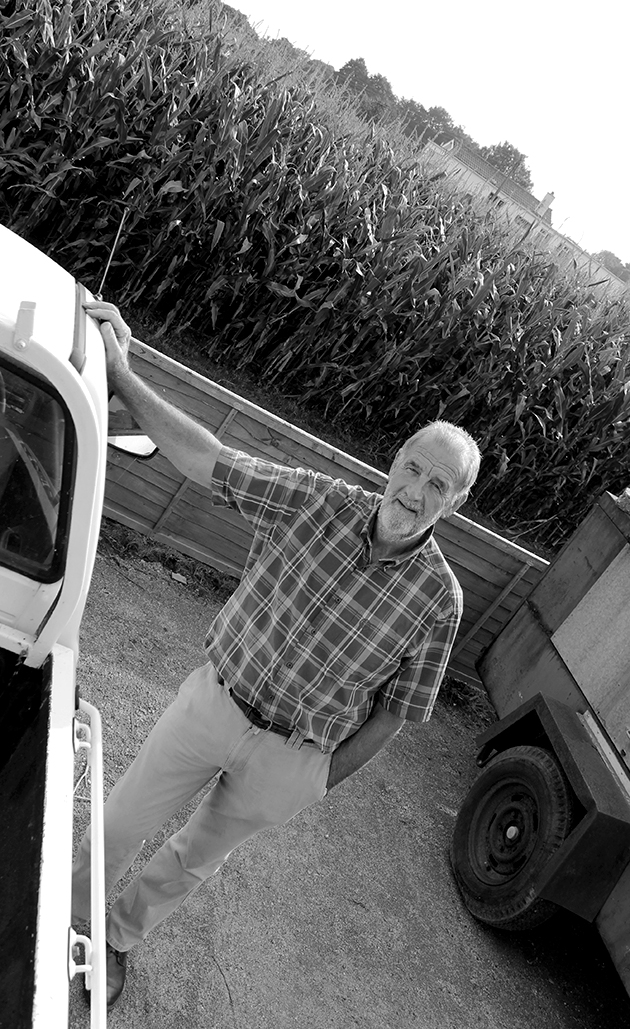
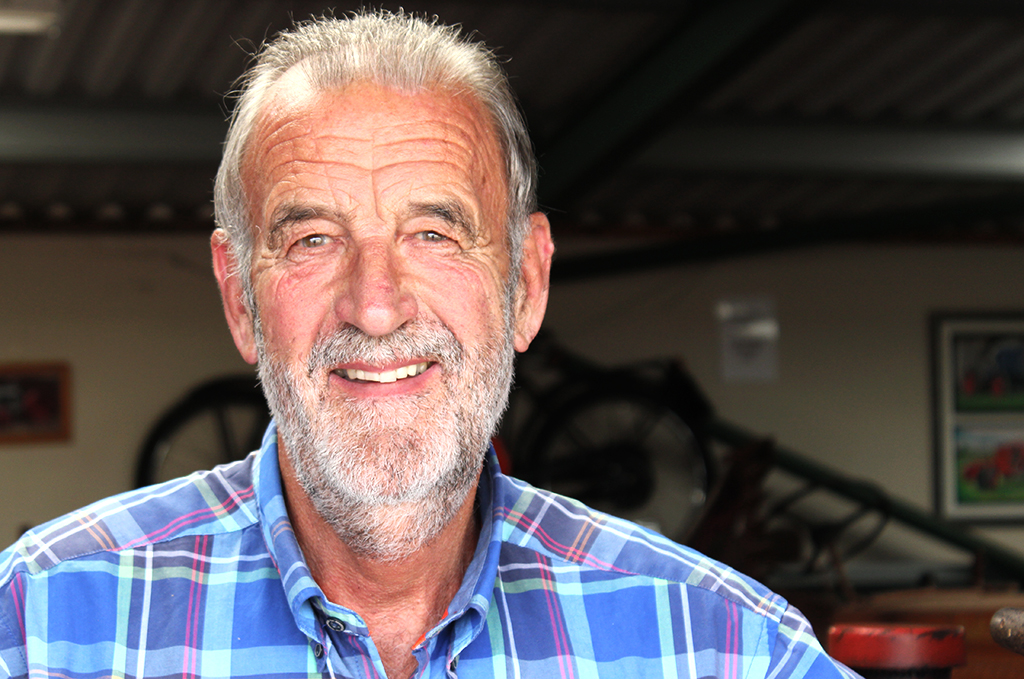


Today in the lesson, I used the program ‘Adobe Photoshop’ to edit the image I took of my Grandpa with his tractors on one of my shoots for environmental portraiture.
Above is the original and below is the edited version. Firstly, I cropped the photograph to enable me to focus on the main aspects of the picture, this being, my Grandpa’s face, the steering wheel and the poster behind him, also about tractors. When cropping the picture, I had make sure I was obeying the rule of thirds by aligning key parts with the lines and intersections. In this photo, my model’s face is centered but I believe it has a positive effect on the viewer.
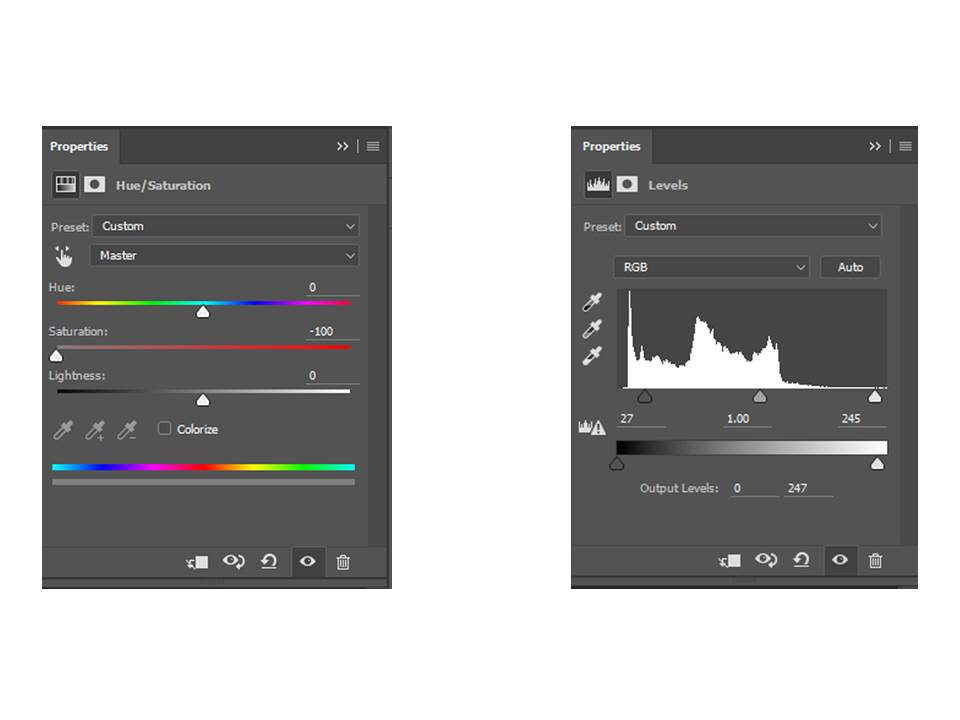
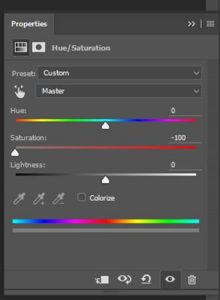
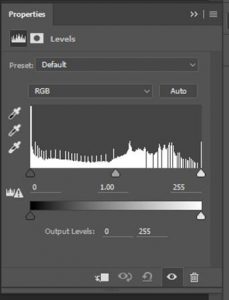
Next, I adjusted the saturation so there was none – it was black and white. By doing this, I was able to use the ‘levels’ tool on Photoshop to alter the intensity of the blacks, whites and mid-tones; essentially changing the contrast. I found a balance I was happy with, which I thought looked effective for the photo.
Finally, once I was happy with the outcome, I flattened this photograph by going to ‘layers’ then ‘flatten image’. This allowed me to put it on the blog to show you my thoughts.

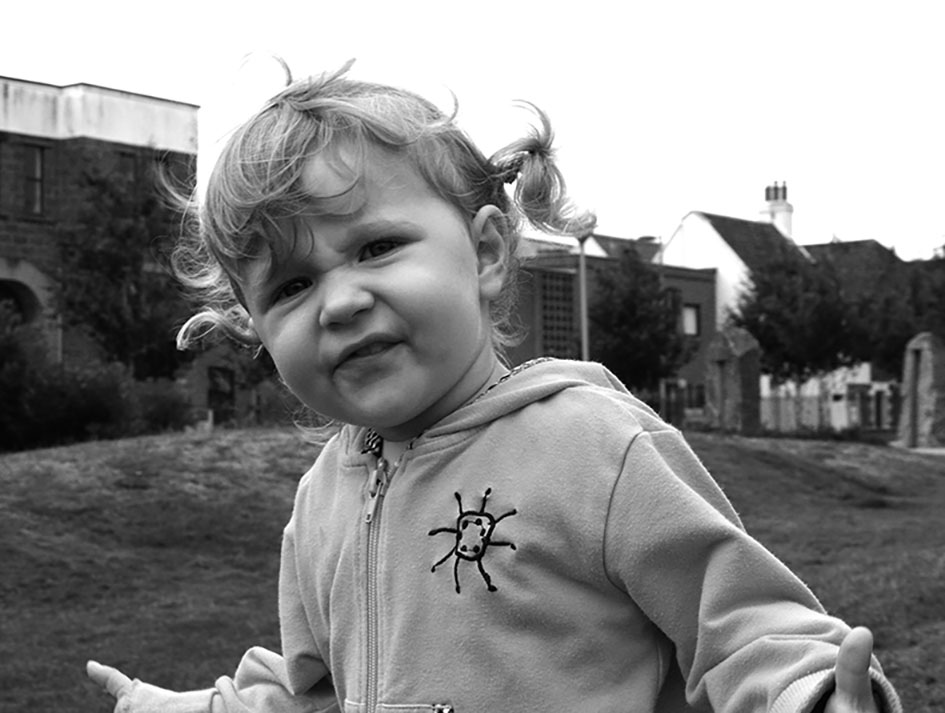
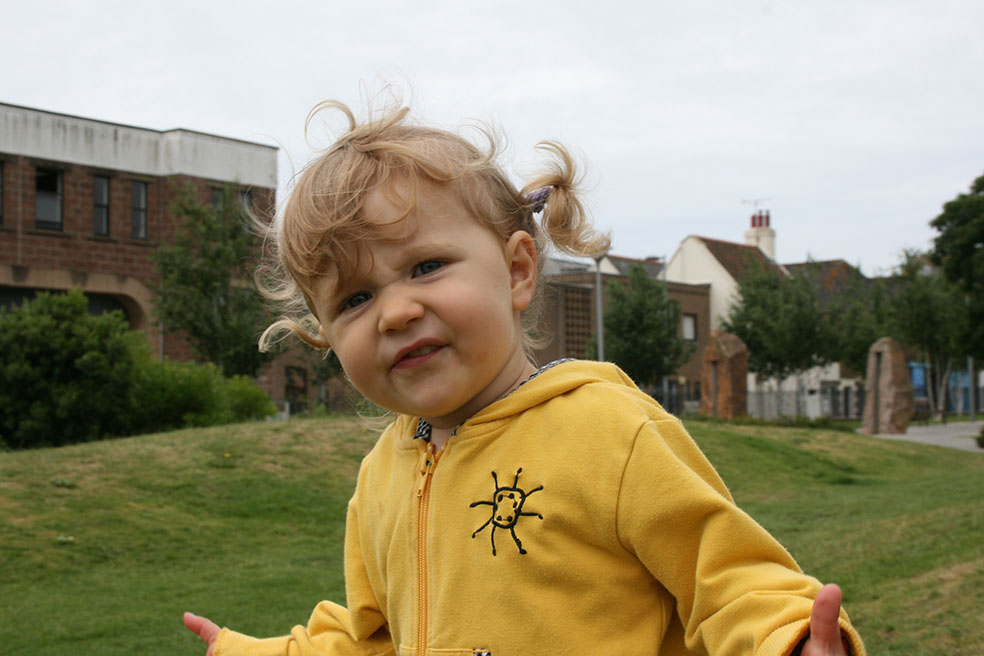
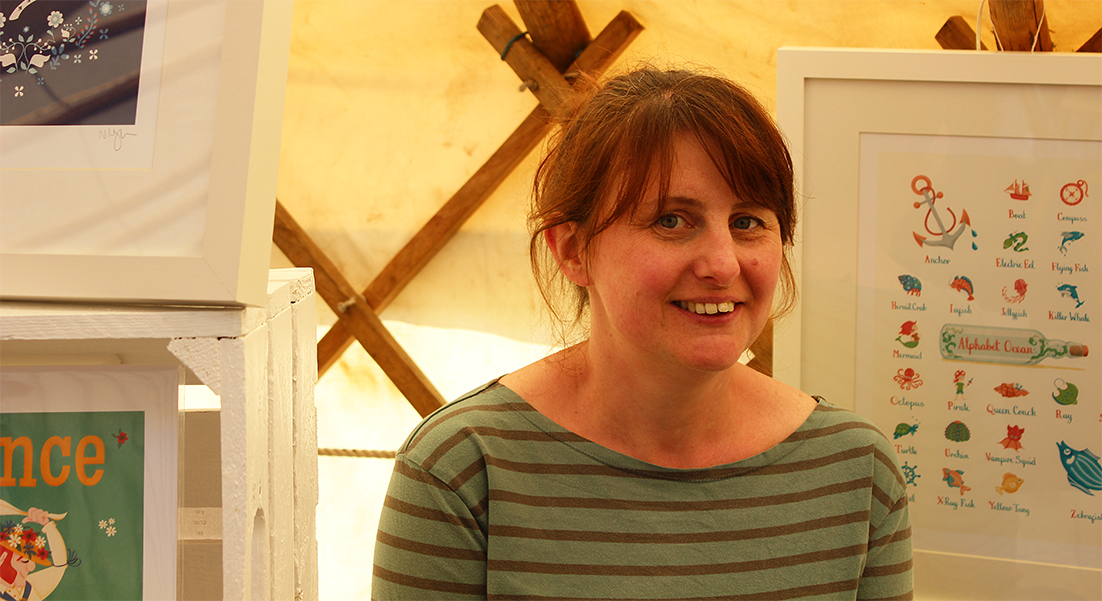
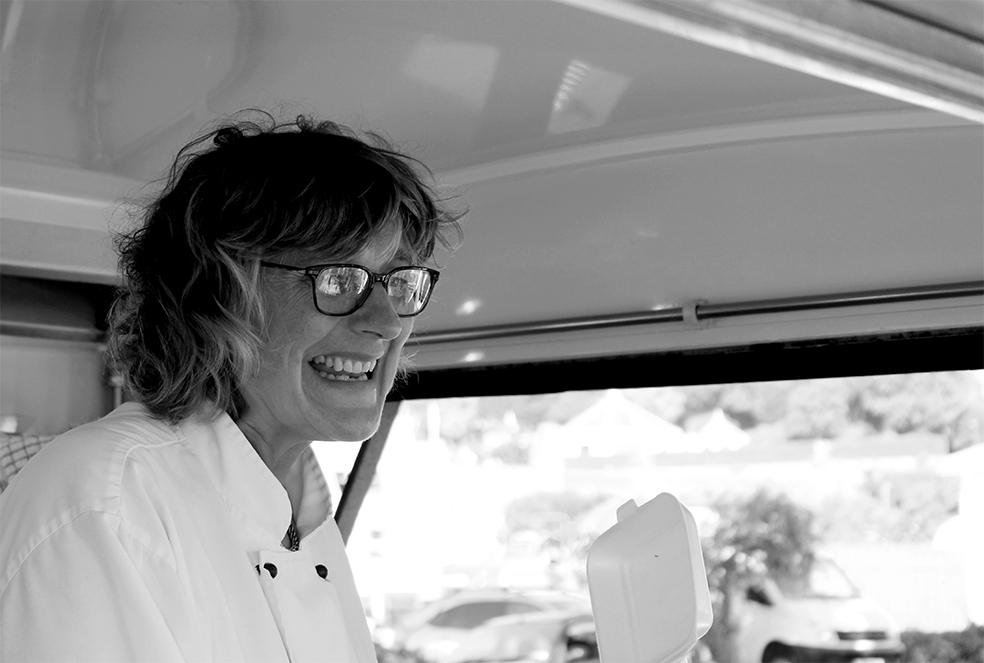
This is the original and the edited version of one of my environmental portrait images. We used the Adobe Photoshop to edit the image. To begin with, I cropped the image to get rid of some of the background, so the foreground filled more of the image. I then experimented with the saturation , by either making it more saturated or less saturated. I decided to make my image black and white, because it creates a natural vintage feel to the image. Once I had done the saturation, I then slightly adjusted the contrast of the image, so that the image looked more defined. To finish I flattened the image.
When editing my image, I tried applying the rule of thirds so that the photo looked more pleasing to the eye. I also really like the use of the natural light in this image because it softly eliminates the girls face and features.
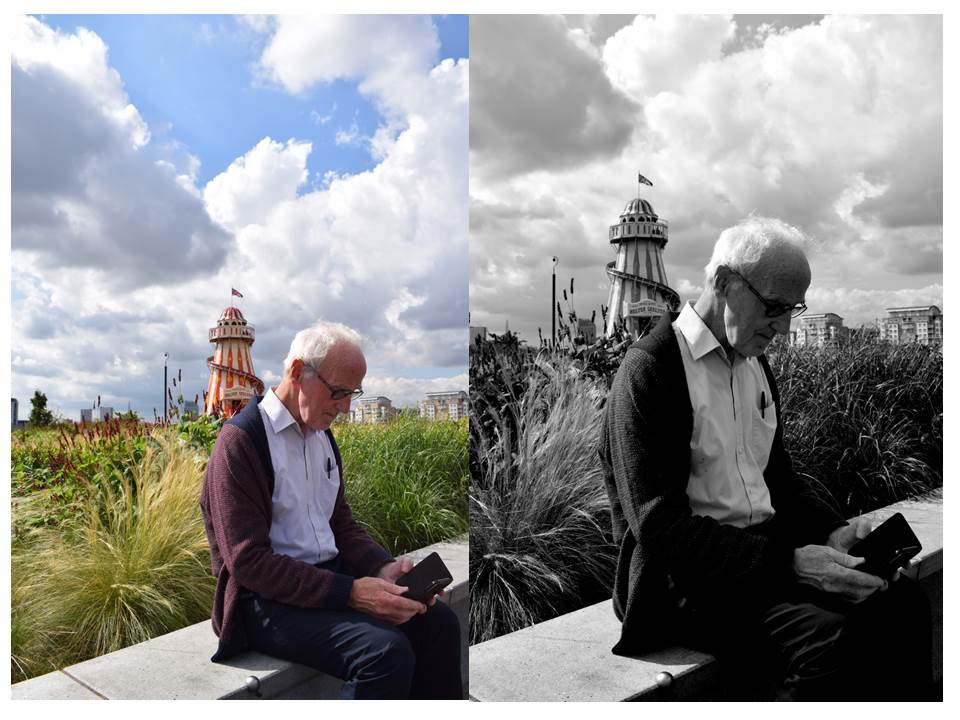
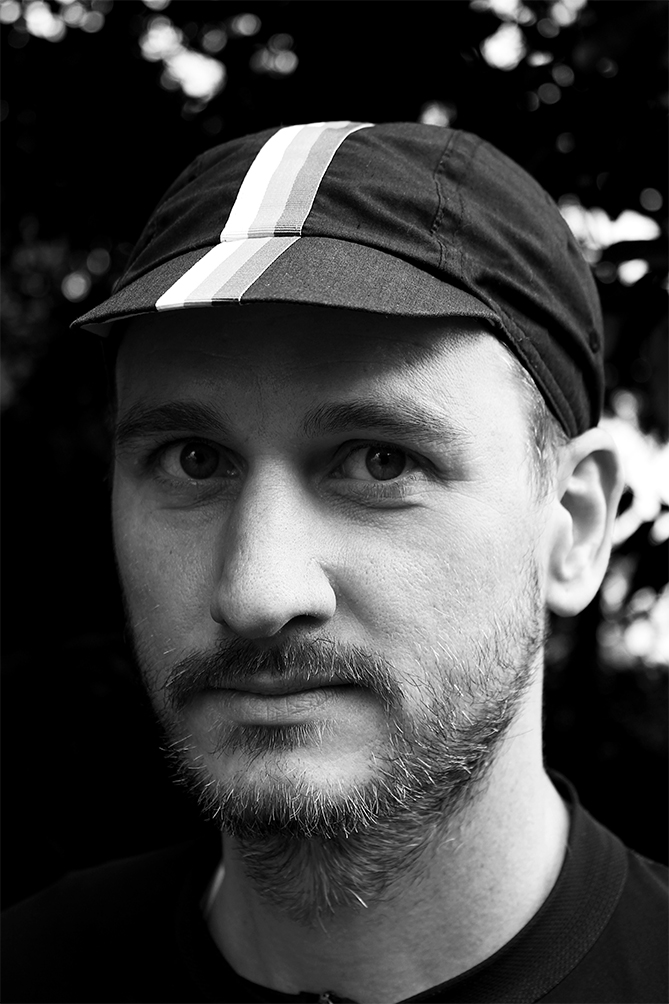
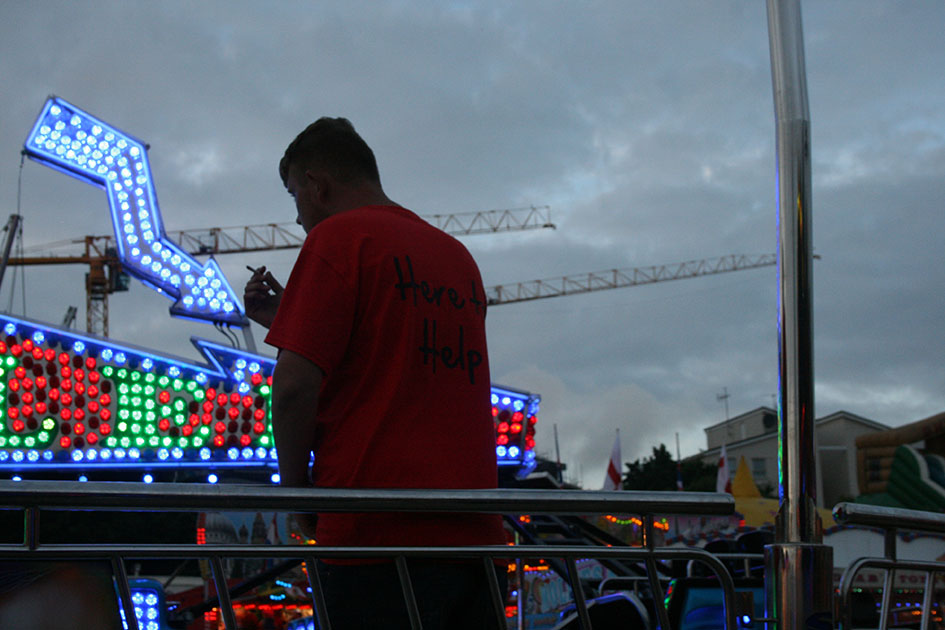
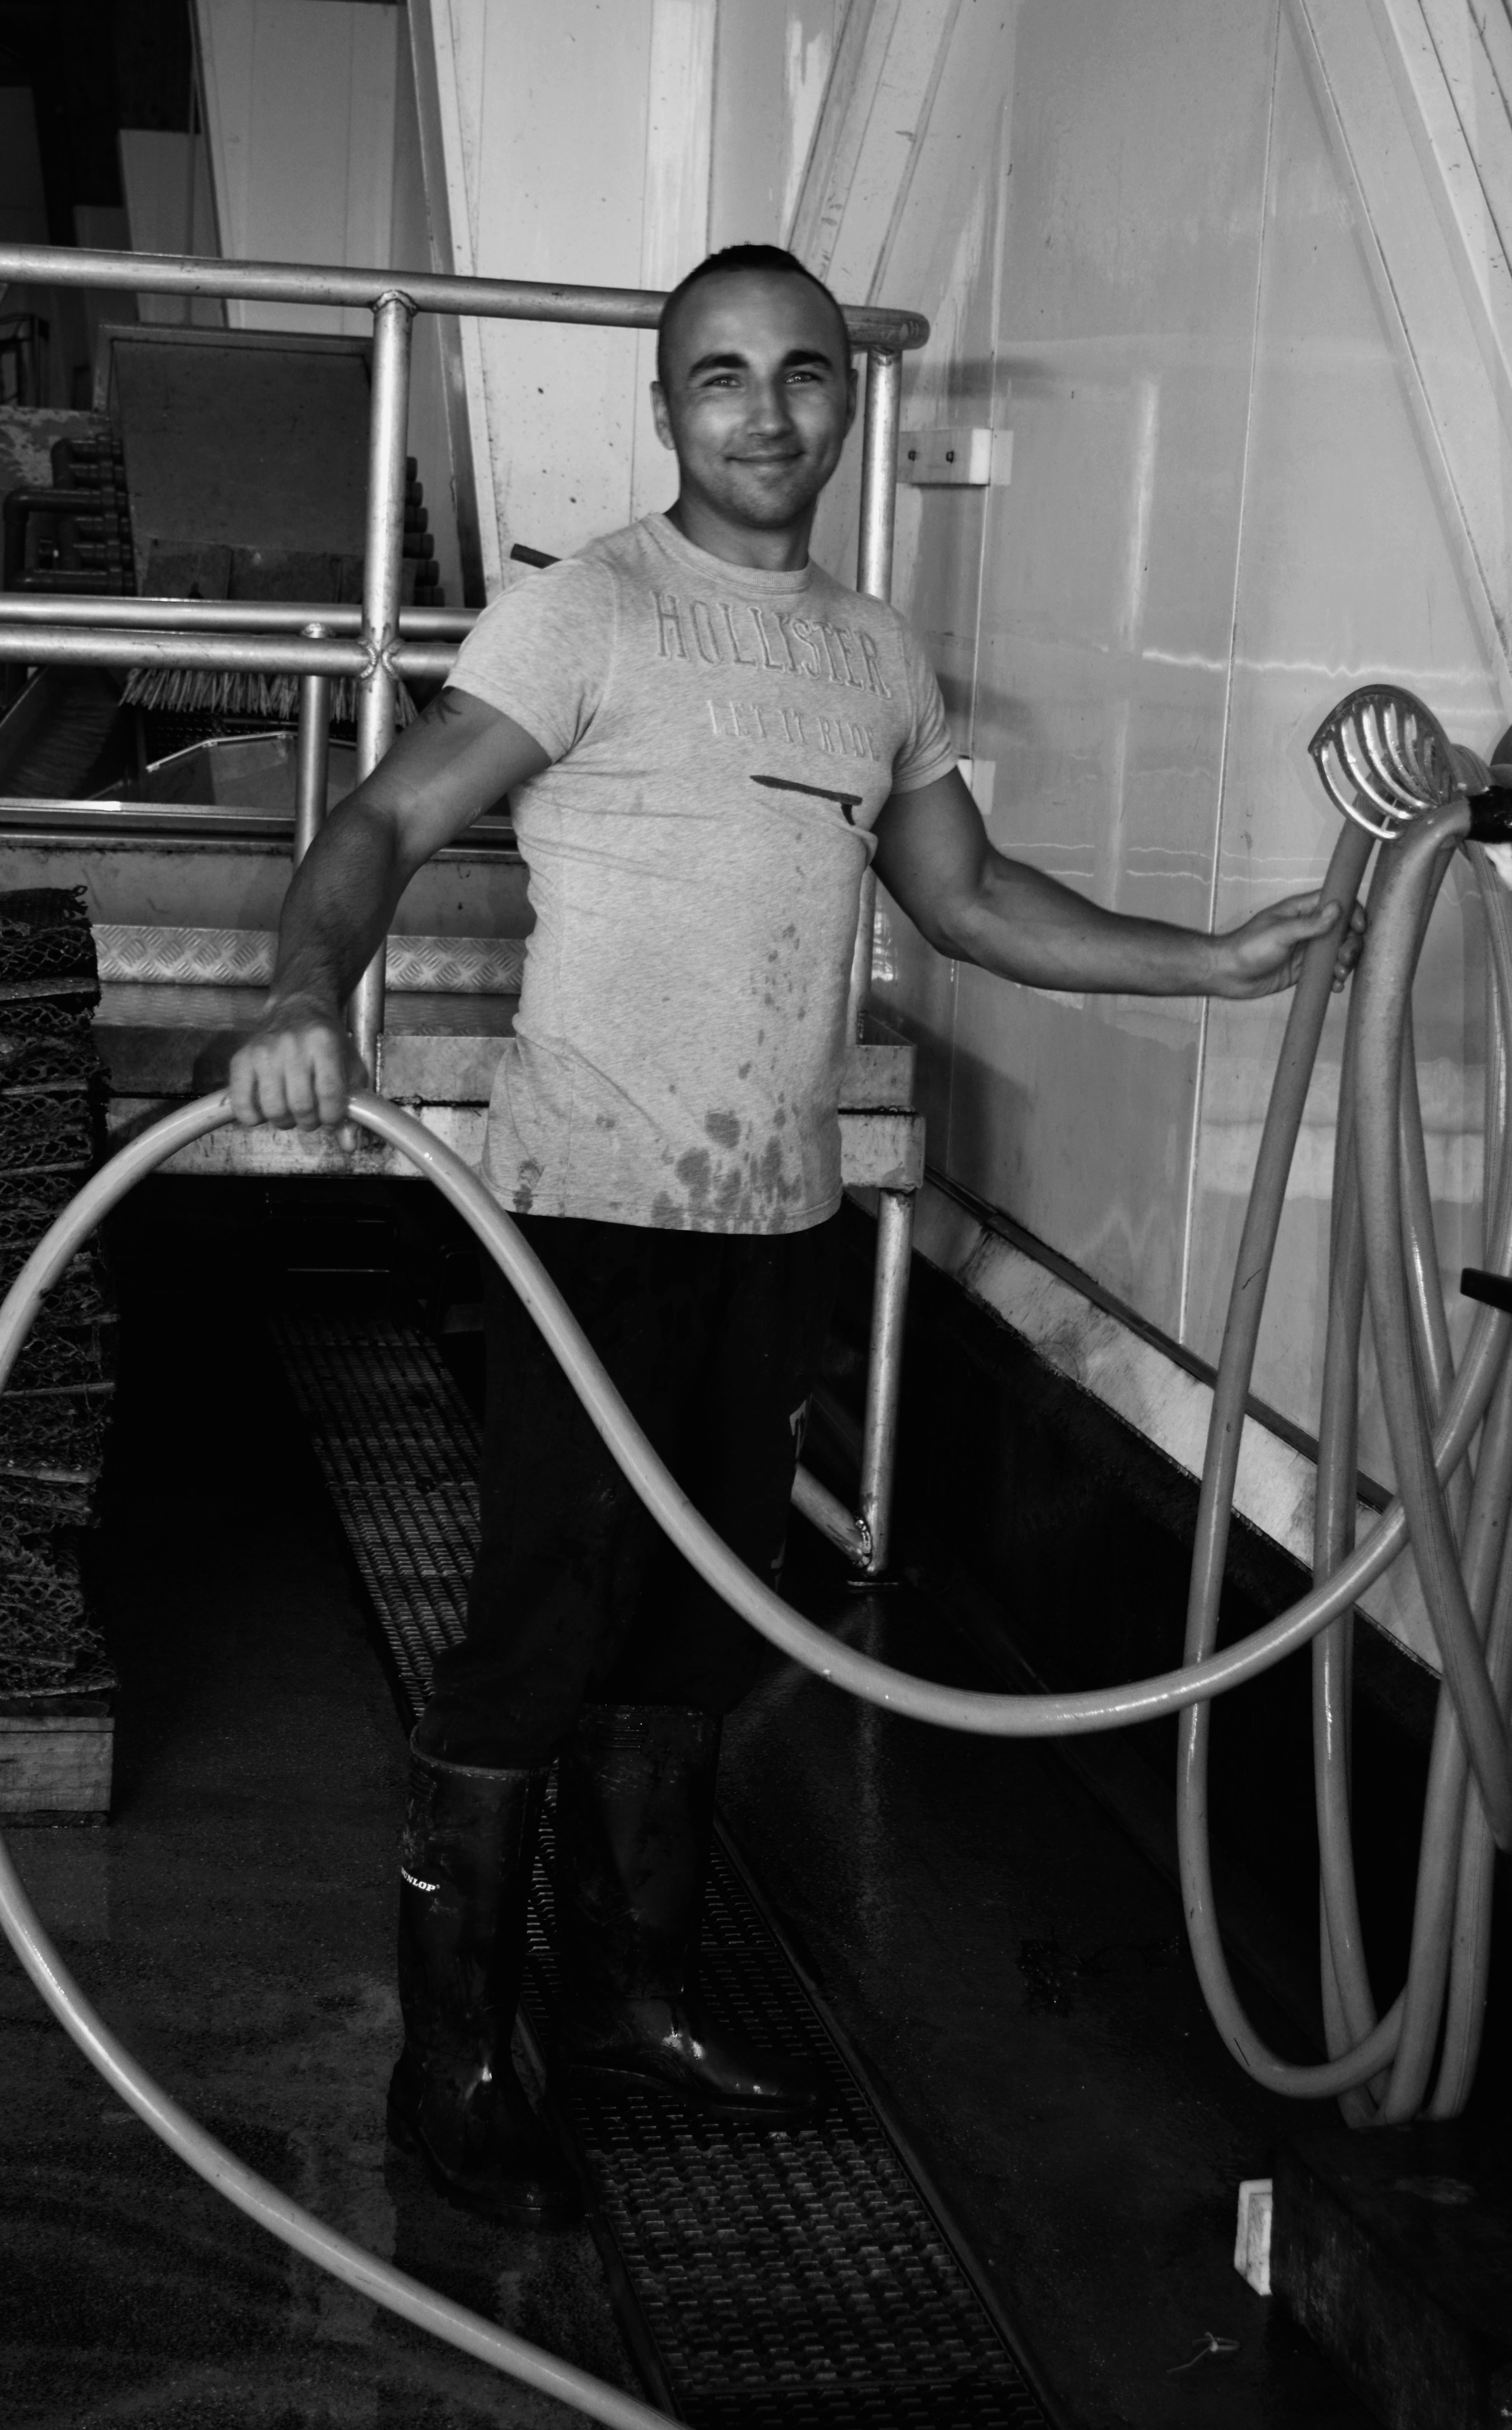
When editing this photo I cropped out all the unimportant things of the image and focused on the man. I then de-saturated the photograph by using the saturation tool and turning it to -100. This took all the colour out the photograph. I then adjusted the contrast using the levels tool. This allowed me to adjust the dark’s, grey’s and whites of the image. Then I combined all these layers to create one picture by using flatten image.
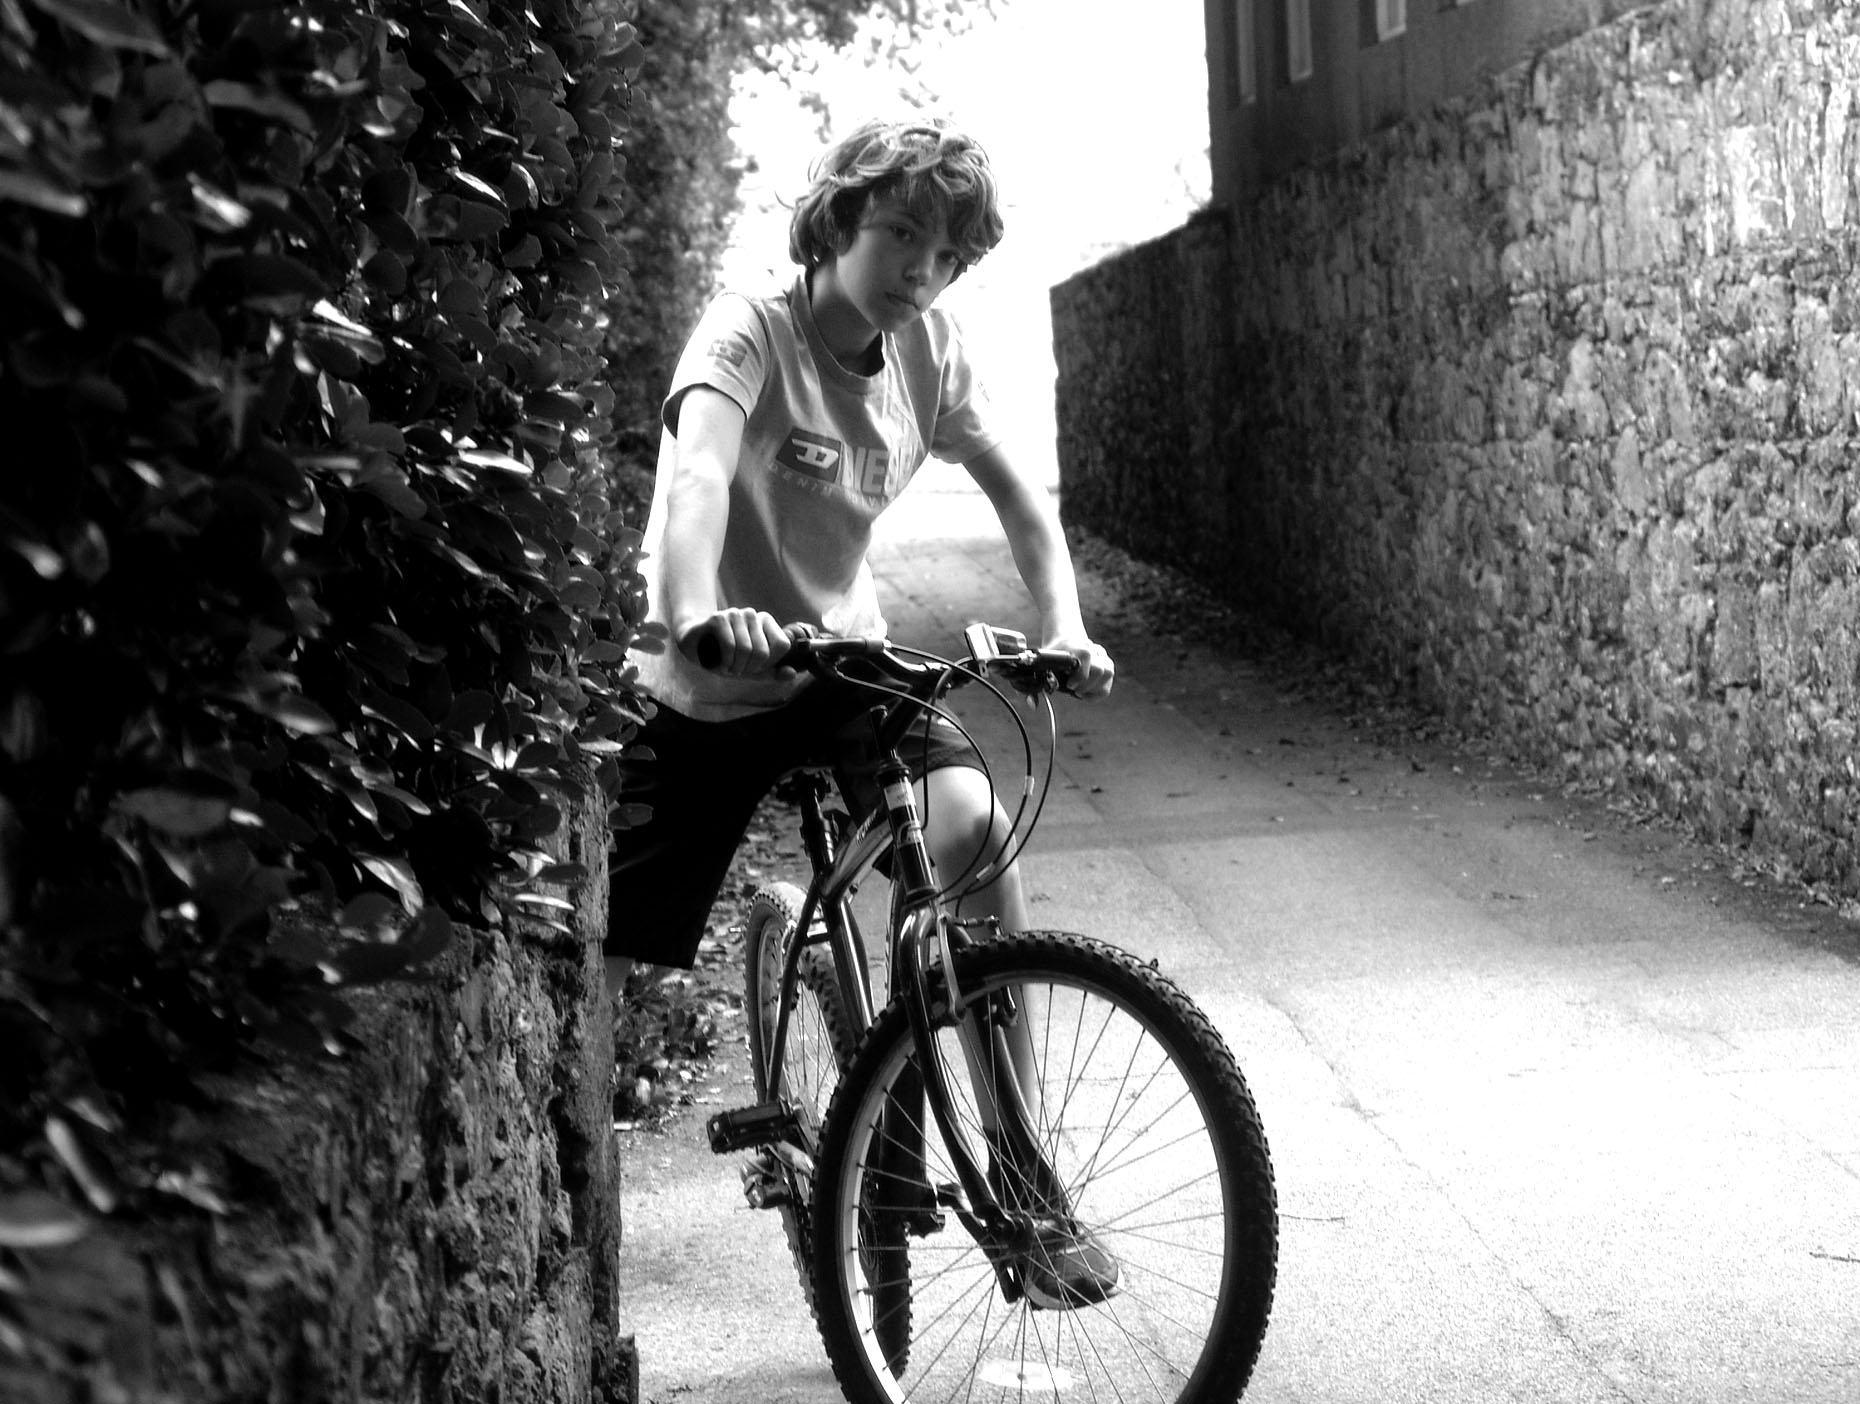
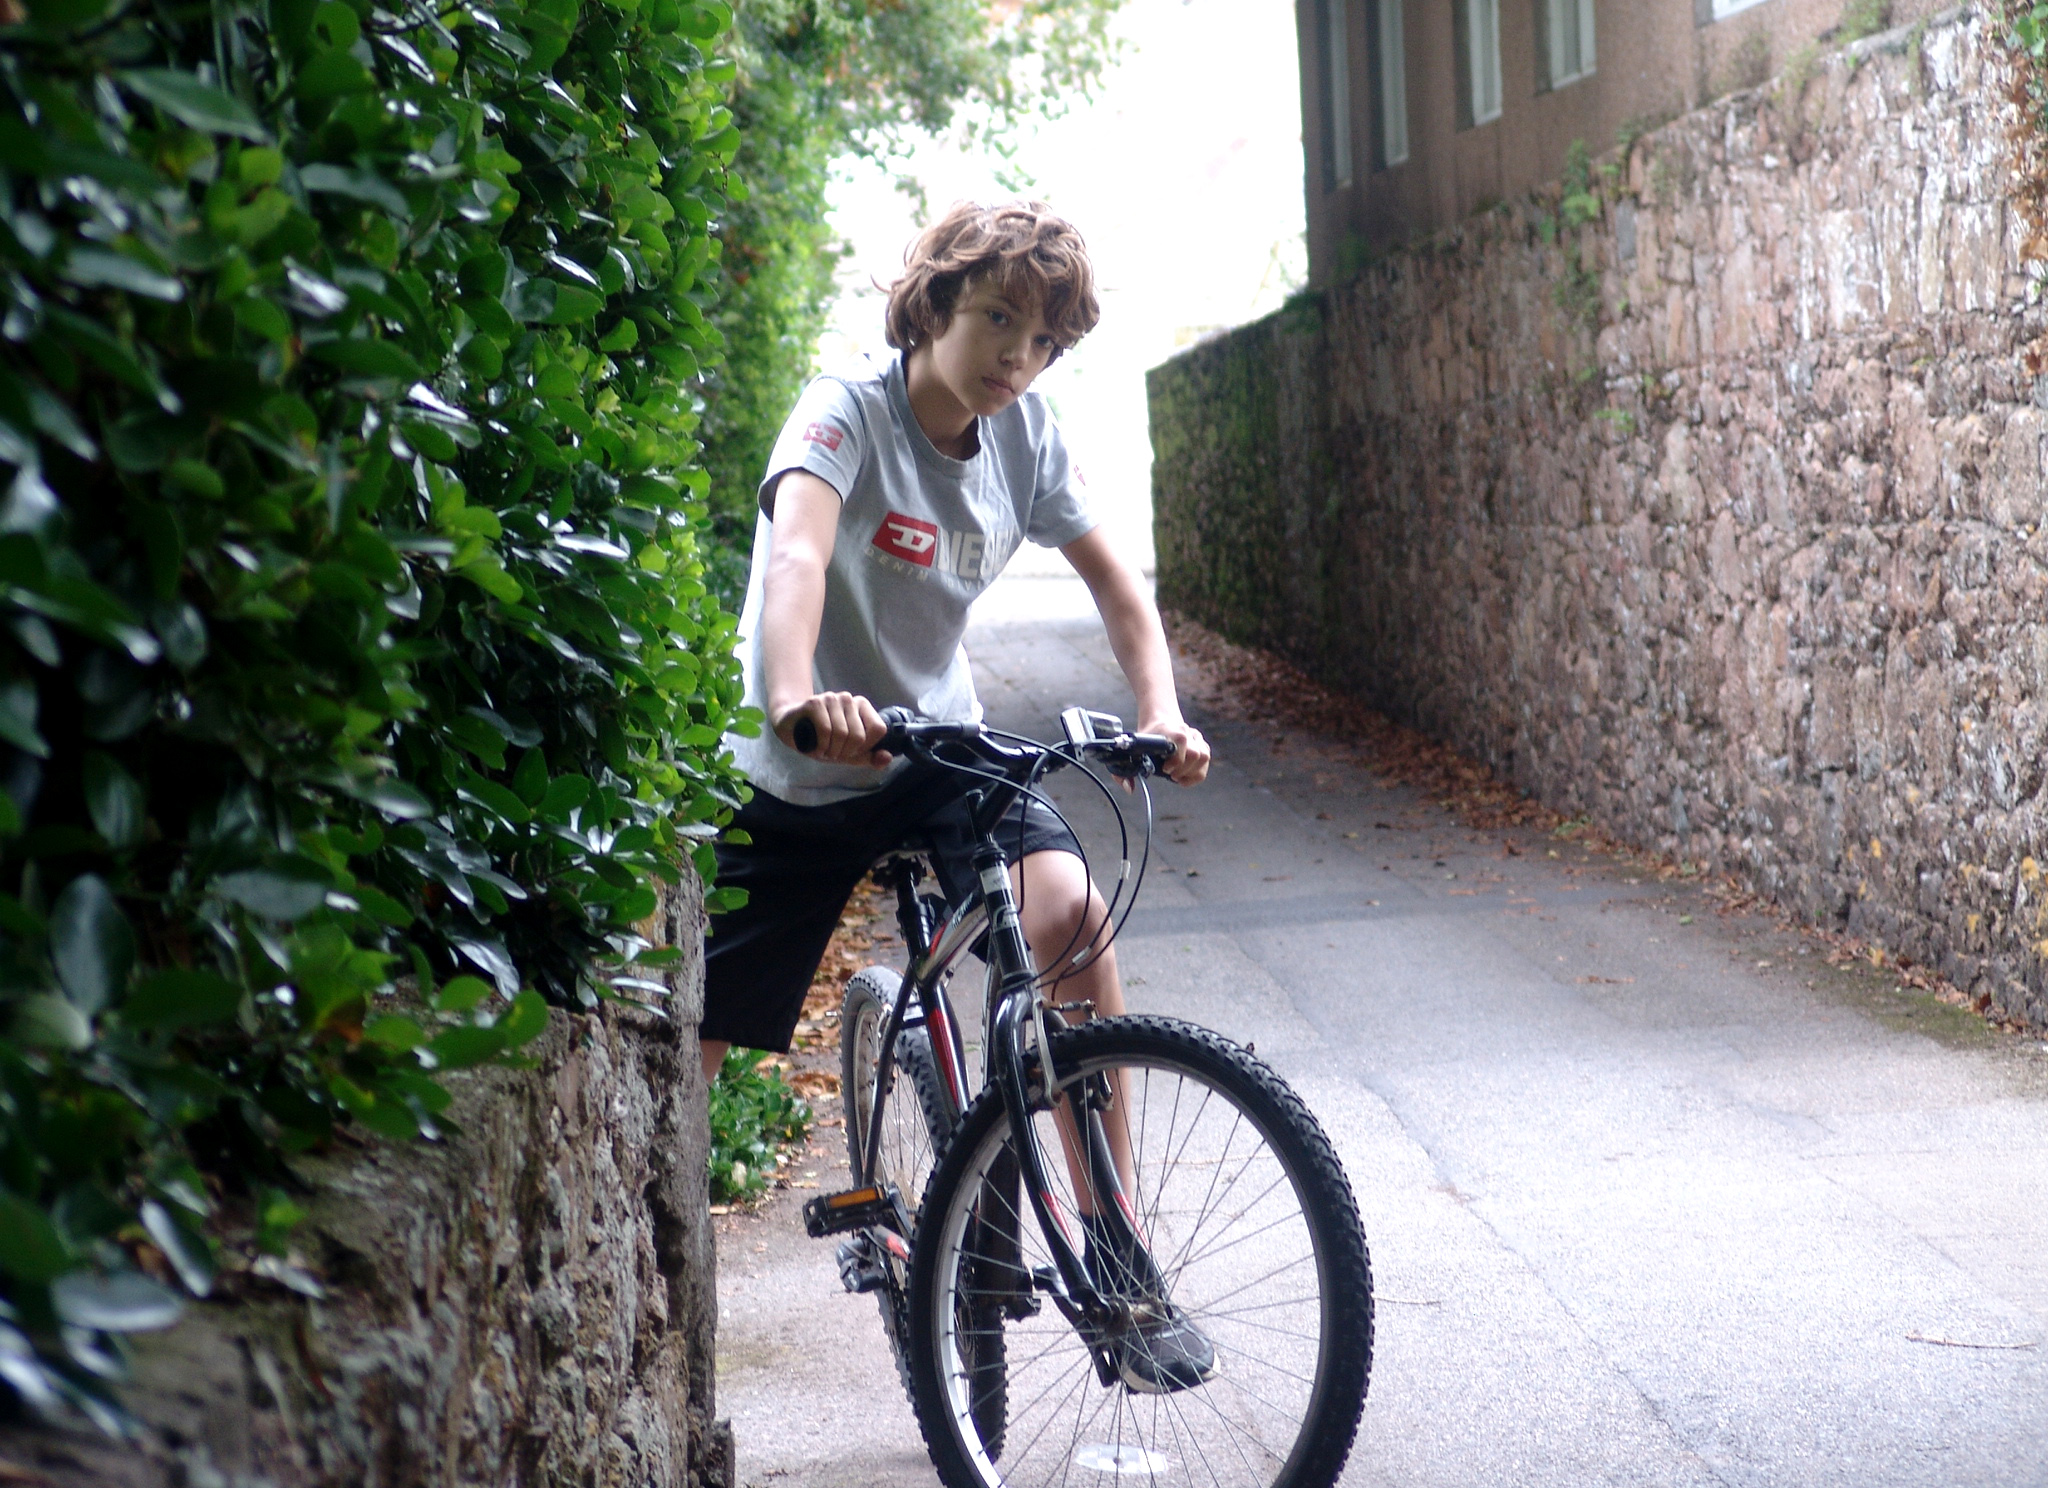
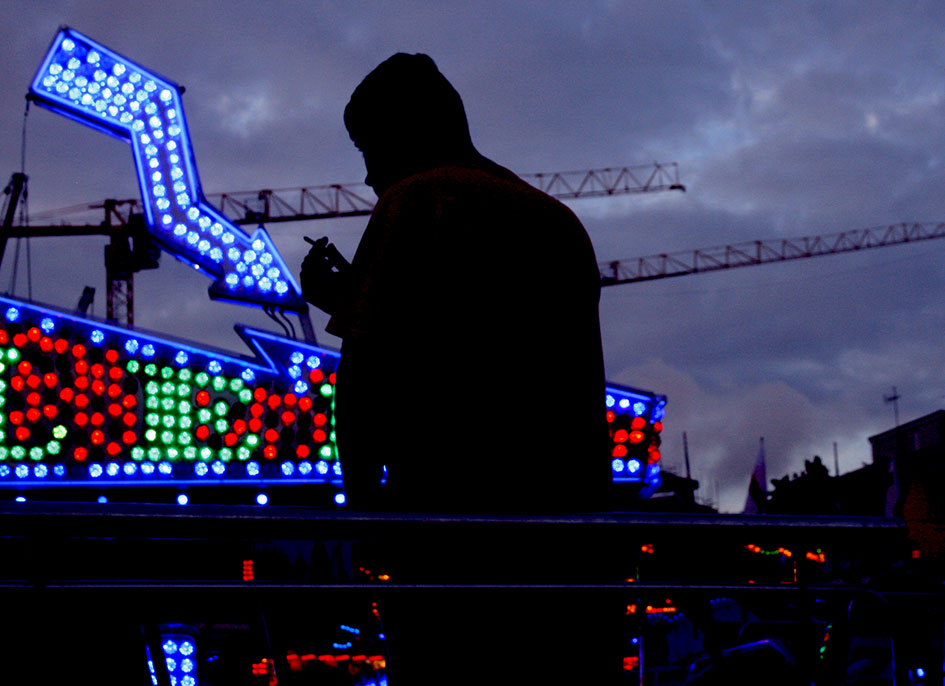
The top photograph is the edited version, and the bottom is the original.
To edit the photograph, I firstly cropped the boundaries so that composition of the photograph fits in well with the rule of thirds. I secondly, changed the photograph to black and white by decreasing the saturation to nothing. I did this because traditionally, portrait photographs were taken in black and white. Finally, I adjusted the contrast using the levels tool. By doing this, I enhanced the dark areas and enhanced the bright areas. To compliment both of these factors I then adjusted the grey scale to create a balance between the two sides of light.
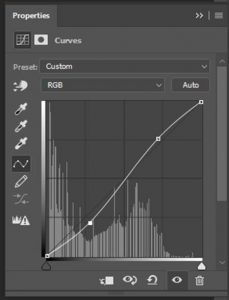
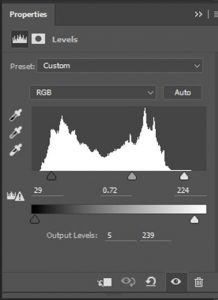
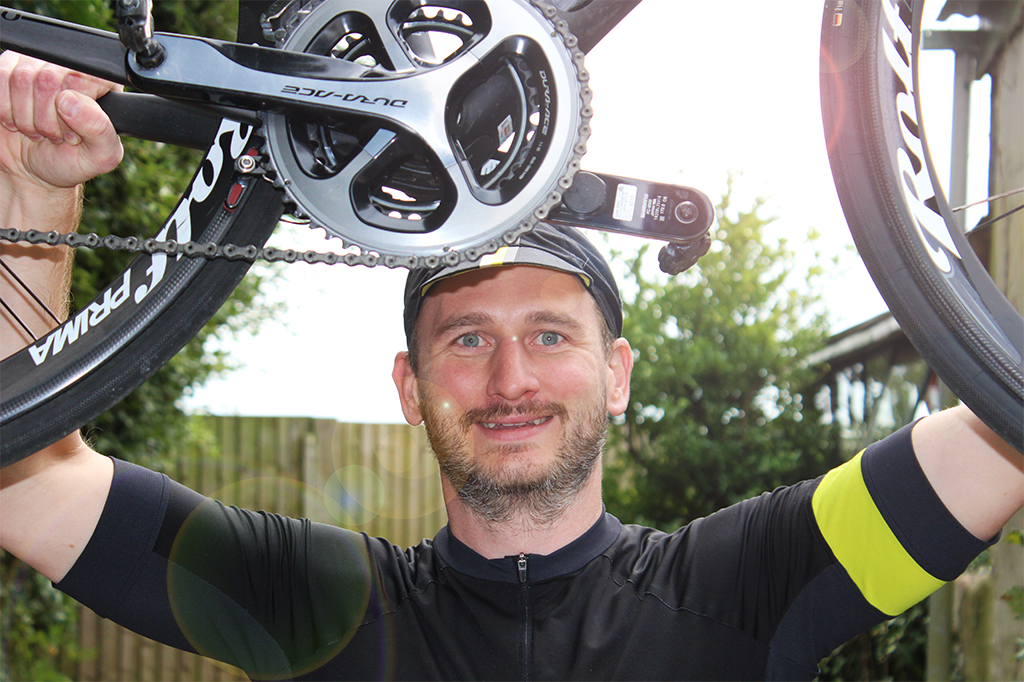
I edited this image by lowing the saturation so that the image turned to black and white. I then used the Levels tool and altered the histogram so there was more contrast and also the Curves tool to change the lighting in specific areas of the photograph. I think that by having the image in black and white it makes the photo seem more like how original environmental portraits.