
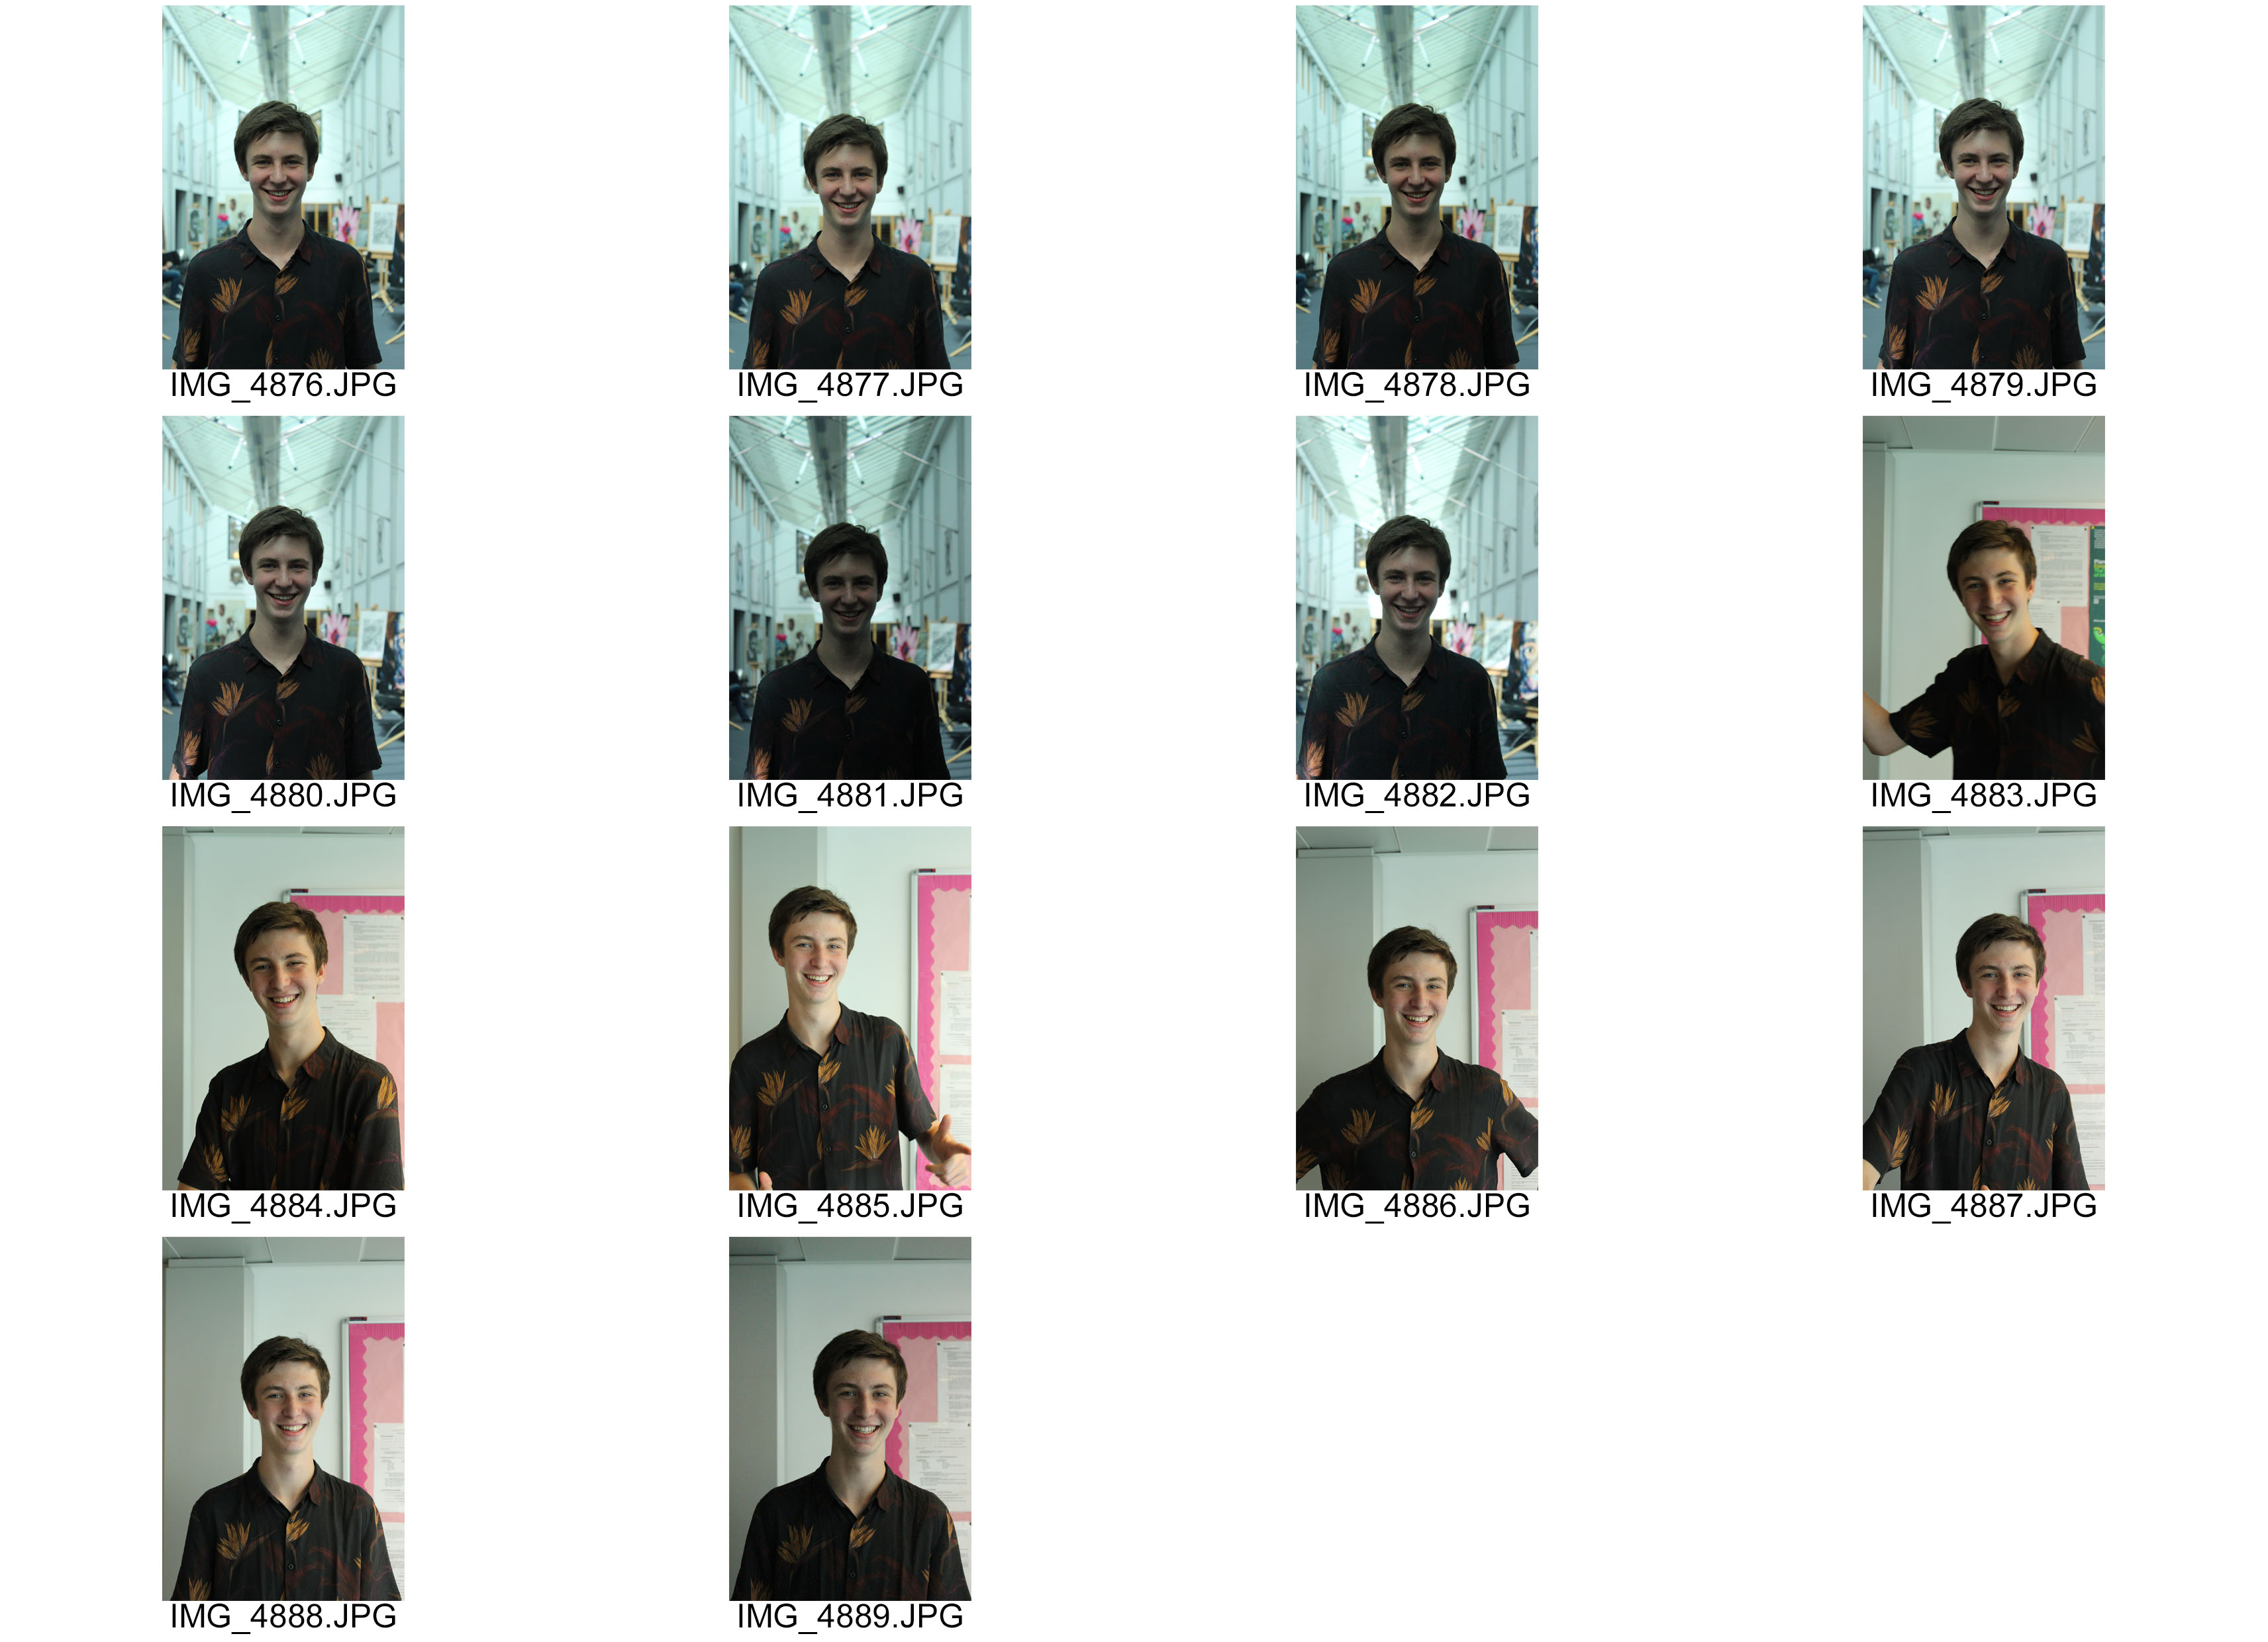
Today in the lesson, we experimented with using different ISO settings on our cameras. We went around the school and chose a model to take portraits of, positioned them in an area which was light in colour and took their photo using each of the ISO settings ranging from 100-6400. We then repeated this but in an area which was dark in colour. For each image, I had to tell our subject to keep still so I could get the best possible outcome.
Here is the photoshoot. Now, the difference is hugely noticeable because the light conditions weren’t perfect but it still gives me a vague idea of the uses of ISO and it’s benefits; the lower the ISO number, the less sensitive it will be to light. However, a higher number increases sensitivity to light.
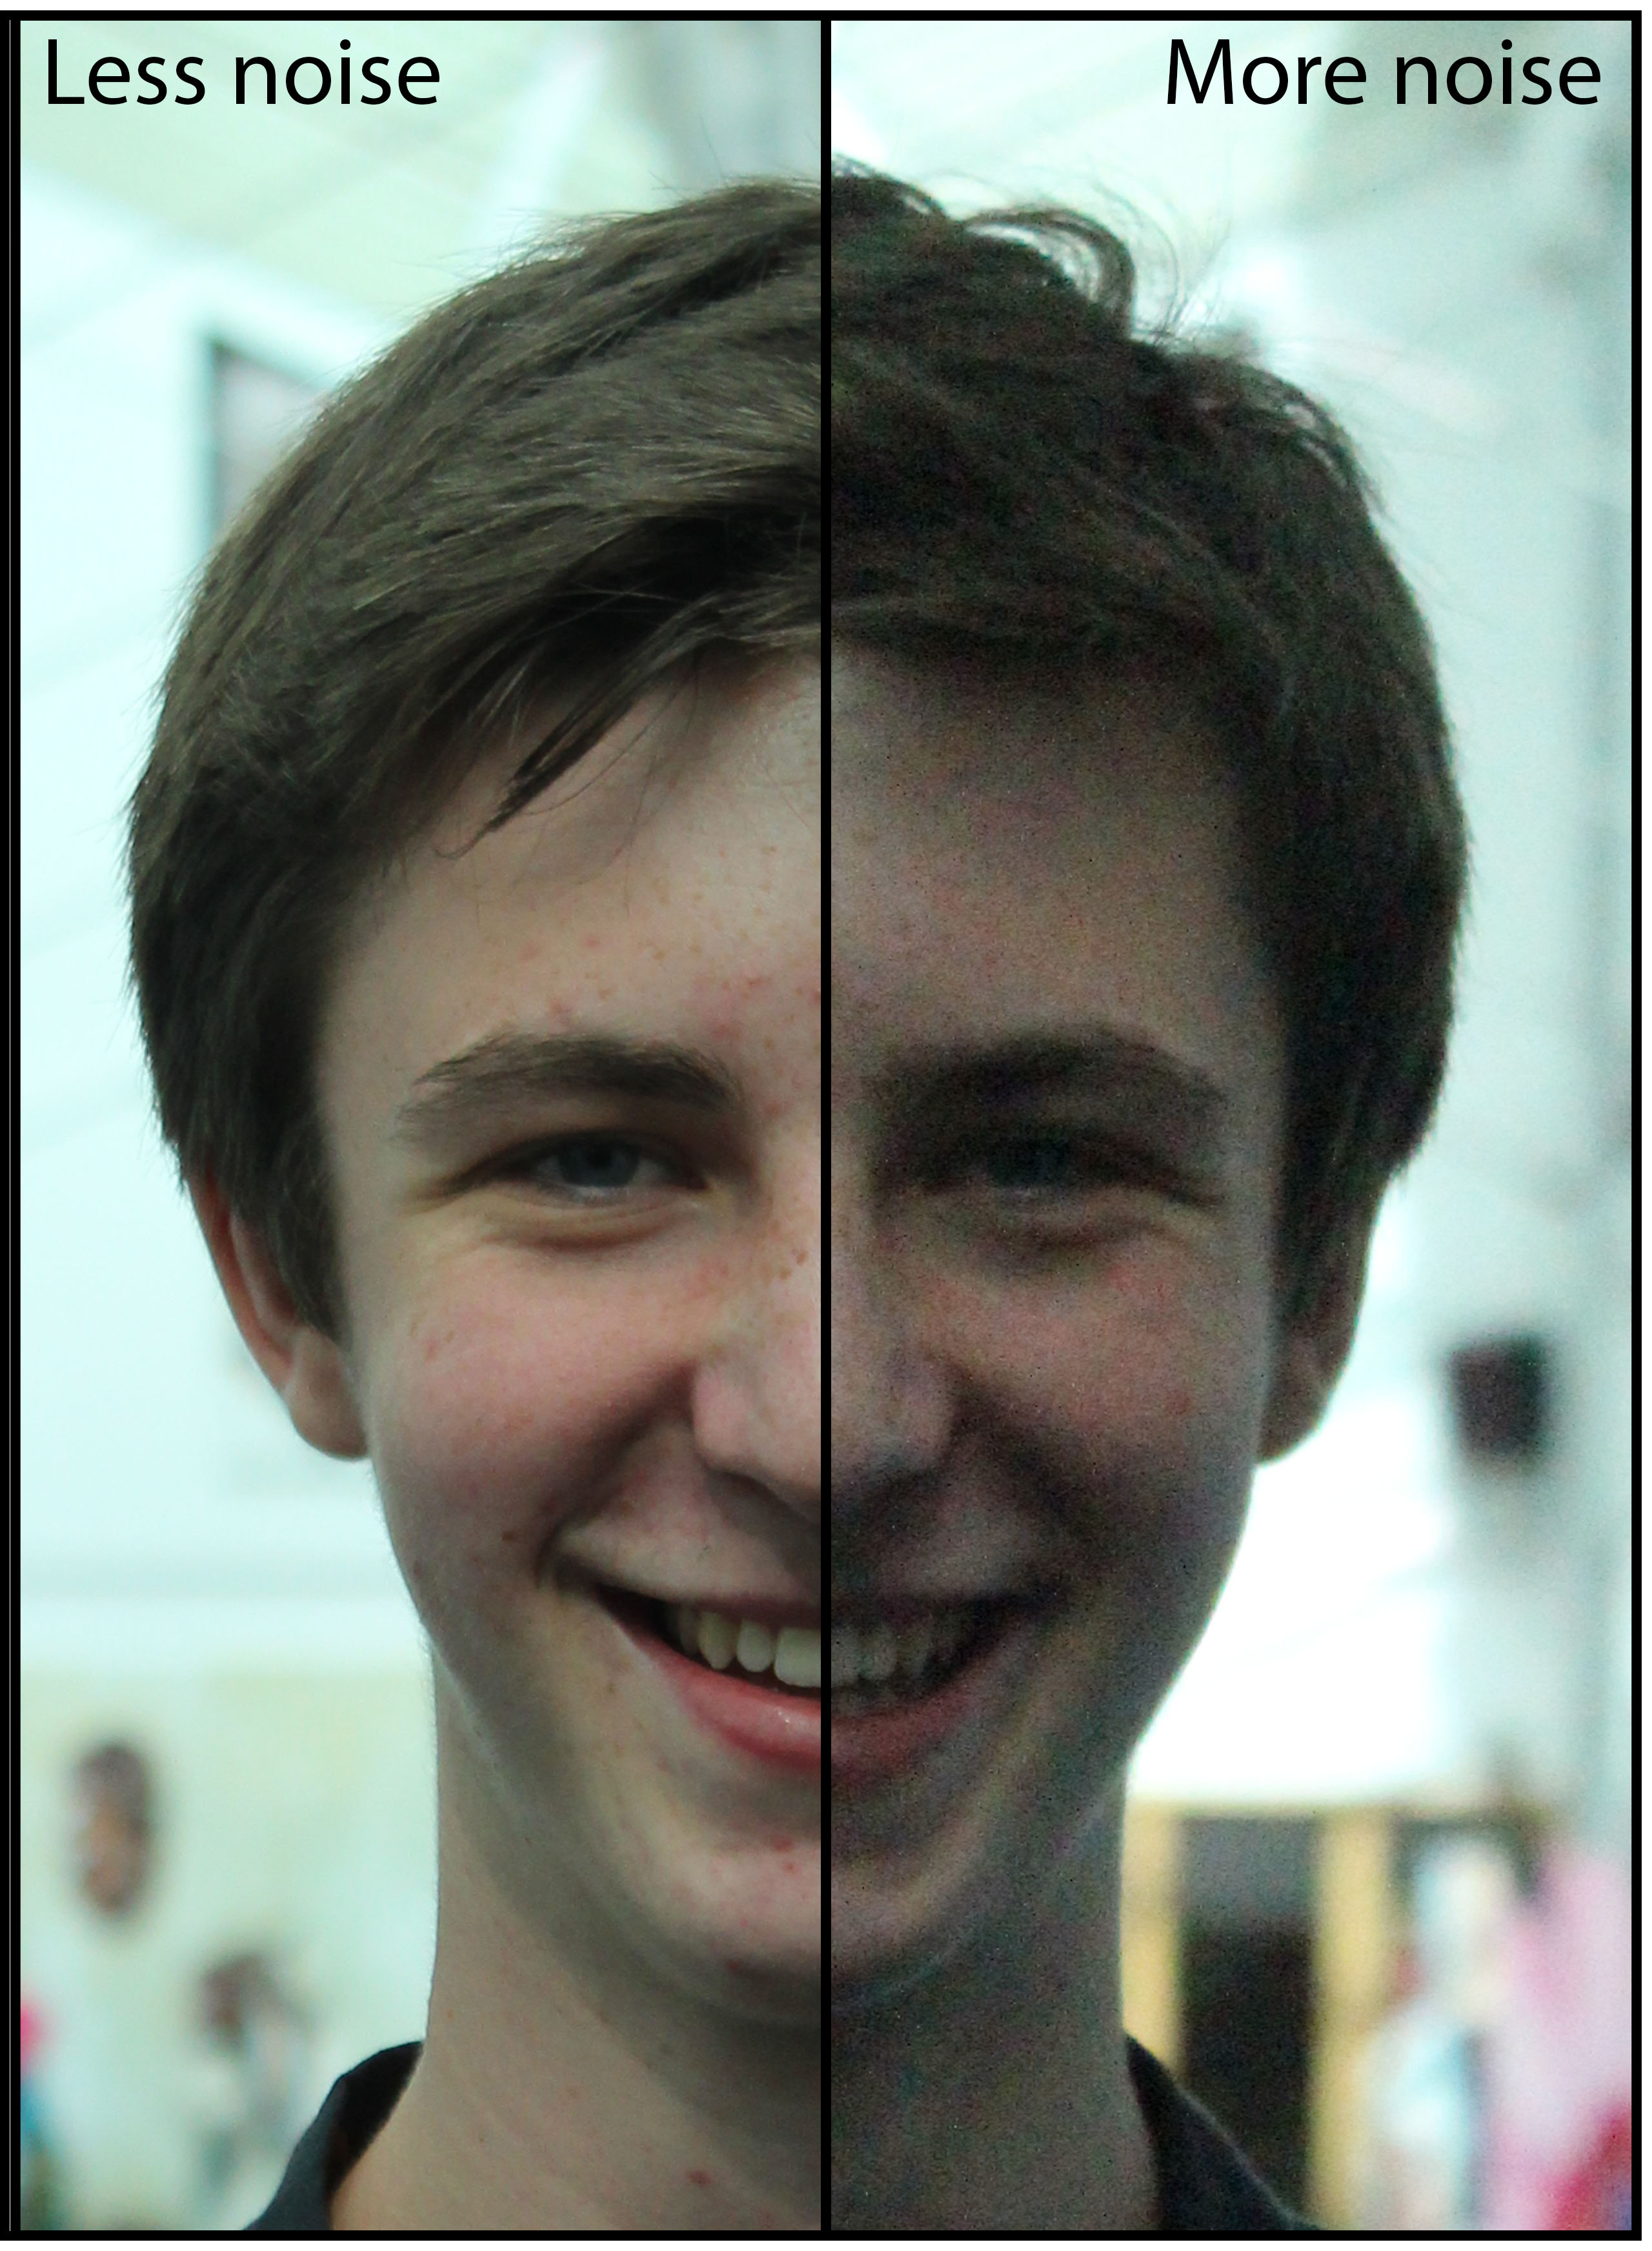
I then combined two photographs of Jack – my model so it is clear for you to see the difference ISO can make to an image. The left doesn’t have noise – the quality is better, however, the right does have noise so the texture and look; the overall quality isn’t as good. These tow photos have been merged but are from the exact same shoot where Jack was stood in the same position.