For my first shoot I want to spend time with my friend Zac. His room is an environment he, myself and friends spend time in fairly often. We watch TV, play playstation, and sometimes have small gatherings there. I want to represent Zac’s room as a personal environment by focusing on the liveliness between friends and the personalised features that make it Zacs room. I will use both flash and natural light, swapping between the two depending on whether I am photographing still life, portraiture of wide angle images of the room.
After looking through my previous shoots and the layout for my book I noticed the photos seemed to follow a fairly chronological narrative, moving from evening to night and back to morning. I wanted to do a final shoot focusing on ‘dawn’. I also wanted to explore the character I have build thru ought the book. I decided to feature my brothers room as a scene. I plan on taking these photographs early in the morning to truly capture the effect of early morning. Similar to previous shoots I plan on using as much natural light from windows as possible, Ryan’s room has two large windows and a window on the opposite wall which reflects the early morning light into Ryan’s room.
I decided to do a 5th shoot to tie together the photographs I have previously made, also combining techniques I have used previously. I plan on making these portrait photographs. These photographs will feature similar locations and buildings featured previously but featured with different lighting. I also plan on taking photos from inside the garage I have previously photographed as well as the white house. I plan on working with different lighting such as light from at light as well as unnatural lighting. I really like the warm lighting contrasted with the cool shadows in the first photograph by Todd Hido, this use of colour is something I plan on emulating in my own photos.
After doing some research into different was that people have of destroying negatives to create new artwork I have decided to do this for a shoot (I don’t think “shoot” is the right word but I’m going to use it). I’m going to start off by taking a roll of film and shooting all of the images on it of the coast and possibly reservoirs and other water sources (the images will more likely be of the sea because that is the main focus of my project), and then I plan on getting the roll of negatives developed before using water to destroy, corrode or otherwise alter the negatives. By using different water sources and looking at and comparing the different ways that the images are distorted I can show how water is not all the same.
Fungus Damaged Film Slide
I have two plans for how I am going to go about this. The first is going to be involving the negatives from the roll that I will have taken, the second is going to be done using printed images that I have already taken on my digital camera. I am going to collect the water from 6 different sources for the project (about a buckets worth for each), some of the locations will produce different types of water and others will produce similar types of water. Despite this I am still looking forward to seeing the different results, the locations that I am going to source the water from are listed below:
Queen’s Valley Reservoir
Sea water from long beach
La Rosière Desalination Plant
Stream in St. Catherine’s woods
Pool water
Tap water from my home
Once I have collected the water I am going to bring it back to my house, once here a small amount of each sample is going to be poured into a tray that I have borrowed from the school’s science department, these are what will hold the printed images, I will use some blue tack to hold the images under the water and I will be keeping an eye on them to determine how long they should be kept in there for. I am expecting the images to run but I am not sure on specifically what will happen, this again lends to the uncertainness and ideas of the unknown and random that I am looking for in my project.
The trays that I borrowed/stole from the science department
The negatives are going to be done slightly different and will require more time and thought given to them. I have looked into the different ways to use water to edit negatives, and for the most part, simply submerging the negatives in the water will likely not do much due to the fact that negatives need water to be developed. The main cause of water damage to negatives is from fungus/mould that grows on the negatives and eats into the gelatin layer thereby destroying the image. This will make the process more involved because it will involve me removing the negatives from the water and drying them out before submerging them again. To involve the environment more I am going to also take pieces of the environment like sand or dirt, leaves and seaweed to keep in the buckets also.
To help me get the best out of this process I have been doing a lot of research online into water damaged film. Almost all of the results that came back were about how to recover film from water damage and cleaning them up afterwards. With this in mind however I will try and employ the opposite techniques to what they suggest, so this means that I will need to let the film dry to induce growth of fungus on the film and when they are drying I will not have them free floating, I will let them dry face down and curled up to induce distortion on the images. To try and understand a little more about the process of doing this I emailed someone who used to be a specialist in film restoration to see what he could tell me about this. the first thing Mick (I didn’t get his full name) told me was that:
“it’s not actually water that damages film, film is born and bred in water during processing, the issue is bacteria that will start to colonise the film once it is wet and remains wet for some time and these are responsible for the effect that is called water damage.”
He then suggested
“leaving some negatives (colour film may work better as the silver ions in B&W film are highly toxic to bacteria) in a bowl of pond water (no chlorine etc added that will impinge on the rate of growth) somewhere not too light (but it needn’t be dark) for a while.”
He could not give me specific time frames but he said anything from a few days to a week depending on where the images are stored. He also gave me one final piece of advice for possible health issues that I may encounter;
“careful, you are dealing with a potential biological hazard (known moulds on film include aspergillus fumigatus – Google it).”
Taking all of the information that I have gathered into account I have come up with a plan for how I am going to create this part of the project.
The first step will be to take the exposures on an appropriate roll of film, as Mick suggested I will not be using black and white film, from here I have chosen to use a roll of Fuji Superia 200 that expired last year. I chose this roll over some of the others that I have have for the main reason that it was the cheapest, because it was a little expired I got it at half price and it is not that expired so the images will turn out fine I’m sure. And as long as it is bright when I decide to shoot then I can use that film.
To take the exposures I will load up one of my cameras and will travel around the different waterways in Jersey (depending on time constraints I may have to just stick to photographs of the coast).
Once I have taken all of the exposures I will need to get the film developed, get the negatives back and cut them up into 6 sets of 6 or individually divided into 6 groups.
Then I need to collect the water from all of the different sources, bring them home, and submerge the negatives under the water.
After about an hour I will take them out and suspend them just above the water, making sure to splash them every 12 hours or so to make sure that they don’t completely dry out.
Other than this there is not much I can do except for handling the negatives roughly but while still wearing gloves and letting the gelatine surfaces stick to each other. Possibly touching the wet gelatine layers will distort the images but I’m not too sure.
To help me with this process I have got some negatives off a friend, these were almost all completely exposed and so are perfectly blank, this will allow me to see if there could be any changes that I might not be able to see on frames with images on them.
After completing my previous research and shoots looking at the different variety’s of waste pollution and where it’s found, I next wanted to explore what ultimately happens to it once it is thrown away. To combat the problem of the growing amount waste production, there are numerous solid waste facilities worldwide, including landfills, incinerators, and a growing number of transfer stations. Many of the older facilities run by municipalities have been closed down because of environmental concerns, paving the way for the waste industry to market their “state-of-the-art” management and facilities. Luckily this is the case with our island and my next documentary shoot will be concentrated on how Jersey deals with its household and commercial waste. I want to show this topic in order to give my viewers an idea of what happens with their everyday waste, even when they dispose of it ‘properly’. To do this I will have to visit La Colette and explore their recycling and waste to energy facilities.
As well as looking the new recycling centre at La Collette that has recently replaced Bellozanne, I am really interested to find out more about what happens to the waste that does not get separated. The common household and commercial waste that is not recycled is sent to the La Collette Energy from Waste Facility. This facility replaces an old incinerator and provides the Channel Island with a reliable means of waste disposal for the next 25 years. It will also be able to produce 10MW of power, equivalent to 7 – 8% of the island’s electricity usage. Reused and recycled items have also been used in the site’s construction, for example, the building takes its shape from the steel frame saved from the demolition of the Jersey Potteries building in Gorey. The waste to energy facility is located next to the existing Jersey power station enabling the EfW plant to share the chimney, cooling water and other auxiliary services, minimising the environmental impact of the development. The way that this site works, in basic terms, is it burns rubbish and uses the heat from the fire to generate steam which is then used to drive a turbine, generating electricity. In order to really explore this part of our islands waste disposal, I wrote to the department of infrastructure in the hopes they would give me some information about the smoke that is generated from the burning of the waste. Amazingly they do not actually produce any smoke and even offered for me to be escorted around the site on the condition that I later give them my photographic results. Below is a copy of the reply I received from the manager of the energy from waste facility, Ian Williams…Since receiving the email above I have been in contact with the ‘Energy from Waste’ facility and have arranged to meet with them on Thursday the 20th of April at 10:45 am. My plan of action for this shoot is to record the site from an insider’s perspective using topography and documentary photography techniques. Whilst there I will be taking as many images as possible, attempting to capture some interesting compositions and angles to draw in my viewer’s attention. All I will need to complete this shoot is my camera and the safety equipment that will be provided upon arrival. My goal for this opportunity is to truthfully present what happens to Jersey’s un-recycled waste, as well as the elements that go into the transforming it into energy.
As well as this guided tour I am also planning to take a trip to the recycling centre to demonstrate the new amazing and easy to use facility we now have at La Collette. Although I am coming at these next few shoots from a documentary perspective, I predict I will also be including some abstract images to emphasise my message. Below is a contact sheet depicting some photographs I have found of each of these departments. One the top row are some of the things I can expect to see at the energy to waste facility and on the bottom row the recycling centre…
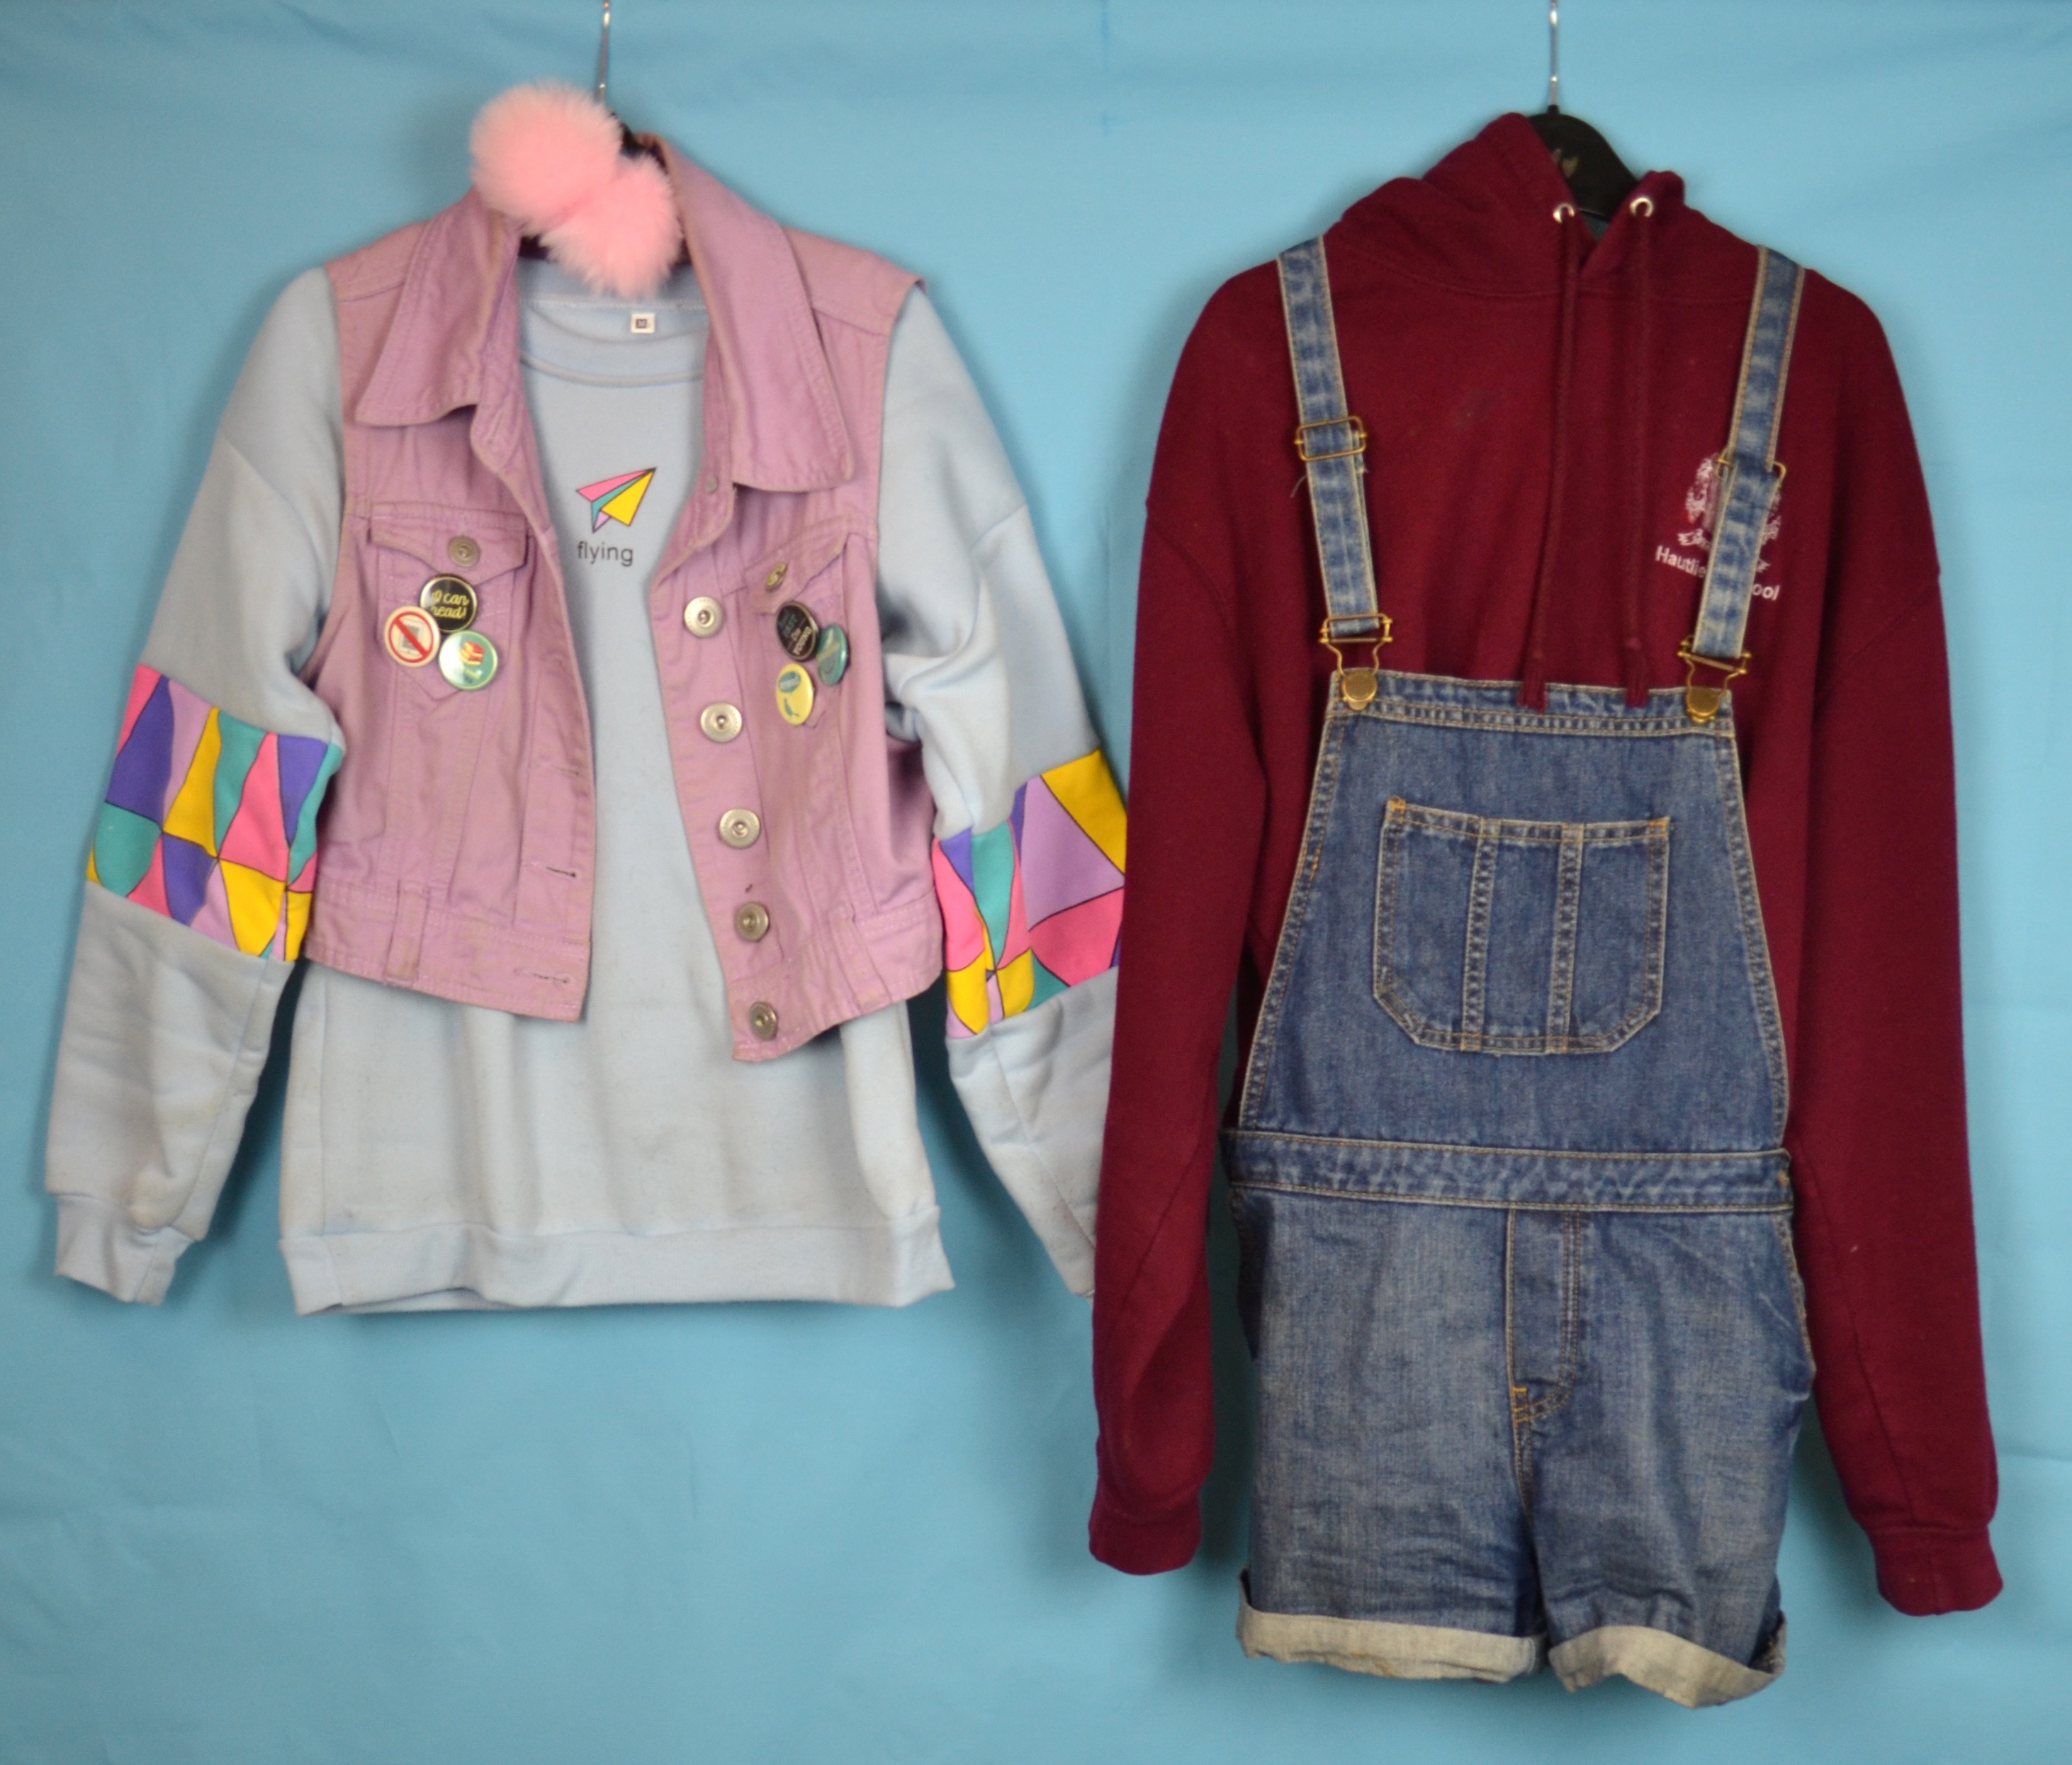
A stereotype that I certainly currently conform to is the archetype of a female art student. This stereotype can be broken down into various sub groups but the on running theme is that the modern day, young, female art student is middle class and a little pretentious. When exploring this stereotype I want to look at two different subgroups of the art student stereotype that I believe I conform to, these being the messy, scruffy, slightly edgy, doc marten wearing practical student and the more style conscious, fashionable, club kid/ Harajuku inspired, heavily-active-on-instagram type student. I feel that on somedays I can dress stylishly, put on some fun makeup and look very well put together and on other days I wear comfy clothes, throw my hair up in a bun and get covered in charcoal and paint. There is rarely an in-between.
The above moodboard depicts the more relaxed, scruffy art student for this shoot I plan to wear my comfy maroon jumper from my school trip to China in 2016. I often wear this jumper when I’m lounging around the house, doing art or just want to feel comfy. I wear this jumper so often that my mum has to tear it off my body in order to wash it. I also want to wear a pair of denim dungarees, I don’t usually wear these when painting because they are not particularly comfortable but I feel that it will complete the art student aesthetic. I also want to play off the idea of what people think an artist at work looks like, so I plan to wipe some paint of my face and arms as well as tucking some paint brushes into my bun.
Above is my second mood board for my more fashion forward, heavily active on Instagram, art student as well as some photos from my personal Instagram page. I want to create a harajuku fashion inspired look with pastel colours and fluffy hair accessories (pictured below) and my fun monster’s inc backpack. In terms of poses for this shoot I want to try some cutesy, bubbly smiley poses and perhaps some images that include taking selfies for instagram as the case of my iPod in bubblegum pink and cat shared which would fit in with the pastel them I want to create. For the first shoot I plan to use my blue back drop as the maroon jumper I plan to wear will almost certainly clash with the pink. However for the second shoot I plan to use both the pink and blue background because the outfit that I have selected (pictured below) will work well with both colours.
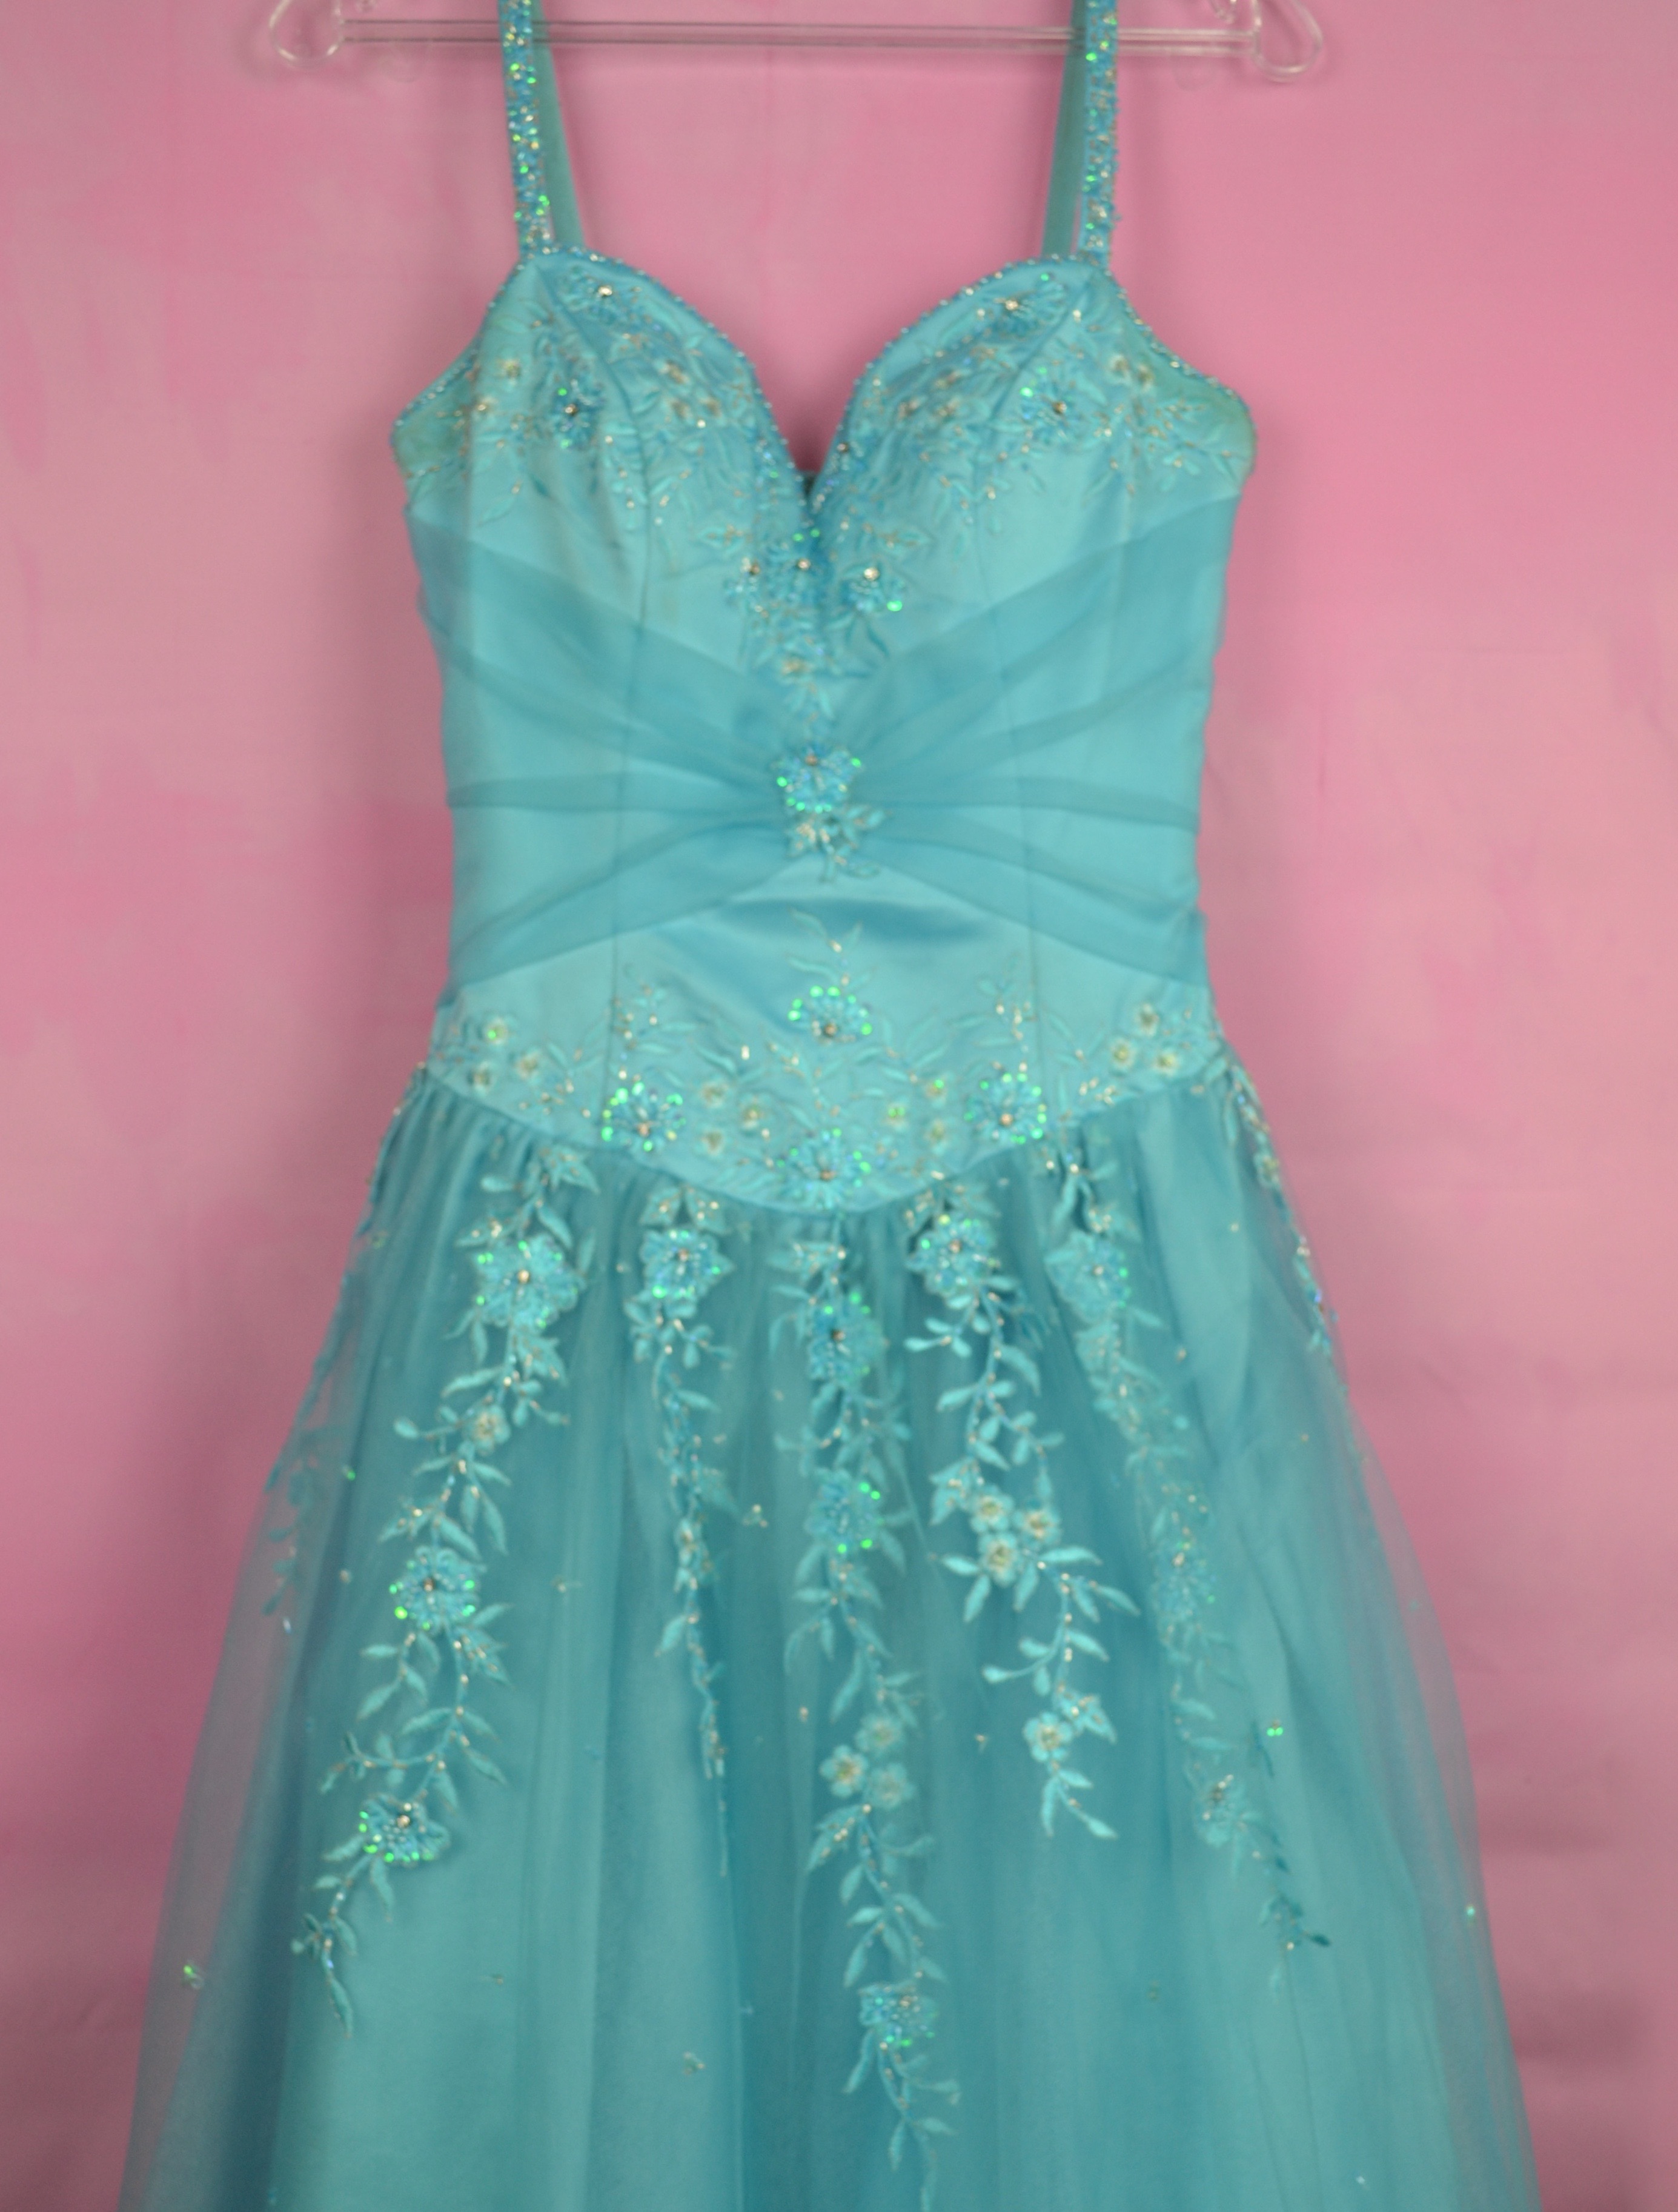
As previously I think that there are many pre-conceptions about women who enter beauty pageants, they are often perceived as vain, high maintenance and full of self importance. I personally think that these seemingly negative qualities are inaccurate and what people are picking up on is high self confidence. To a certain extent these sort of competitions are superficial as generally speaking, it is attractive, conventionally beautiful women who enter. However, these women also need to be well spoken and articulate as they are ambassadors for their country, state, county, province, town or village. On Saturday 11th March I was crowned Miss Saint Helier 2017. My experience was very positive as I felt that the focus was definitely on the public speaking skills than the beauty aspect of the competition. I want to explore and research the ideas and history behind beauty pageants further before producing a response to my experience in the beauty pageant world as i was also a runner up for Miss Jersey Battle of Flowers 2016.
I want to create an idealised photo inspired by the official portraits taken of big beauty pageant winners. Above is the sash and tiara that I received from winning the Miss Saint Helier competition and below is the dress that I plan to wear fro this shoot and also the Miss Jersey Battle of Flowers competition in June this year. I plan to use my pink backdrop for this shoot because I feel that the blue background with the blue dress and blue will simply be too much blue. Also the female connotations of the pink backdrop will work well with the image as well as providing contrast to offset the extravagant dress.
The idea that appeals to me the most is looking at my personal environments. A personal environment could be very different from one person to another. For example, someone may think it is your mental state, whereas others may think it
Using mainly documentary photography and portraiture I want to explore the differences between peoples ‘Personal Environment’, as exploring some of my own personal environments.
I D E A S –
Shoot documenting girlfriend // photographing in a more intimate way to portray the environment of our relationship, using close ups and possibly shoot in monochrome – inspired more by Jacob Sobol.
Documentary shoot of my home // focus on what makes my home my personal environment – feels safe, the personal elements of it.
Abstract shoot in car // I am always travelling around in my car with friends, so I could portray this environment in a more motion-full way experimenting with low shutter speeds, flash and zoom.
Friends // portraying my social environment made up by connections between people – theo gosselin style photography – could also look at the social environment of skateboarding, and photography in both the style of tradiotional skatboard documentation as well as more modern cinematic skateboard documenting styles – looking at the sport and culture around it itself.
– this video above gives some information on the uprising popularity of skateboarding in southern england, and how the culture of the sport has had to fight to stay alive. This video helps portray the social and cultural environment that skateboarding has become today through motivation to keep the sport alive, and the fast spreading popularity of it.
Landscape and documentary shoot in North Yorkshire // when I go to Yorkshire at the end of this month it will be a great chance to experiment with cinematic-esque landscape and portrait photography. The North Yorkshire Moores are meant to have some of the most breathtaking landscapes in England.
After researching the amazing collective work done by Angela Haseltine Pozzi, her team and the local community, I am ready to plan my own symbolic response to this pollution issue. I love this idea using art, made of recycled pollution, to spread awareness and how it is already being used as a successful proactive tool. However, instead of 3D sculptures, like the ones put together by the ‘Washed Ashore Project’above, I will be creating 2D art pieces laid out and brought to life through my use of composition, angles and lighting. Because I already had the loose original plan to do this whilst still completing some of my previous shoots (when completing my beach cleans) I kept all the pieces of fishing rope and bottle caps I could find to later transform into emotive art.
I have decided to use these two specific materials one, because of their effect on the environment and marine life, and two, because I didn’t want to over-complicate my images and make the message too difficult to see. The reason fishing rope and netting are such a huge problem for our eco-system is, not only does it take at least 600 years to degrade, more than 260 animal species worldwide have suffered and died from being entangled in or consuming the material. The bottle caps, however, will be symbols of every plastic bottle that were discarded with them. Bottles used to package water take between 400 and 1,000 years to bio-degrade and if incinerated, they produce toxic fumes. It is estimated that over 80% of all single-use water bottles used in the U.S. simply become ‘litter’. As well as this it is estimated that 14% of all litter comes from beverage containers when caps and labels are considered, the number is considerably higher. In the contact sheets below I have depicted a few of my initial designs on how to put these materials together along with some other artist inspirations…My plan of action for this next shoot is to use the designs I have drawn out above, a ‘home studio’ and interesting compositions to capture this pollution issue in a colourful, eye-catching and insightful way. To complete this shoot I will be using the materials I have already collected during my previous beach clean ups, black fabric as the background and a mixture of artificial and natural light. My goal is to produce emotive outcomes portraying marine life and ocean scenes by only using the pollution we cover it in. I have decided to use a fish as the subject for this shoot because, much like with the sculptures from ‘Washed Ashore’, I want to put across that it’s the sea life that is most affected by pollution. The fish is the most common creature found in the sea, hence why I will be using to symbolise my message about marine life. To create fine details and make the subject stand out more I will also be using salt as an ocean themed artistic material. For the waves design, I am aiming to show that this problem is very condensed and will eventually effect ‘every wave in the sea’. I love the examples I have managed to find and present for inspiration on how to create this kind of inspiring art. When the element of photography is added to capture the subject properly, I think this idea will produce some really nice emotive outcomes.
After looking at the books, monographs and other published work of my chosen artists and photographers, I have been inspired to create a book with a compilation of my photographs from this project.
The book will explore the way the environment can change and how lighting ant atmosphere evokes narrative and emotion as well as the use of natural and man-made components especially natural and man-made light and the contrast between these. It will also feature the juxtaposition of a natural human being and how they are influenced and affected by their environment as well as how they interact.
I started looking at the work of Todd Hido and his 2001 monograph House Hunting which explored America from a very candid perspective as well as the suburbs and homes which people lived in, this took a selection of photograph from his portfolio Homes at Night. I then looked at the photo book Twilight: Photography in the Magic Hour which was based on the 2006 London exhibition featuring artists such as Bill Henson and Philip Lorca Dicorcia. Exploring this nocturnal theme is also something I plan on referencing in book as with how it evokes atmosphere and narrative into the environment. I then looked at Bill Hensons alluring nocturnal book Lux Et Nox. His book explored the notion of nature and civilization and how they effect each other, which is a key theme in my work, his work also looks at negative spaces and transitions in the atmosphere.
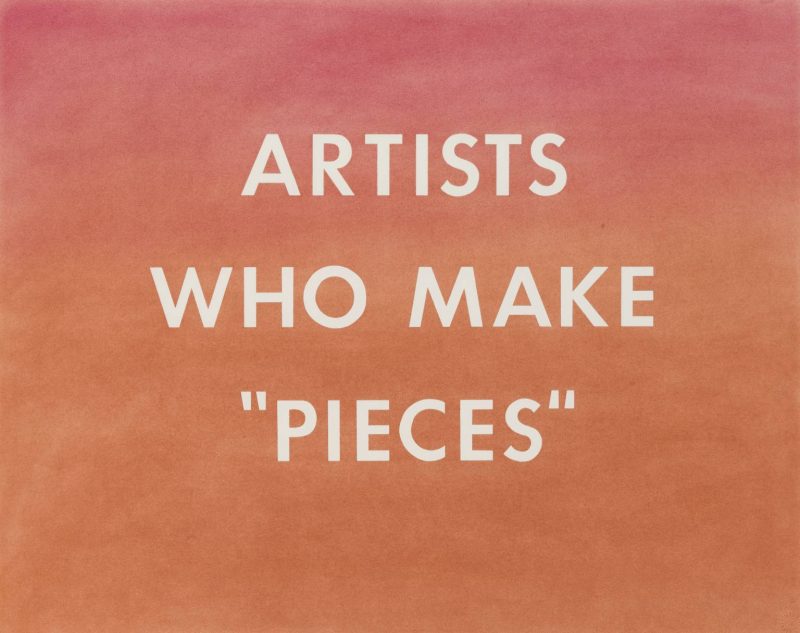
Ed Ruscha
Pay Nothing Until April 2003 Edward Ruscha born 1937 ARTIST ROOMS Acquired jointly with the National Galleries of Scotland through The d’Offay Donation with assistance from the National Heritage Memorial Fund and the Art Fund 2008 http://www.tate.org.uk/art/work/AR00047
ARTISTS WHO MAKE “PIECES” 1976 Edward Ruscha born 1937 ARTIST ROOMS Acquired jointly with the National Galleries of Scotland through The d’Offay Donation with assistance from the National Heritage Memorial Fund and the Art Fund 2008 http://www.tate.org.uk/art/work/AR00057
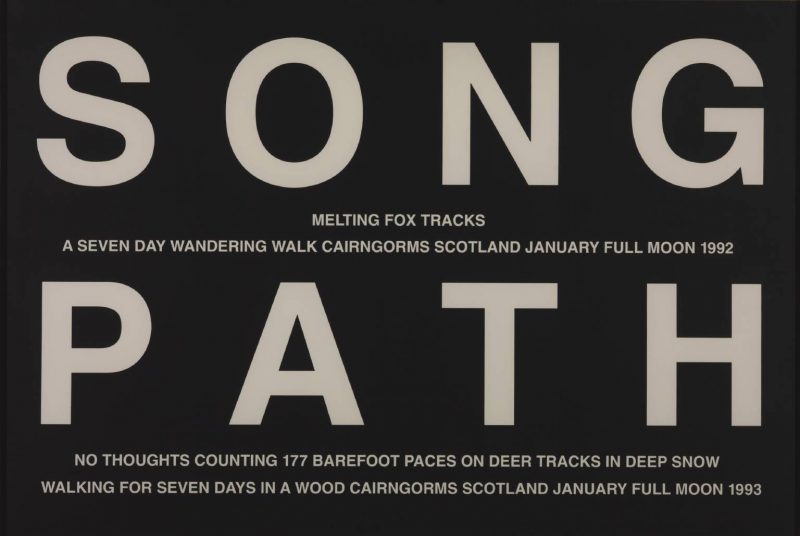
Hamish Fulton Song Path 1992, 1993 Hamish Fulton born 1946 Purchased 1993 http://www.tate.org.uk/art/work/P77622
The Crow Speaks 1986, 1991 Hamish Fulton born 1946 Purchased 1993 http://www.tate.org.uk/art/work/P77616
Wind through the Pines 1985, 1991 Hamish Fulton born 1946 Purchased 1993 http://www.tate.org.uk/art/work/P77621
I then looked at text and graphic design based artists Hamish Fulton and Ed Ruscha who used text to elevate the meaning as well as add new context. I have experimented a lot through my coursework with testing different fonts, colours and compositions but plan on recreating new designs with my photographs for my book to create a more consistent theme for the book. I also plan on having a variation of two page spreads and single spreads with complementary text opposite the image.
I plan on using Lightroom to upload and compose my photographs into a book format and will add text over the images using Photoshop, to publish my book will use the publishing website Blurb.com. This will be done during my exam.


 Since receiving the email above I have been in contact with the ‘Energy from Waste’ facility and have arranged to meet with them on Thursday the 20th of April at 10:45 am. My plan of action for this shoot is to record the site from an insider’s perspective using topography and documentary photography techniques. Whilst there I will be taking as many images as possible, attempting to capture some interesting compositions and angles to draw in my viewer’s attention. All I will need to complete this shoot is my camera and the safety equipment that will be provided upon arrival. My goal for this opportunity is to truthfully present what happens to Jersey’s un-recycled waste, as well as the elements that go into the transforming it into energy.


 – could also look at the social environment of skateboarding, and photography in both the style of tradiotional skatboard documentation as well as more modern cinematic skateboard documenting styles – looking at the sport and culture around it itself.
 My plan of action for this next shoot is to use the designs I have drawn out above, a ‘home studio’ and interesting compositions to capture this pollution issue in a colourful, eye-catching and insightful way. To complete this shoot I will be using the materials I have already collected during my previous beach clean ups, black fabric as the background and a mixture of artificial and natural light. My goal is to produce emotive outcomes portraying marine life and ocean scenes by only using the pollution we cover it in. I have decided to use a fish as the subject for this shoot because, much like with the sculptures from ‘Washed Ashore’, I want to put across that it’s the sea life that is most affected by pollution. The fish is the most common creature found in the sea, hence why I will be using to symbolise my message about marine life. To create fine details and make the subject stand out more I will also be using salt as an ocean themed artistic material. For the waves design, I am aiming to show that this problem is very condensed and will eventually effect ‘every wave in the sea’. I love the examples I have managed to find and present for inspiration on how to create this kind of inspiring art. When the element of photography is added to capture the subject properly, I think this idea will produce some really nice emotive outcomes.