Out at Sea

This shoot was more difficult then I expected, due to me being deep in the water myself, it was hard to get a good balance and make sure the photos were focused.

This shoot worked well, as because neither of the models are wearing wetsuits, it made it look less cold than it actually was, giving it more of a tropical feel. Unfortunately the weather wasn’t the best for this particular shoot, as the bright lighting coming from the clouds made the lighting harsh on the models faces. Although, the benefit to the lighting was that it allowed enough lighting to create interesting textures in the sky and on the sea.

This is my favorite image from the shoot, as the lighting is perfect on his face, as it makes his features and emotions stand out, but are not harsh on his face. The fact he’s wearing a white T-shirt and is in the middle-ground works nicely as it draws your eye to him immediately, then after looking at him your eyes go towards the buildings in the background which makes you look at the paddle boarder, which is important for feeling the mood of the photograph. The thing I like about this image is that it looks like I’ve just taken a photograph of a young boy who’s far out and sea, which gives it more character.


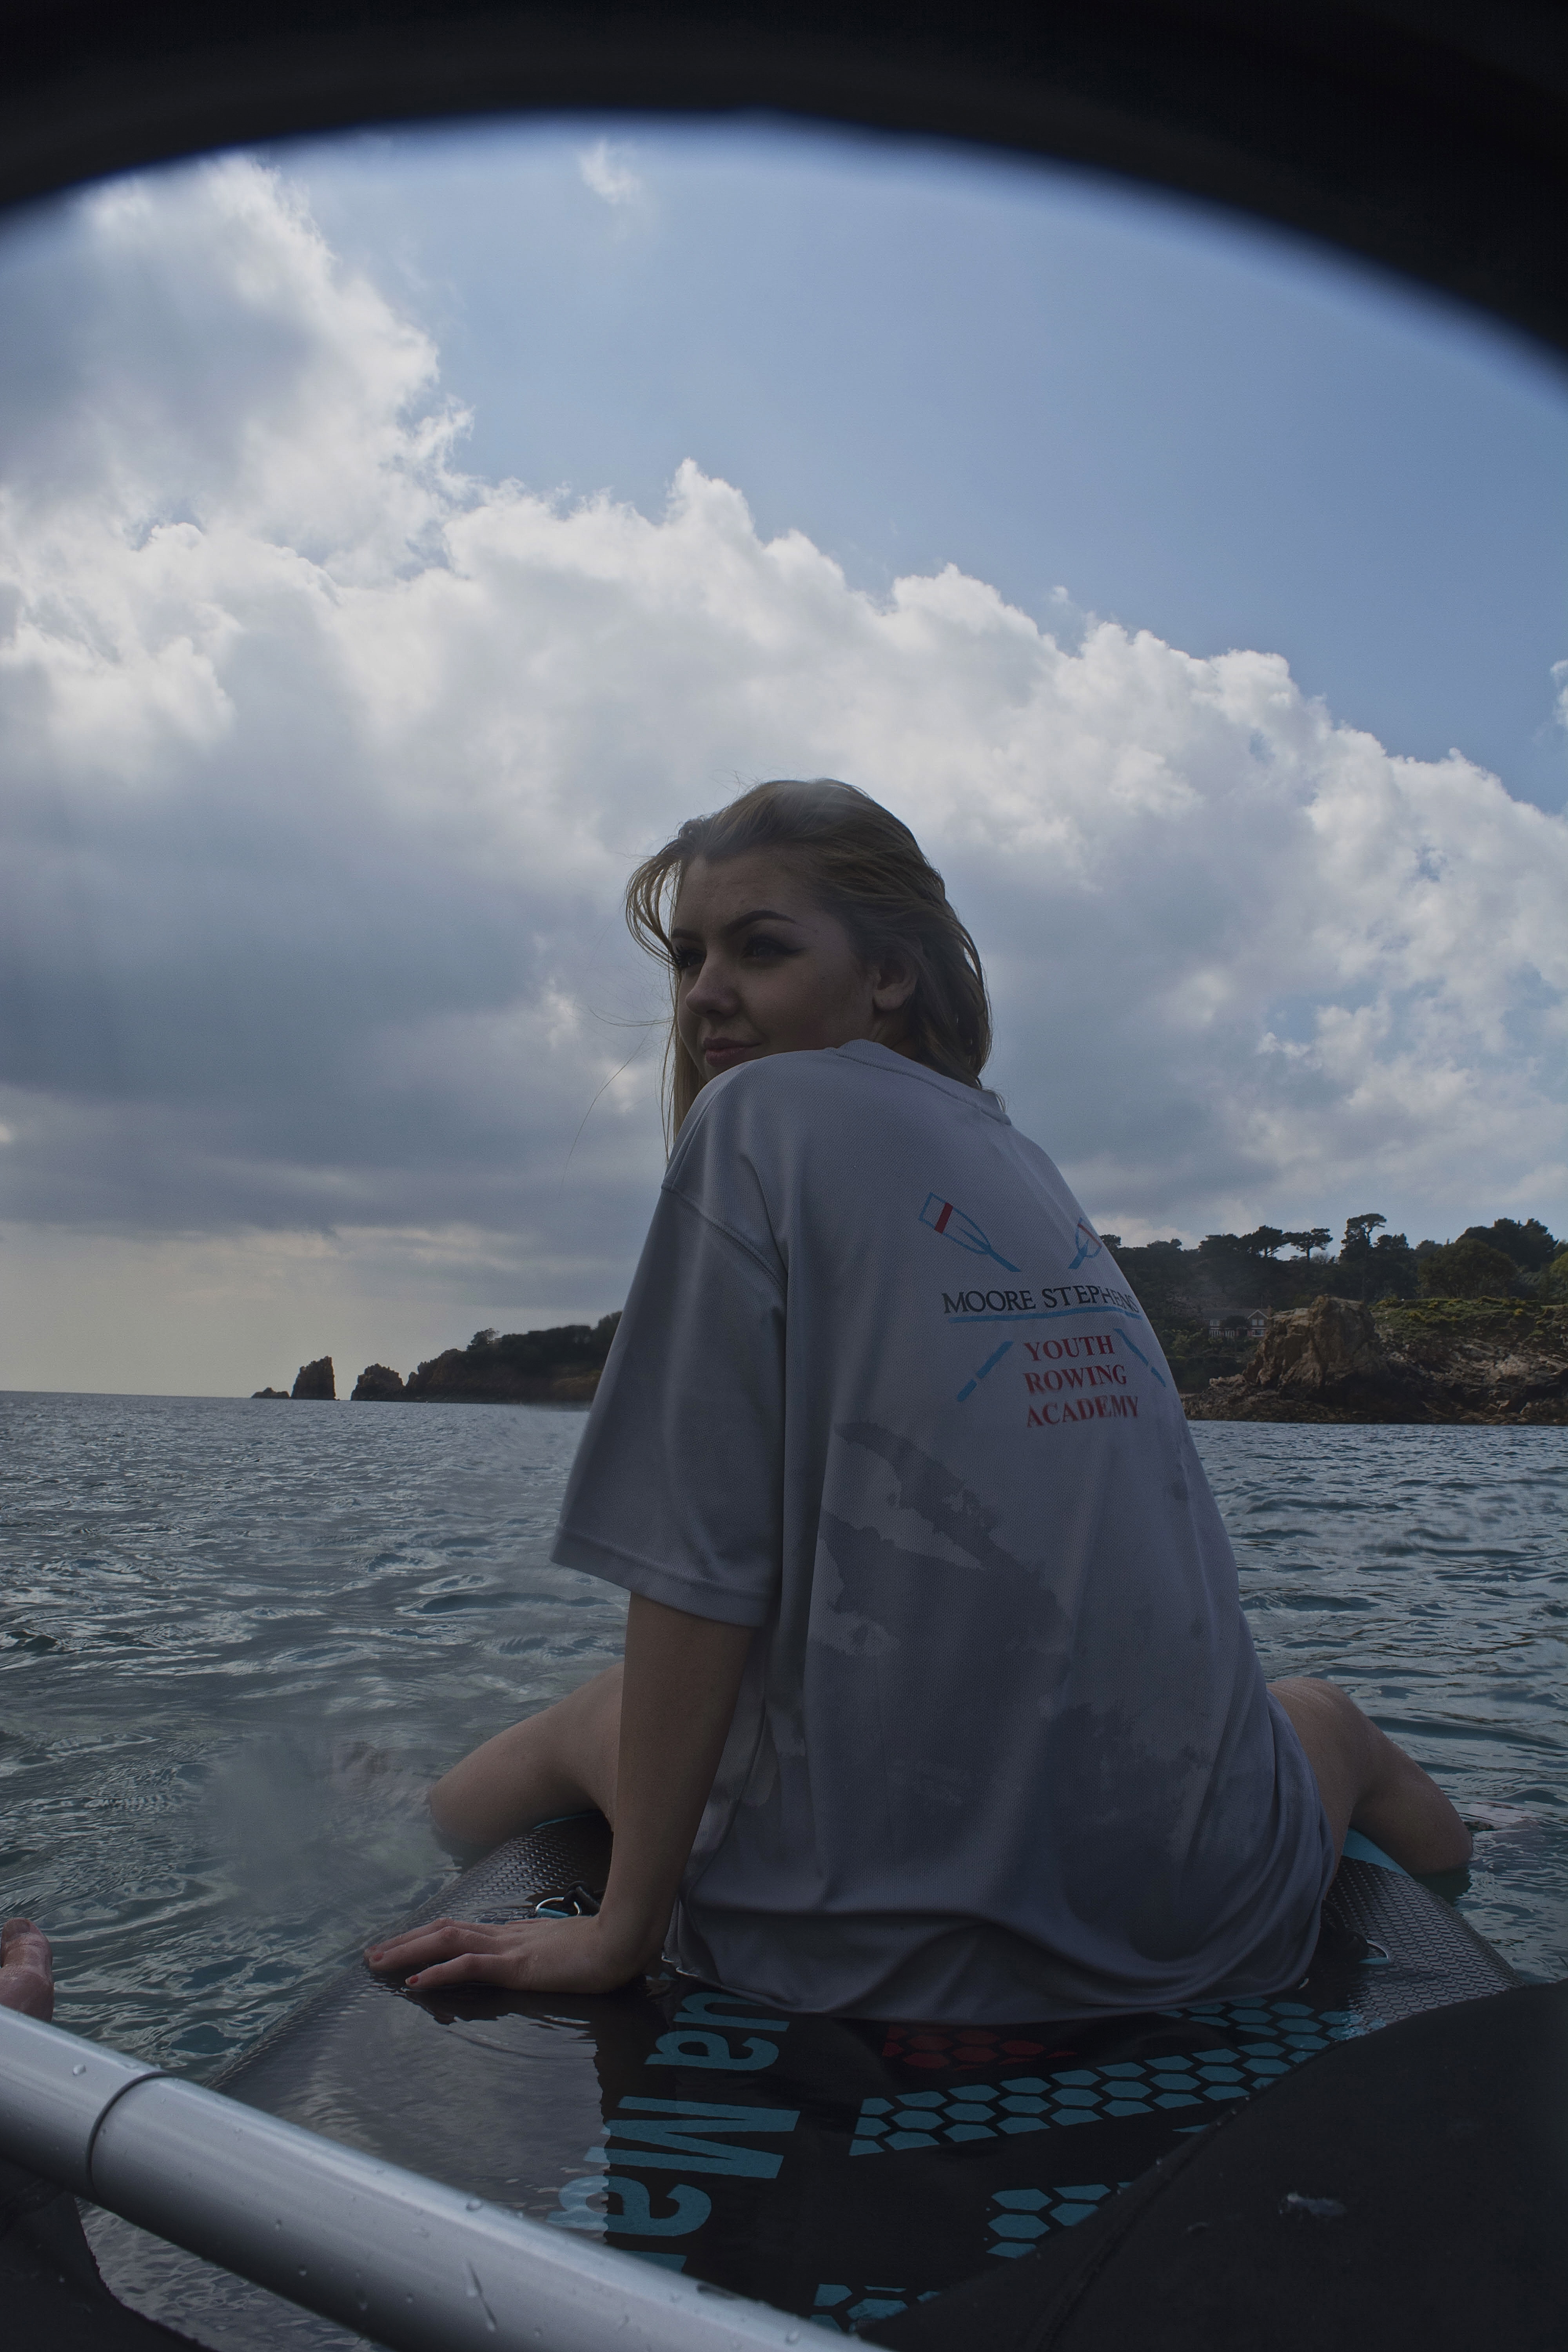
Unfortunately, with this photograph the waterproof case got in the way, and made it have a black line over the top. This ruins the photograph as if i was to crop the image it wouldn’t be an even balance, although the black takes away from the photograph as well. Also, this image has been taken when there’s lots of raindrops on the lens and therefore making some parts of the image slightly out of focus, as shown on her chin area, which makes it look worse in the way it would look good if it was all detailed, however at the same time adds character to the image. My favorite aspect to this image is the smile on her face, and the way the hair is blowing in the wind as she looks over her shoulder at the camera.

This photograph works well, as it looks as if there is a tropical island in the background. I also like the the different textures, of the clouds, the sea and the rock combined. The downfall to this image is that the exposure on the models face is too dark and one can’t see her features properly. This is due to the model facing towards the sun, therefore making her become a silhouette, which I’ve brightened up in Photoshop.
Layering Night and day dens

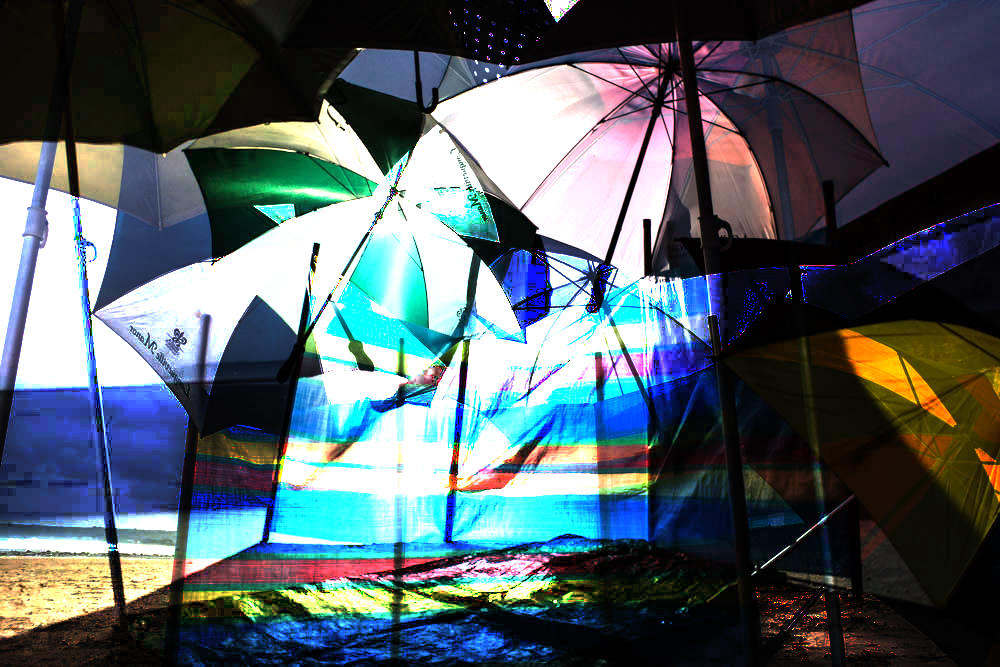
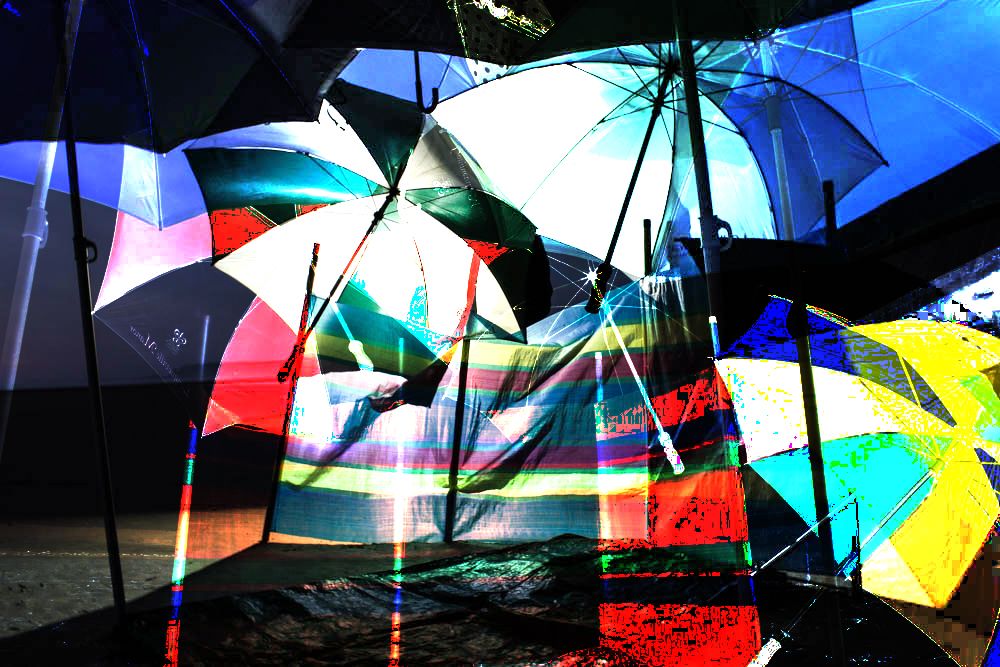
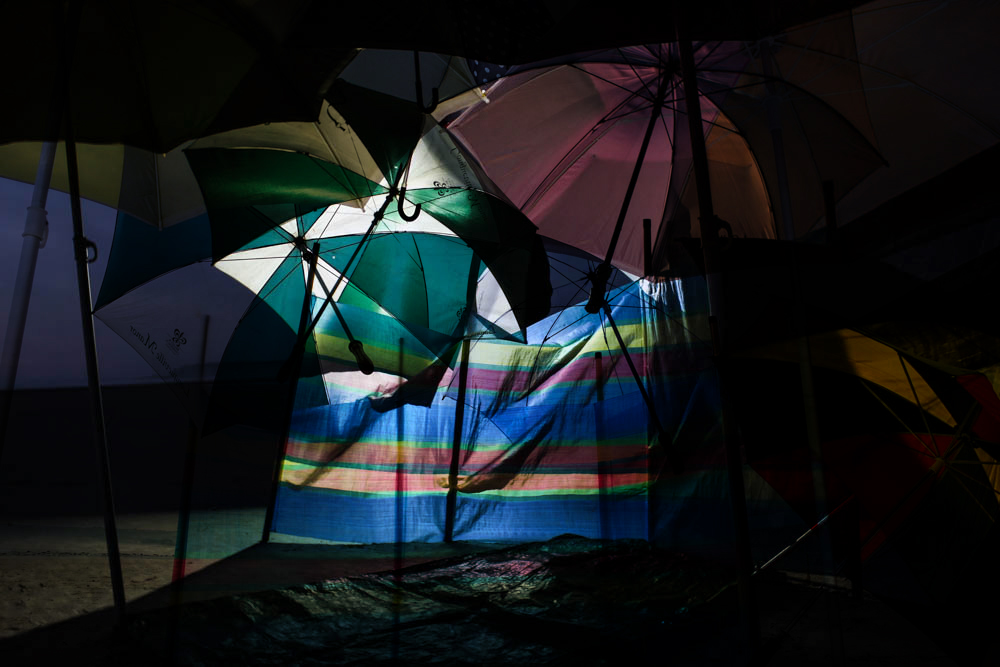
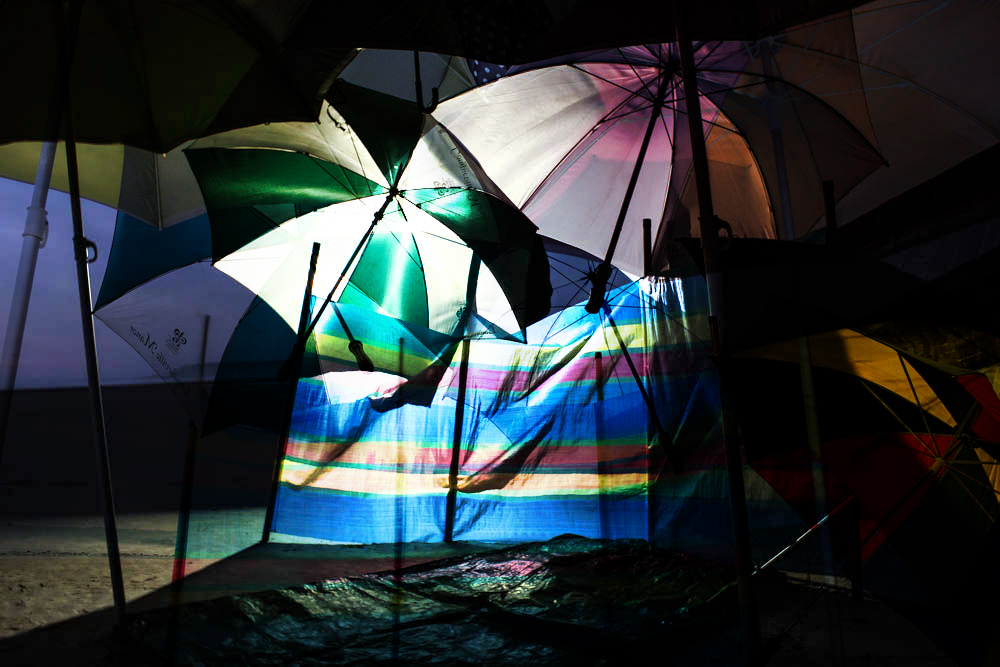
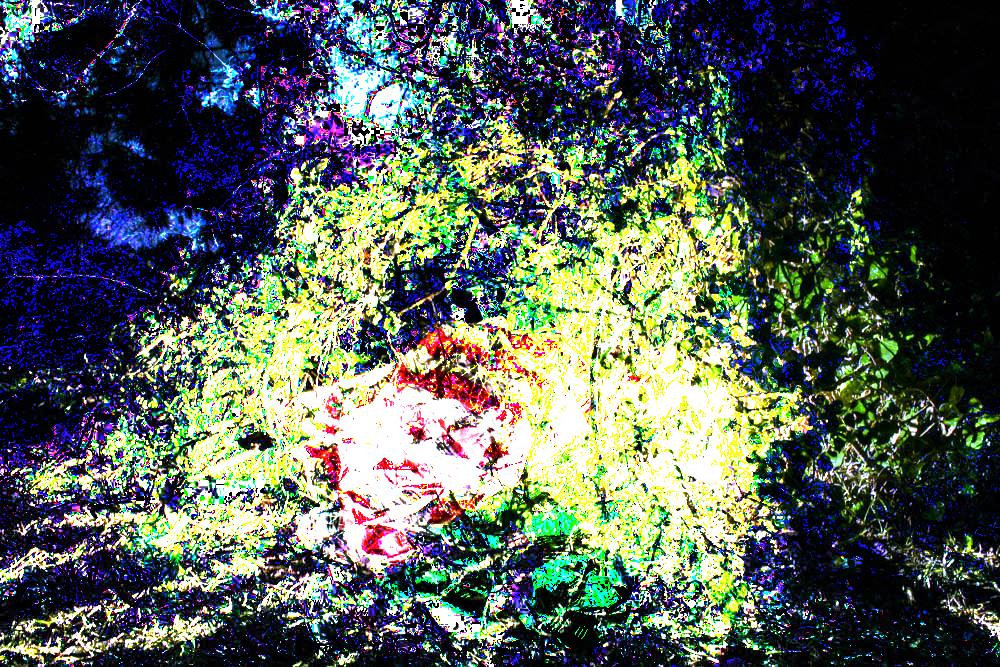
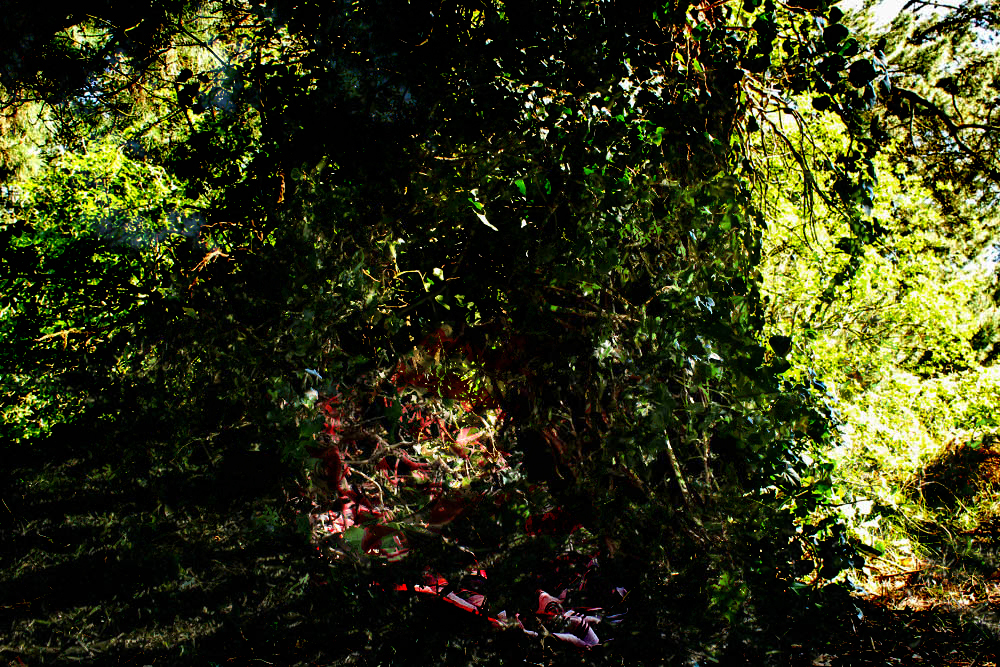
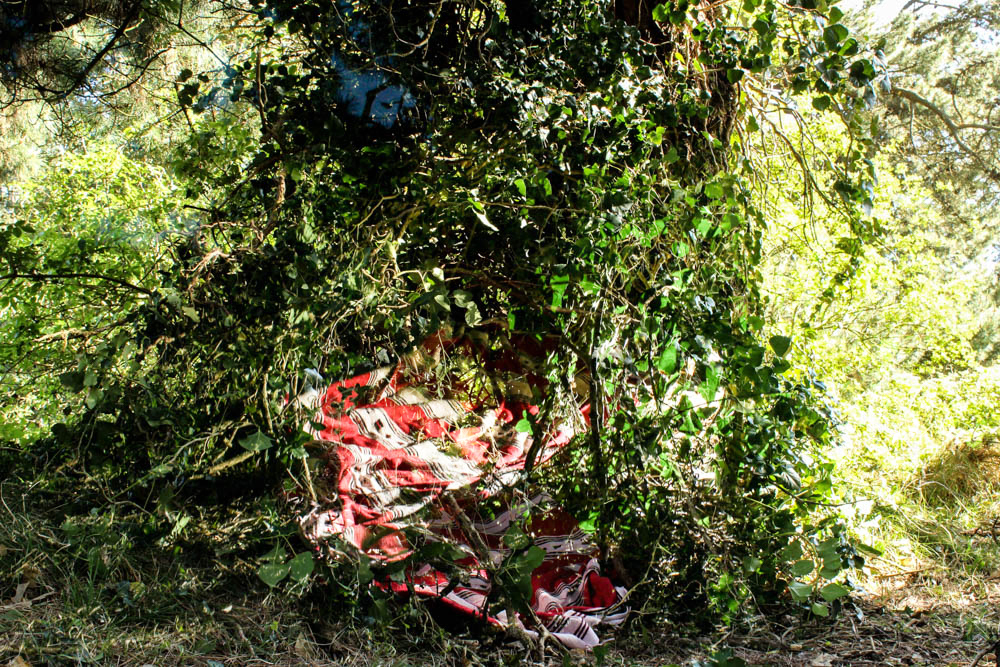
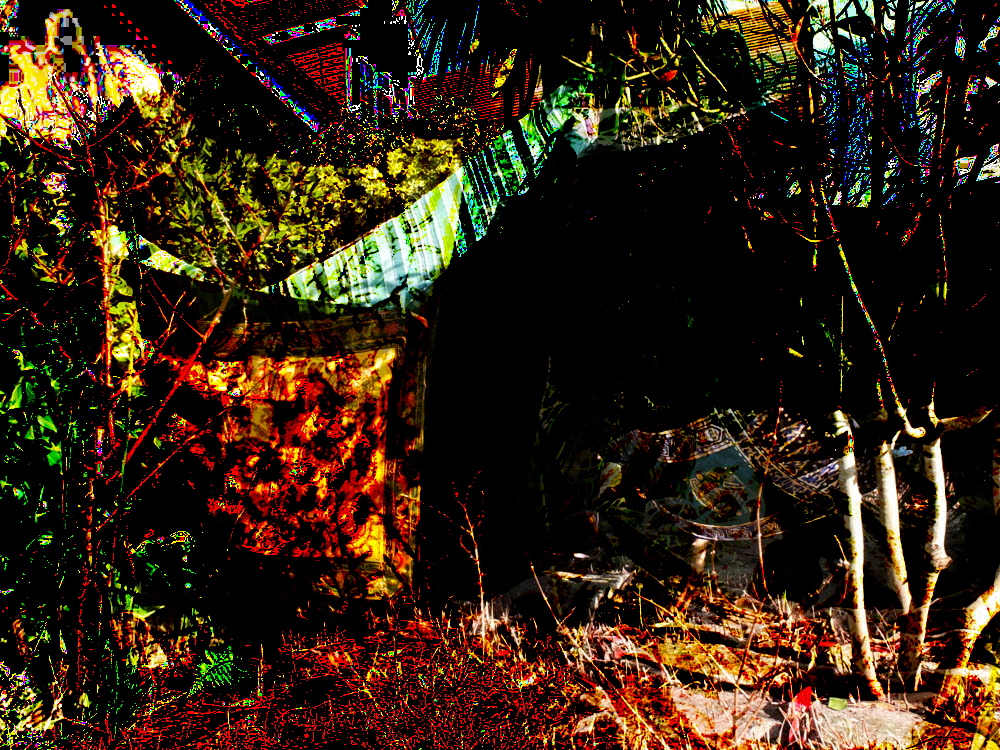
So after my experimentation of layering my day dens together i thought i would also experiment with layering my day and night dens so as to see the contrast between the images. Some of them have worked fairly well to create some really interesting abstract images. I’m not sure if i will be using any of them for my final pieces but they were a good experimentation to consider the differences between the lightning of the dens ect. 

Field den night

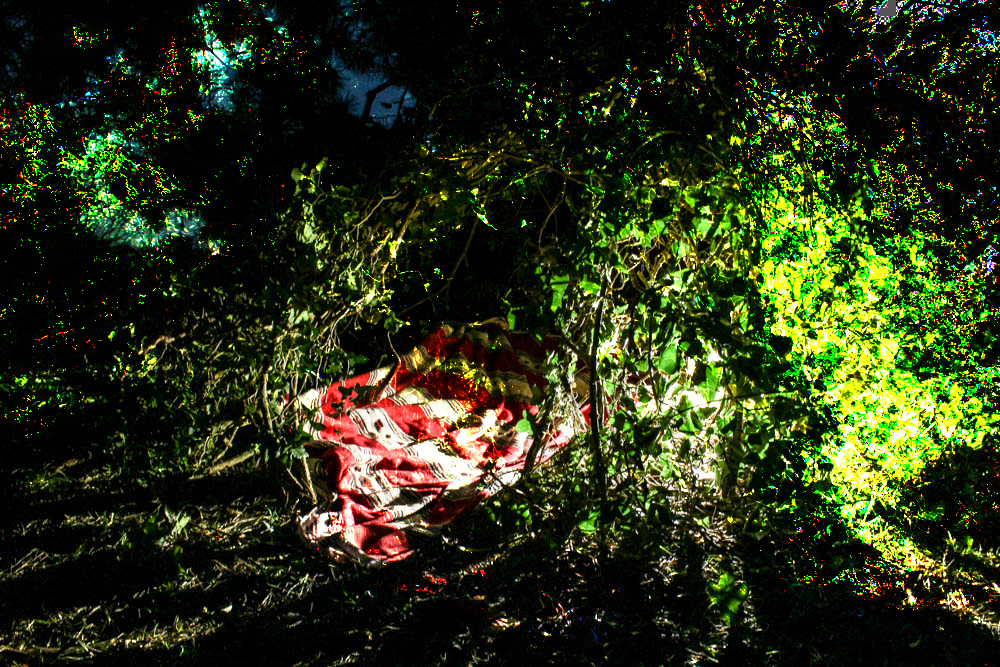
As this den was my least impressive of all of them, as it was meant to be a representation of the really simple ones i made as a really young child i didn’t think the night time photographs of it were going to work really well. They however have turned out okay. As the den wasn’t a massive structure that i could place the light right in the middle of, instead being loads of smaller blankets around an area i therefore photographed much of the den separately rather then as a whole structure. I also choose to photograph this den earlier in the day, just as the sun was setting as i wanted a more interesting sky as i didn’t think this shoot was going to work very well anyway. Overall i think i got some okay images. 

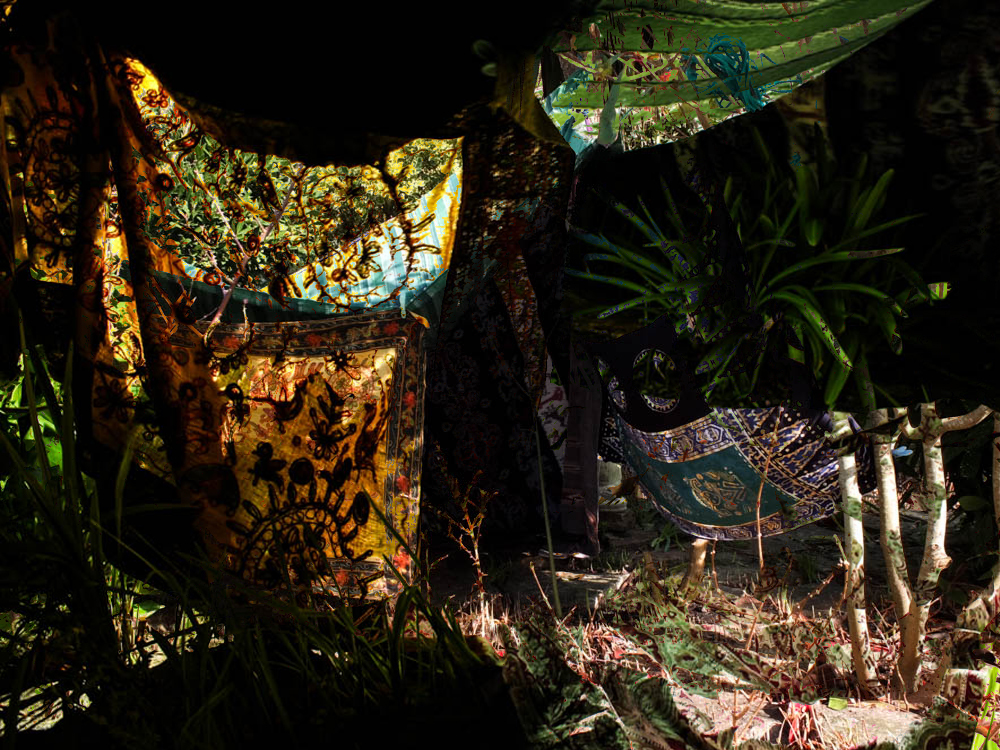
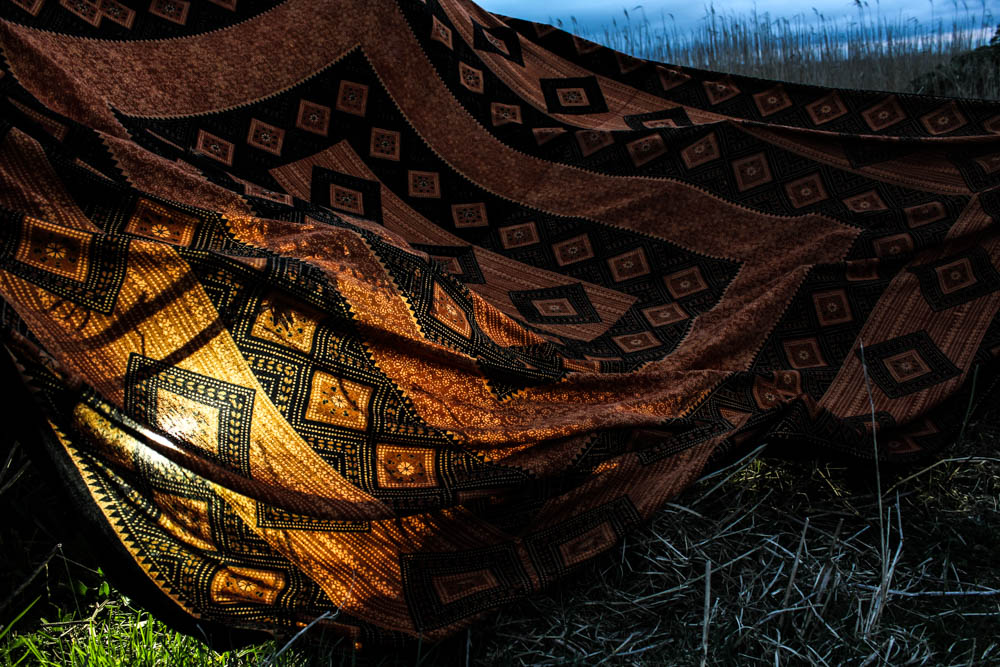
The above image is a photograph where i shone the light directly onto the blanket. I have experimented with this in other shoots and i think in the above image it works quite well. It brings out the vibrant orange colour of the blanket to have the light shinning on it. The contrast between the orange, green and black works really well to convey a tribal vibe. I quite like in this image how the light shines on the foreground and right hand corner of the image so as to create a fade of light into the background which becomes darker and darker. The photograph is composed according to the rule of thirds with the blanket to the right hand side of the frame. 

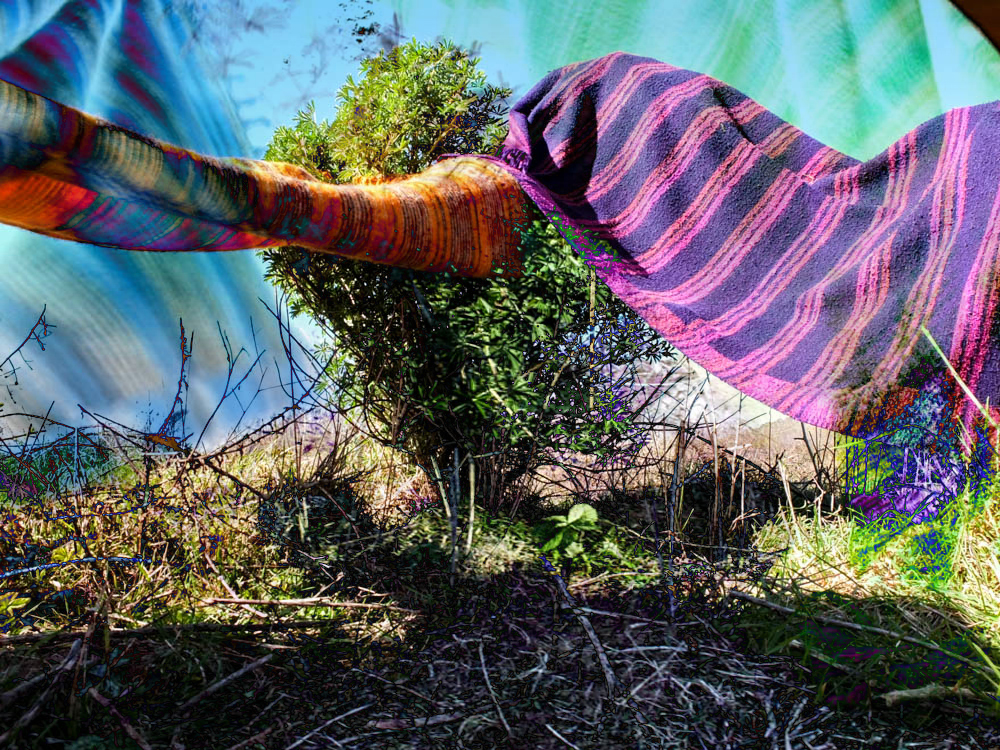
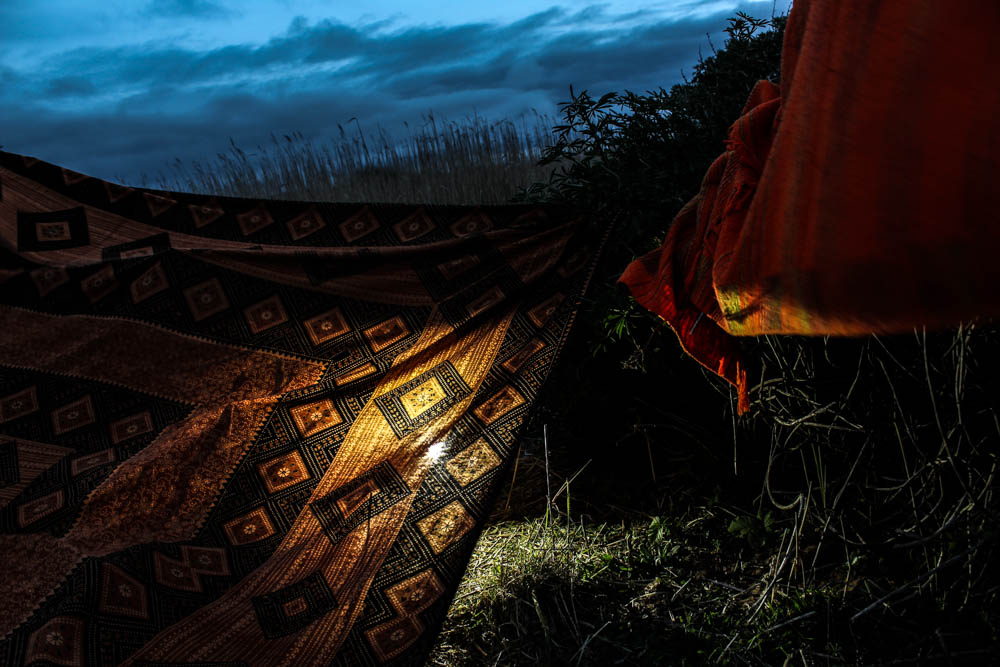
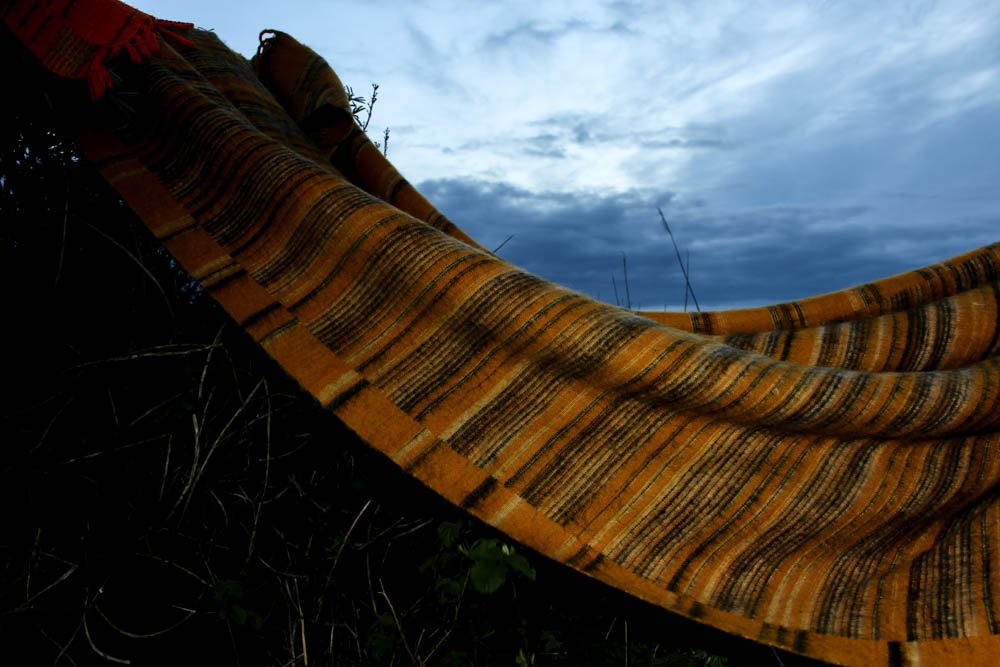
The below image is also composed according to the rule of thirds, the light of the blanket being in the bottom left hand corner. This then contrasts to have the bluish light from the sky in the top, so the two source of light are opposite each other across the image. The angles of this image are quite interesting in having the blanket at an angle heading downwards from the top left hand corner to the bottom of the left side of the frame, your eyes following the slope downwards. As you can see the light from the sky in this image the contrast of shadows and dark colours in the image is less intense then the above photograph. 

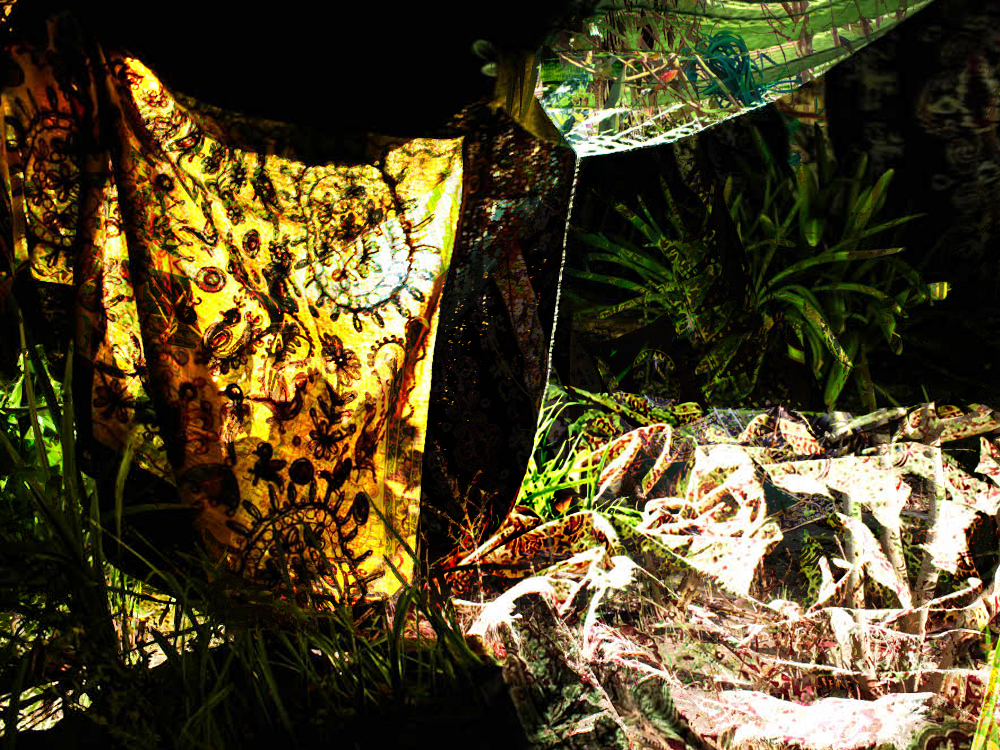
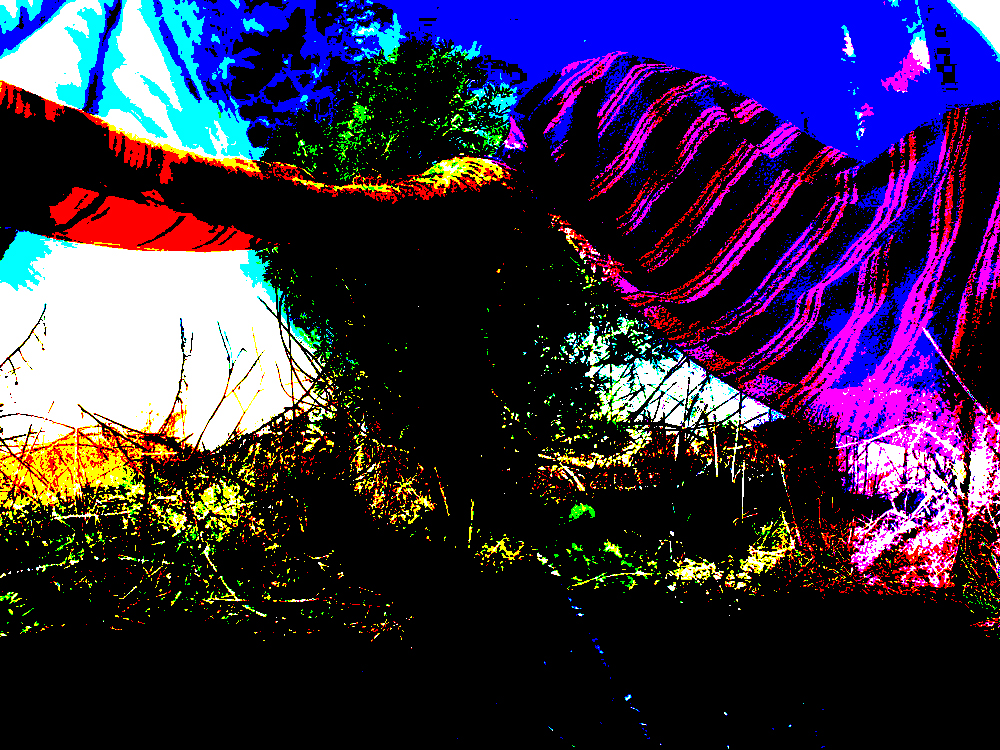
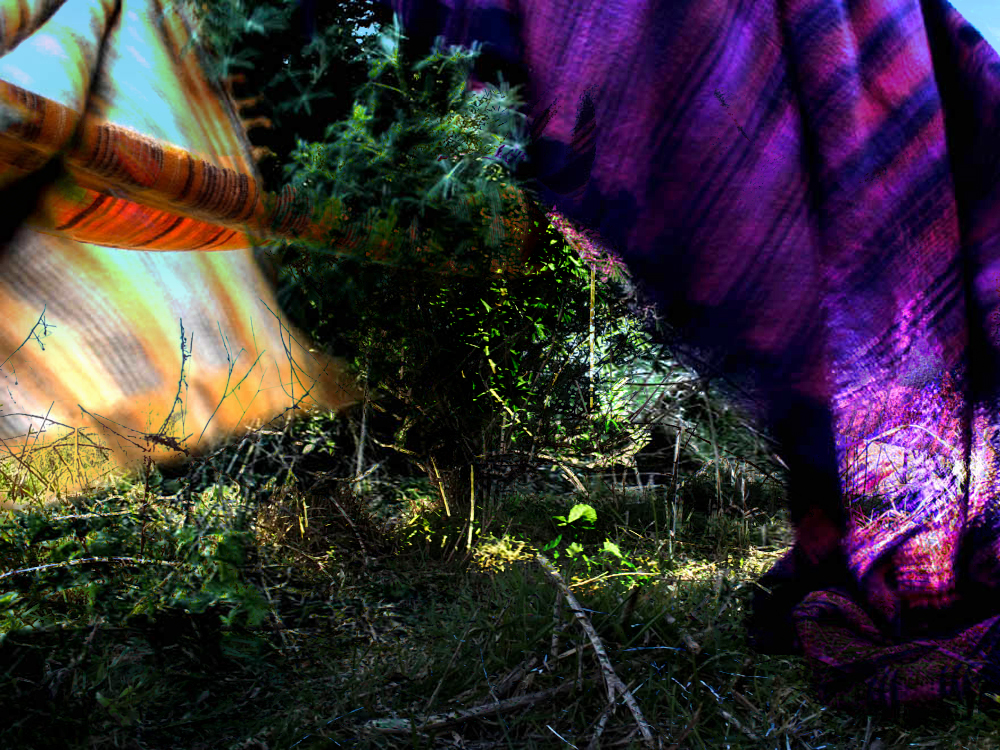
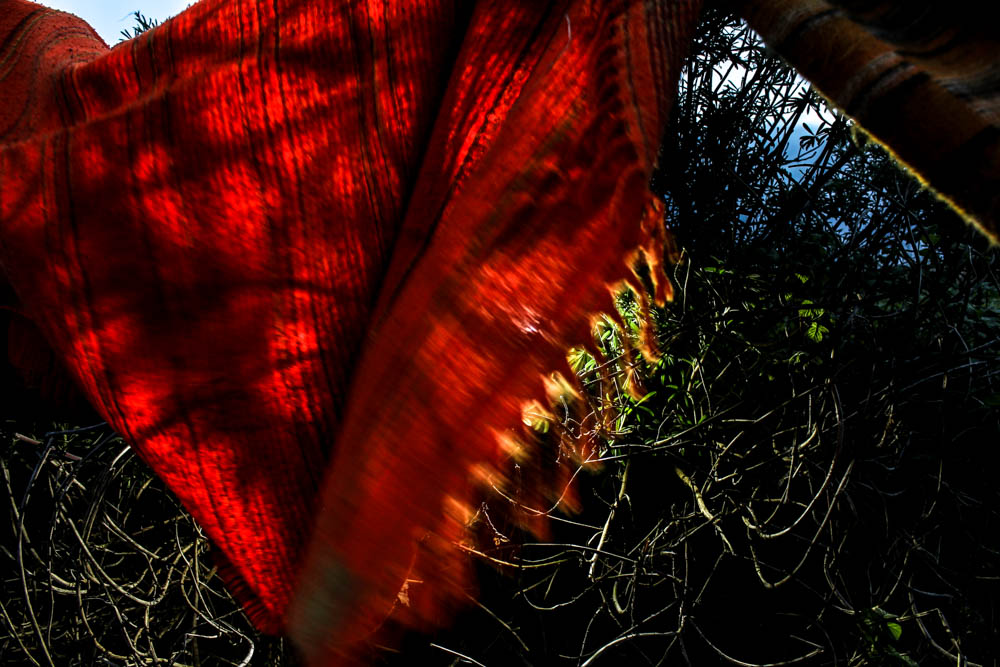
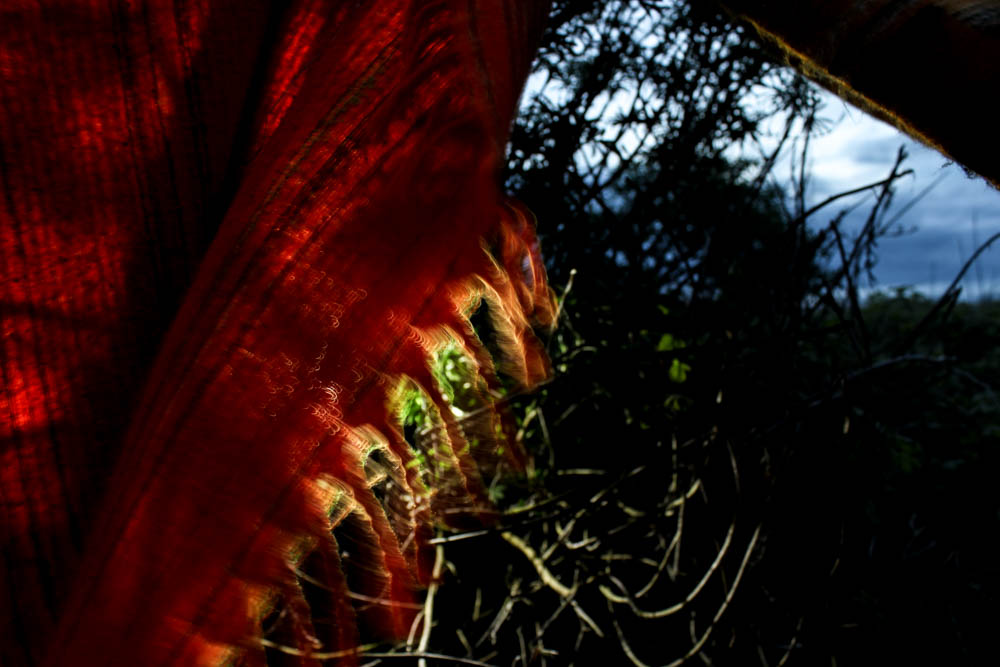
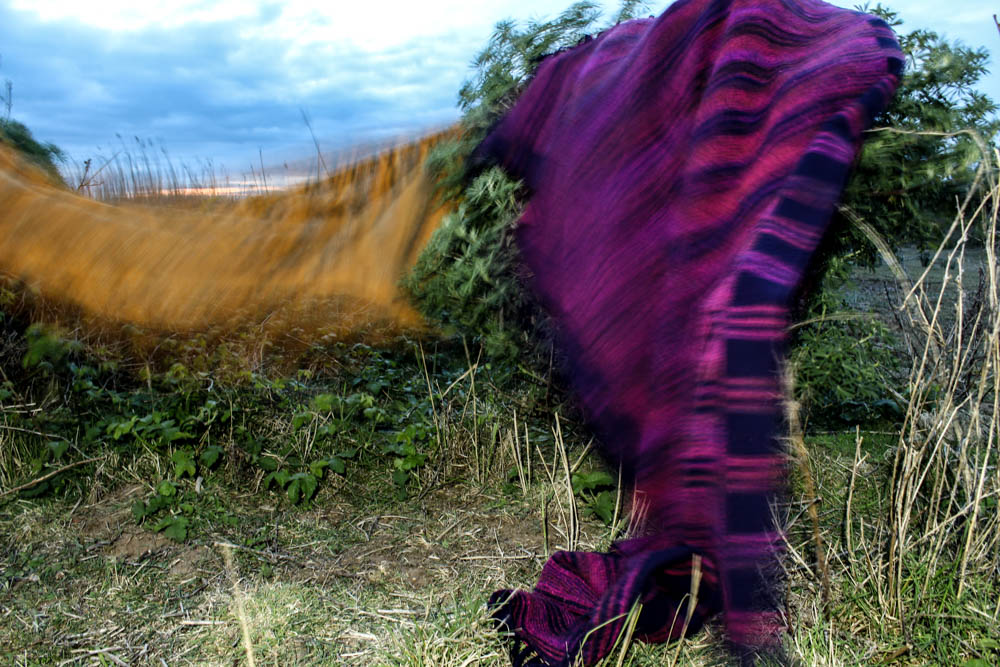
As it was a very windy night that i chose to photograph i also experimented with taking slightly blurred images like with my other photo shoots. I placed the light behind the blanket in these images and then tried to capture the blurred movement of the blankets. These images again have the light source from the sky and also the light source from the light behind the blanket.  I quite like the demented and eerie feel the blur of the blanket conveys within the images. 

By looking at the contrast between the above and below image you can see the different impression that the movement of the blankets gives within an image. The blur of the blankets gives a completely different personality to the image as the blankets appear to have a personality and a character to them. The images appear more dynamic by having the element of movement to suggest that there is more to the image then you first perceive. 

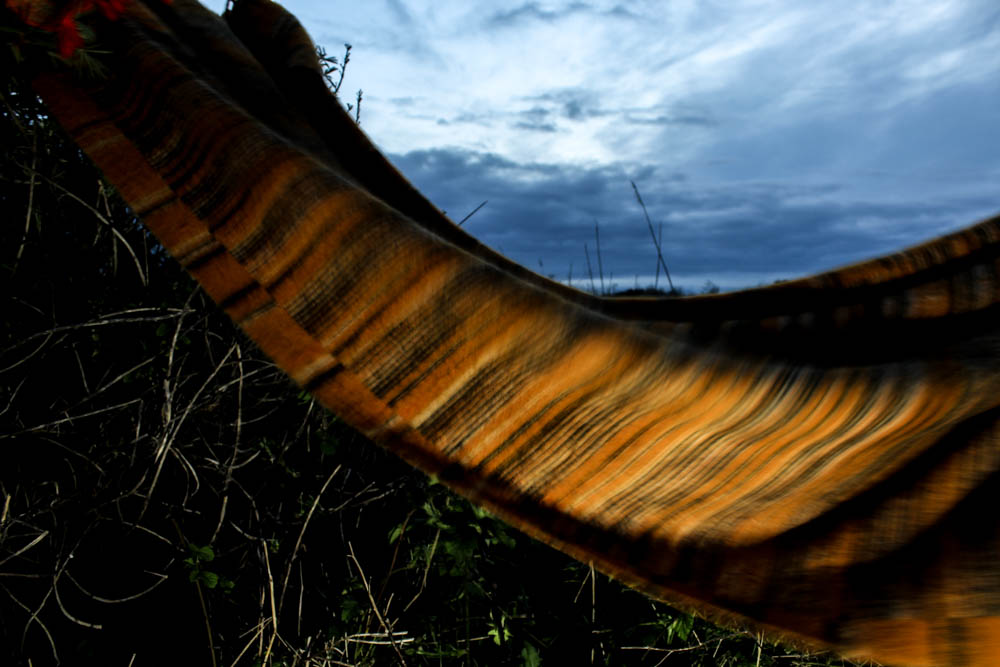
Even though the below photograph is very bright and therefore doesn’t really have the same impact of the other night photographs i like how it conveys the movement of the wind so powerfully. The shutter speed was the same as the other photographs but in this image you can really tell the impact of the wind.  

A Little Paint

// E X P E R I M E N T I N G //

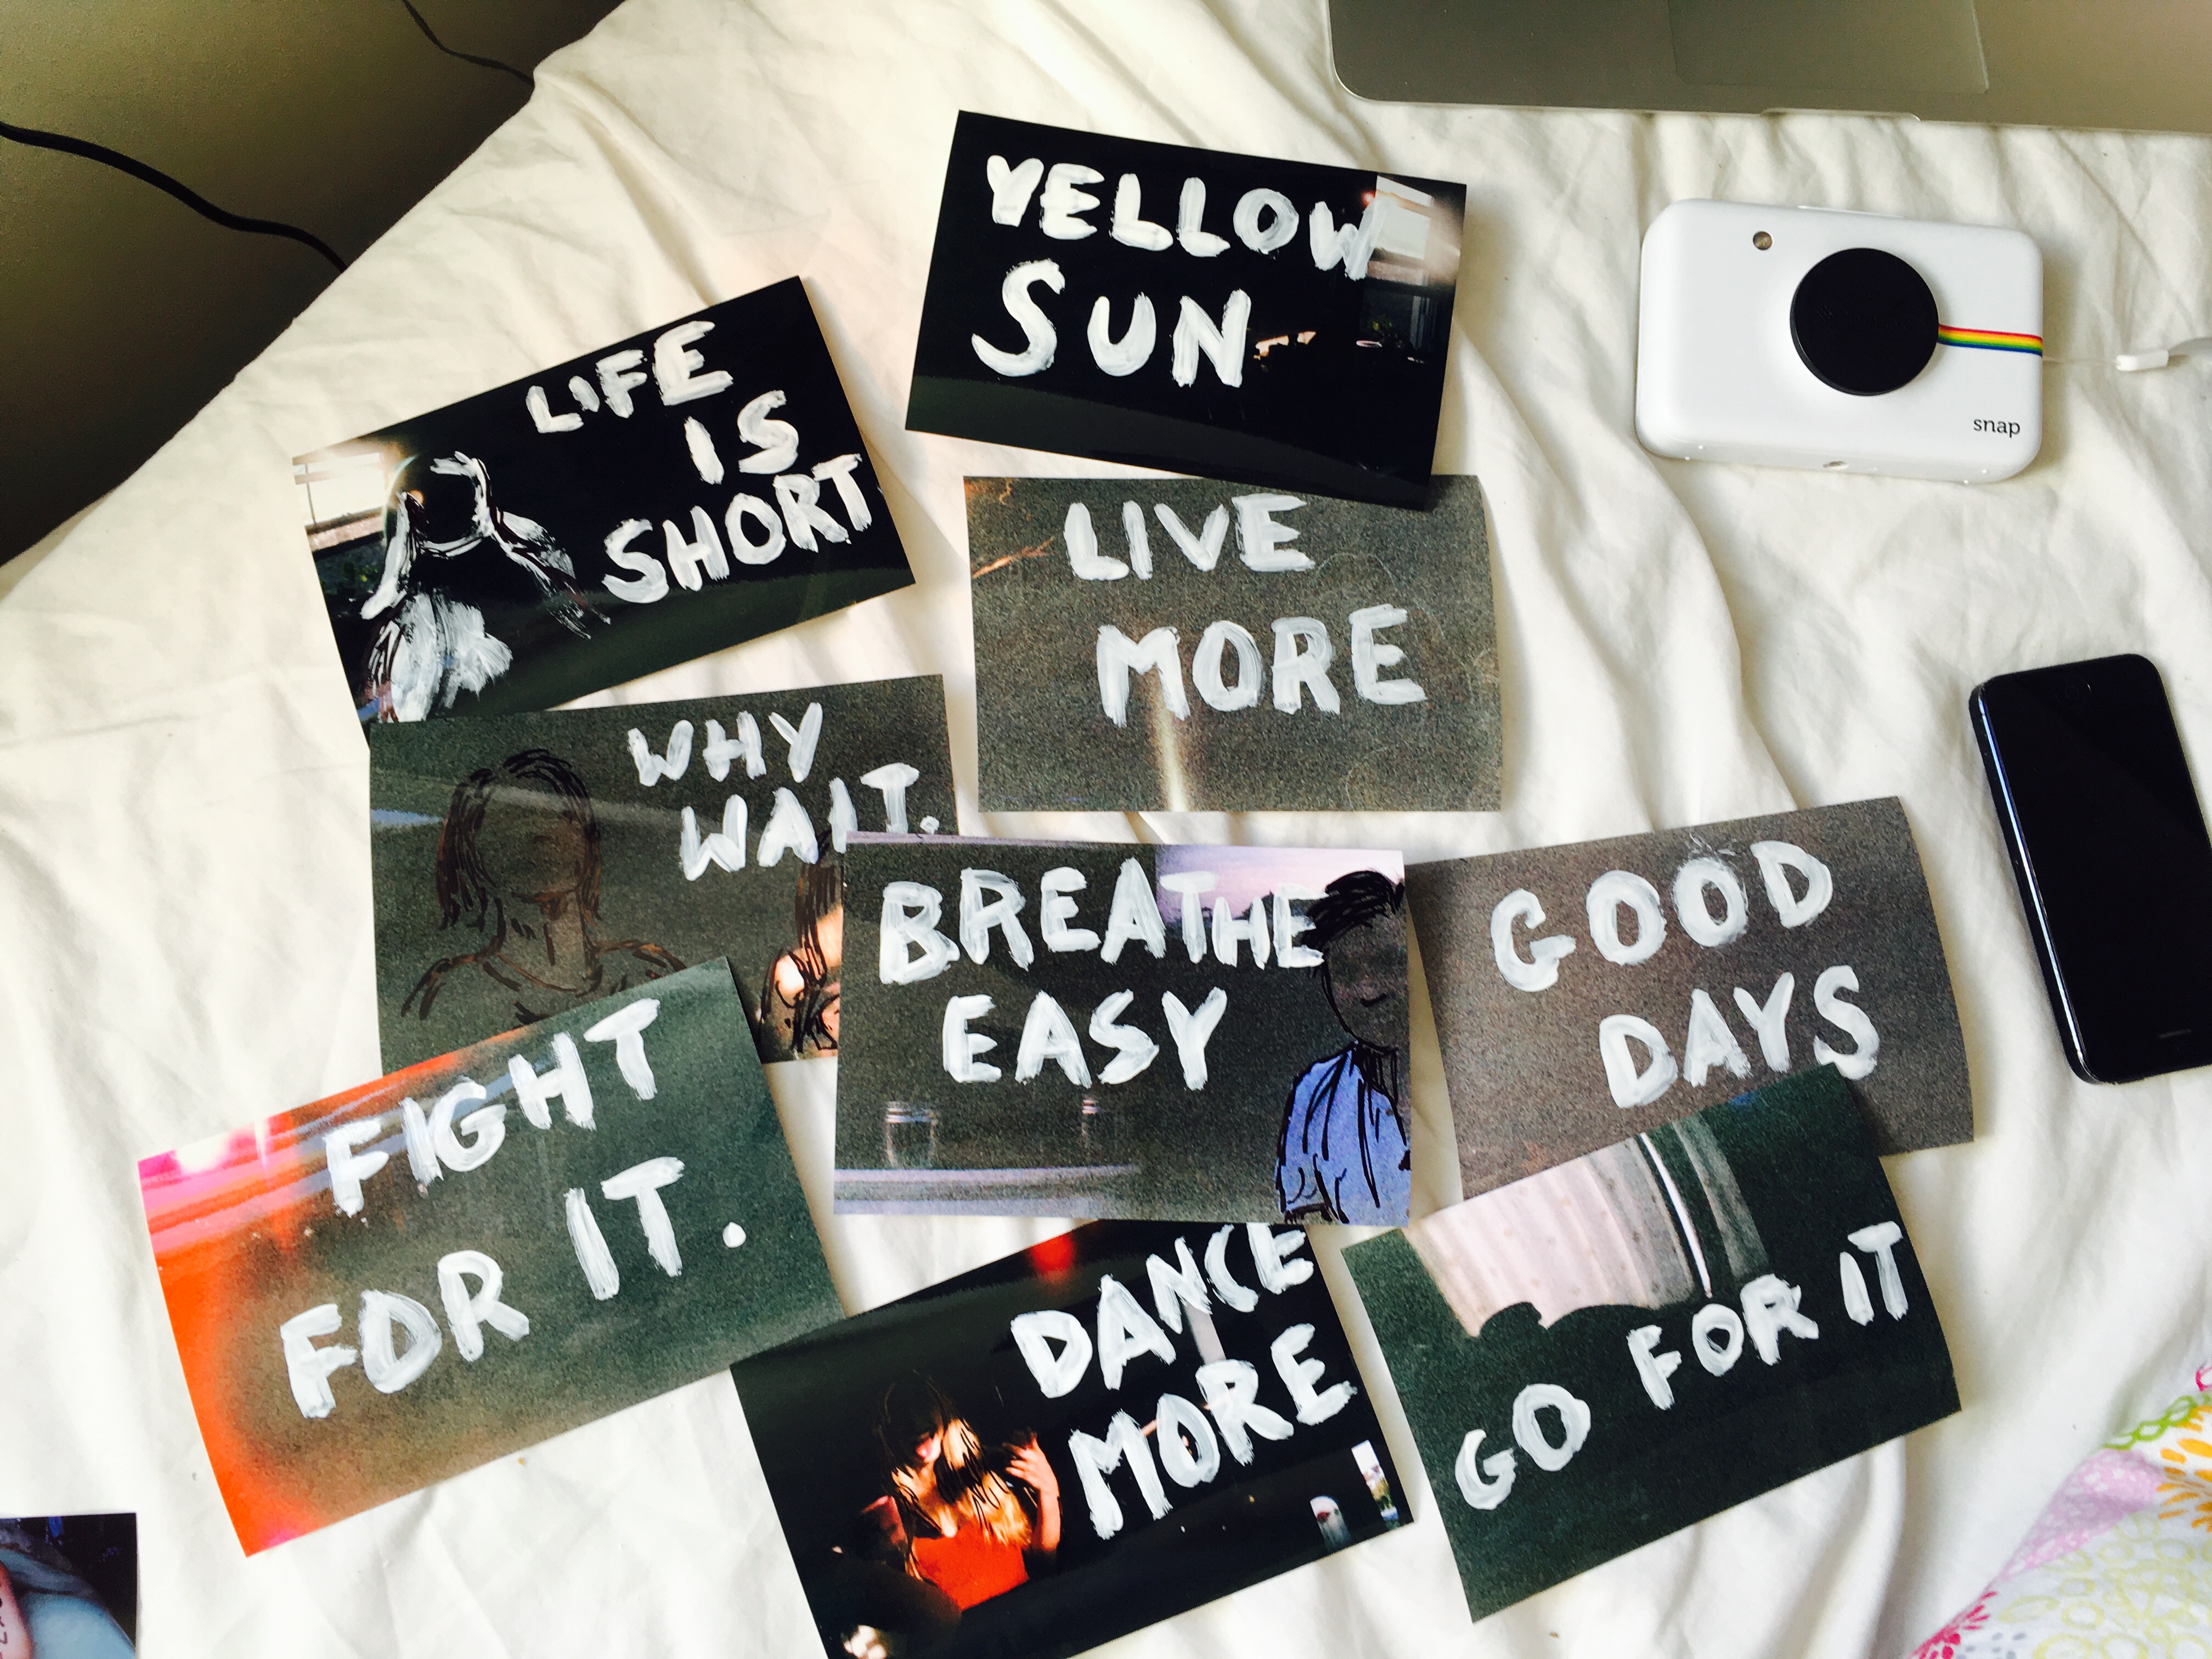
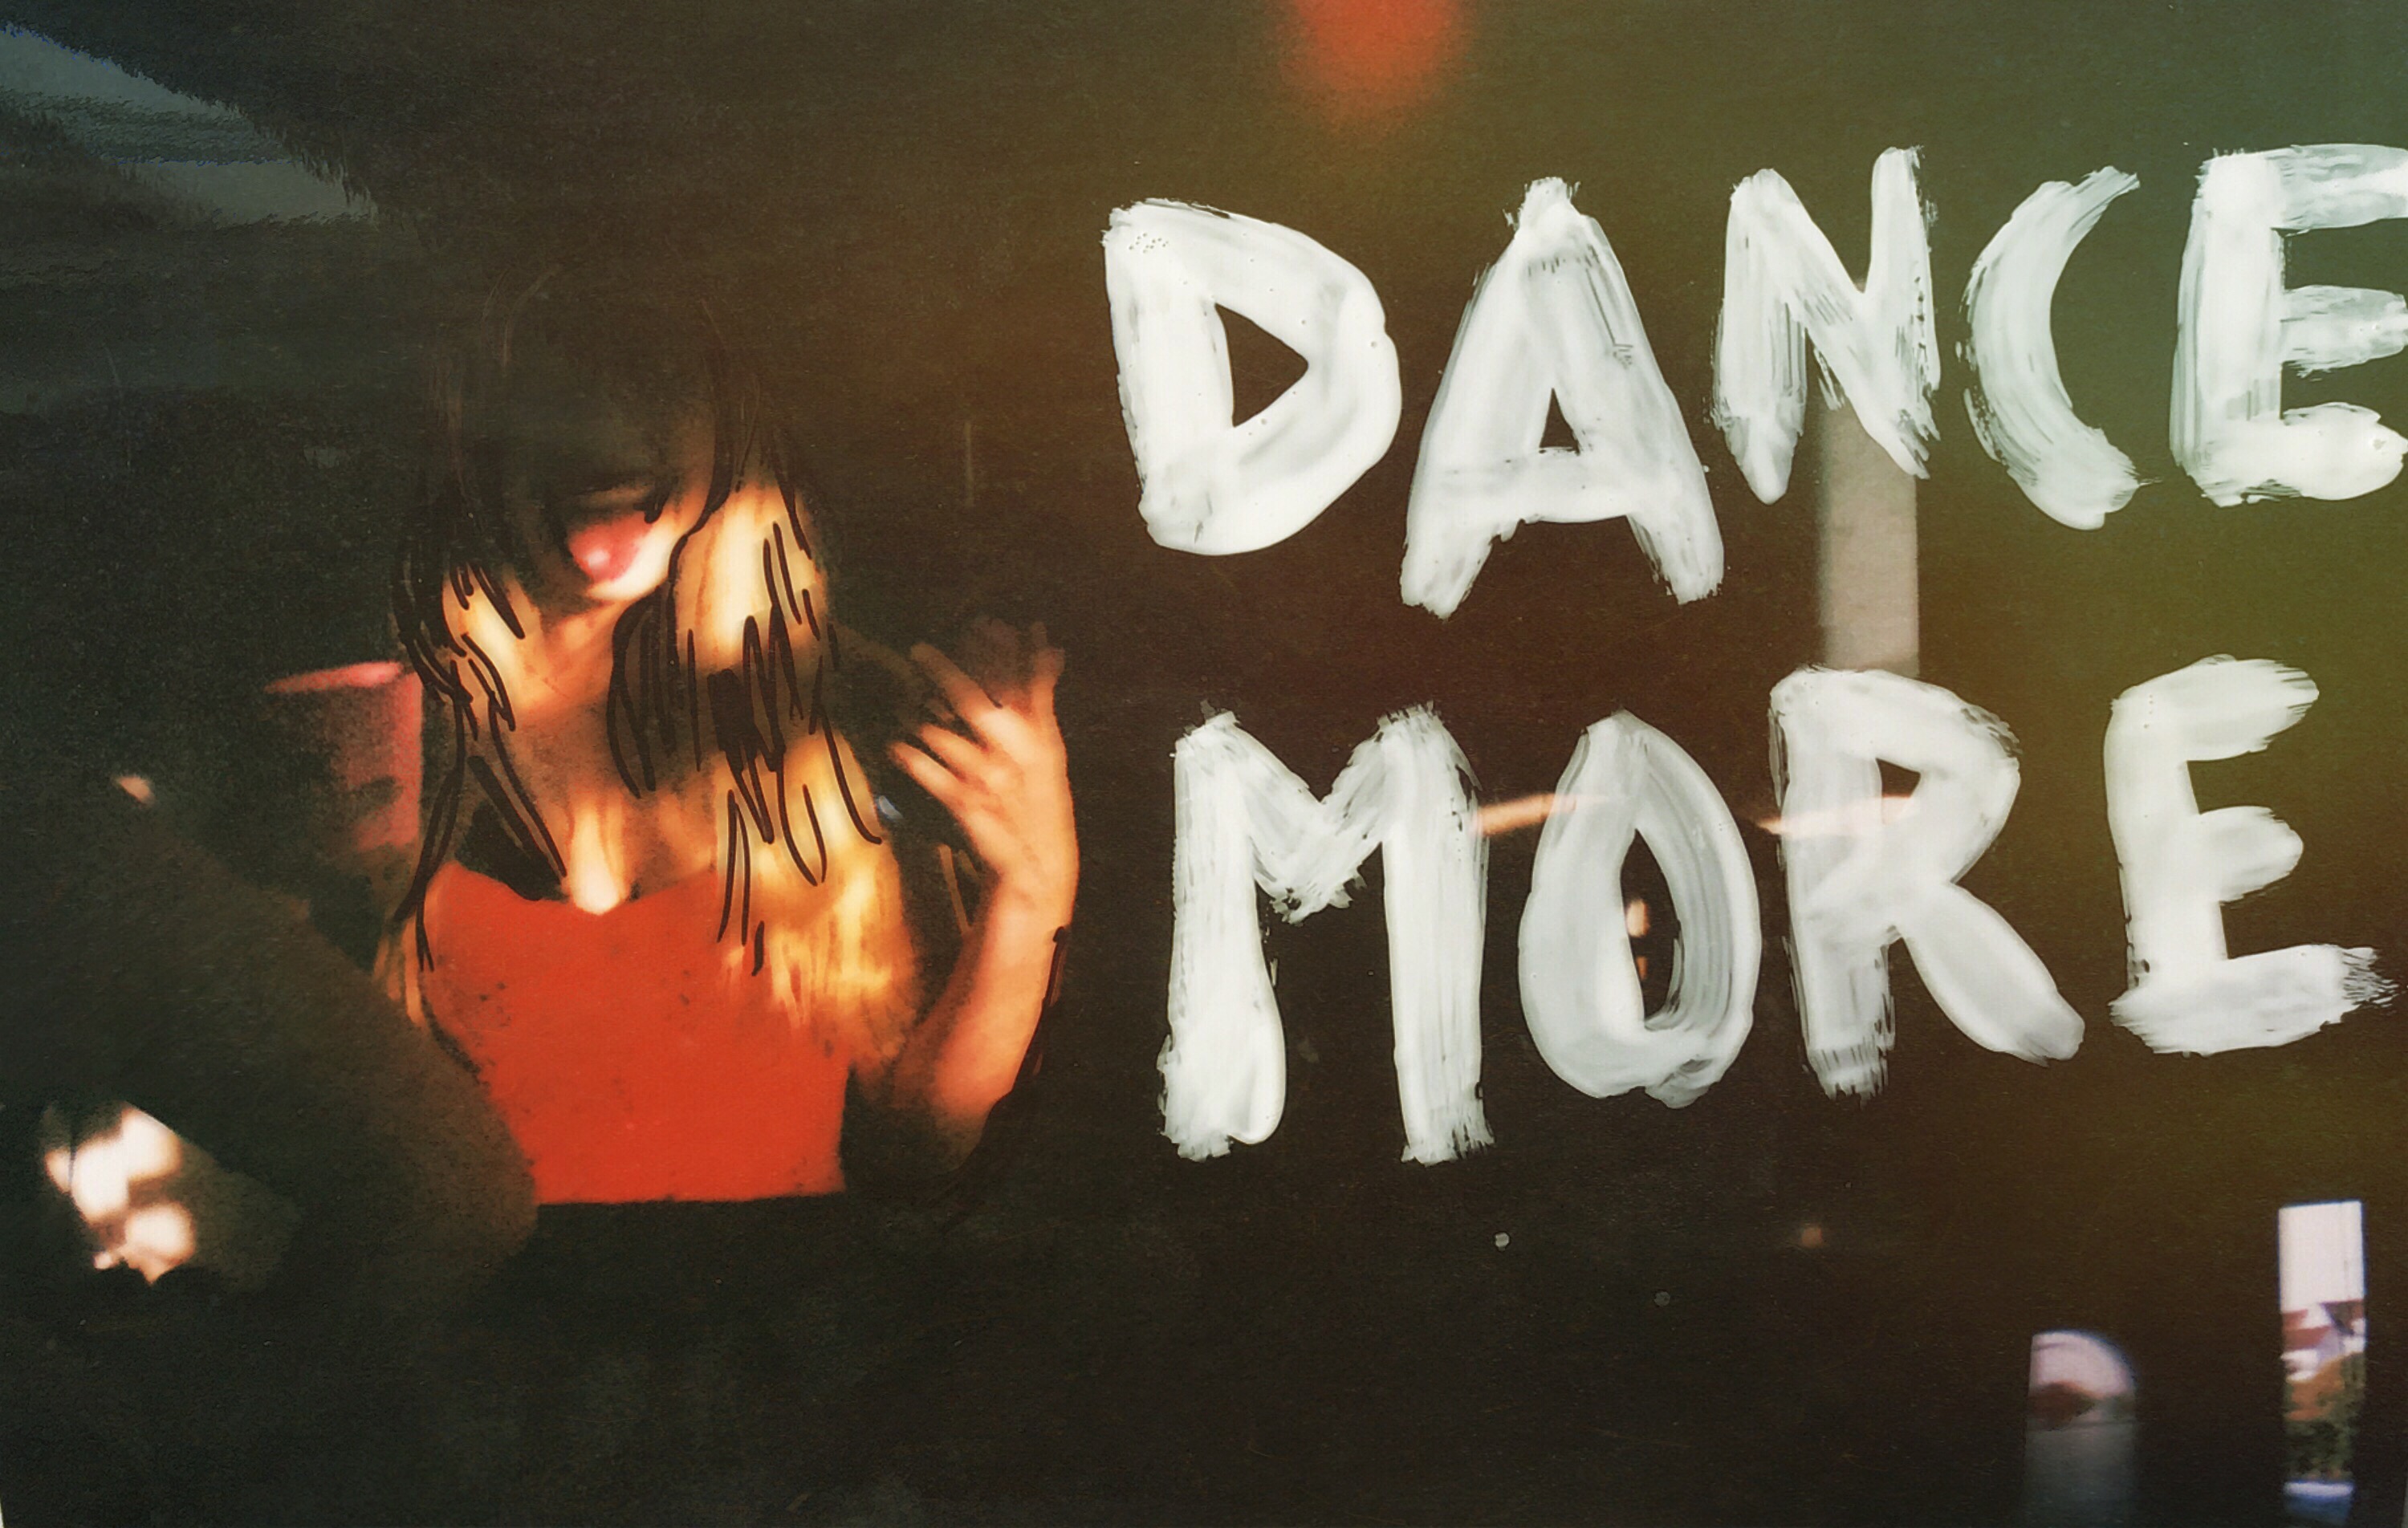
The images used for the postcards are taken of individual characters in environments of their choosing which mirrors the words they write about the place which will ultimately be added to the back of the piece. After getting back a set of disappointing negatives, I experimented with painting and drawing over the prints as a way to enhance the images and make at least something out of them. Though most of these are just for fun, one image came up particularly well and made me consider the possibility of using a handmade technique to edit images that I would receive back on the last day of the exam. 

This image was successful with the colourings of the film, the dark sections of the image and the bright colours that contrasted this darkness with their vivid shades. The words painted on were taken from popular phrases said by people within a lot of the images relating to the situation. The reason for the failure of these images was the previous exposure of the film which resulted in images already being overexposed before the film was used. This happened when removing the film from its source – an expired 27 exposure chuck away camera. To release the film, we covered the lens with electrical tape, wound the film into its canister and broke open the surrounding container. This roll unfortunately was overexposed as the tape was not applied and then added as a panic last minute resulting in a lot of overexposed film.

Blonde Shoot 2 – Editing

Above is the contact sheet from my second blonde shoot. This shoot was heavily inspired by the character of Regina George from the 2002 film “Mean Girls” I was inspired by a scene where they perform a raunchy dance routine(completely inappropriate for a school situation) to the popular Christmas song “jingle bell rock”. Surprisingly I already had this Christmas costume from the Christmas of 2015. Due to the off the shoulder nature of the dress and the strange fit i found it hard to pose in a way that was flattering. Similarly to the previous blonde shoot I was rather uncomfortable posing for this shoot as I felt that the character I was trying to create was not me at all. I made the creative decision to use a blue background for these photos as the red of the dress clashed with the pink background.

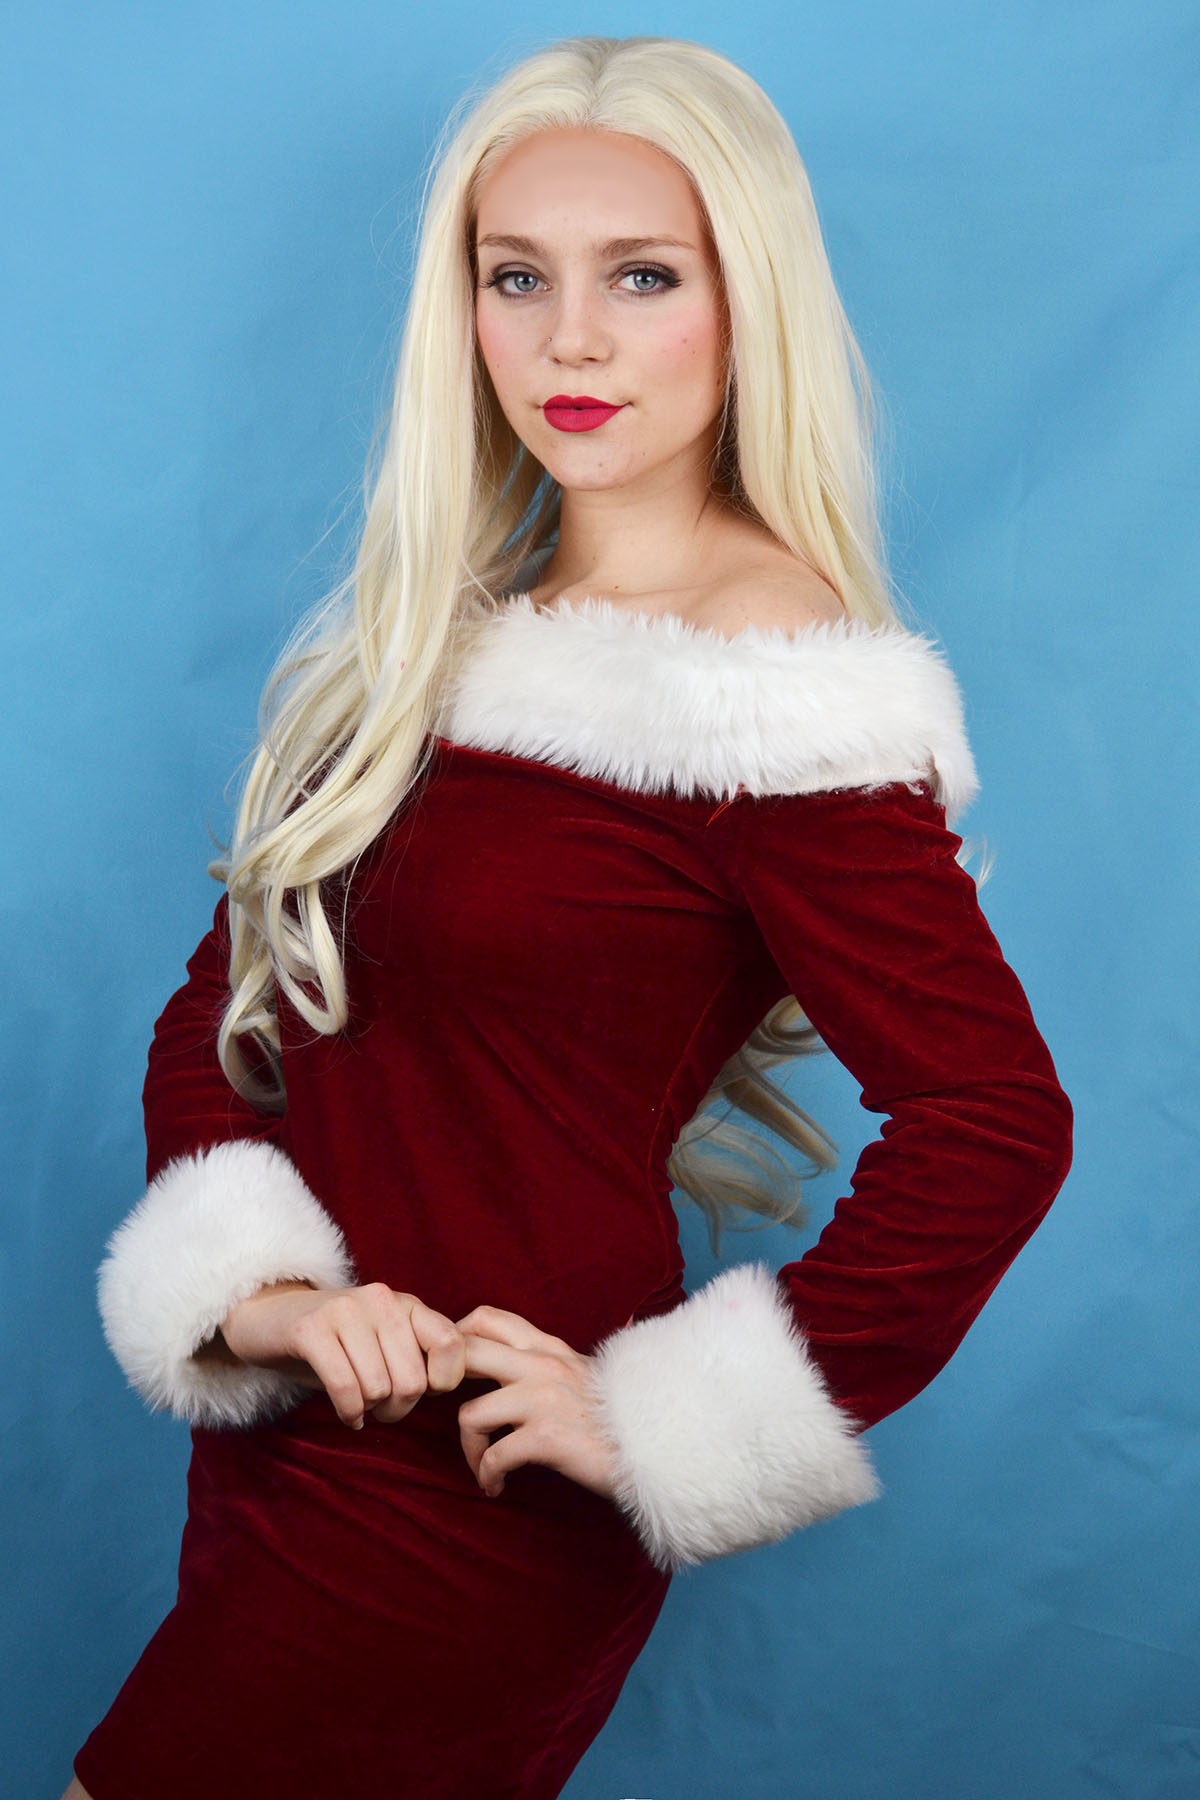
These are the shortlisted images from the shoot that I decided to edit. I selected these images because they captured the playful flirty nature of Regina George’s character as well as the stereotype of the “dumb blonde”. to edit thee images I increased the brightness, contrast and colour saturation to make the red of the dress slightly more vibrant. I smoothed out the complexion by removing any distracting blemishes, I also cinched in the waist slightly in the centre photo, although it does look a little strange. Similarly to the previous shoot I had to edit out the lace of the wig by using a combination of the spot healing tool and the airbrush, selecting various toned from else where on the forehead. Although I am happy with how the images came out I don’t think that i will be using these photos as final outcomes because I feel that the stereotype is very reliant on people having seen the film “Mean Girls”. However the shoot was fun to conduct and it was a good from of experimentation.


Blonde shoot 1 – Editing

Above is the contact shoot from my first blonde shoot. This character was based on the stereotypical all american high school “it” girl as well as public figures such as Paris Hilton and Nicole Richie. I experimented with different poses that exuded confidence, sass and glamour. I actually struggled with the posing for this shoot as I felt so far removed from this stereotype as I felt that I did not conform to the personality connoted through my appearance. This outfit was something that I wore frequently to work and once to a garden party when I had blonde hair, however I felt very strange re-visiting a look that I only distanced myself from a few months ago. Before conducting the shoot I decided that I wanted to use a clue background despite the masculine connotations because my pink dress was lost against the pink backdrop.

Above are the 3 shortlisted images from this shoot. I selected these because they have a sense of glamour to them, some of the more exaggerated poses looked a little pantomimic and ridiculous. The editing process for these images was slightly more extensive than previous shoots because (as you may be able to see from the raw photos in the contact sheet above) I did not glue the lace of the wig onto my forehead, which would be the proper way to wear this theatrical wig. I decided against gluing the lace of the wig down because during my research online, spirit gum was the best option, however I only had liquid latex to hand and I knew that I would only be wearing the wig fro a couple of hours and wouldn’t be taking part in any vigorous motion that would case the wig to slip off. I had to edit out the unsightly lace using a combination of the spot healing tool as well as the airbrush. I also increased the brightness, contrast, levels and colour saturation. I used the liquefy filter to smooth out the crinkles of the dress around the waist and cinch it in to create a more pleasing hourglass shape. I also slightly smoothed out the background and used the spot healing tool to get rid of any distracting blemishes.