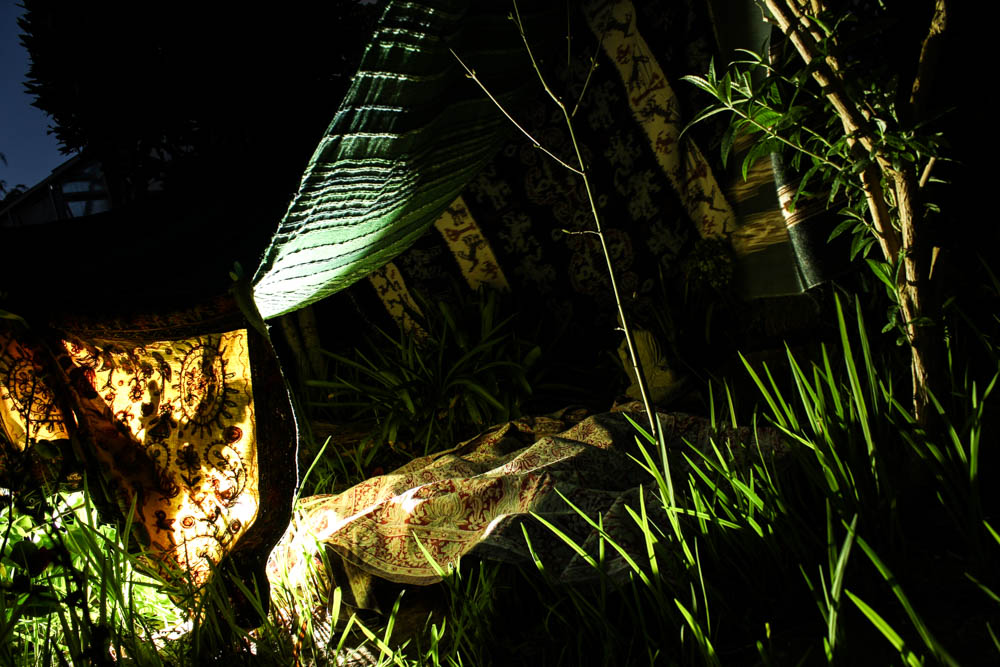
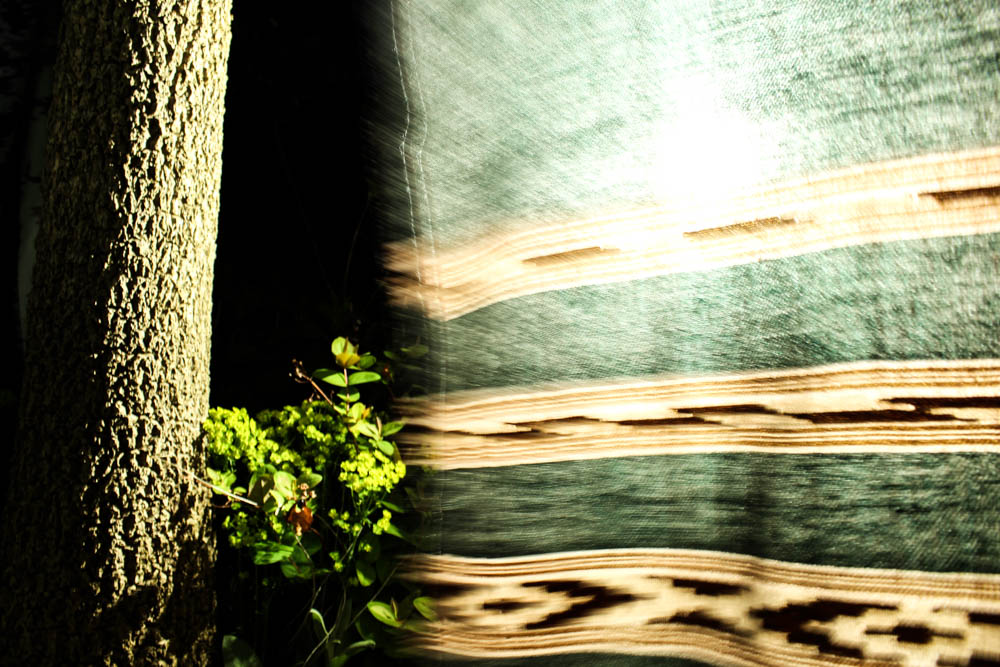
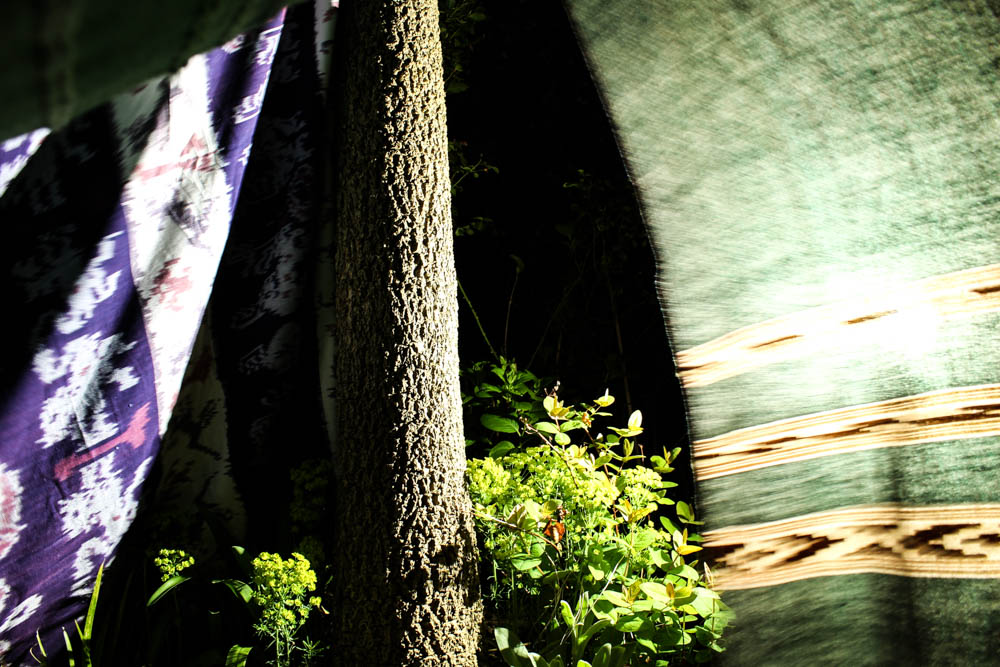
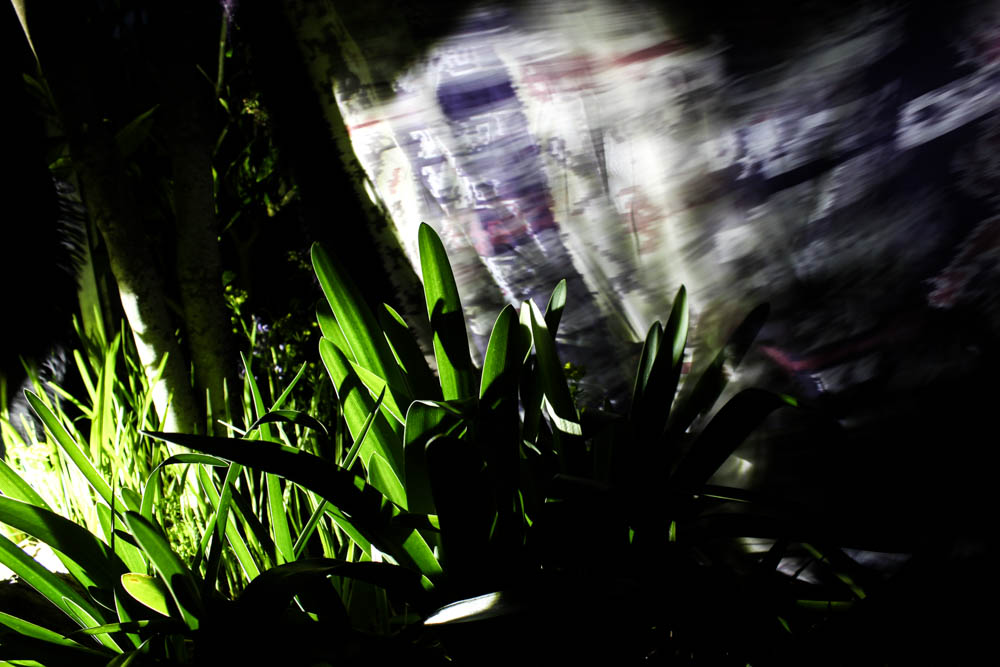
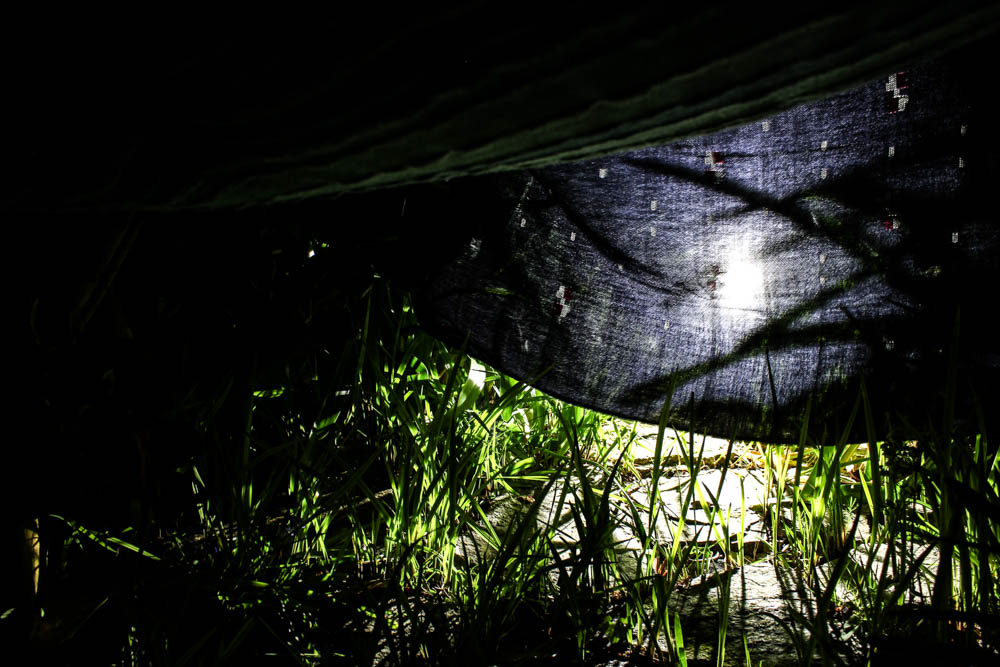
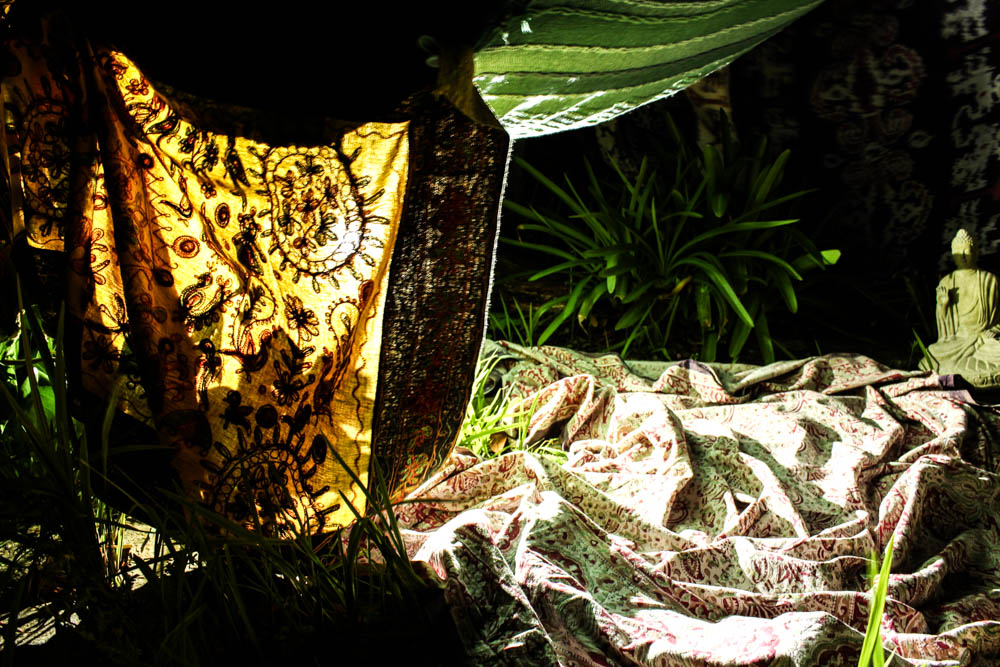
Why Use Film?

Recently I have begun to use film to take photographs with. I did not use it in my coursework but I do plan to use it for my exam to a degree. Film does not have a huge number of advantages over digital for the purposes of an A-Level course but I feel that it is important to understand where photography has come from if we are to use it properly today. Film also increases the challenges with photography, not being able to see the image straight after it has been taken makes it hard to be sure that your focus is set correctly or that the image is not under/overexposed. One of the biggest hurdles that I have encountered is the set ISO of the roll, this effect makes it difficult to use a roll for more than one shoot, and the ISO needed must be assumed before it is loaded into the camera. The set number of exposures that can be taken on a roll can also be a challenge, often it would be alright if one roll is completely used to load another roll of the same film and continue shooting but with my project being about water and one of cameras being an underwater camera this roll cannot be changed while still around the water. This factor limits me to 24-36 exposures per in water shoot. In doing so I am forced to think a lot more about each image, the framing and composition of each image is much more important because I cannot simply delete the image and take another, what you have taken is what you get. Another major drawback is the price, buying film is expensive (£5-£8 for a roll) and getting it developed, scanned and/or printed is even more expensive unless you learn to do it yourself (the cost really makes you value each exposure that you take). All of these reasons combined make film a difficult thing to shoot with and it makes me glad that I have access to excellent digital photography equipment for relatively low prices.
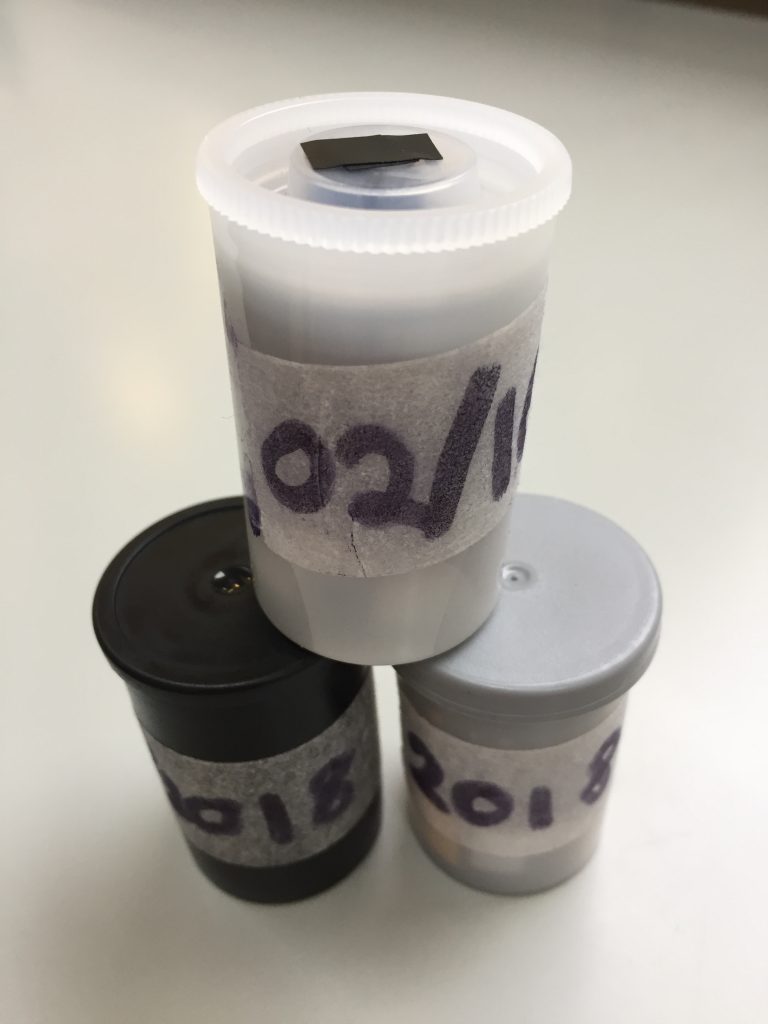
Even with all of the downsides of film it is still a lot of fun to shoot. The grain of film is sometimes seen as a downside of film over digital but I like the effect that it gives to the images. They have a certain softness present that can be achieved in after editing of digital photos but will never be quite right. The way that the individual crystals will change under the different light is recognised as an organic process, they do not change to specific values. This is something that favours film over digital, with digital the information for each pixel is defined, there is a certain point that a colour can reach before it becomes another colour, this change is a gradual change and not a one-or-the-other change. The smoother transition through colour ranges or from black to white is the biggest visual advantage of film over digital.
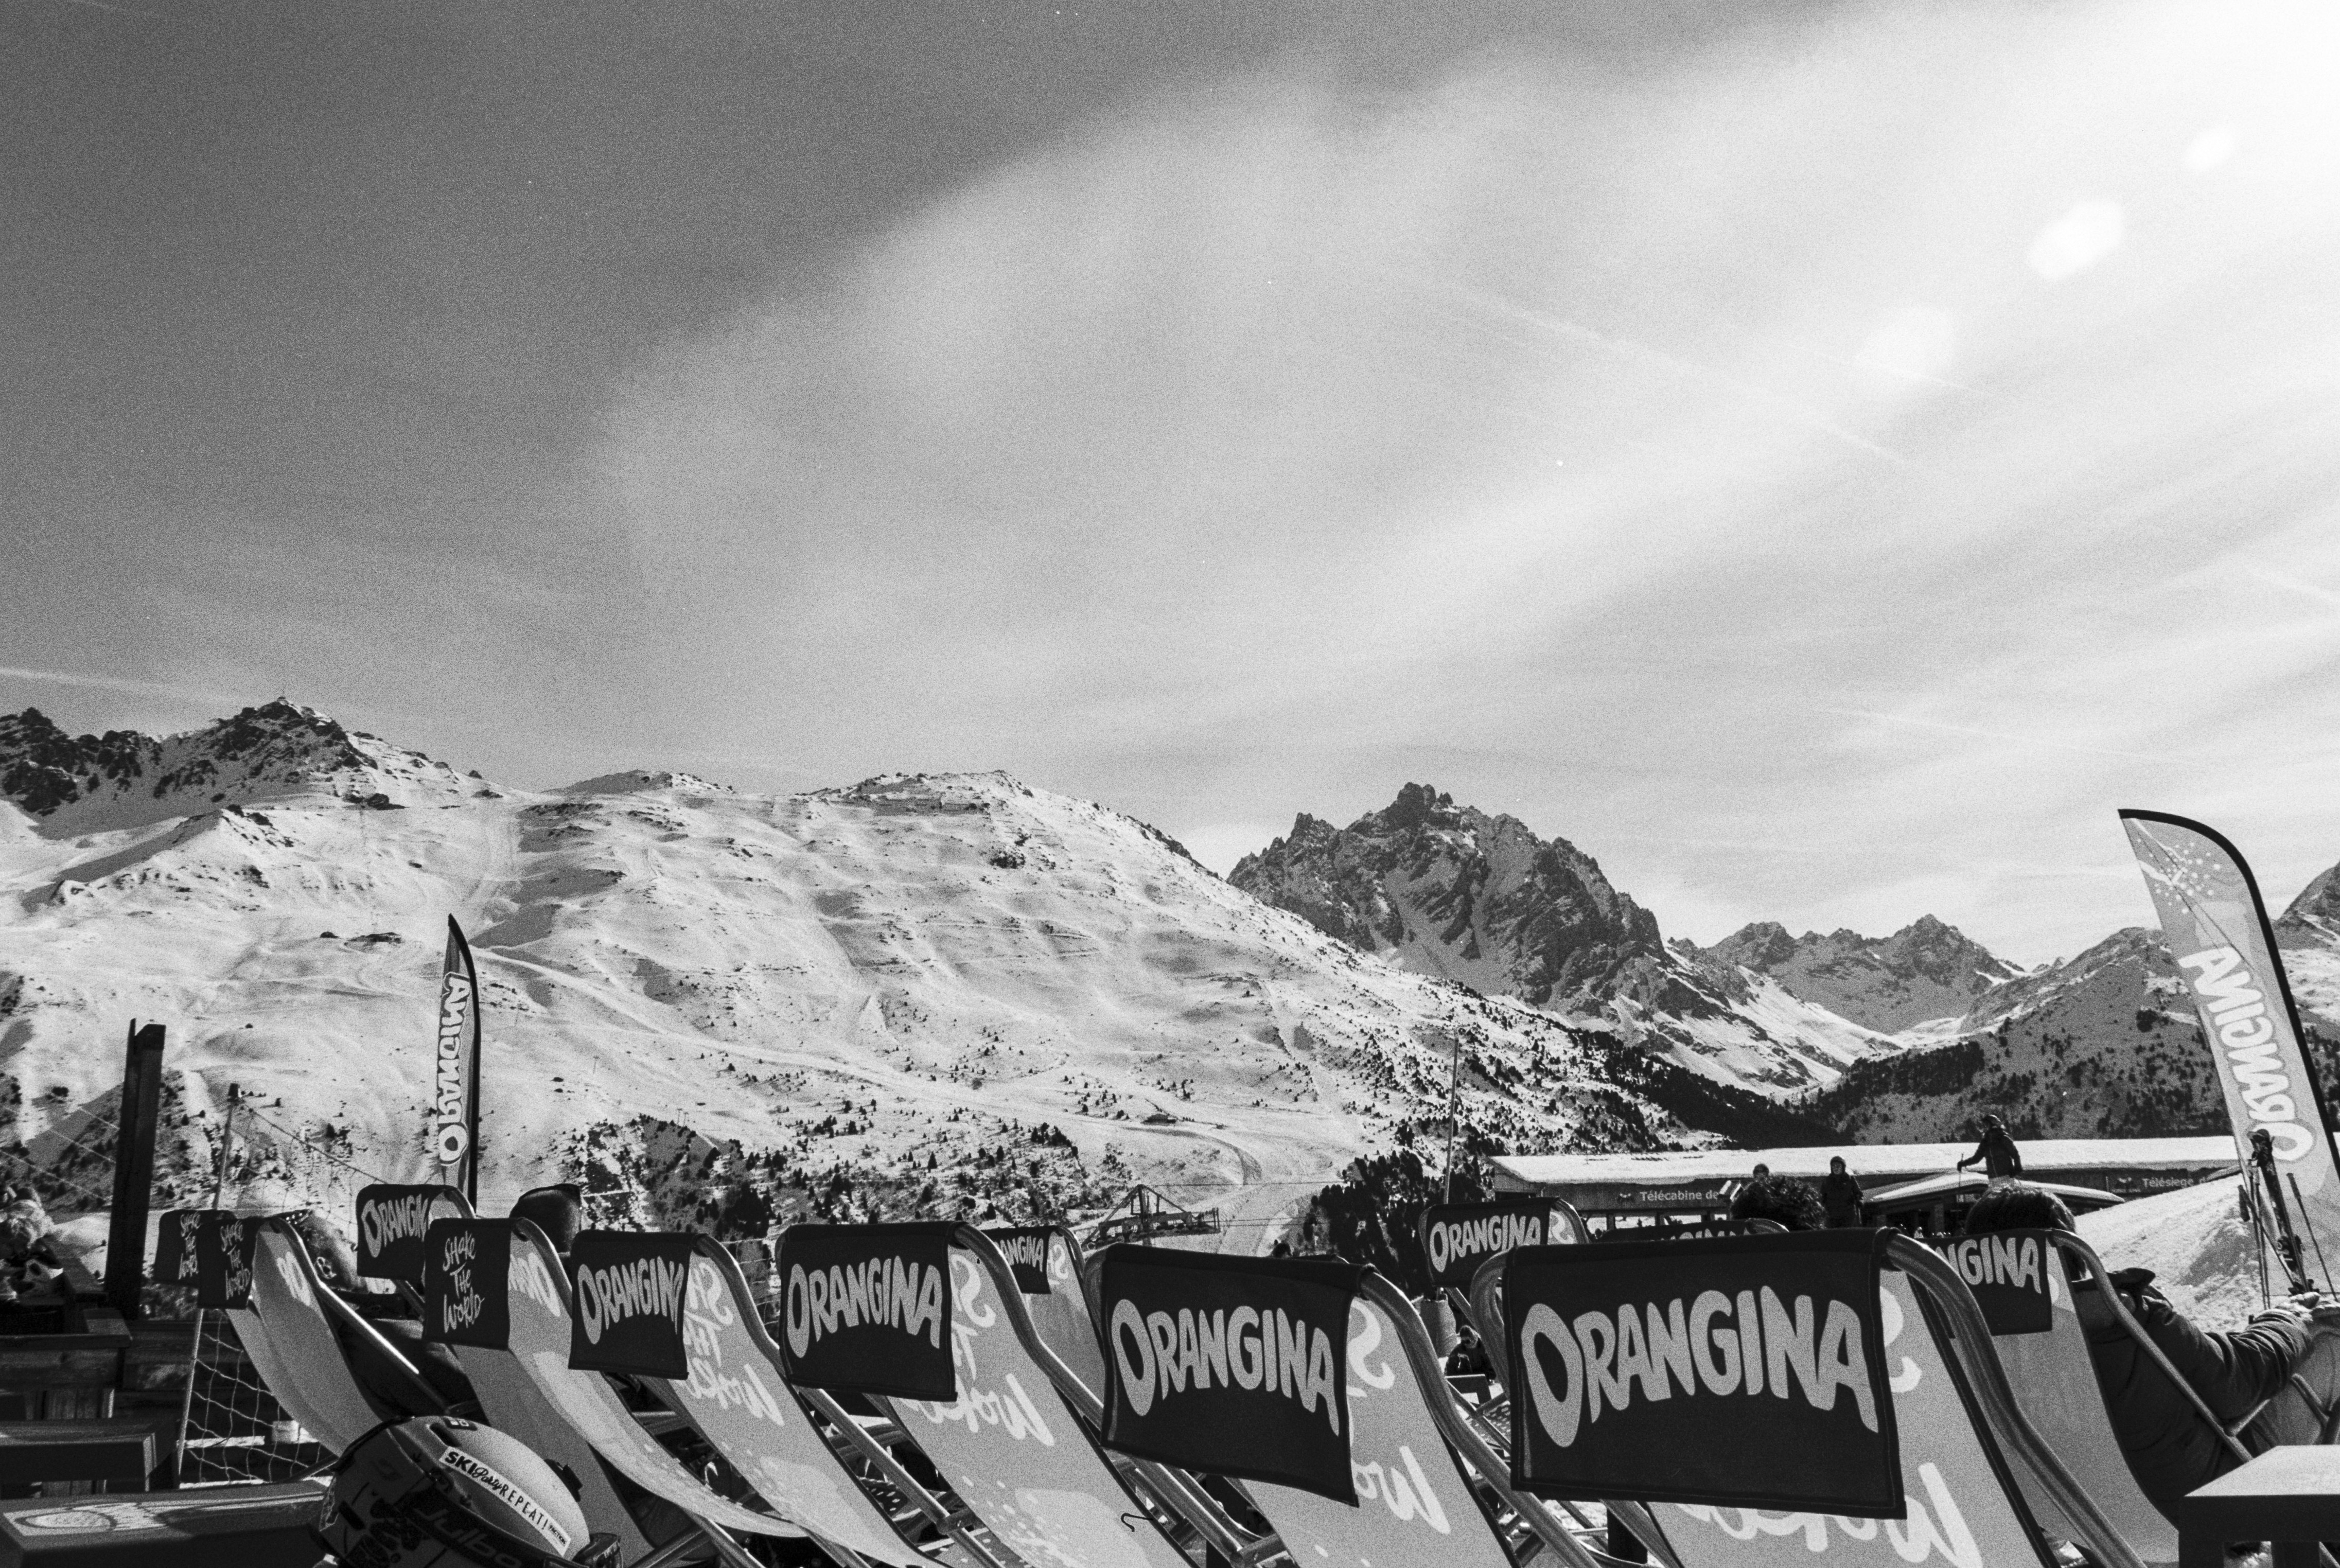
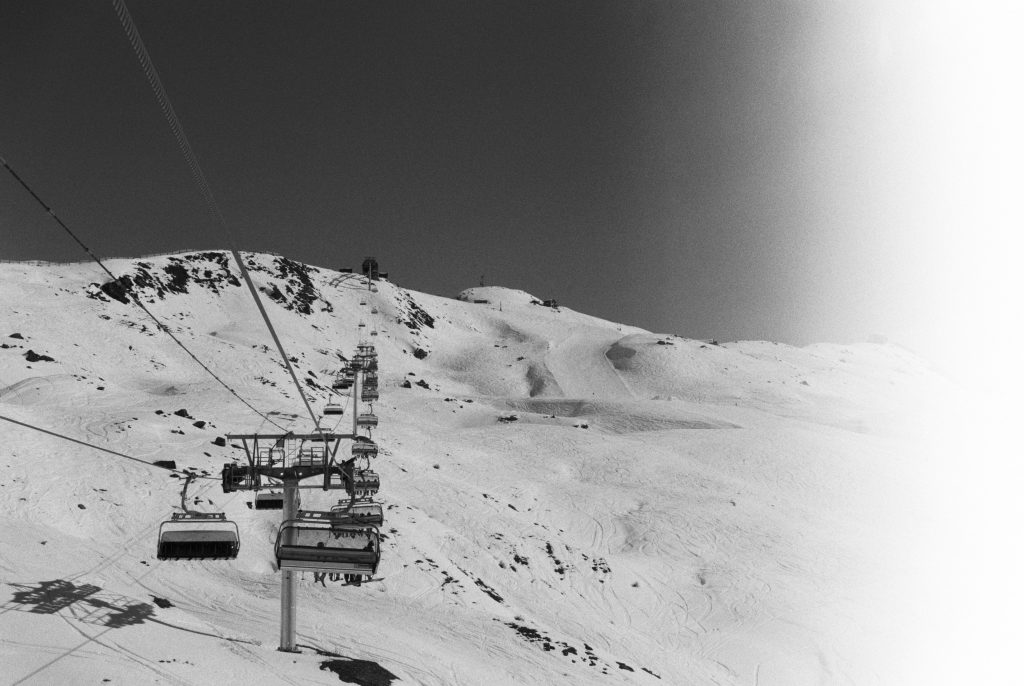
The image above is one that I took on a recent skiing trip. The gradient of light in the clouds at the top of the image is fantastic, to get this kind of flow of from black to white would be harder to achieve with a digital camera.

I also recently bought a fully manual 35mm film camera from a local charity shop. Only costing me £10 including the lens this camera only needed a little fixing and a clean up before it was ready to use. The camera is fully manual, the only aid on it is a light meter and the focusing meter. All of the individual settings (aperture, shutter speed, focus and ISO) have to be set separately for the images. Although doing this for each photo can be tedious at times the result is that I have spent more time learning about what settings all of the different scenes will need, getting used to balancing the aperture and shutter speed to fit the ISO has really helped me when I am using my digital Nikon for different shoots.
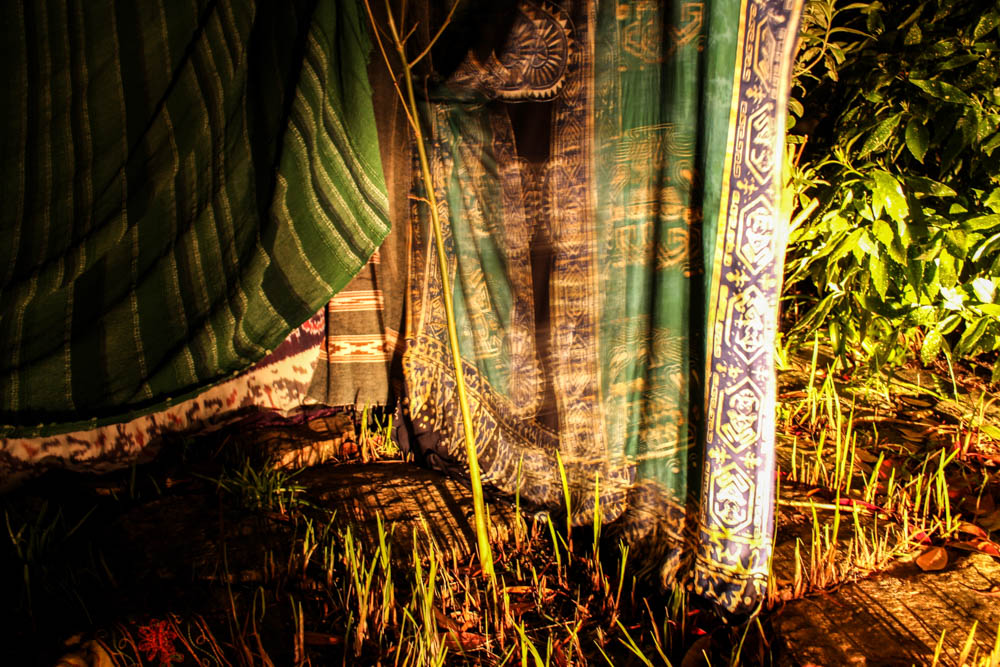
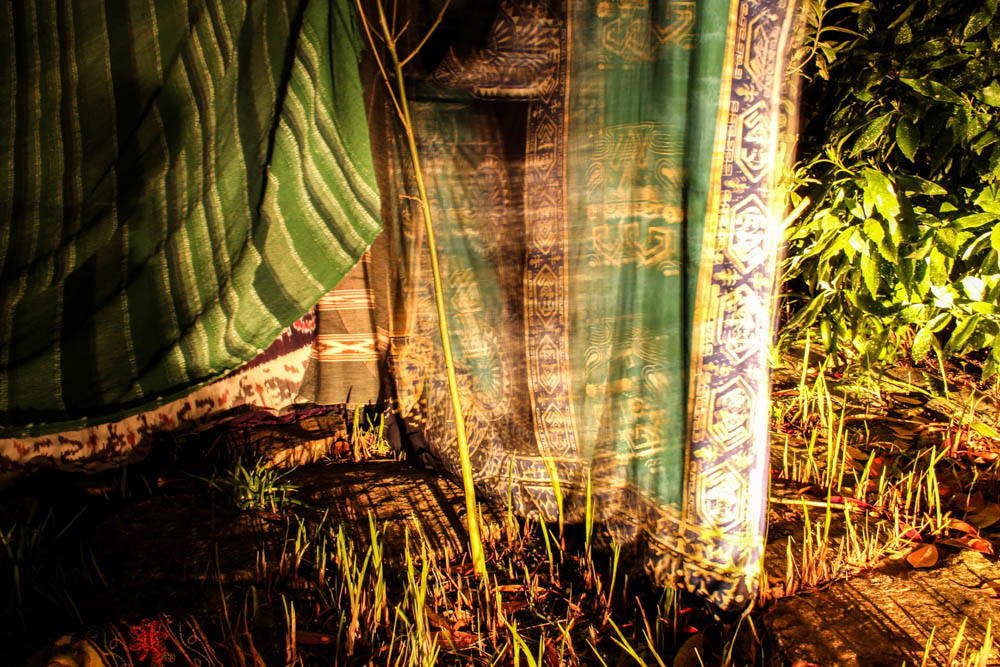
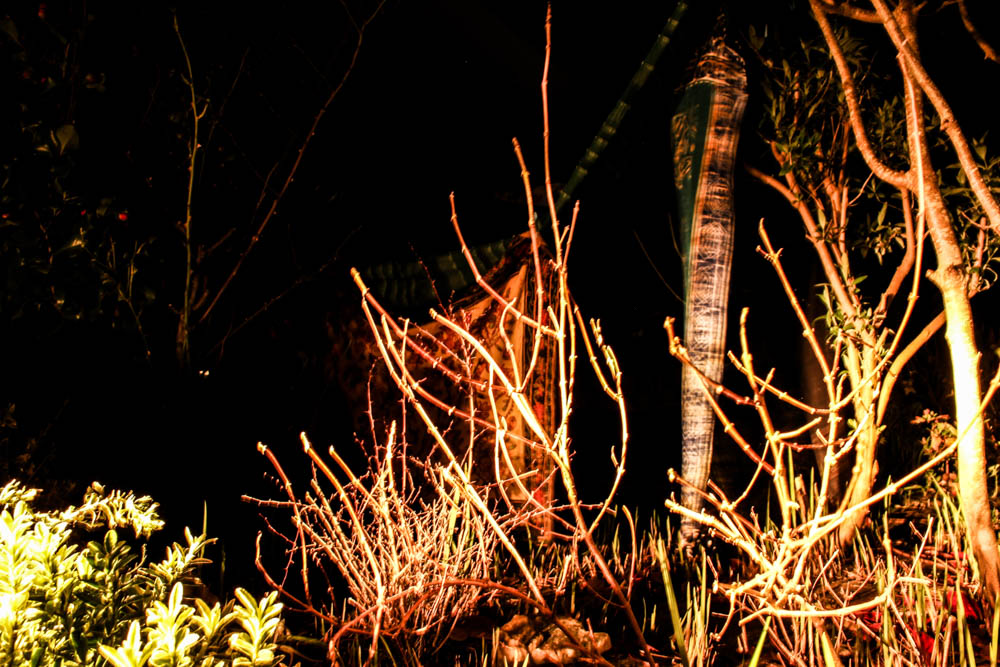
One of the other aspects of shooting film is the chance for it to become corrupted in different ways. The four images a bove were from the same roll as the other black and white image above but have suffered a light-leak (someone opened the back of my camera), this is where unintended light somehow or other gets onto the film and exposes it. This causes the film to become discoloured if it is colour film or to become completely white like the images above for example. Although technically ruining the image, the effect of this can sometimes make the images much more interesting than they already were. Film can also be corrupted by going out of date, the image below is one that had been sitting in a camera of my mum’s for about 15 years, this has changed the film’s colours quite a lot giving the image the super funky blues and the heavy grain. Again while technically ruined I really love the image, the colours again making the image more interesting that if it was just as it was means to be. it is not something that would be used for a documentary style of image but using exposed film for artistic purposes is perfectly legitimate.

All of these things have convinced me to pursue film photography as an aid for this project. Mainly I will be using my digital camera but there is definitely still a place for film in my project.


