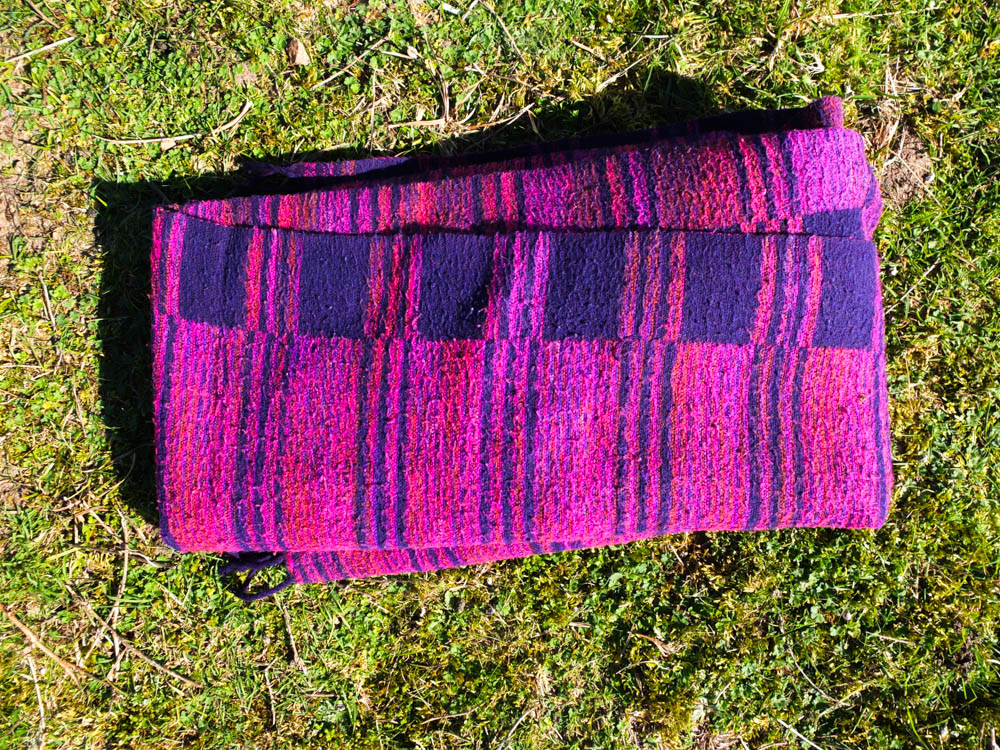
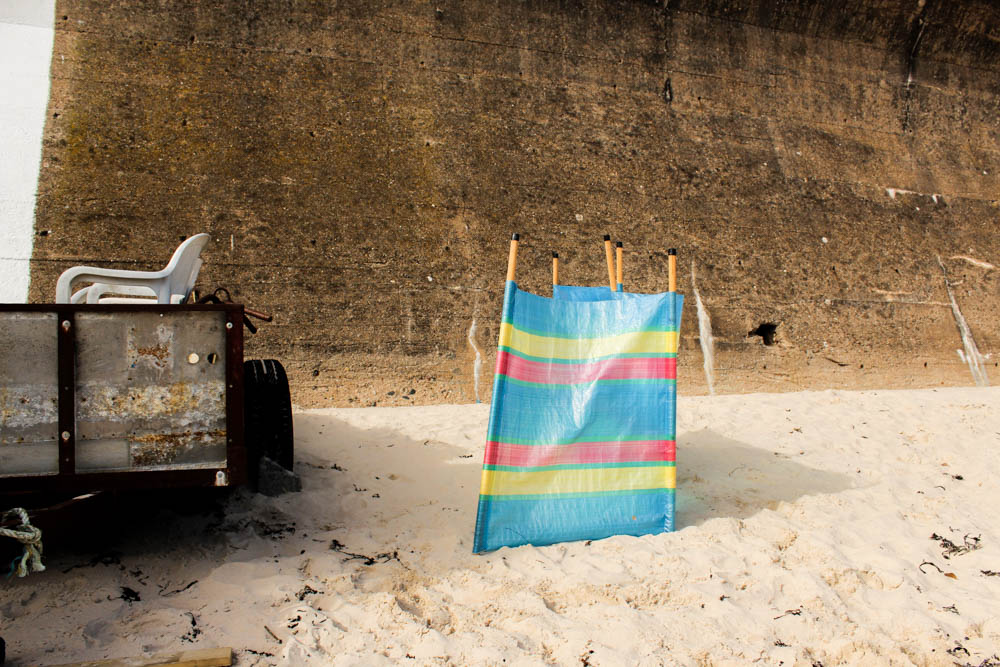
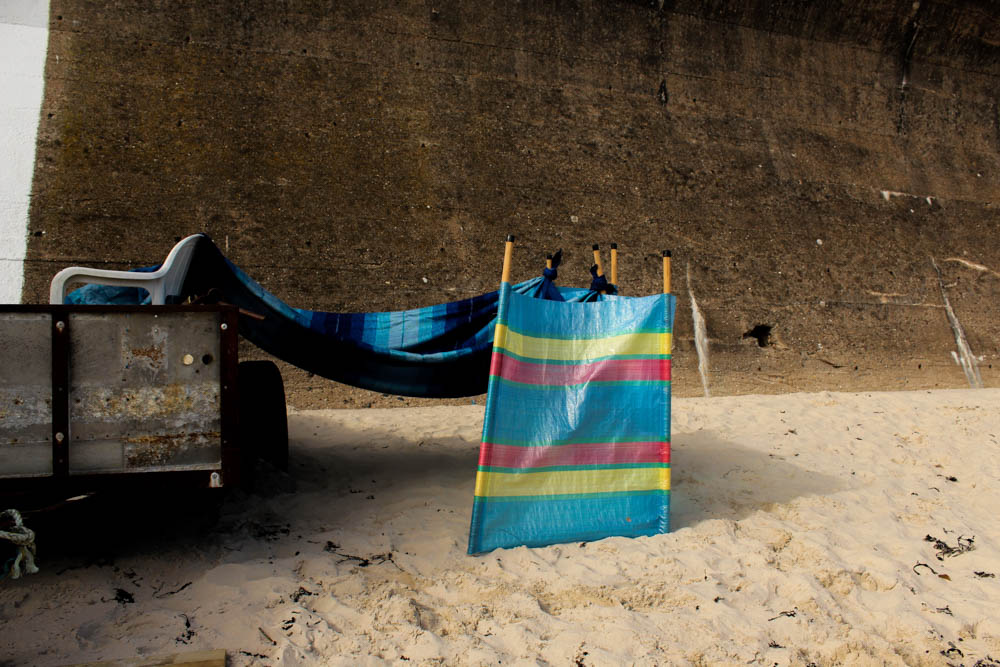
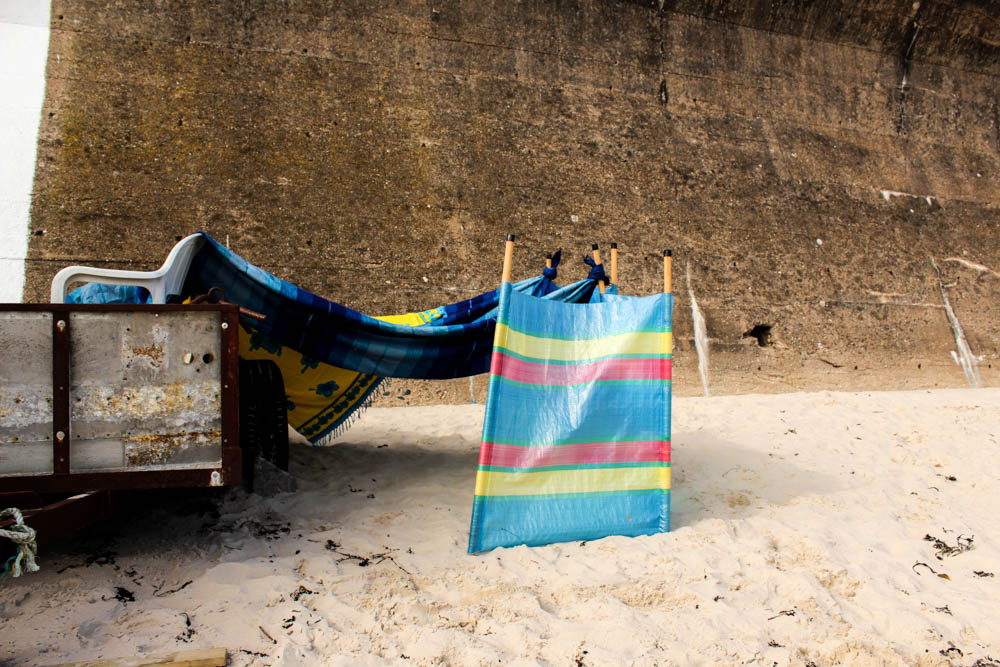
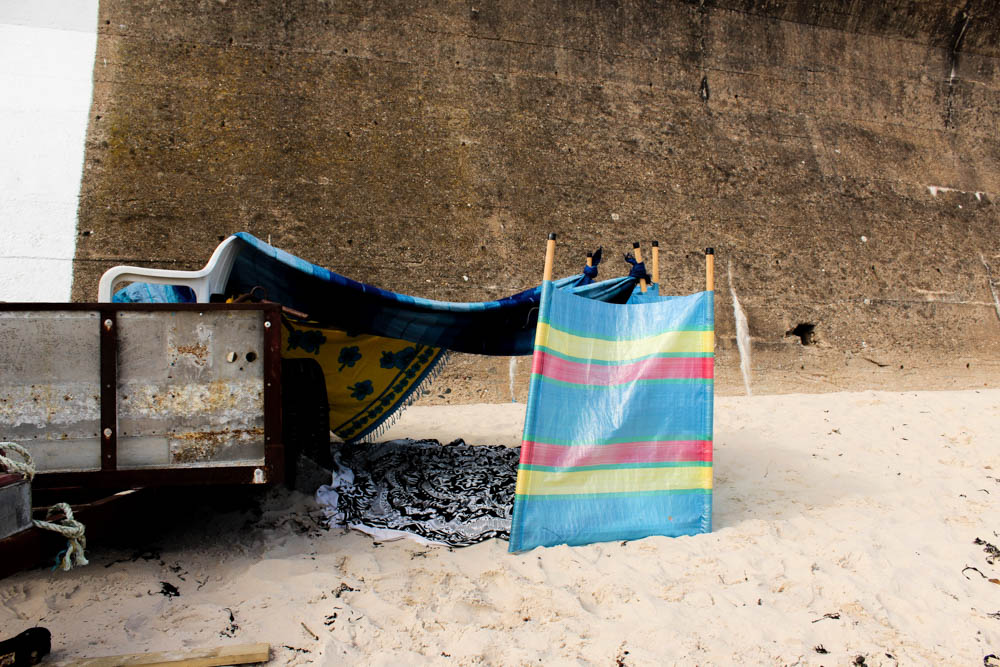
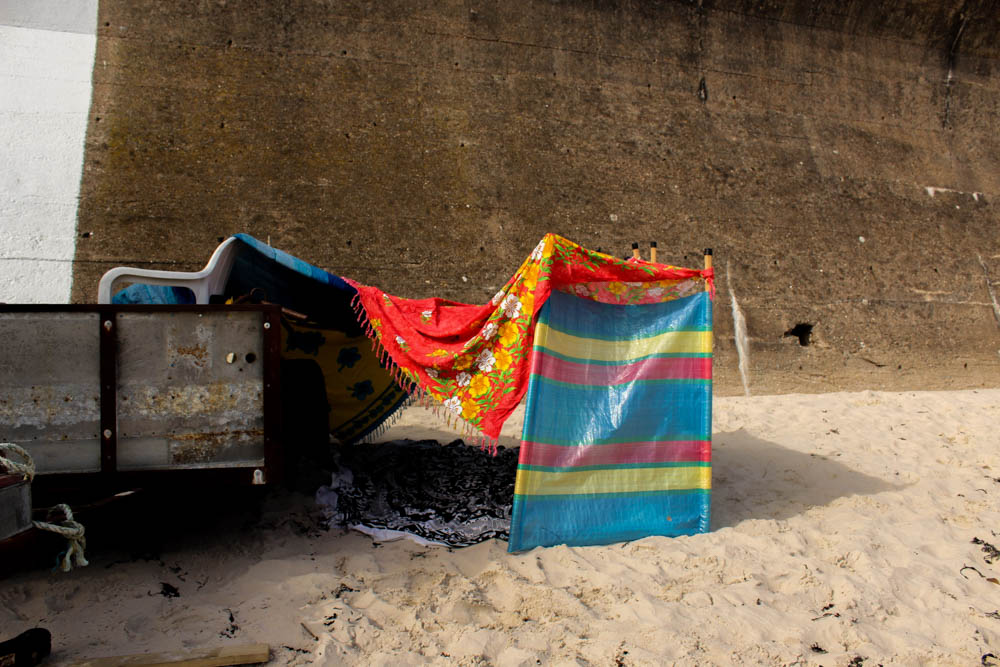
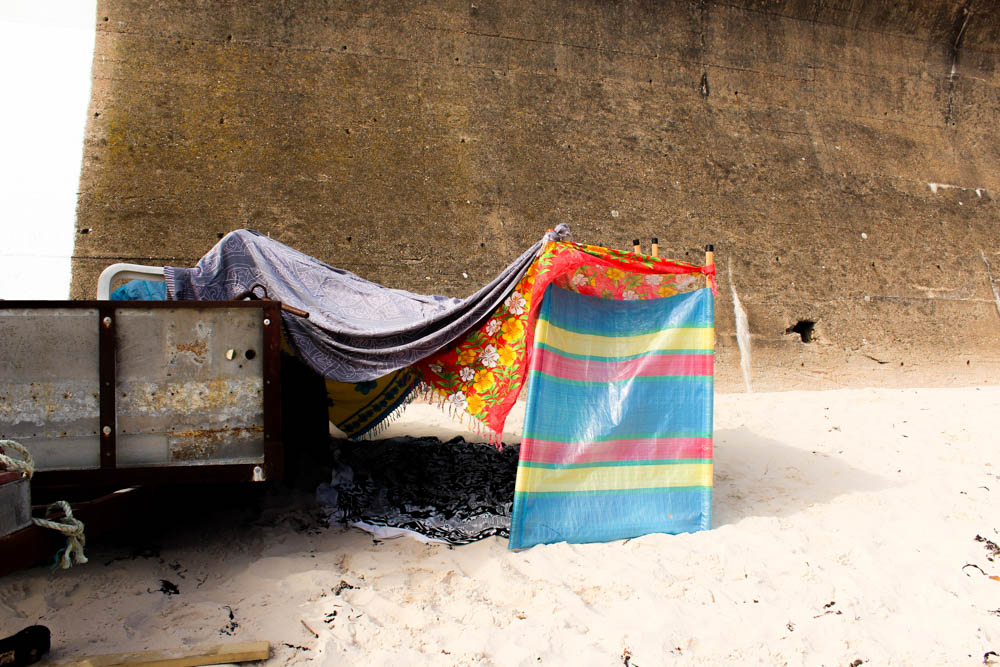
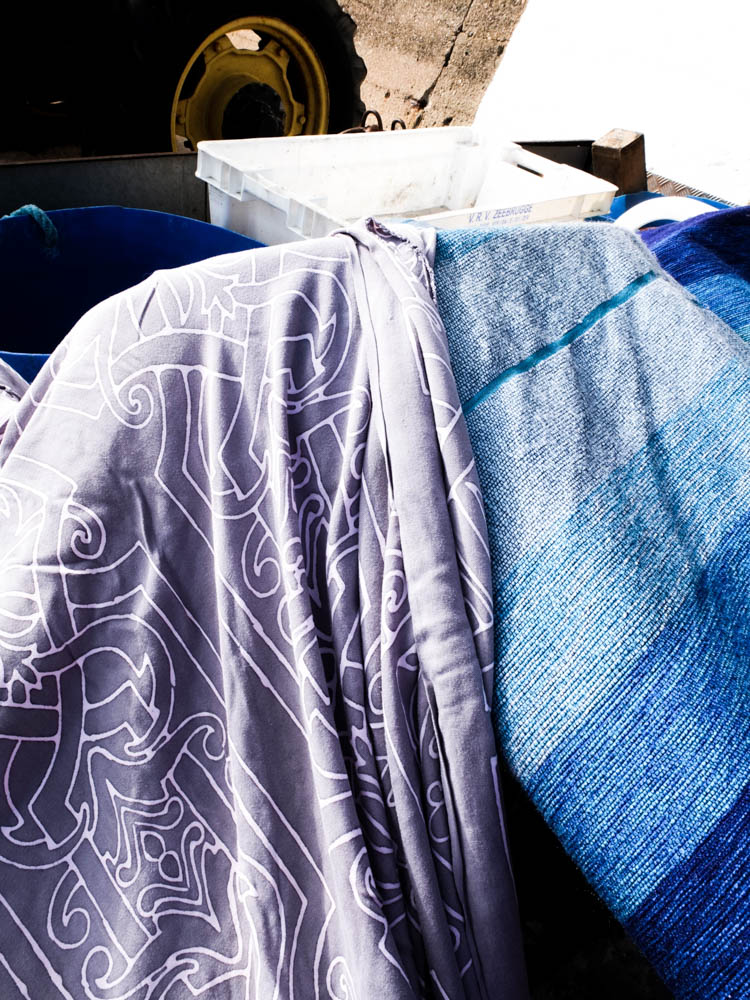
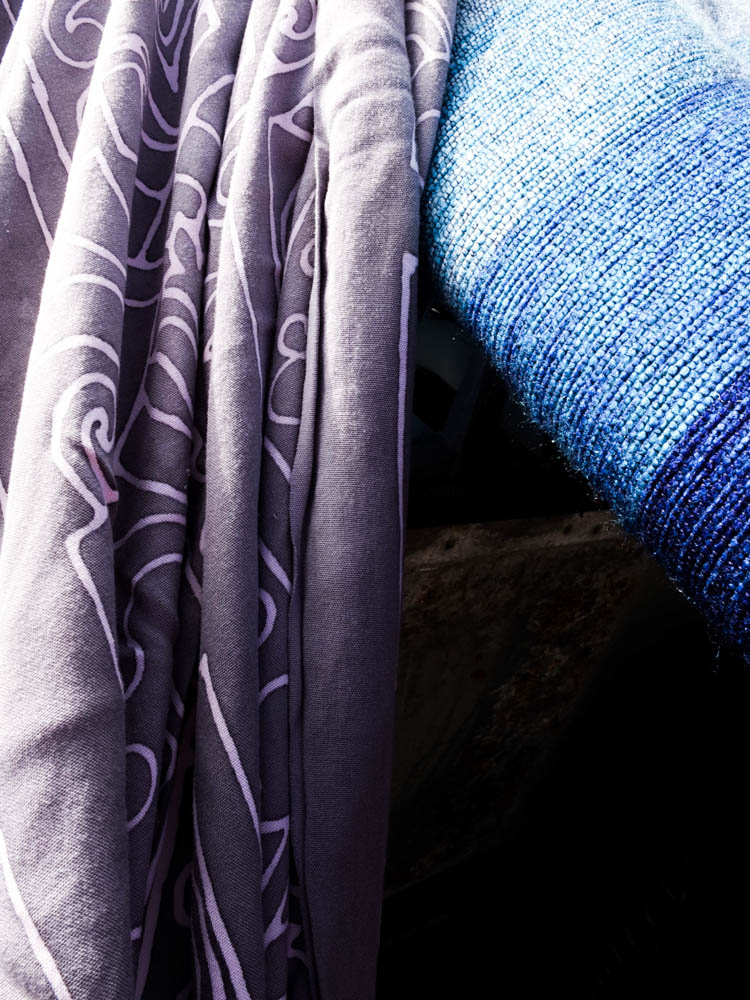
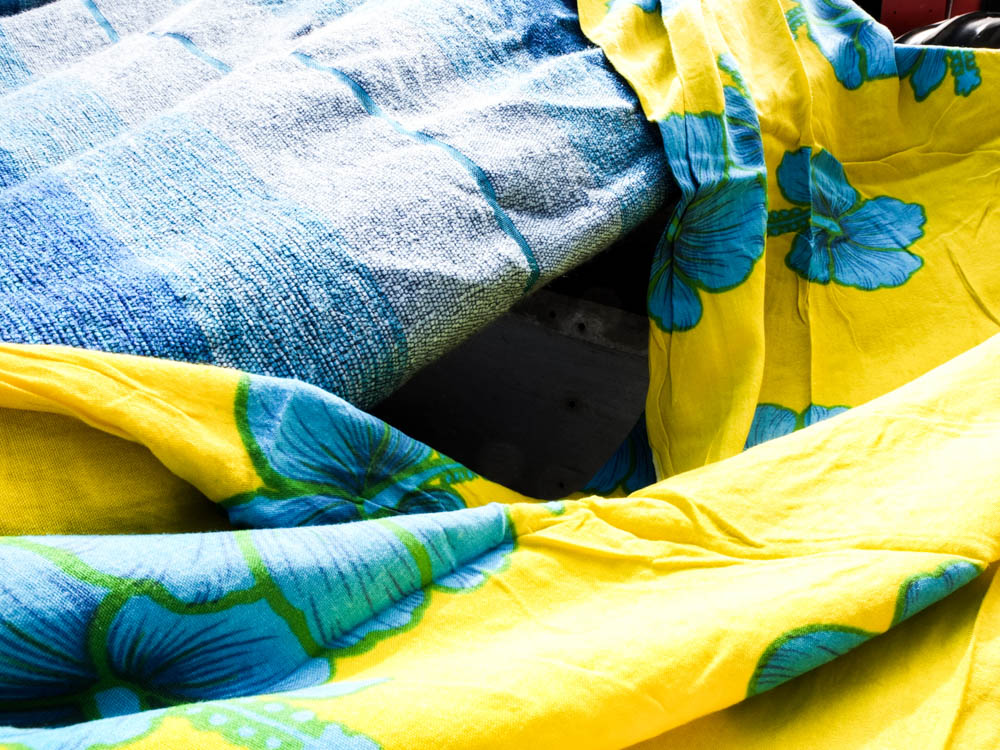
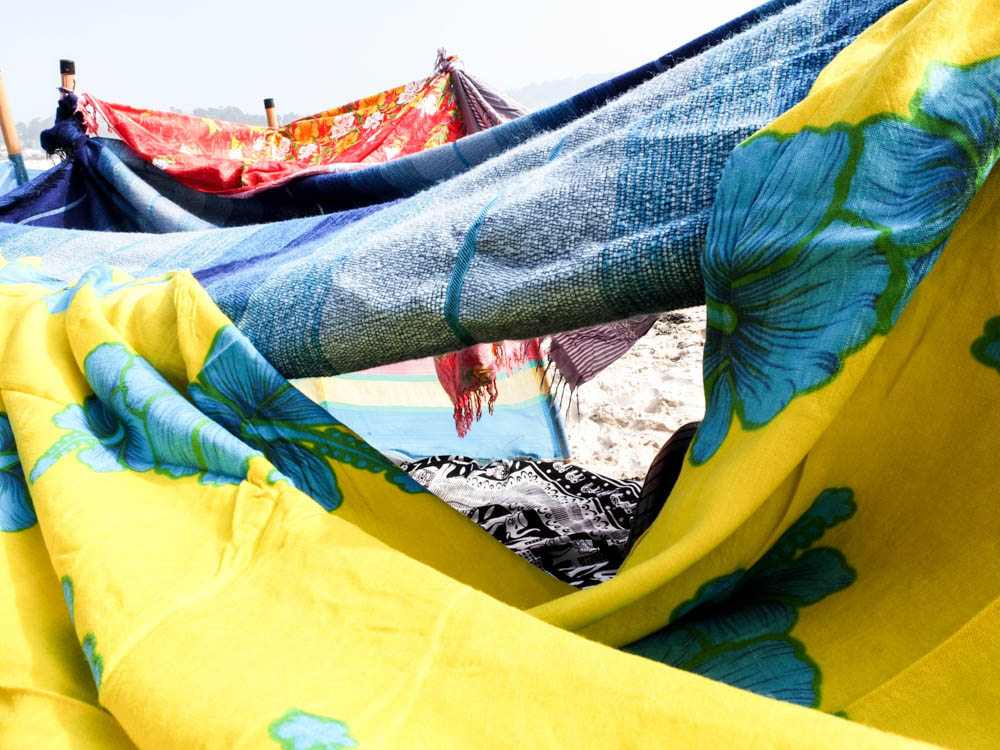
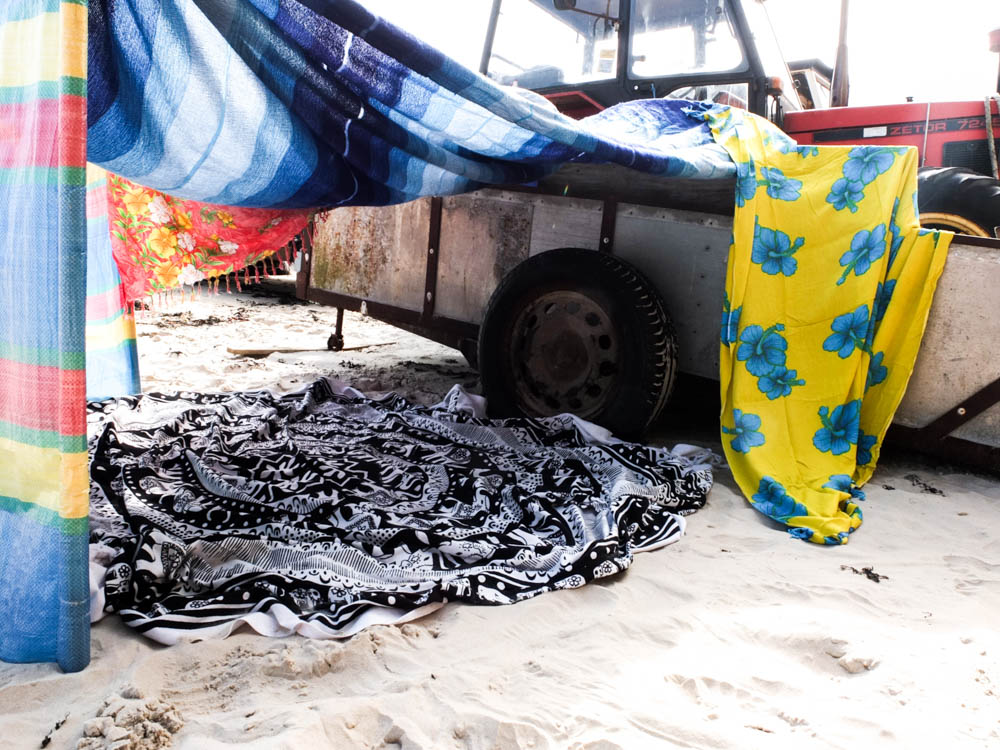
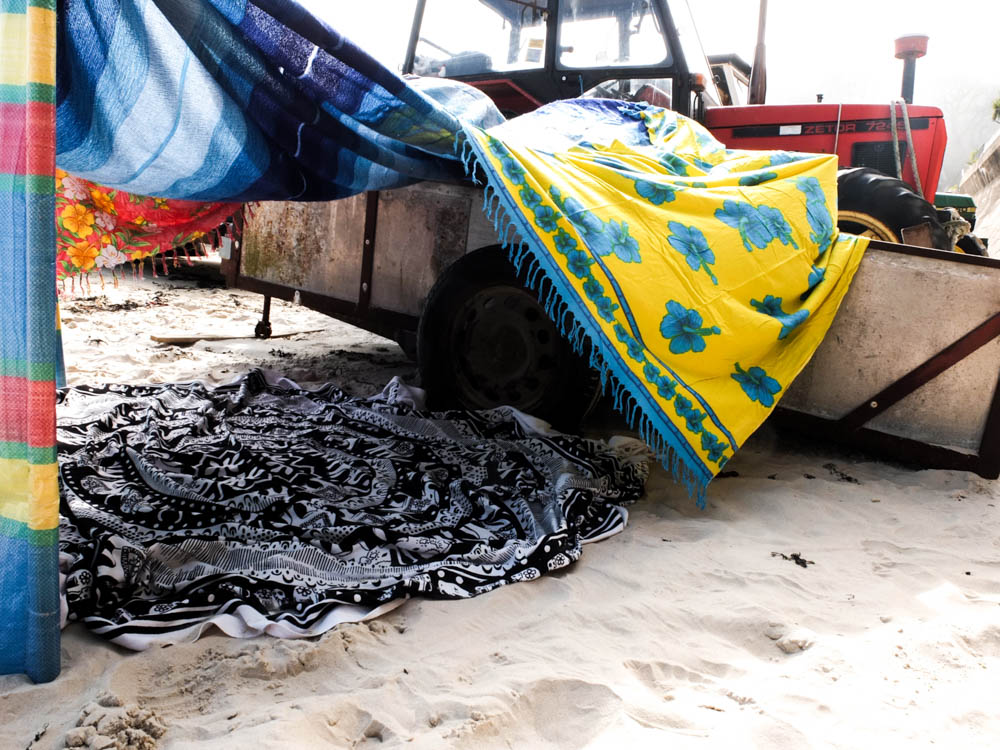
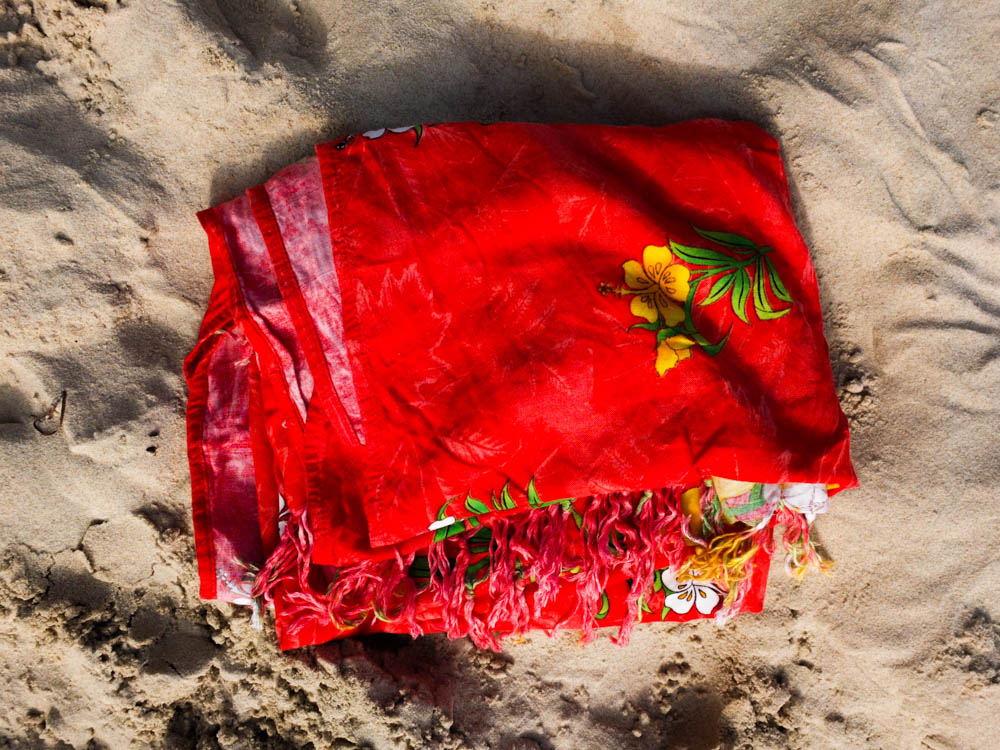
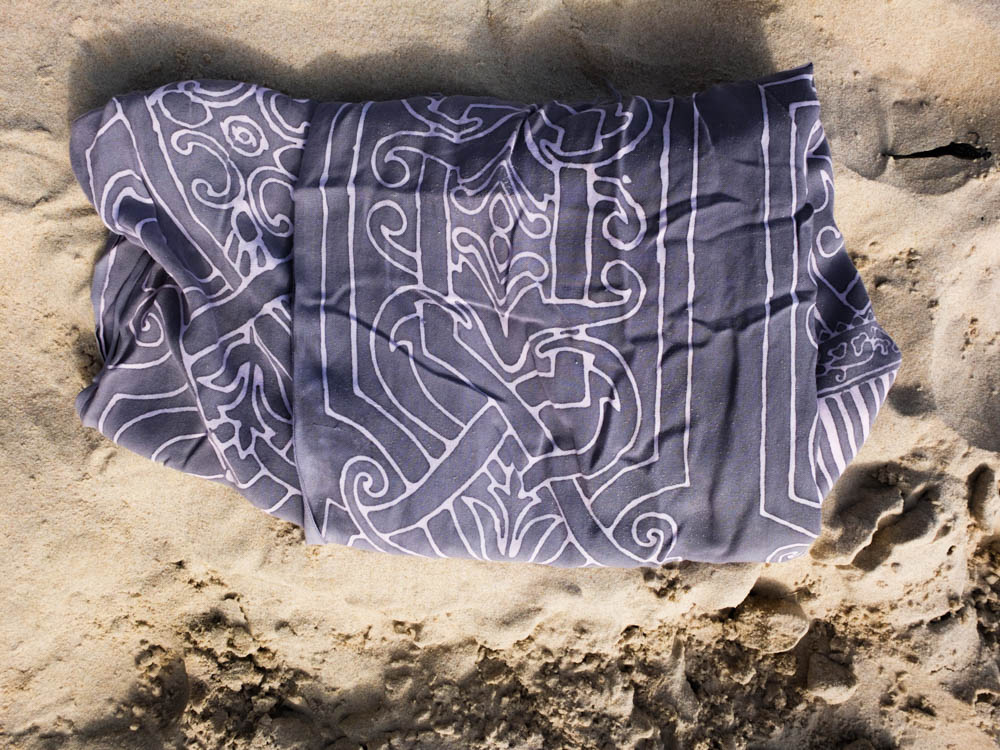
Once again i decided to photograph my process of den building from two different angles. It is quite interesting how when you build a den normally i wouldn’t really think about where the entrance of the den is gonna appear, it would just happen naturally depending on how the den structure comes along. When taking these photographs however it became important to consider that in order to convey as much of the den as possible, having the entrance in the frame conveyed more of a sense that the structure is a den. I also as i have already spoken about choose really bright primary colours to build this den which i think worked really well in standing out against the environment. I think this is something i’m defiantly going to carry on into my next photo shoot, the using of these bright intense colours. I think it works better than trying to get the colours to blend into the environment and it also more suggestive of the bright nature of children.
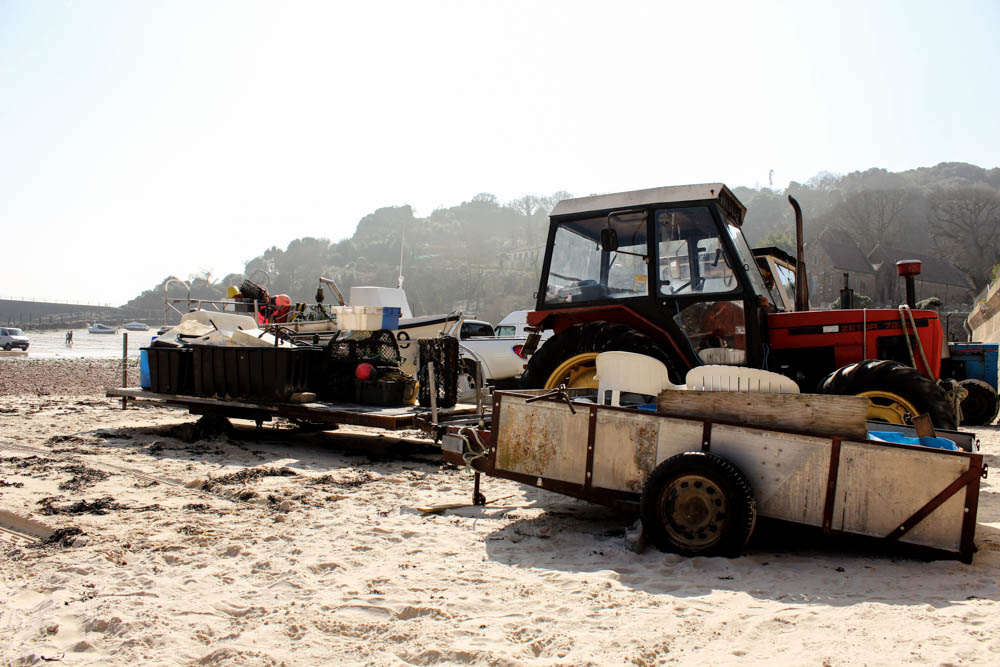
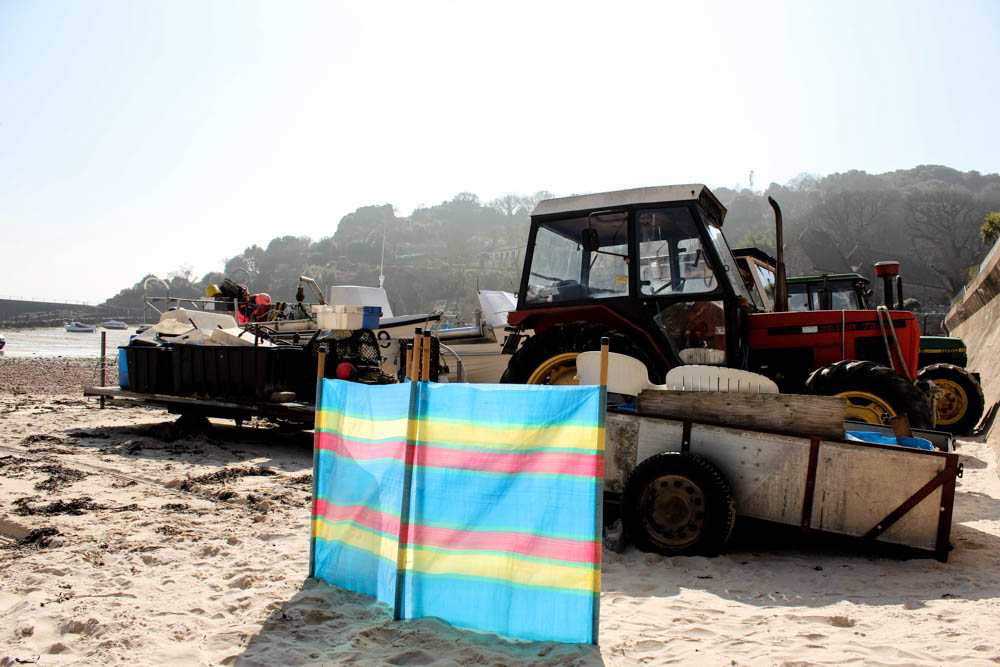
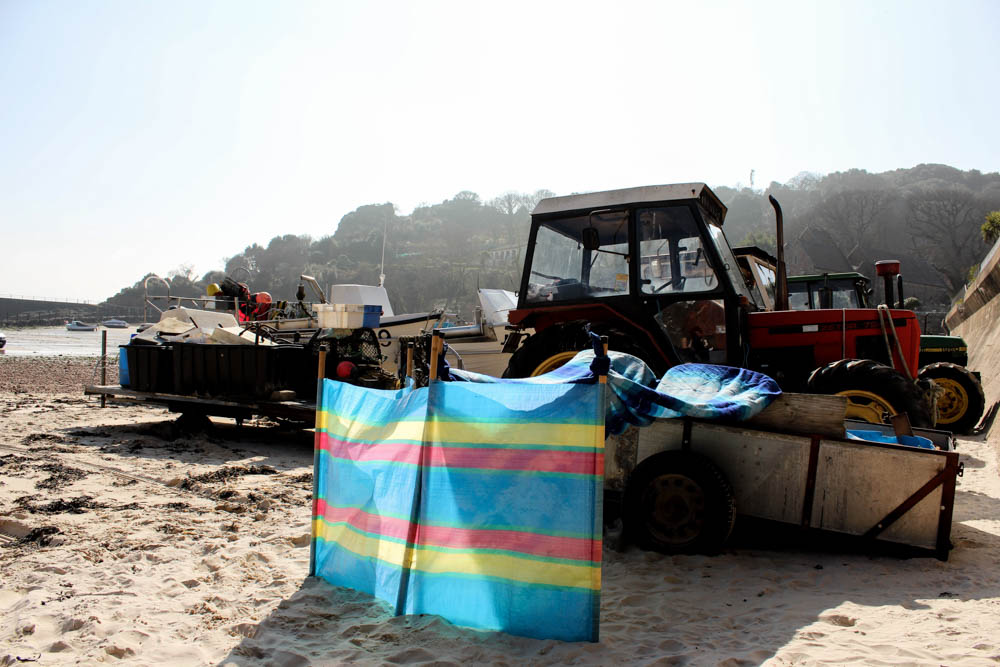
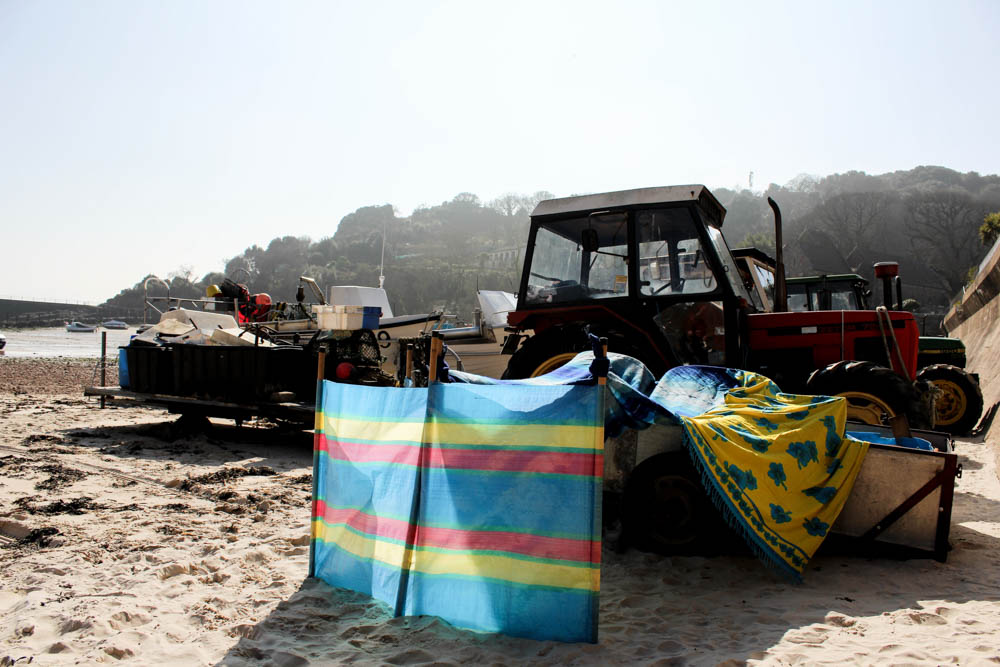
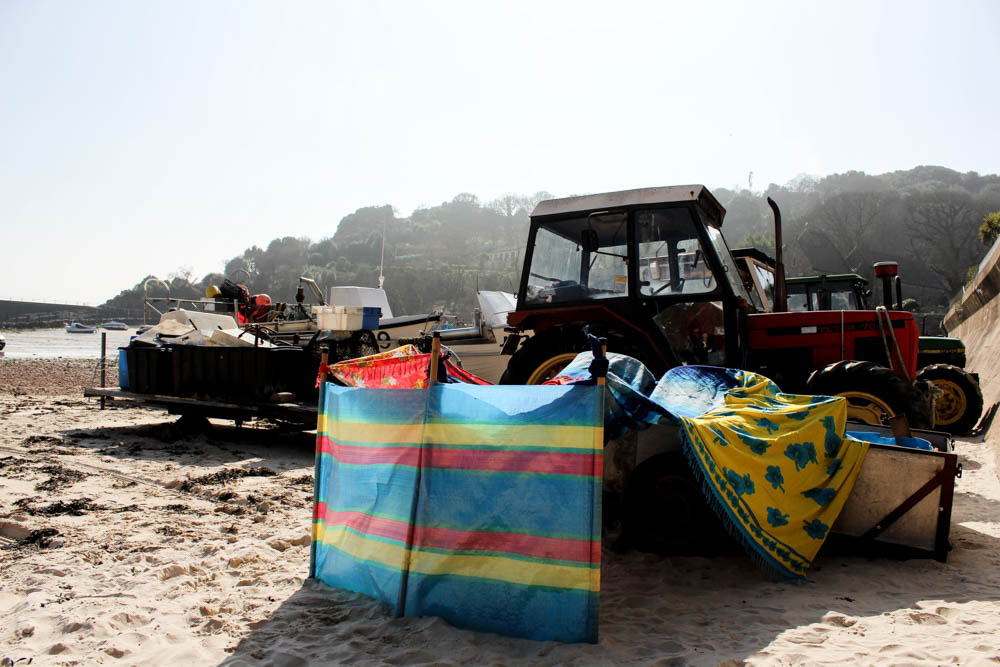
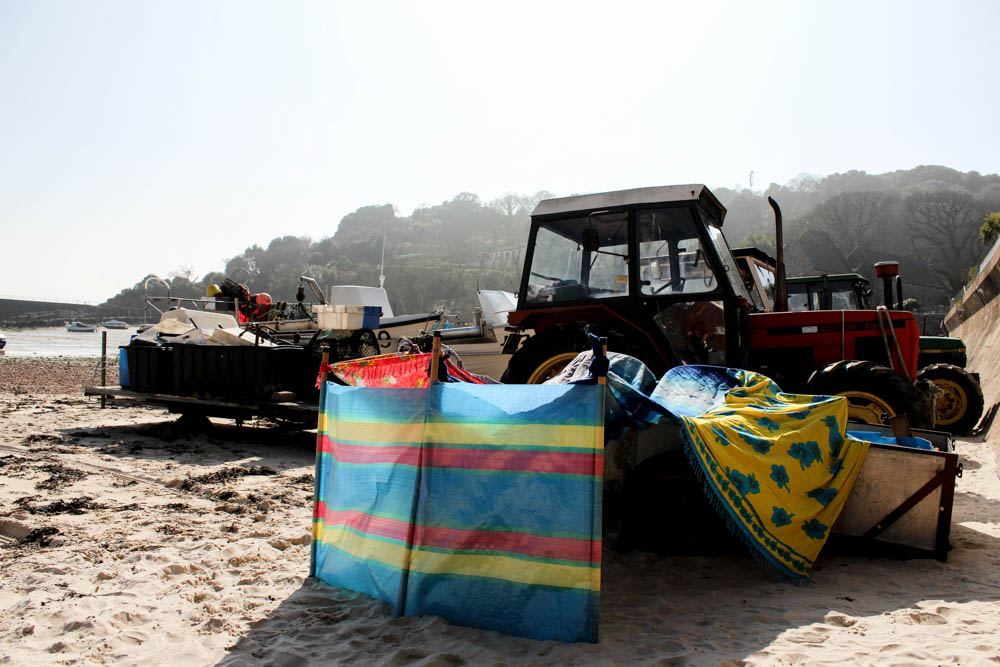
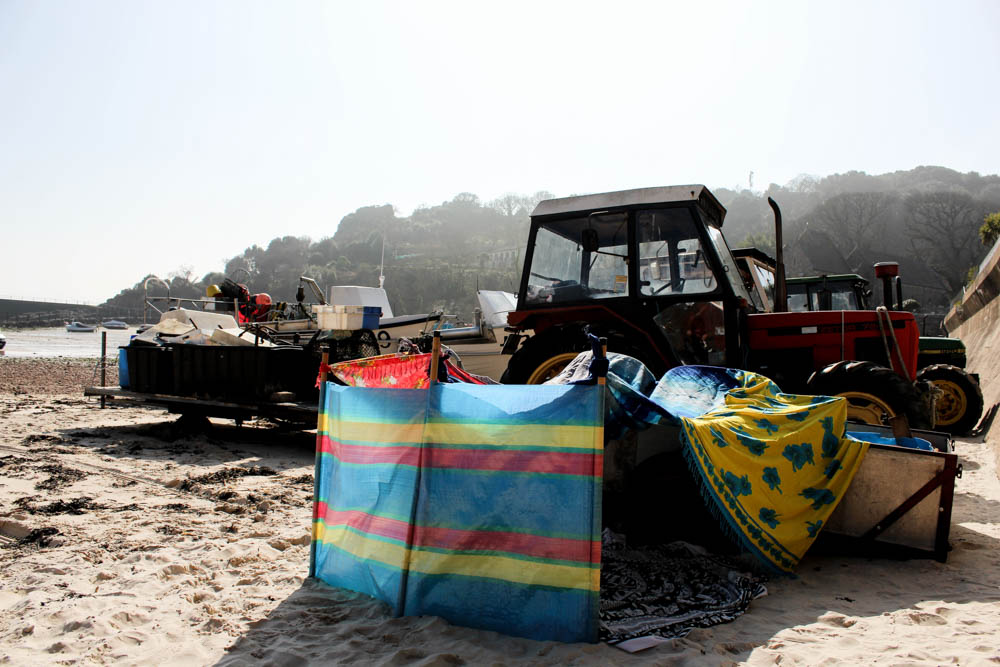
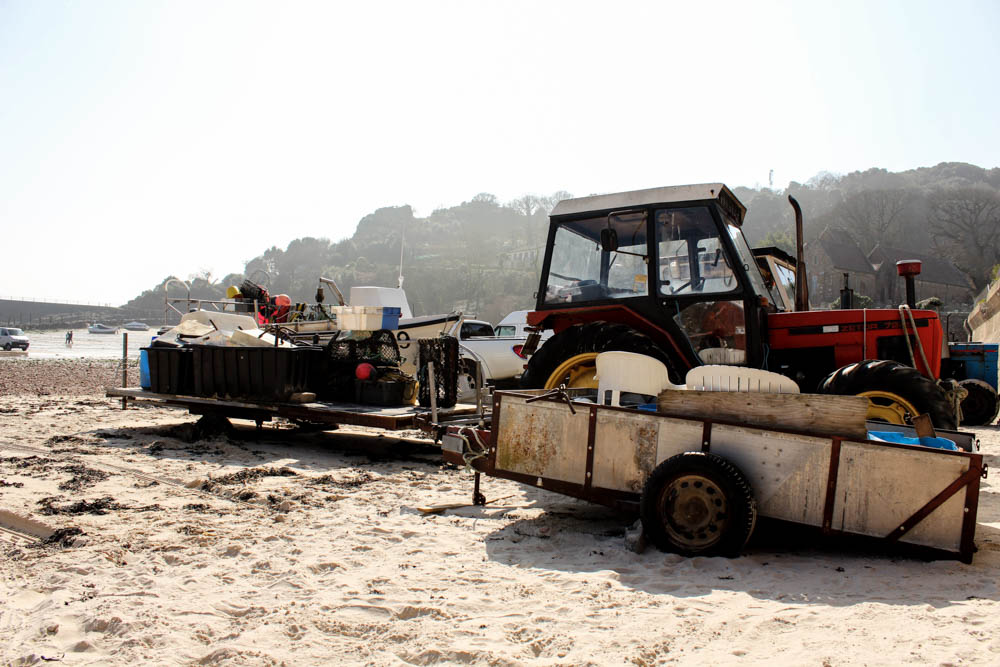
I composed the first set of process photographs so as to include all of the tractor and boats within the composition. This allowed enough of the beach to be seen to convey that it is a beach. You can see in the far background the line of rocks across the beach as well as the pier and far rock structures. I really like this composition as it shows the diversity of the beach by having the beach itself but then also having the lines of trees on the hills. I also quite liked how this composition really shows the impact of the weather on the environment. The foreground is clear and sunny but the background is foggy as the mist is descending down onto the beach. The lack of any bright colours in the environment also works well, with only the red of the tractor. This lack of other bright and distracting colours works well in emphasizing the den against the environment. The beach dens we created were all about being bright and vibrant as those are the colours you associate with summer and sunshine so i really liked how this composition allowed this to be recognized.
I therefore really liked the first set of process photographs. I think they work better then my first garden shoot in conveying how each blanket is added as you can see more clearly the different each element of the den makes. The lighting also stayed the same throughout the photographs which worked really well in creating a sense of unity for the photographs.
I also quite like the second set of process photographs though they have none of the impact that the first set of images has. The problem with my den building in this location was having this wall in the background that conveys quite a sad impression of the den and almost takes away from the bright colours of the den. I think it just goes to show how the right environment to photograph these dens is really significant as it can completely change the impact that they have.
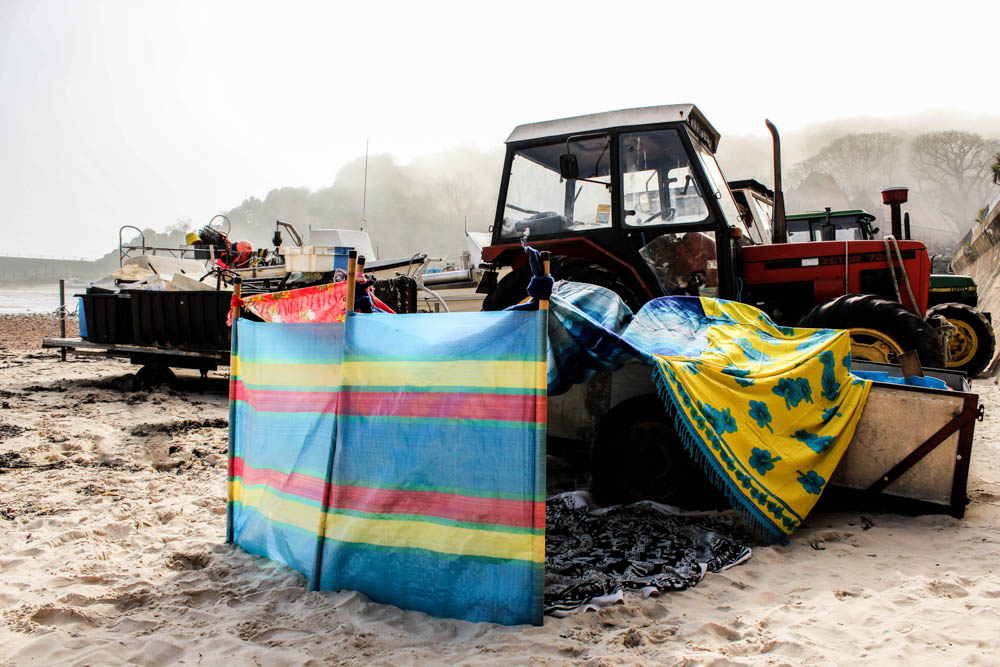
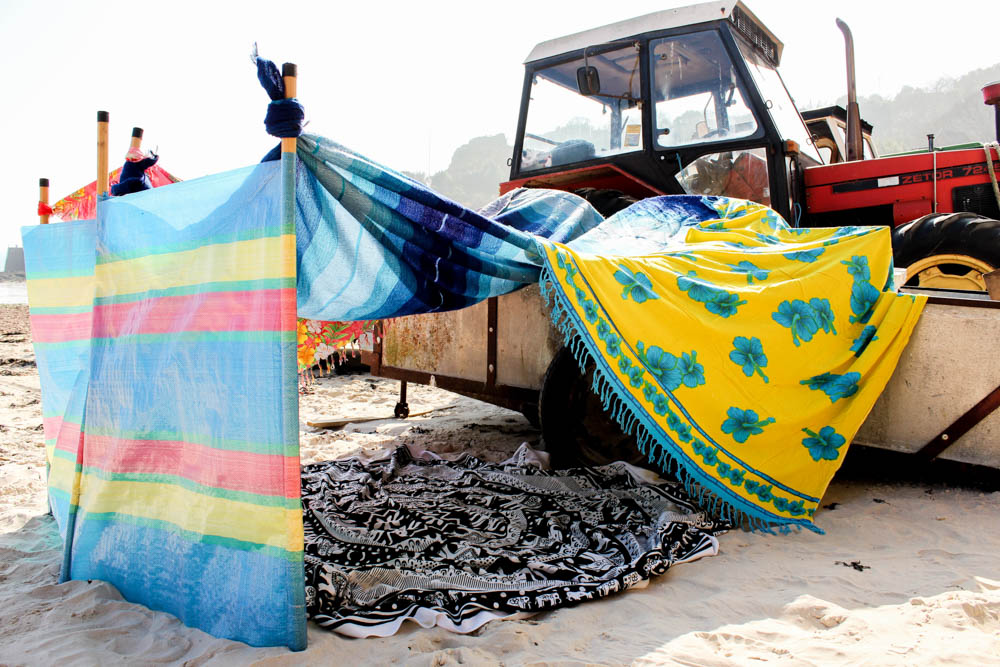
Above and below are the two best photographs that i took of my beach den and they defiantly work so well because of the weather of the environment. Both photographs are very well lit using natural lighting. The lighting however is not intensely bright, harsh lighting. It is instead fairly soft lighting which works really well in illuminating the colours of the den against the environment. In both photographs the rest of the environment, both the fog in the sky and white of the sand causes the dens to stand out vividly within the frame.
The top photograph is composed very similarly to my process photographs, only slightly closer to the den so that you can see inside. In this composition the den is in the center of the frame and the photograph is taken from the same level that the den is built at. The brightest point of the photograph is the sky in which there is the sun behind the fog shining down onto the den. As the sun is directly above the den your eyes begin with this really bright light and then go immediately to the den as the part of the photograph most influenced by the light.
I really like the composition of the below photograph as well to convey more of a childlike sense to the den. This photograph is focused more exclusively on the den itself rather than portraying the whole environment that the den is in. The composition is framed from a lot lower down than the other photograph to be suggestive of a child entering the den at a lower level. The angle of the photograph is also different to give more of a sense of being about to go into the den through the entrance. You are able to look straight through the den at the entrance which gives an impression of the space inside the den which isn’t something you maybe consider as much from the other photographs. The light in this photograph is a lot brighter than the one above, the sky a white blur of fog and light. As the photograph is taken from lower down this causes the bright colours of the den to stand out further against the environment. The light in this image seems to come from above and also the right hand side of the frame as the light is so intense that it reflects directly off the windbreak. This bright intense light shining on the outside of the den then contrasts with the shadows the den itself casts onto the surroundings and shade inside the den. I quite like with this composition how being able to see into the den causes you to be able to see the blanket inside the den.
I cant decide which of these two photographs i prefer as both convey a different impression of the den due to their different compositions.
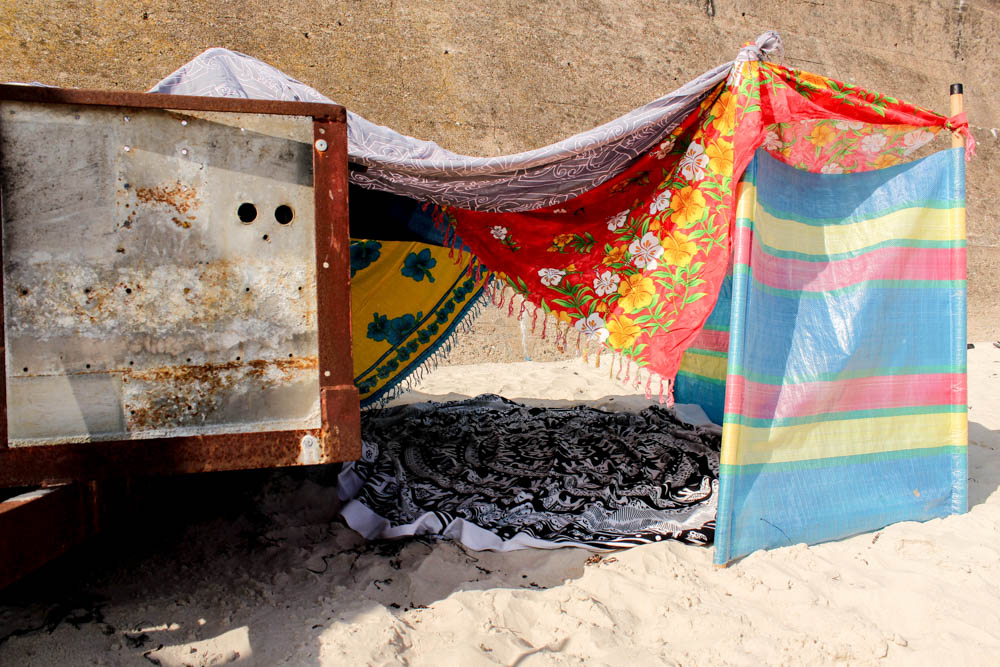
Above is a different angle to the den, a closer up version of my process photographs. It is really interesting to consider this composition of the den in relation to the other composition as they convey completely different impressions. This photograph is composed to look through the other entrance of the den. The same bright colours are used in the material and yet this angle of the den lacks a dynamic that the other photographs composition has. I think it is partly to do with the environment surrounding the den in this composition. In this image the orangy colour of the concrete wall doesn’t really add anything to the photograph or highlight the dens colours like the whiteness of the foggy sky. I feel like in this composition the colours become lost within the space. This composition does show a completely different side to the den but i just don’t think it has any where near the same impact as the other compositions.
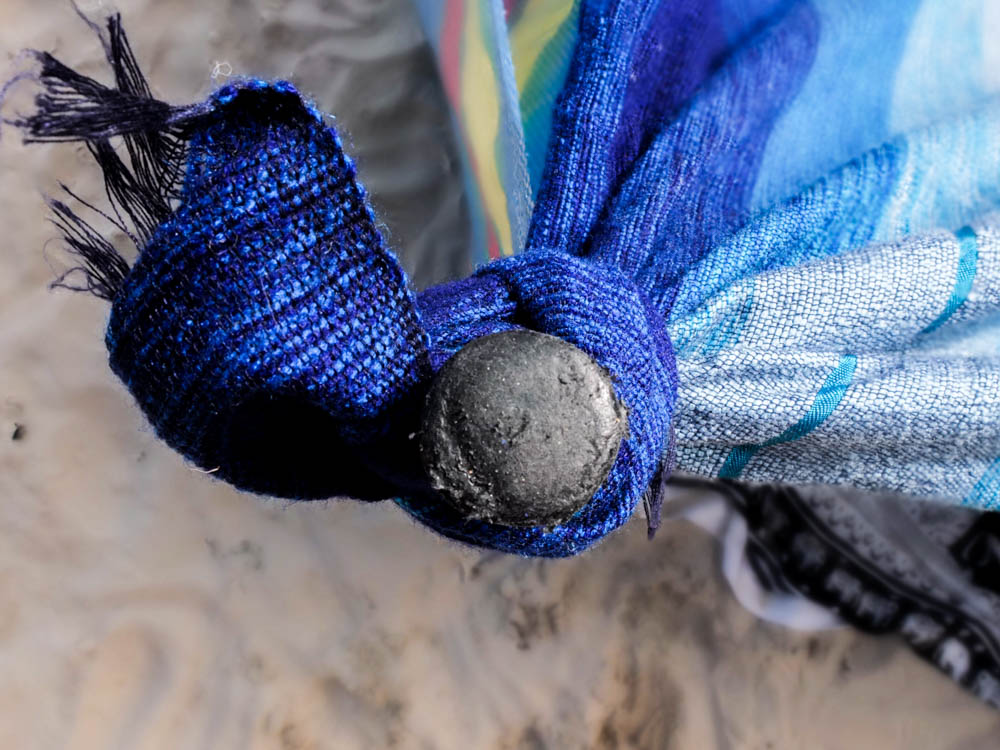
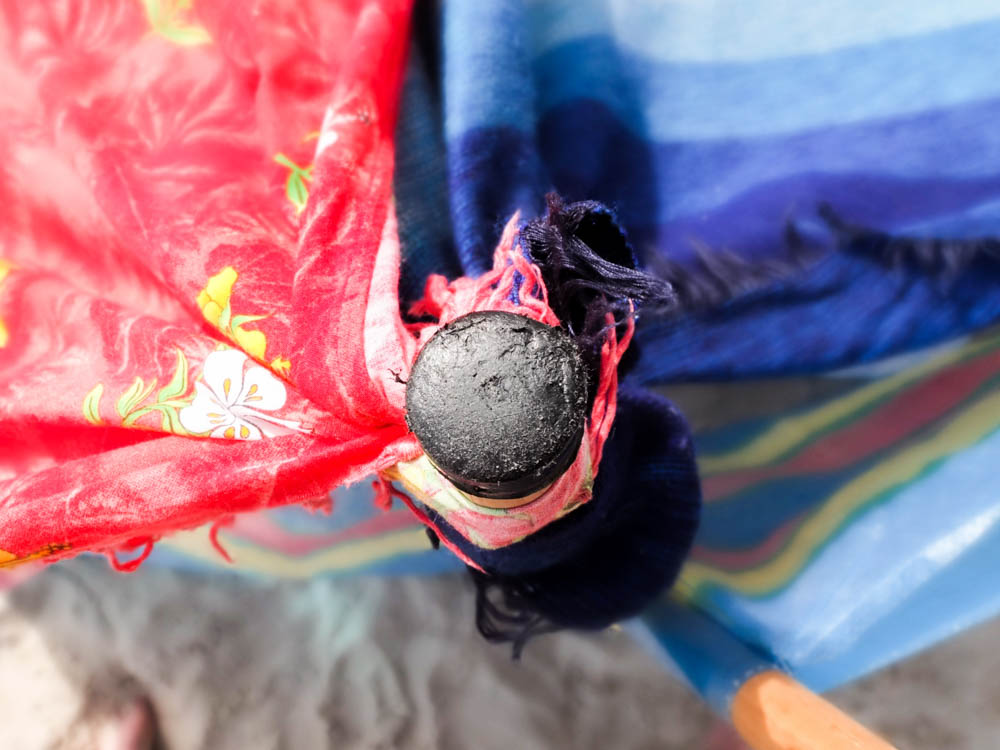
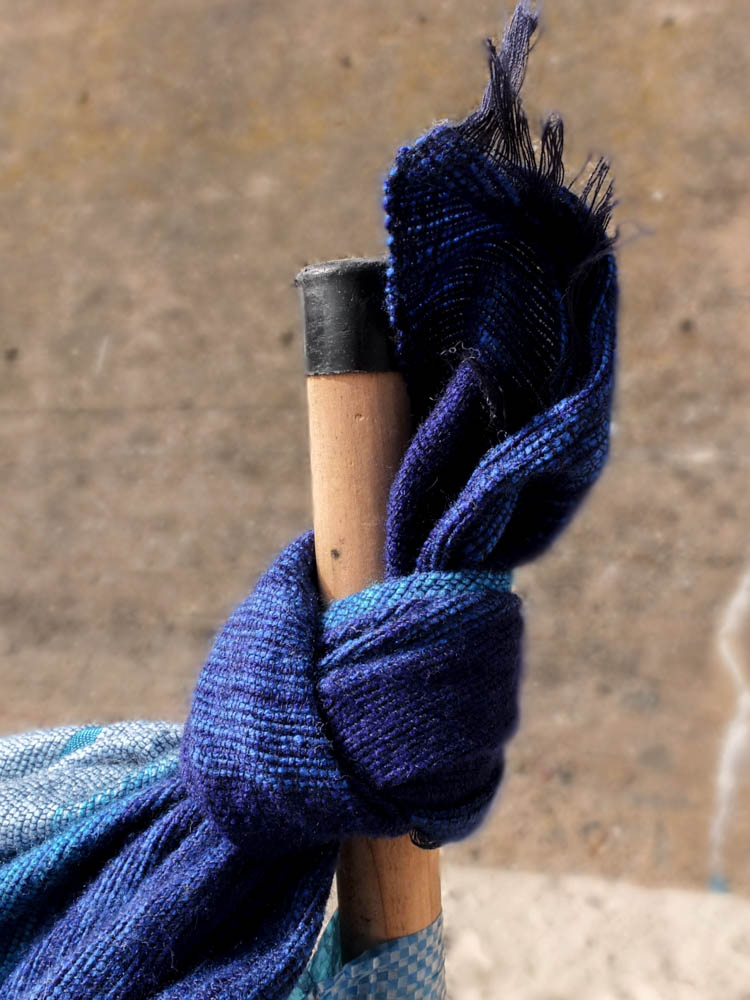
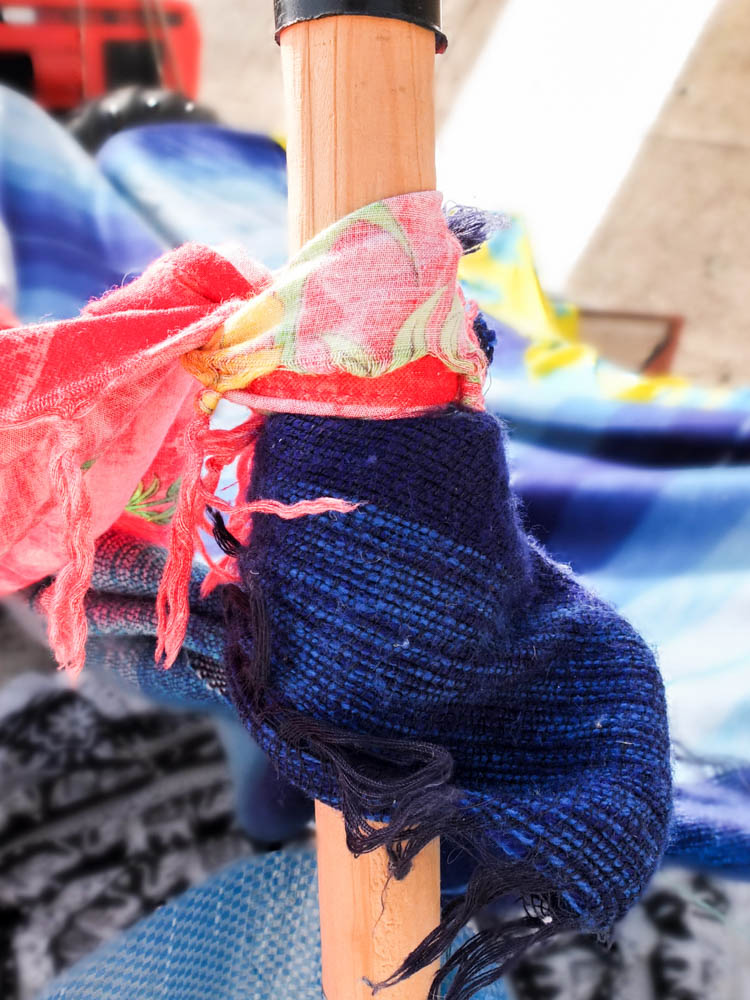
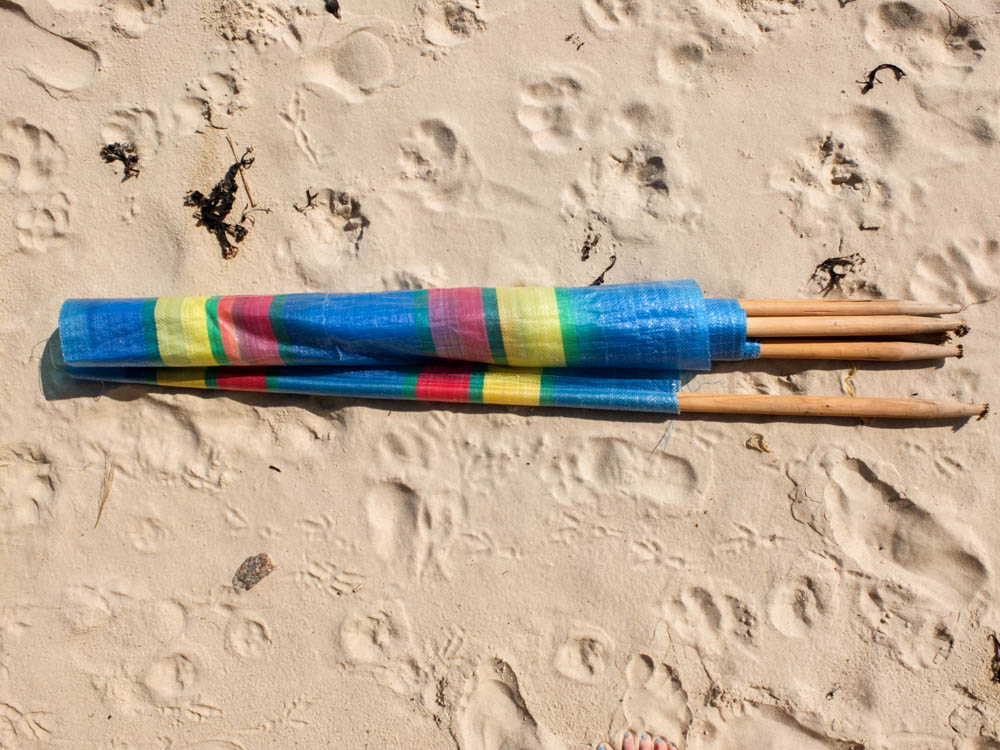
The above and below photographs are some close up photographs to go alongside my process photographs. Like with my previous garden den i wanted some photographs which convey how the den itself is put together and structured. With the beach den there was a lot more tying of material and balancing of blankets as down the beach i wouldn’t have brought in my childhood pegs or any rope. The main structure of the den all revolved around the windbreak acting as a wall to have all the blankets coming off.
The above photographs were taken looking down on the windbreak as a supporting pole with the blankets and material tied around it and therefore coming off in bright swirls. I composed the photograph to have the pole in the center and the black top of the pole in focus while the rest of the image out of focus. This created quite an interesting impression of the material as a blur of folds going off from the center at different angles. I quite like how in both photographs you can still see the sand and therefore get an impression of the beach . The light source is fairly soft in the first photograph but in the second one the lighting is fairly harsh and comes from the left hand side. I think this could be because red reflects more light as a colour than blue which is what makes the real difference between the two images
The below images are exactly the same two poles only photographed in a different composition. I composed these images to have the line of the pole in the center of the frame so you can see in these images more clearly how the material is tied to the pole. In both photographs i used a short depth of field so as to blur the background and have the emphasis on the pole and tied material rather then the den structure in the background. In both i centered the pole right in the center of the frame. Again the first photograph has less light then the second as in the second photograph the light is reflecting off other colours in the background of the frame and also the white in the foreground. I think the first photograph works better as conveying the material as being tied, as it is a perfectly tied piece of material but the second photograph conveys better the mixture of all the materials and colours of the den.
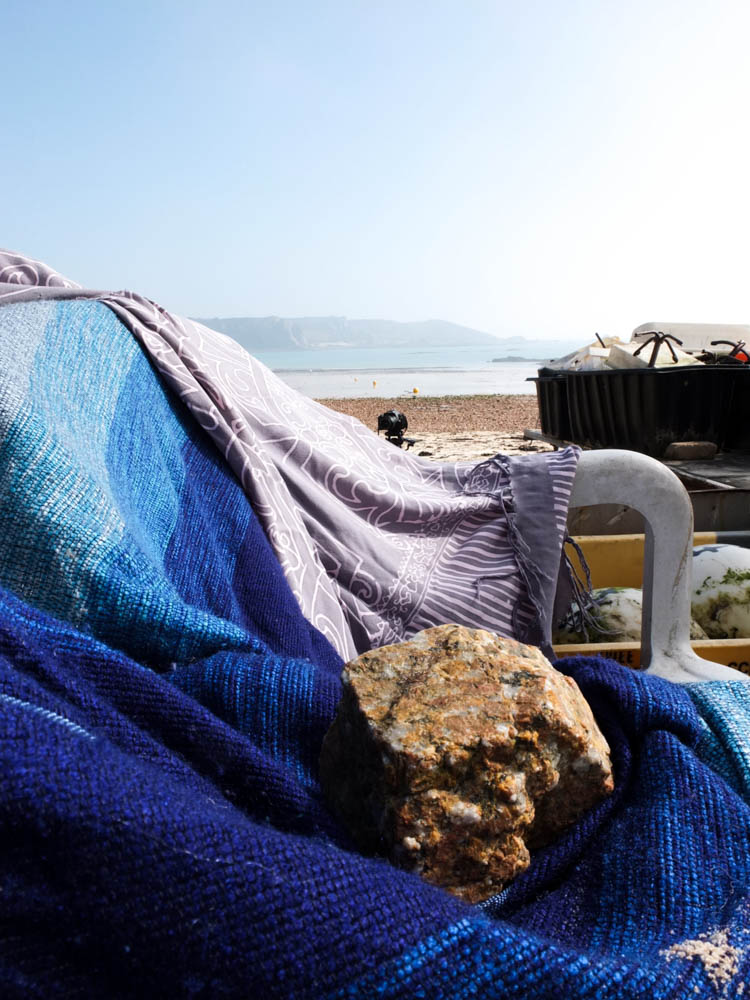
I really like the above and below photographs compostionally. As well as tying material i also used rocks to weight the material down to keep the various walls of the den in place. The first photograph i think works the best as like the very first picture i took of the entire den, the background of the photograph is intriguing and better emphasizes the den. The light in the first photograph comes from the right hand side of the frame and is a bright and harsh light. This light directly shines onto the dens furthest point within the frame, washing out the colour from the point of the den that it reaches. I think its quite interesting in this composition how the material of the den in the foreground reflects the sea. The dens materials almost looks like its trying to imitate water with the various shades of blue and the different folds of the material. The background of the den being such an intense white colour/pale blue also contrasts with the blues of the den and makes them stand out more vividly. The entire colour scheme of the photograph seems to revolve around different shades of blue which creates a calming asthetic. The exception is the rock which i composed using the rule of thirds to be in the bottom right hand corner of the frame. By composting the photograph in this way it weights the frame with having this heavy object both weighting the den and weight the material to have a solid presence. I also really like how in the background the curves of the materials and hills compliment each other with the lines of the rocks and sands breaking up all these curves.
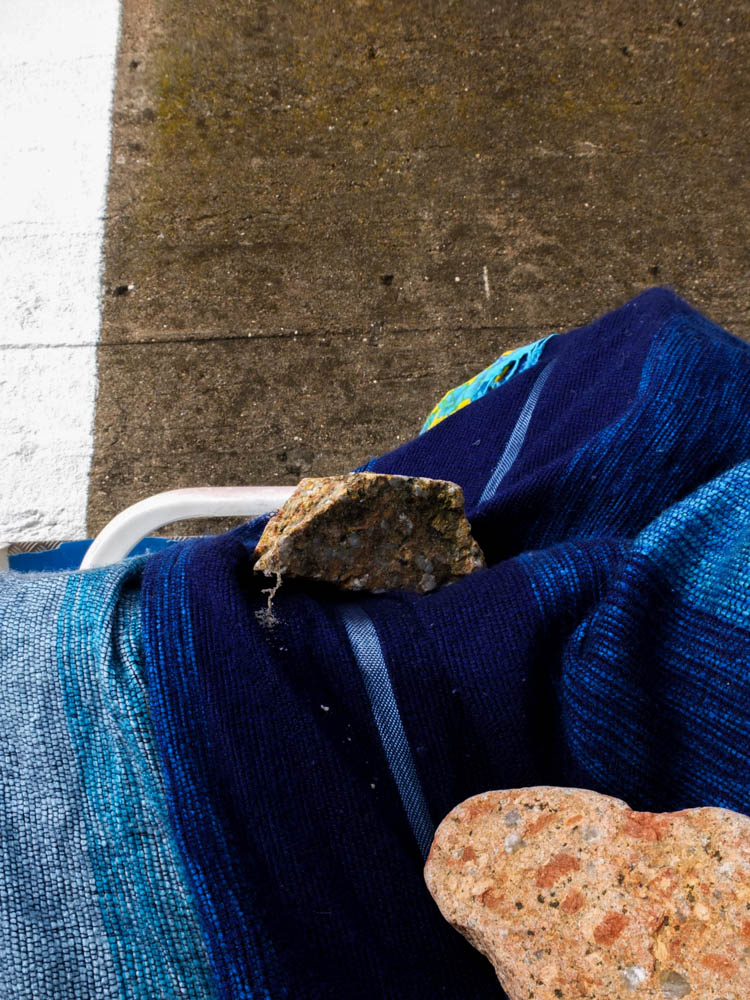
The second photograph follows a similar composition but it less interesting because once again it features the concrete wall rather than the beach in the background. This image is also composed to have one of the rocks in the right hand bottom corner, almost pointing you into the rest of the frame. The brightest point of the image is the white line on the wall which actually takes away from the den. I like the composition of the material but the background doesn’t really work.
The above photographs are more abstract compositions which focus on the point at which material is over-layed. The two colours being various shades of blue complimenting each other. The light in the photographs comes from the top left hand corner to shine directly onto the material. The points at which the light shines onto the material is washed out with colour which shows the harsh intensity of the light. These bright sections of light then contrast with the dark shadows in sections where the blanket has slipped and therefore leads into the inside of the den. Both these contrasting lights and dark’s then make the colours themselves more intense. I quite like the contrasting angles in these photographs alongside the vivid lights and darks as the material runs alongside each other but then has different folds and patterns on them which adds a dynamic to the photographs.
The below photograph works the same with having these intense lights and darks which bring out the bright colours of the den.
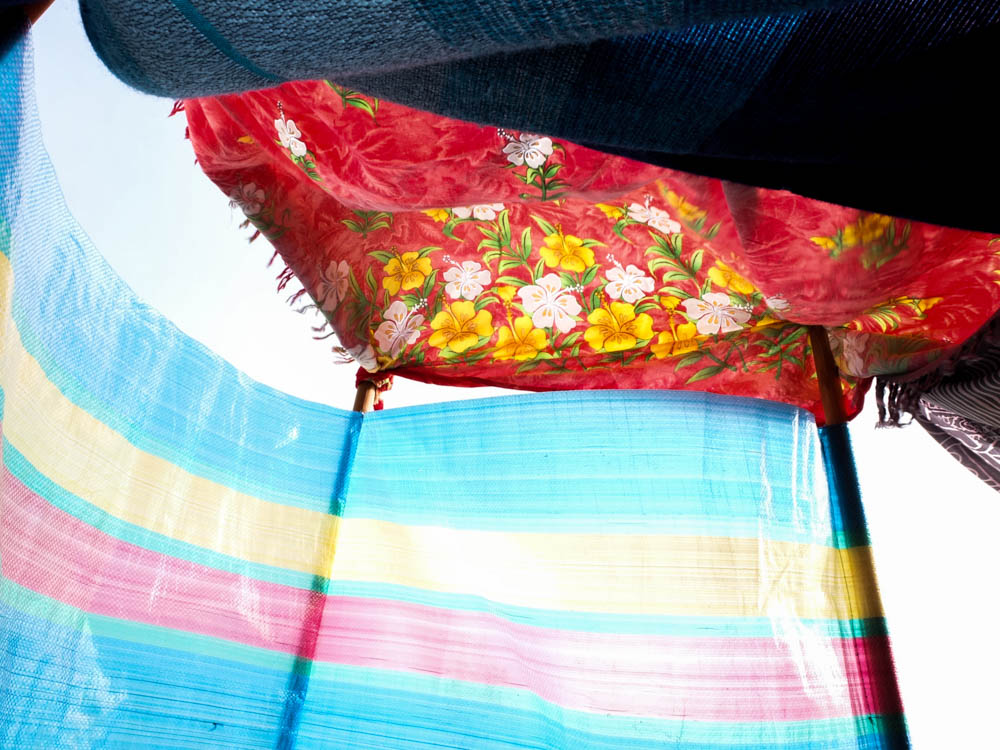
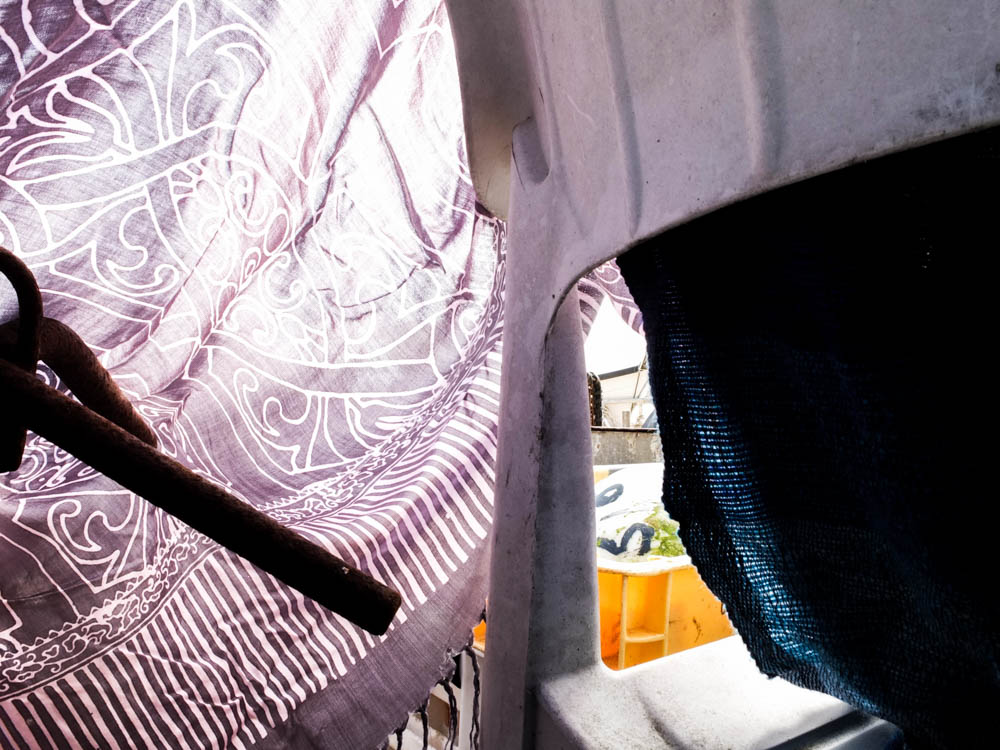
I took a couple of photographs from inside the den as well, wanting to again consider the material as the light shone through it. As the thinnest material the windbreak was the main source of light within the frame. In this photograph the light source is on the other side of the windbreak shinning directly through . The sky is a really bright and intense white from the light which washes out all the colour. I think it is the angles of the above photograph which makes it so interesting as the windbreak curves round in one direction, your eyes beginning with the brightest point behind the windbreak and then moving round, following the curve to then let your eyes travel along the material at the top of the frame. There also appears to be a tension in the photographs in which the material is pulled taught from the windbreak. I think the main thing thing that makes this image work however is the light as it makes the colours appear more intense and vibrant in the environment.
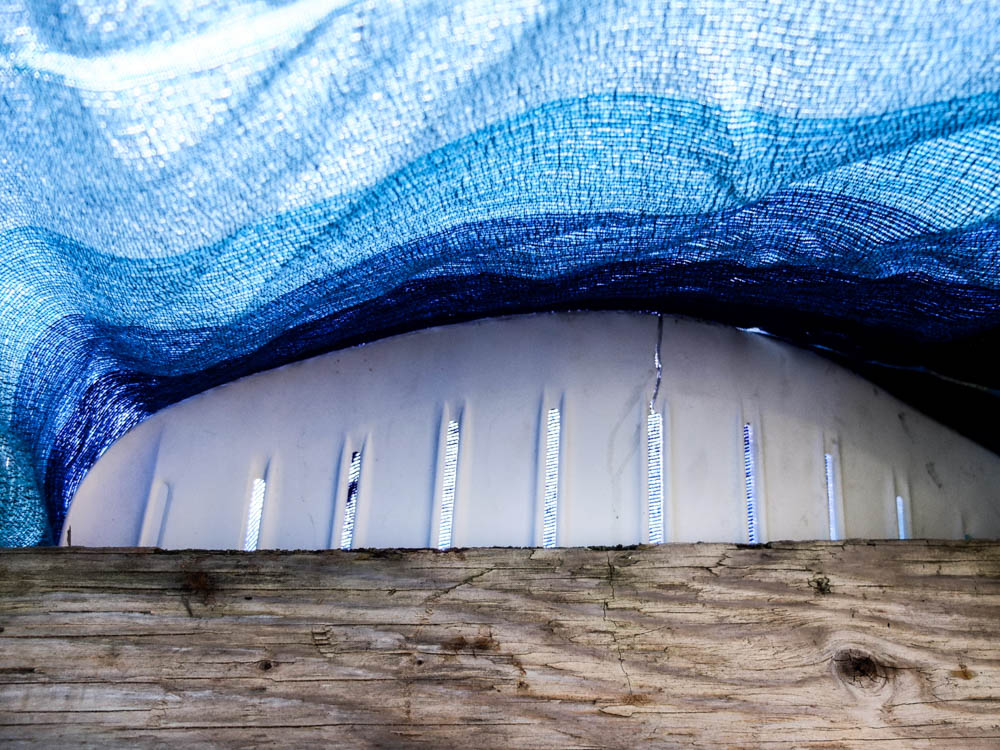
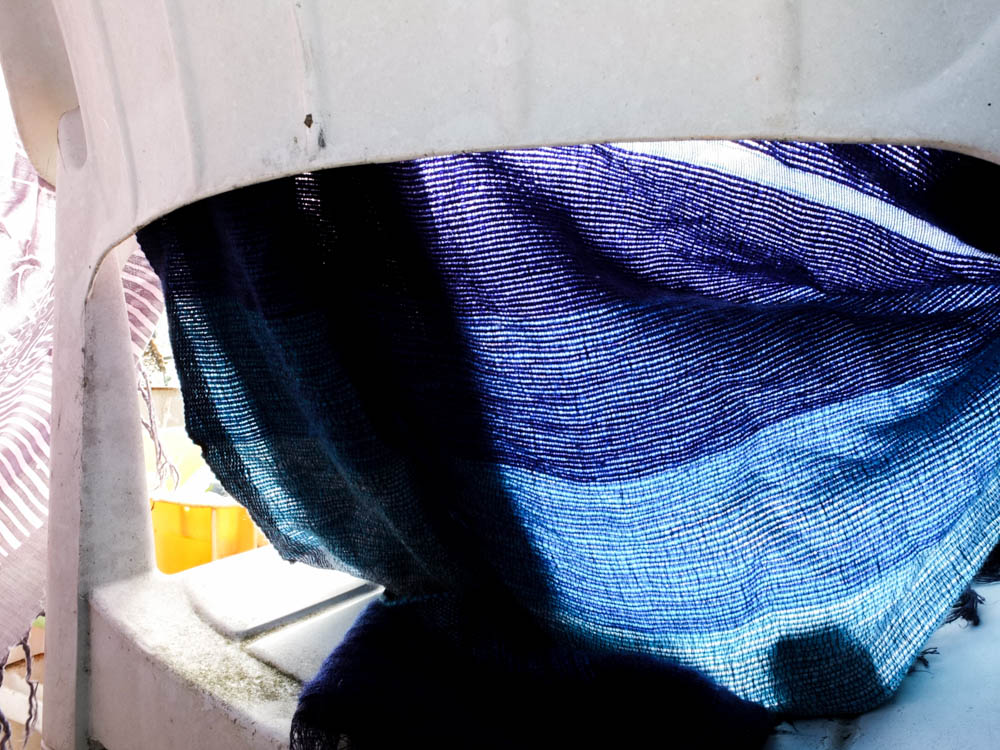
The above and below photographs show the process of the den breaking and then being rebuilt. When considering Goldsworthy’s work this was a key part of his process, to rebuild and continue to re-build until the structure becomes sound. This is as much about the den being created as having a final product as the den comes undone because of the environment, be it wind or the un-ablity to get a blanket to balance. The above photographs focus in on the tiny points of the den which have become to come apart, where holes have developed in the structure. I quite like these photographs in showing the layering of material and the tiny holes giving an insight into the inside of the den. The photographs are composed so that the break in the den is right in the center of the frame. The light in both photographs is intensely bright.
The below photograph was just a quick set of photographs i decided to take to show how parts of the den could fall down and then be rebuilt.
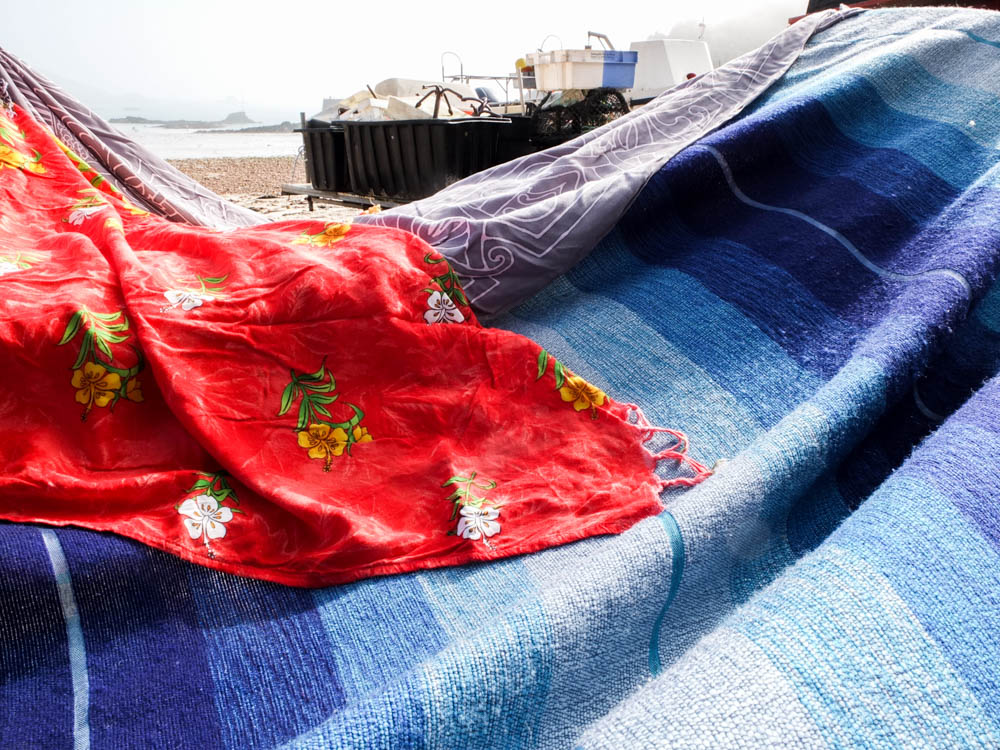
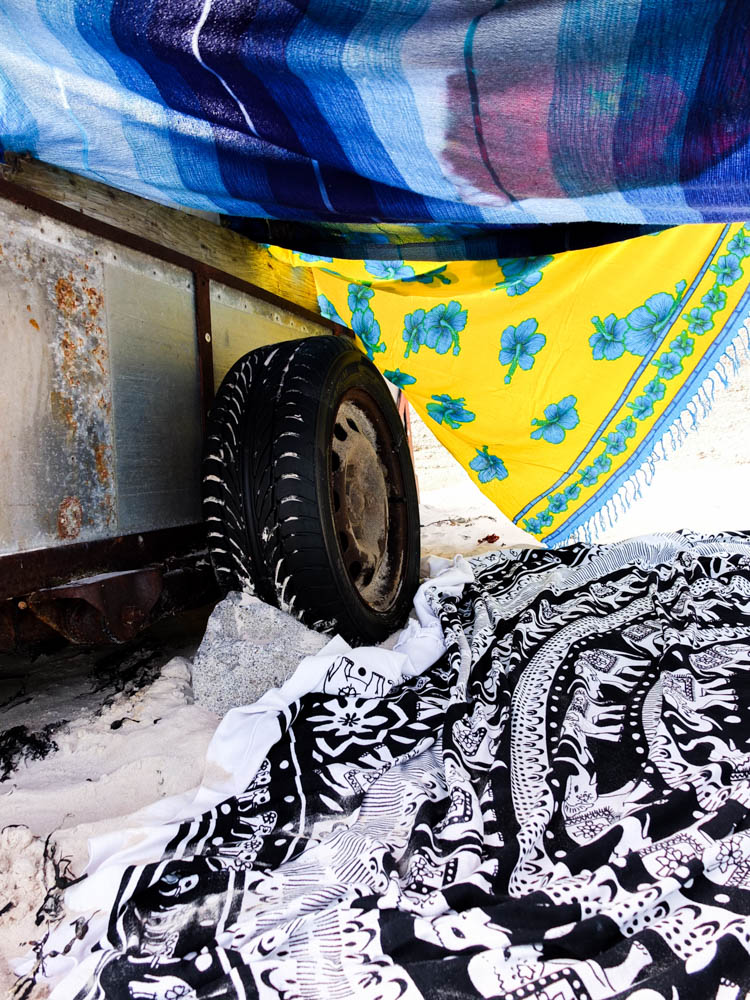
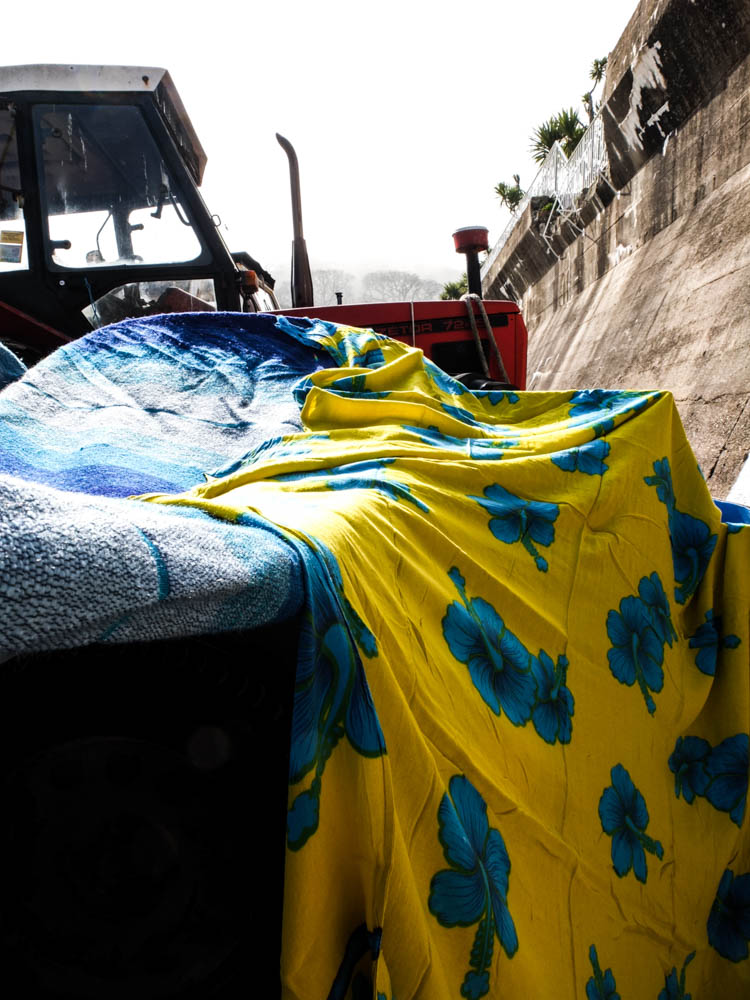
I quite like this last photograph because of the way the colours compliment each other. The bold bright yellows and blues then contrast with the blacks and whites, including the tire and the white of the sand. The image is also composed to use abstract angles, the wheel of the cart at an abstract angle and the blankets as well at jaunty angles. The brightest part of the photograph is the light in the background which is a bright intense light. The whole image is made up of very bright colours, the light shinning directly through the material and intensifying the colours.
