
Joachim Schmid’s work involves working and presenting the photographs of others, through the vernacular photography visual. Therefore, the images show various different aspects of vernacular photography, showing lives and key moments in other people’s lives. From the types of photographs that I have been looking at the most, it shows some photographs that seem to have been superimposed, whether this is something that Schmid did after we collected some of his images or not I do not know for certain. Also, Schmid presents some photographs that have been ripped up, and even some that have missing pieces. Again, if this is something that was done before the collection of photographs or not I do not know for certain. Furthermore, from the work that I have been closely analyzing, it seems that Schmid has worked with some of his photographs in a very similar style to John Stezaker. This is as they have both presented some photographs where two portraits have been used and folded so that two faces become one. I am not going to be doing that as a response to Joachim Schmid’s work as I have already done it as a response to Stezaker and have also shown how to do so already. Therefore, I will be showing how I digitally recreated and responded to some other work presented by Schmid.
Here I am going to show how I created the ripped up photograph effect digitally, without having to rip up any actual photographs, although this is something I am also wanting to try out.
- So first of all I am going to choose what photographs I am going to be using and ‘ripping up’.
- I am then going to be opening them up in Photoshop. To do so, all you need to do is to press ctrl+o and selecting the photographs that you are wanting to use.
- The next thing you will need to do is to download some ‘ripped’ brush presets to be able to get the ripped up photo effect. I downloaded these brushes to create my response – http://www.brusheezy.com/brushes/19717-ripped-border-brushes
- The next thing that I did was, I loaded my downloaded Photoshop brushes. To do so all you need to do is to select the brush tool on the toolbar on the left hand side and then at the top, where you go to view your brushes, click the little screw button and then select load brushes. This way you will be able to add those downloaded brushes to your collection.
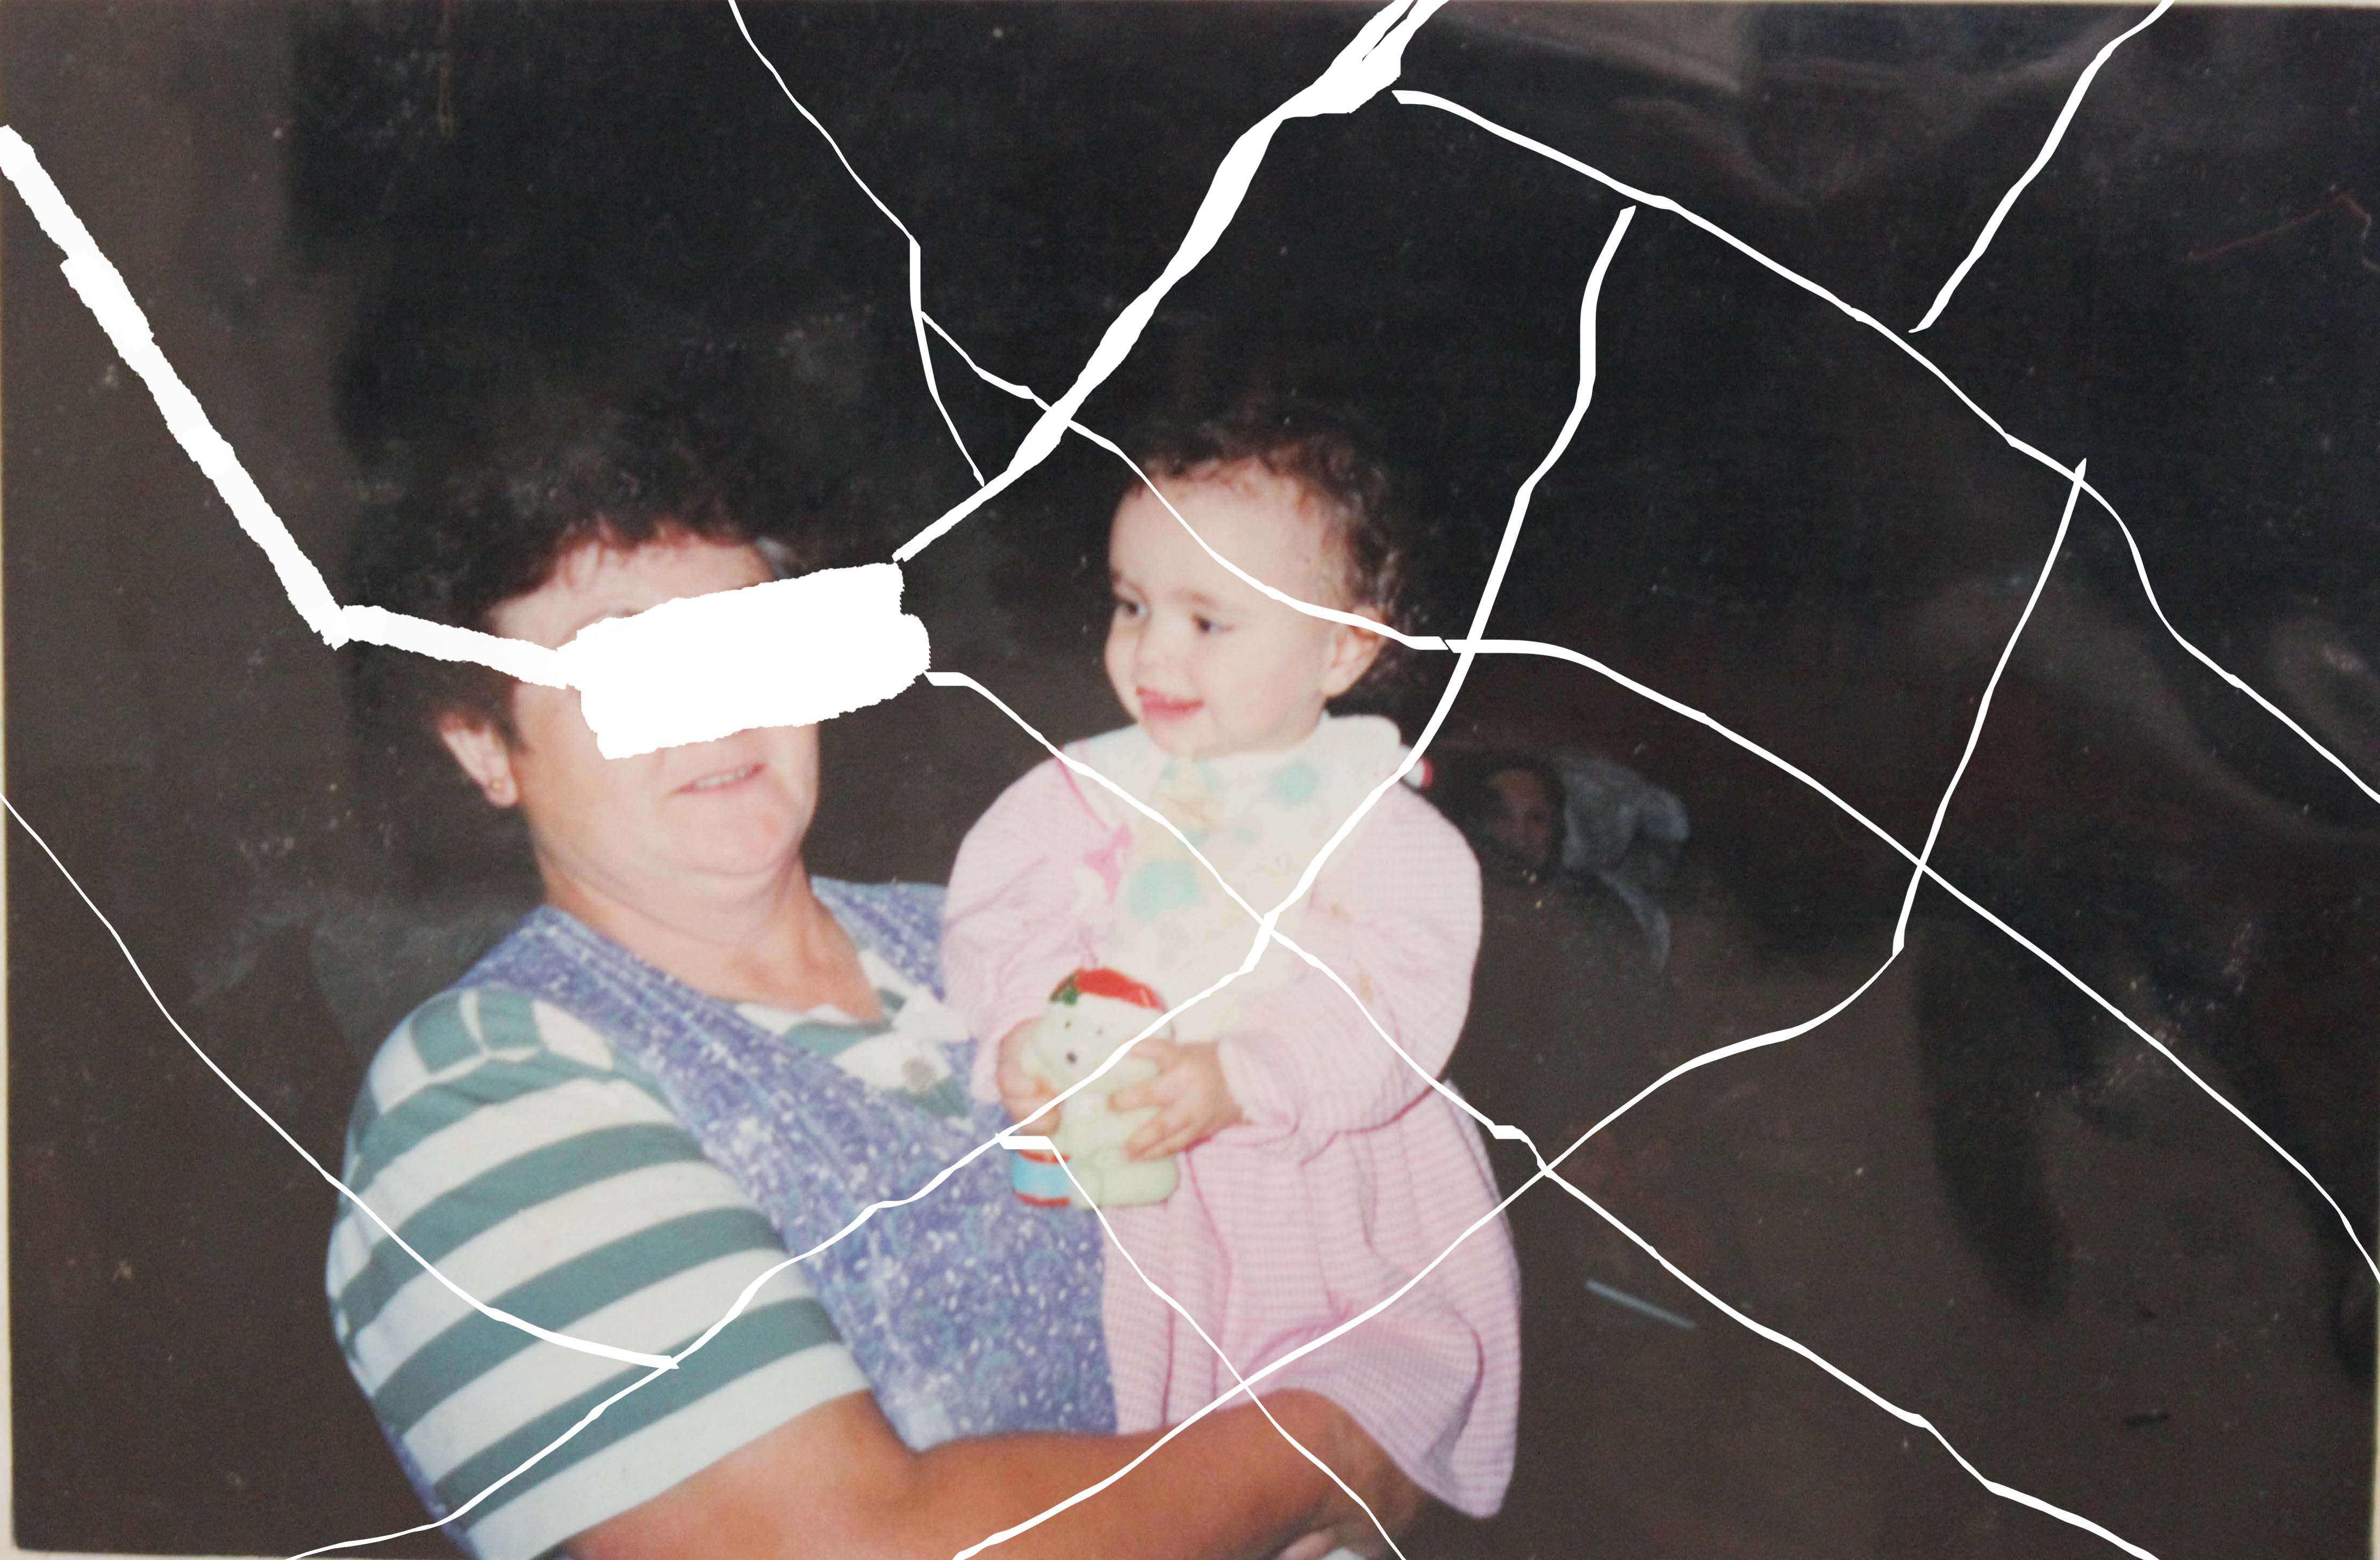
- Then all there was left to do is to either use the brush method where you just paint on top of the photograph with white, or you can just use the same brush style that you have downloaded and erase parts of the photograph to create the effect.
- You will notice that when you start to brush on or erase the photograph that you may want to rotate the brush to that you get get it at different angles to create a more realistic look. To do so you just simply have to go to Window at the top of the screen and then select brush (f5). This will open a window where you are then able to not only rotate your brush, but where you can also have / add different effects to your brush depending on the look and final image you are going for. Once you have done all these steps you should then have your own response to Joachim Schmid.