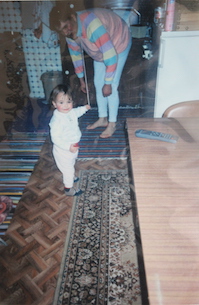
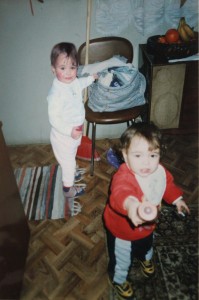
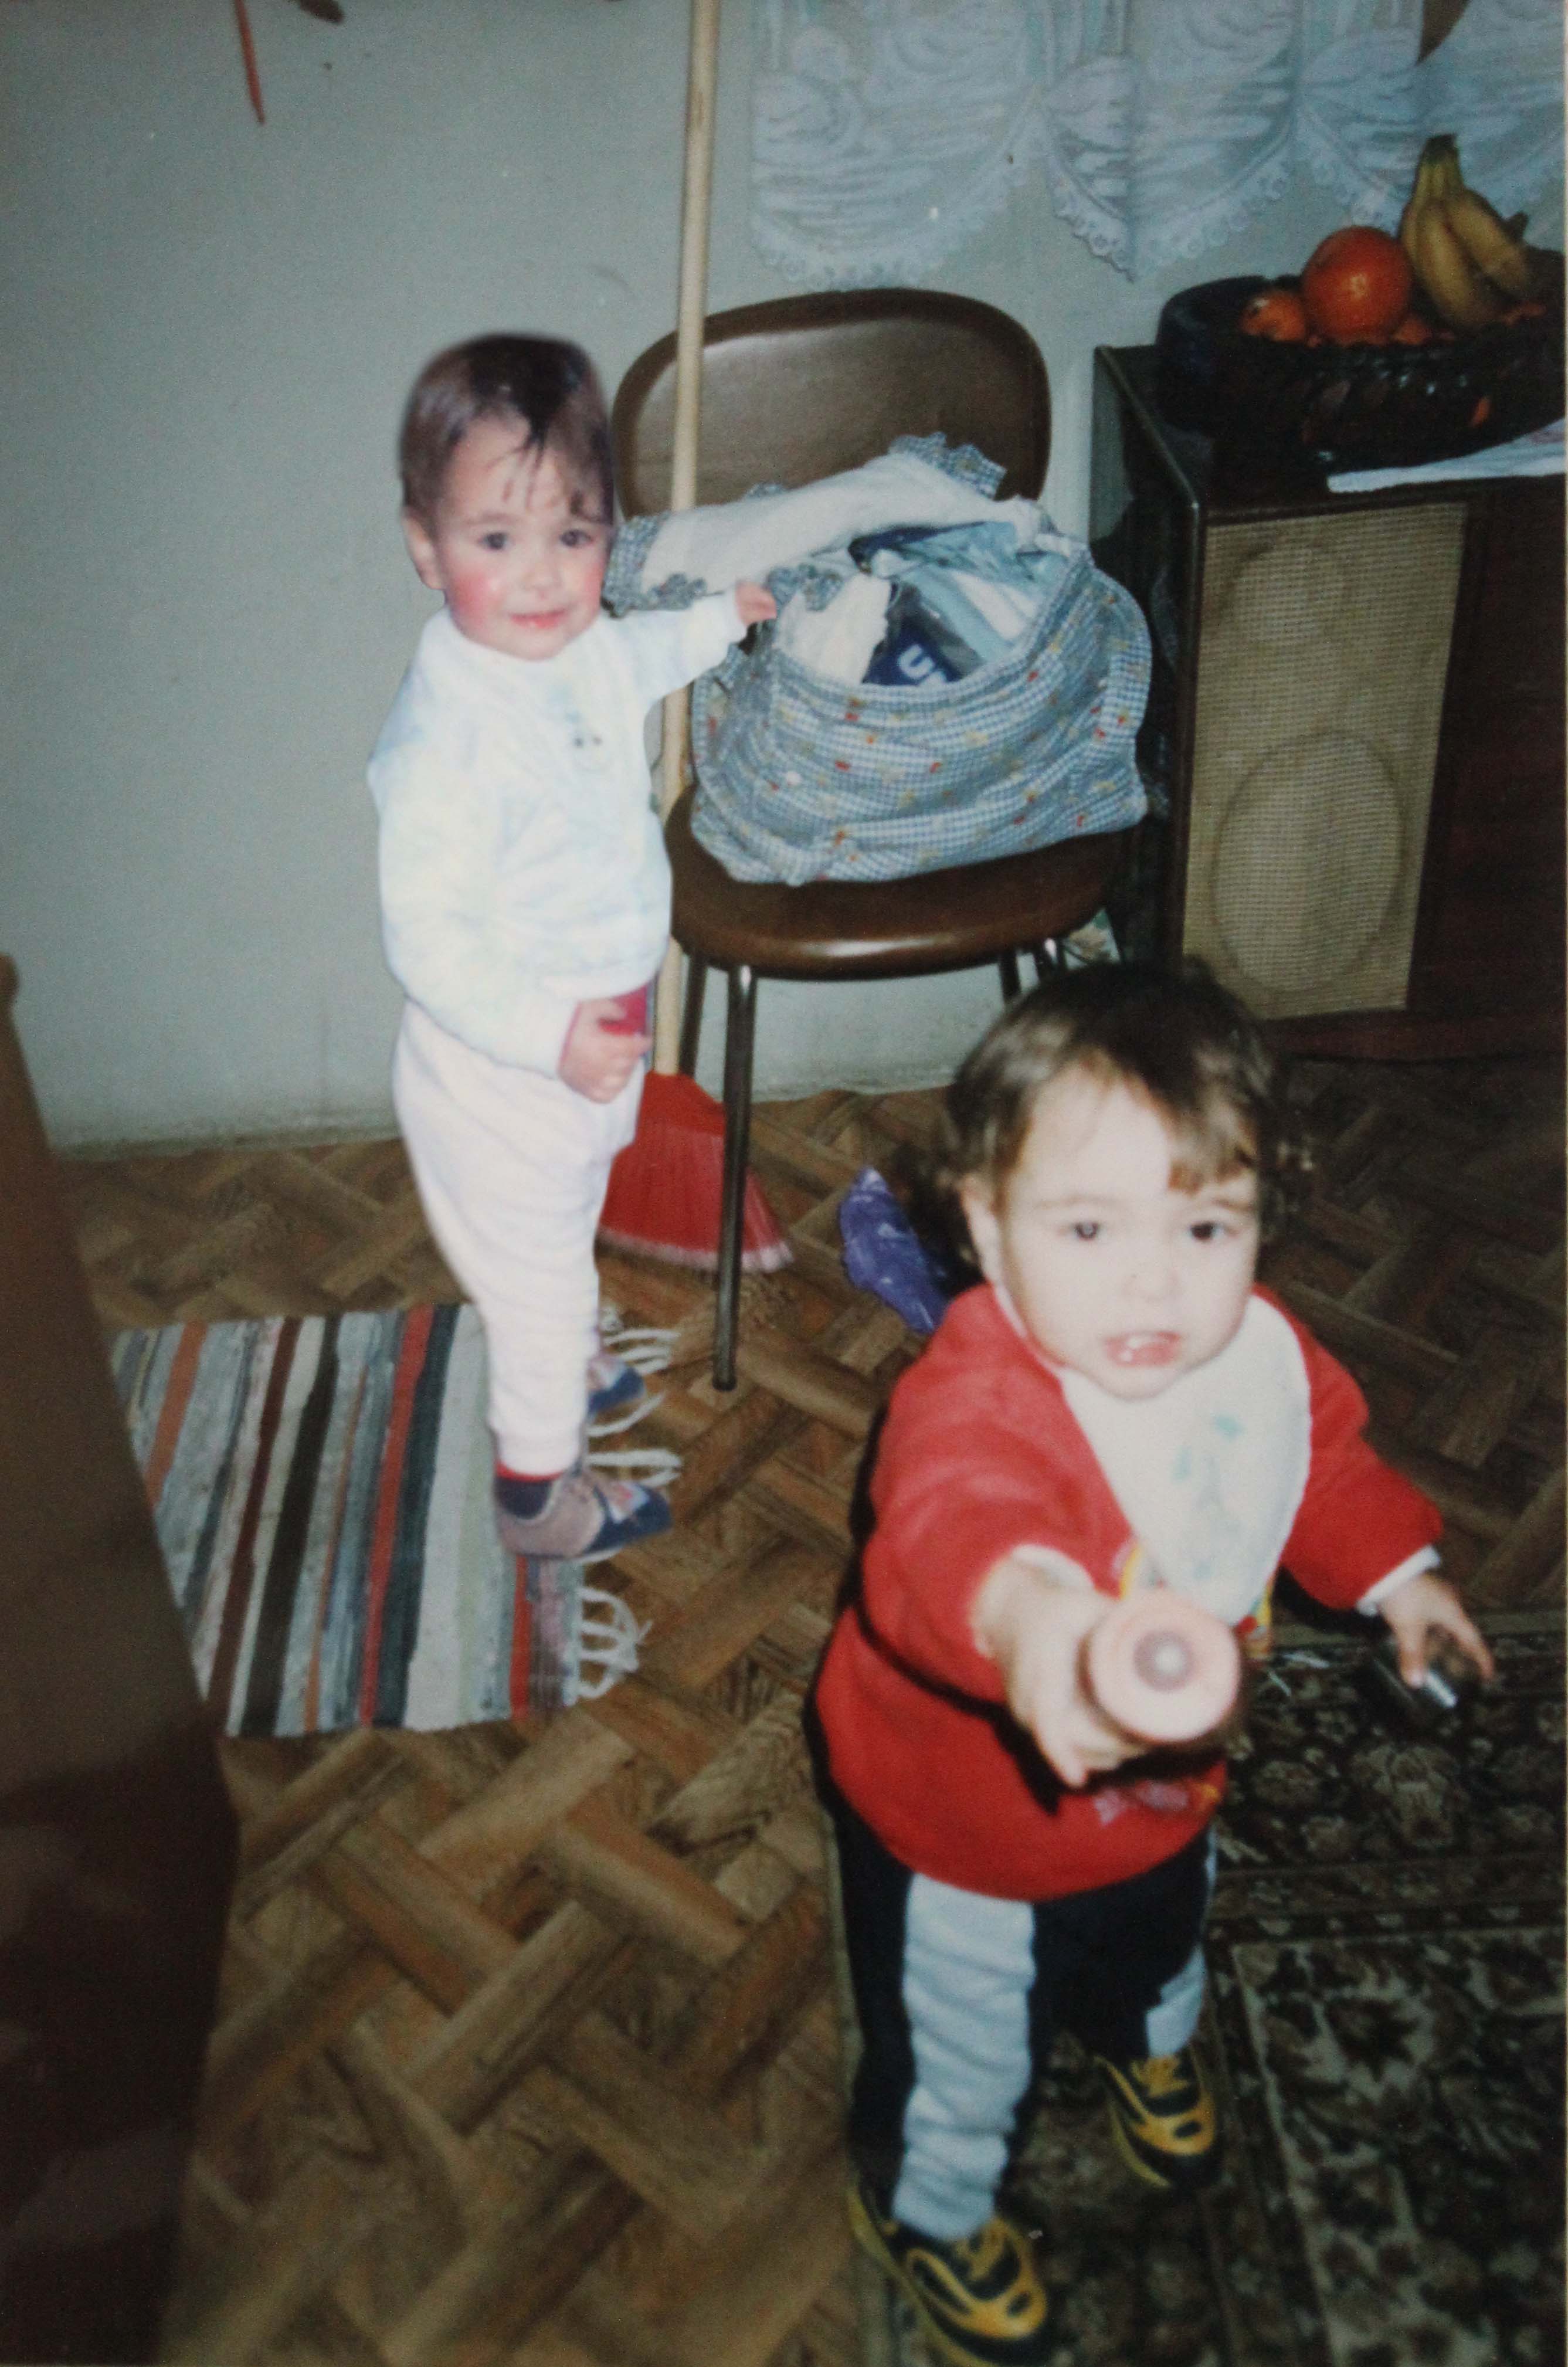
Chino Otsuka’s work is very interesting and looks at what it would look like if you happened to see yourself walking down the street, whether looking at a younger version of yourself or an older version of yourself. The way she creates her creative and astonishing work is that she looks at a photograph from when she was younger, analyses where and when that photograph was taken and then goes back to the same place, when the weather looks similar to when she first took the photograph and takes a photograph of herself in the same setting. She then combines the two images digitally. However, due to me living in a completely different country to where I grew up and where all my photographs of me growing up and that I have used for this project, I could not attempt to try and do the same thing as Chino Otsuka has done. Therefore, instead I just combined two of my photographs, that were taken individually using Photoshop.
I will be showing how I have been able to create my response to the works of Chino Otsuka which ended up looking like the photo montage shown above.
- The first thing that you will need to do is to select what two or more images you are wanting to use and combine together.
- Once you have chosen them, you will then need to open them up in Photoshop. You can do so by pressing ctrl+o and selecting your chosen images.
- The next step is to make sure that they are all in the same file instead of being in different files which is what will look like when you first open your images up in Photoshop. To do so you will need to select the window of one of your images, then press ctrl+a to select the whole photograph, followed by pressing ctrl+c to copy the image. At this point you can close the photograph you just copied down.
- Then you want to place it on top of the other photograph that you have selected. To do so all you need to do is to press ctrl+v to paste the photograph.
- Then you will need to re – size the photograph you have pasted. You can do so by simply pressing ctrl+t and holding shift whilst you are dragging the photograph to the size that you want, as this will prevent you from distorting the original look of the photograph.
- The next step is to cut out the part of the photograph you are wanting to use, which in my case was me. To do so, simply select the lasso tool on the right hand side tool bar and roughly trace around the body or the object.
- The next step is to delete the background, which you are able to do once you have made your rough tracing by pressing shift+ctrl+i and then press the delete button.
- The second to last step is to then carefully erase the rest of the background that you do not want, by selecting the erase tool from the right hand side and by selecting an appropriate sized brush depending on the areas that you are trying to erase.
- The last step is then to drag and drop it to wherever you want the second ‘you’ to be. You might notice that the colors may not match too well, however with some leveling and color balance you should be able to get a closer color to the original photograph.
- Once you have done all of that you should end up with your own response to Chino Otsuka’s work.