For this part of the project, as well as wanting to closely respond to the four artists that I have looking at for this project, I also wanted to have a go at thinking outside of the box and create some of my own images where I wasn’t really looking at a particular artist or photograph. Although I used some of my artist research when creating my own and that is apparent. I also wanted to create some other photographs that ended up being created and produced through the process of when creating other photographs that have ended up being close artist responses. I also just decided to randomize my options and ended creating some weird photographs, however they all seem to have a link to one another and therefore creating a new truth.
I am going to be showing how I was able to create two of my own perspective experimentation photographs using Photoshop .
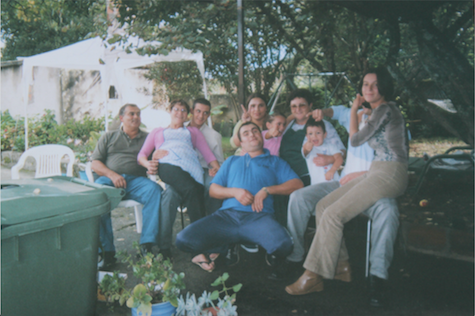
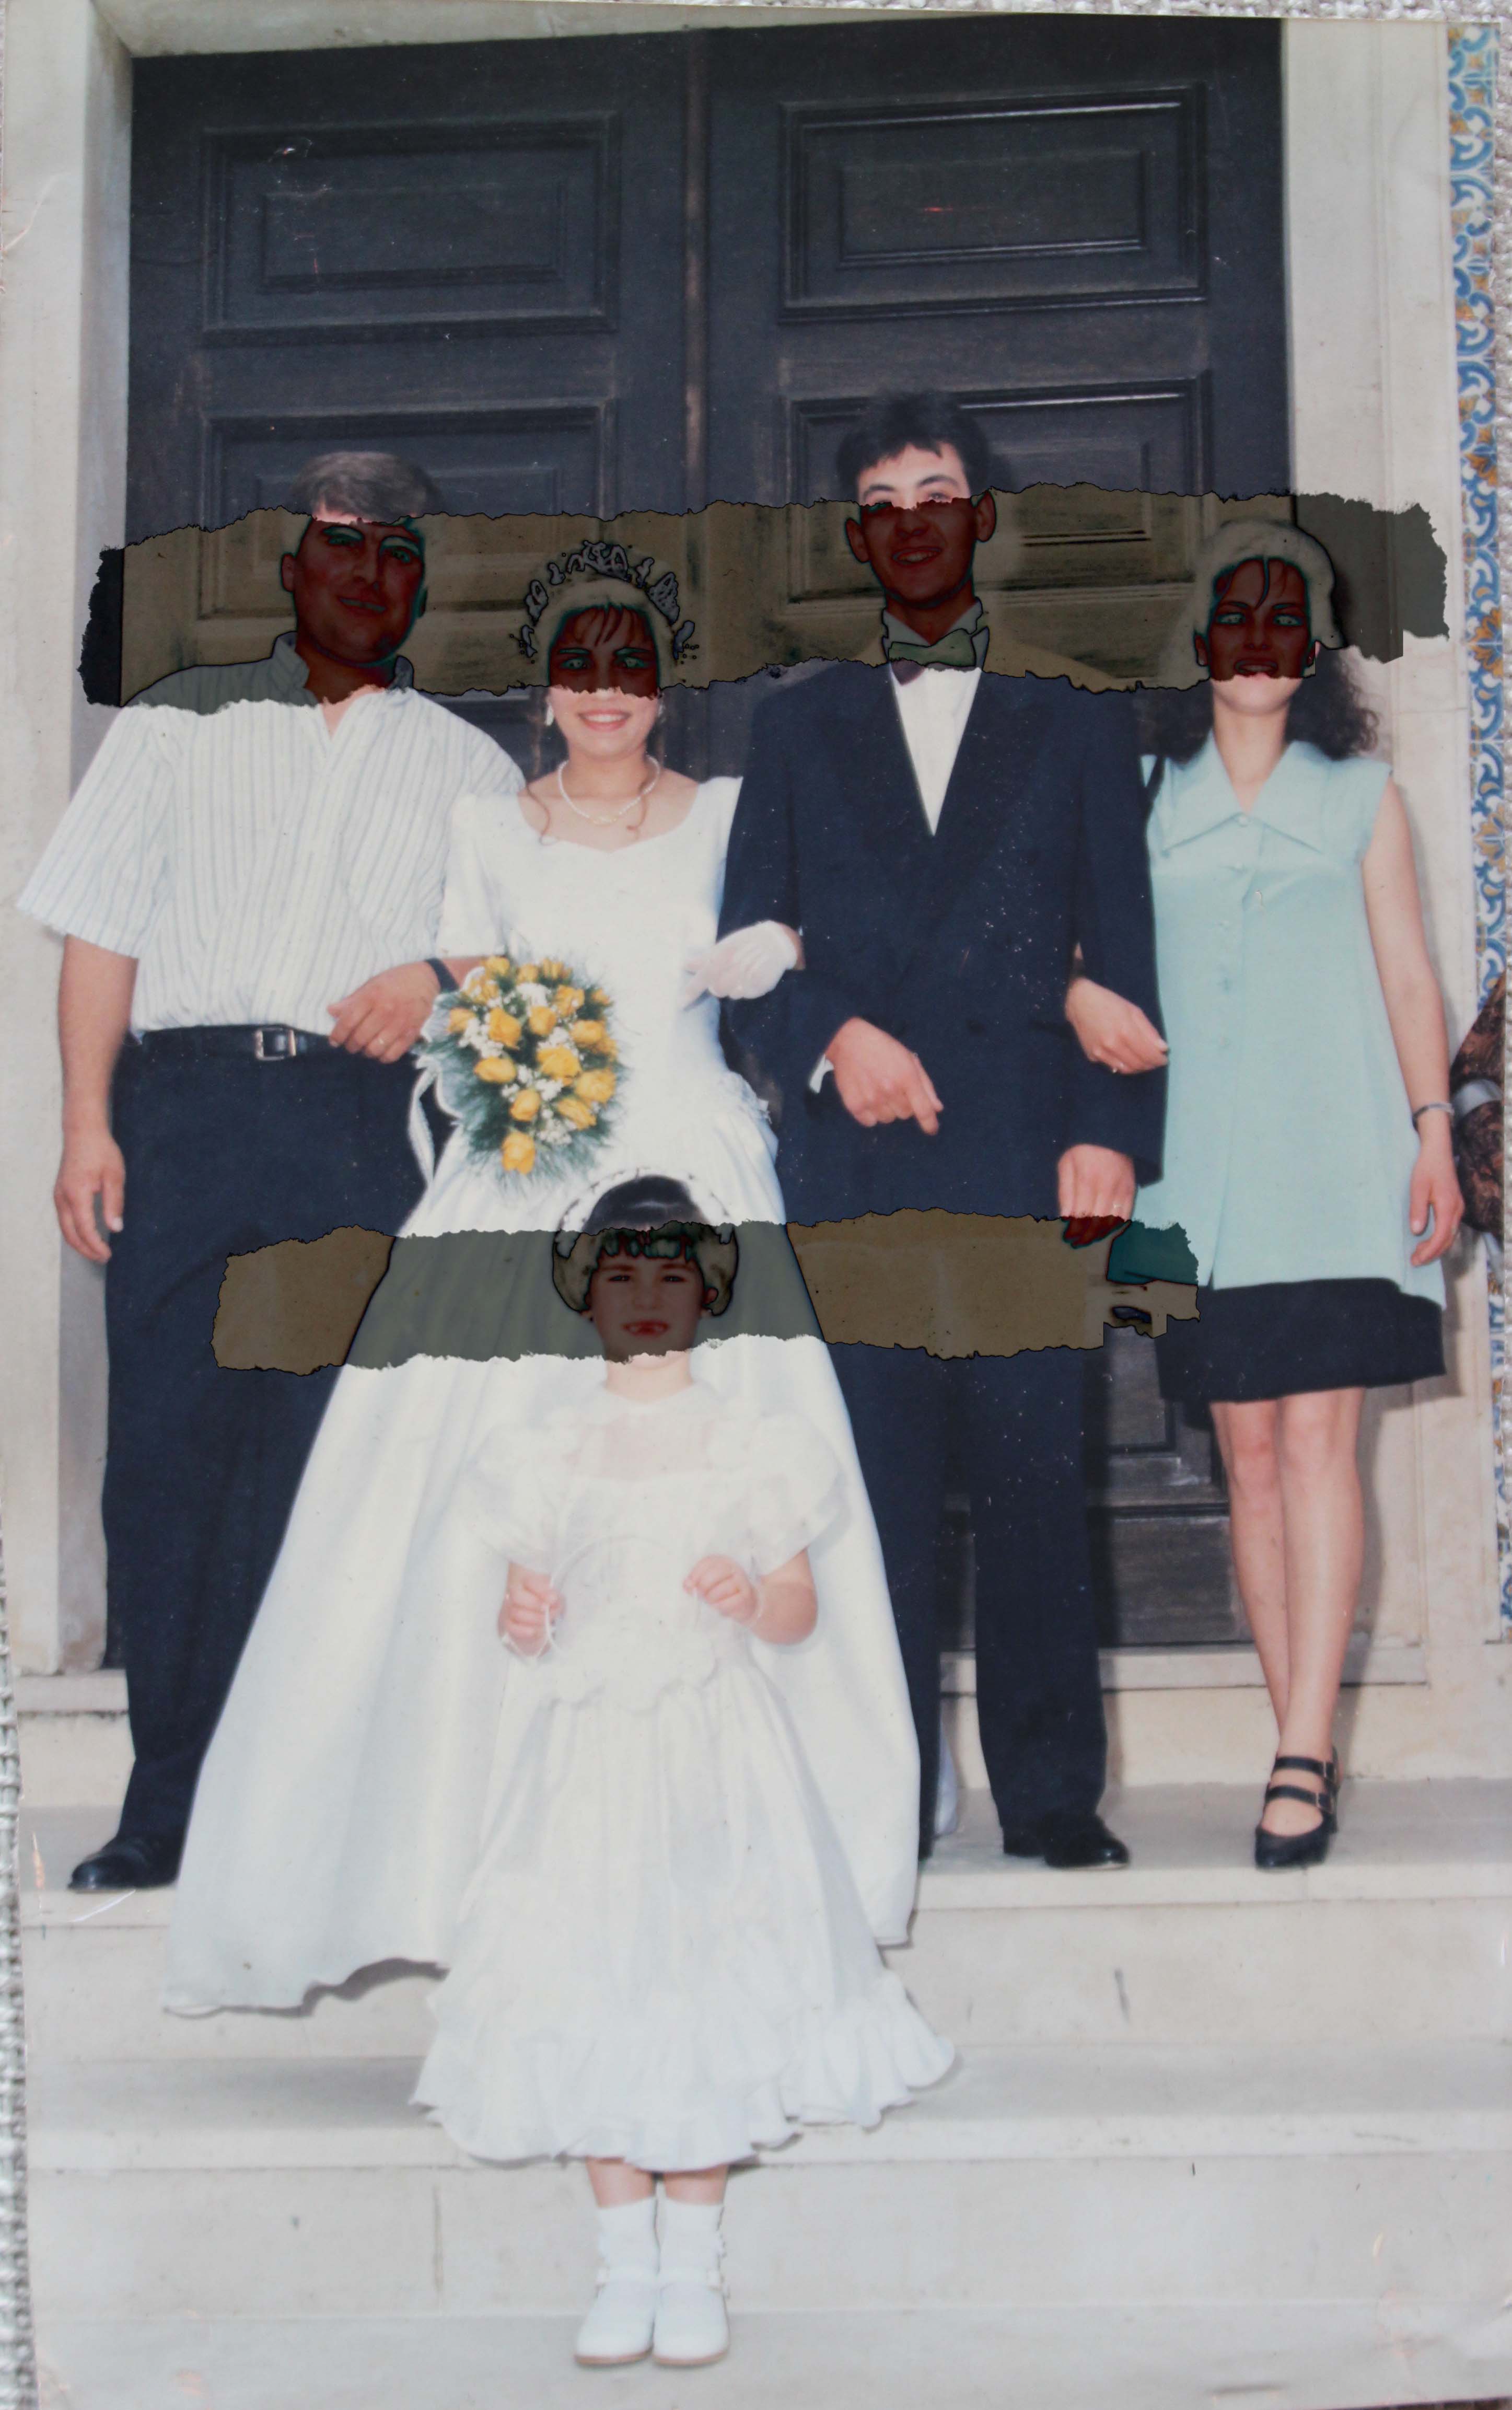 The photo montage above will be the first one that I will be showing a step by step on how I was able to achieve the look.
- For this photo montage, I needed to use some resources that you cannot find on the standard version of Photoshop, which means that they have to be downloaded online and then they have to be imported into Photoshop. What I needed to download to be able to create this look was that I needed to create this photo montage, was some ripped paper brush presets.
- To download the brush presets, I simply used this website http://www.brusheezy.com/brushes/19717-ripped-border-brushes and downloaded the brushes. Then to be able to use them in Photoshop, all you need to do is to go to the brush option and then you will be able to see at the top of the window a little screw. You will need to select that and then a drop down menu will come up and you will need to select load brushes and then just select the file that you have downloaded and then you will see that your new brushes will be automatically added to your brushes collection.
- The next thing that you will need to do is to select what image you want to use. Then you will need to open it in Photoshop by pressing ctrl+o and selecting the photograph.
- The next step is to chose what brush you want to use as this will determine what kind of effect ends up on your photograph.
- After you have chosen the kind of brush you want to use and have determined the sizing of the brush you are wanting to use you are one step away from achieving the same look.
- The last thing that you will need to do before you paint your photograph that you will need to select the brush blending mode. To do so you will need to have the brush option selected and then select ‘mode’ at the top of the window. This is what will allow you to achieve that unique look. I personally selected the ‘difference’ blending mode. Once I did that, I just simply clicked once on my photograph, where I wanted the effect to go on and that was it. That’s how I was able to achieve this unique look.
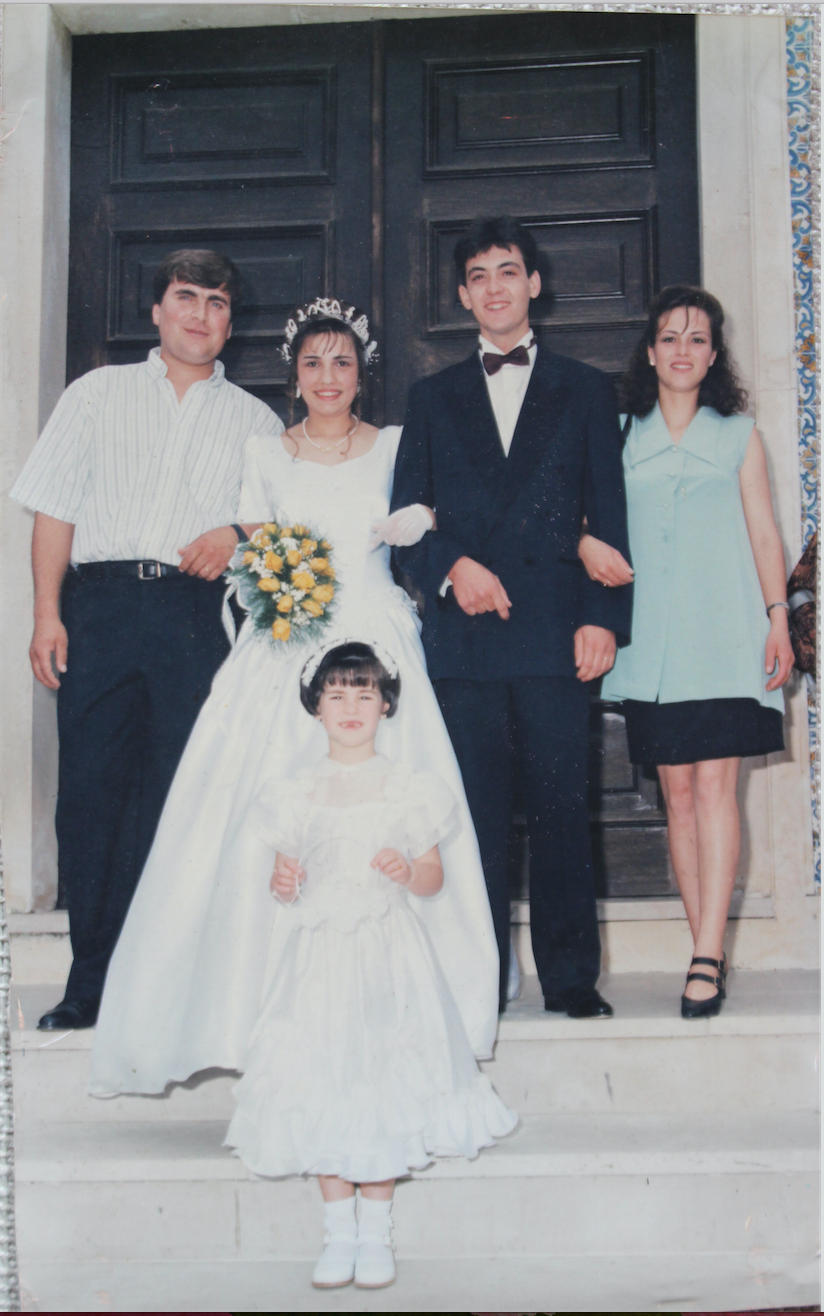
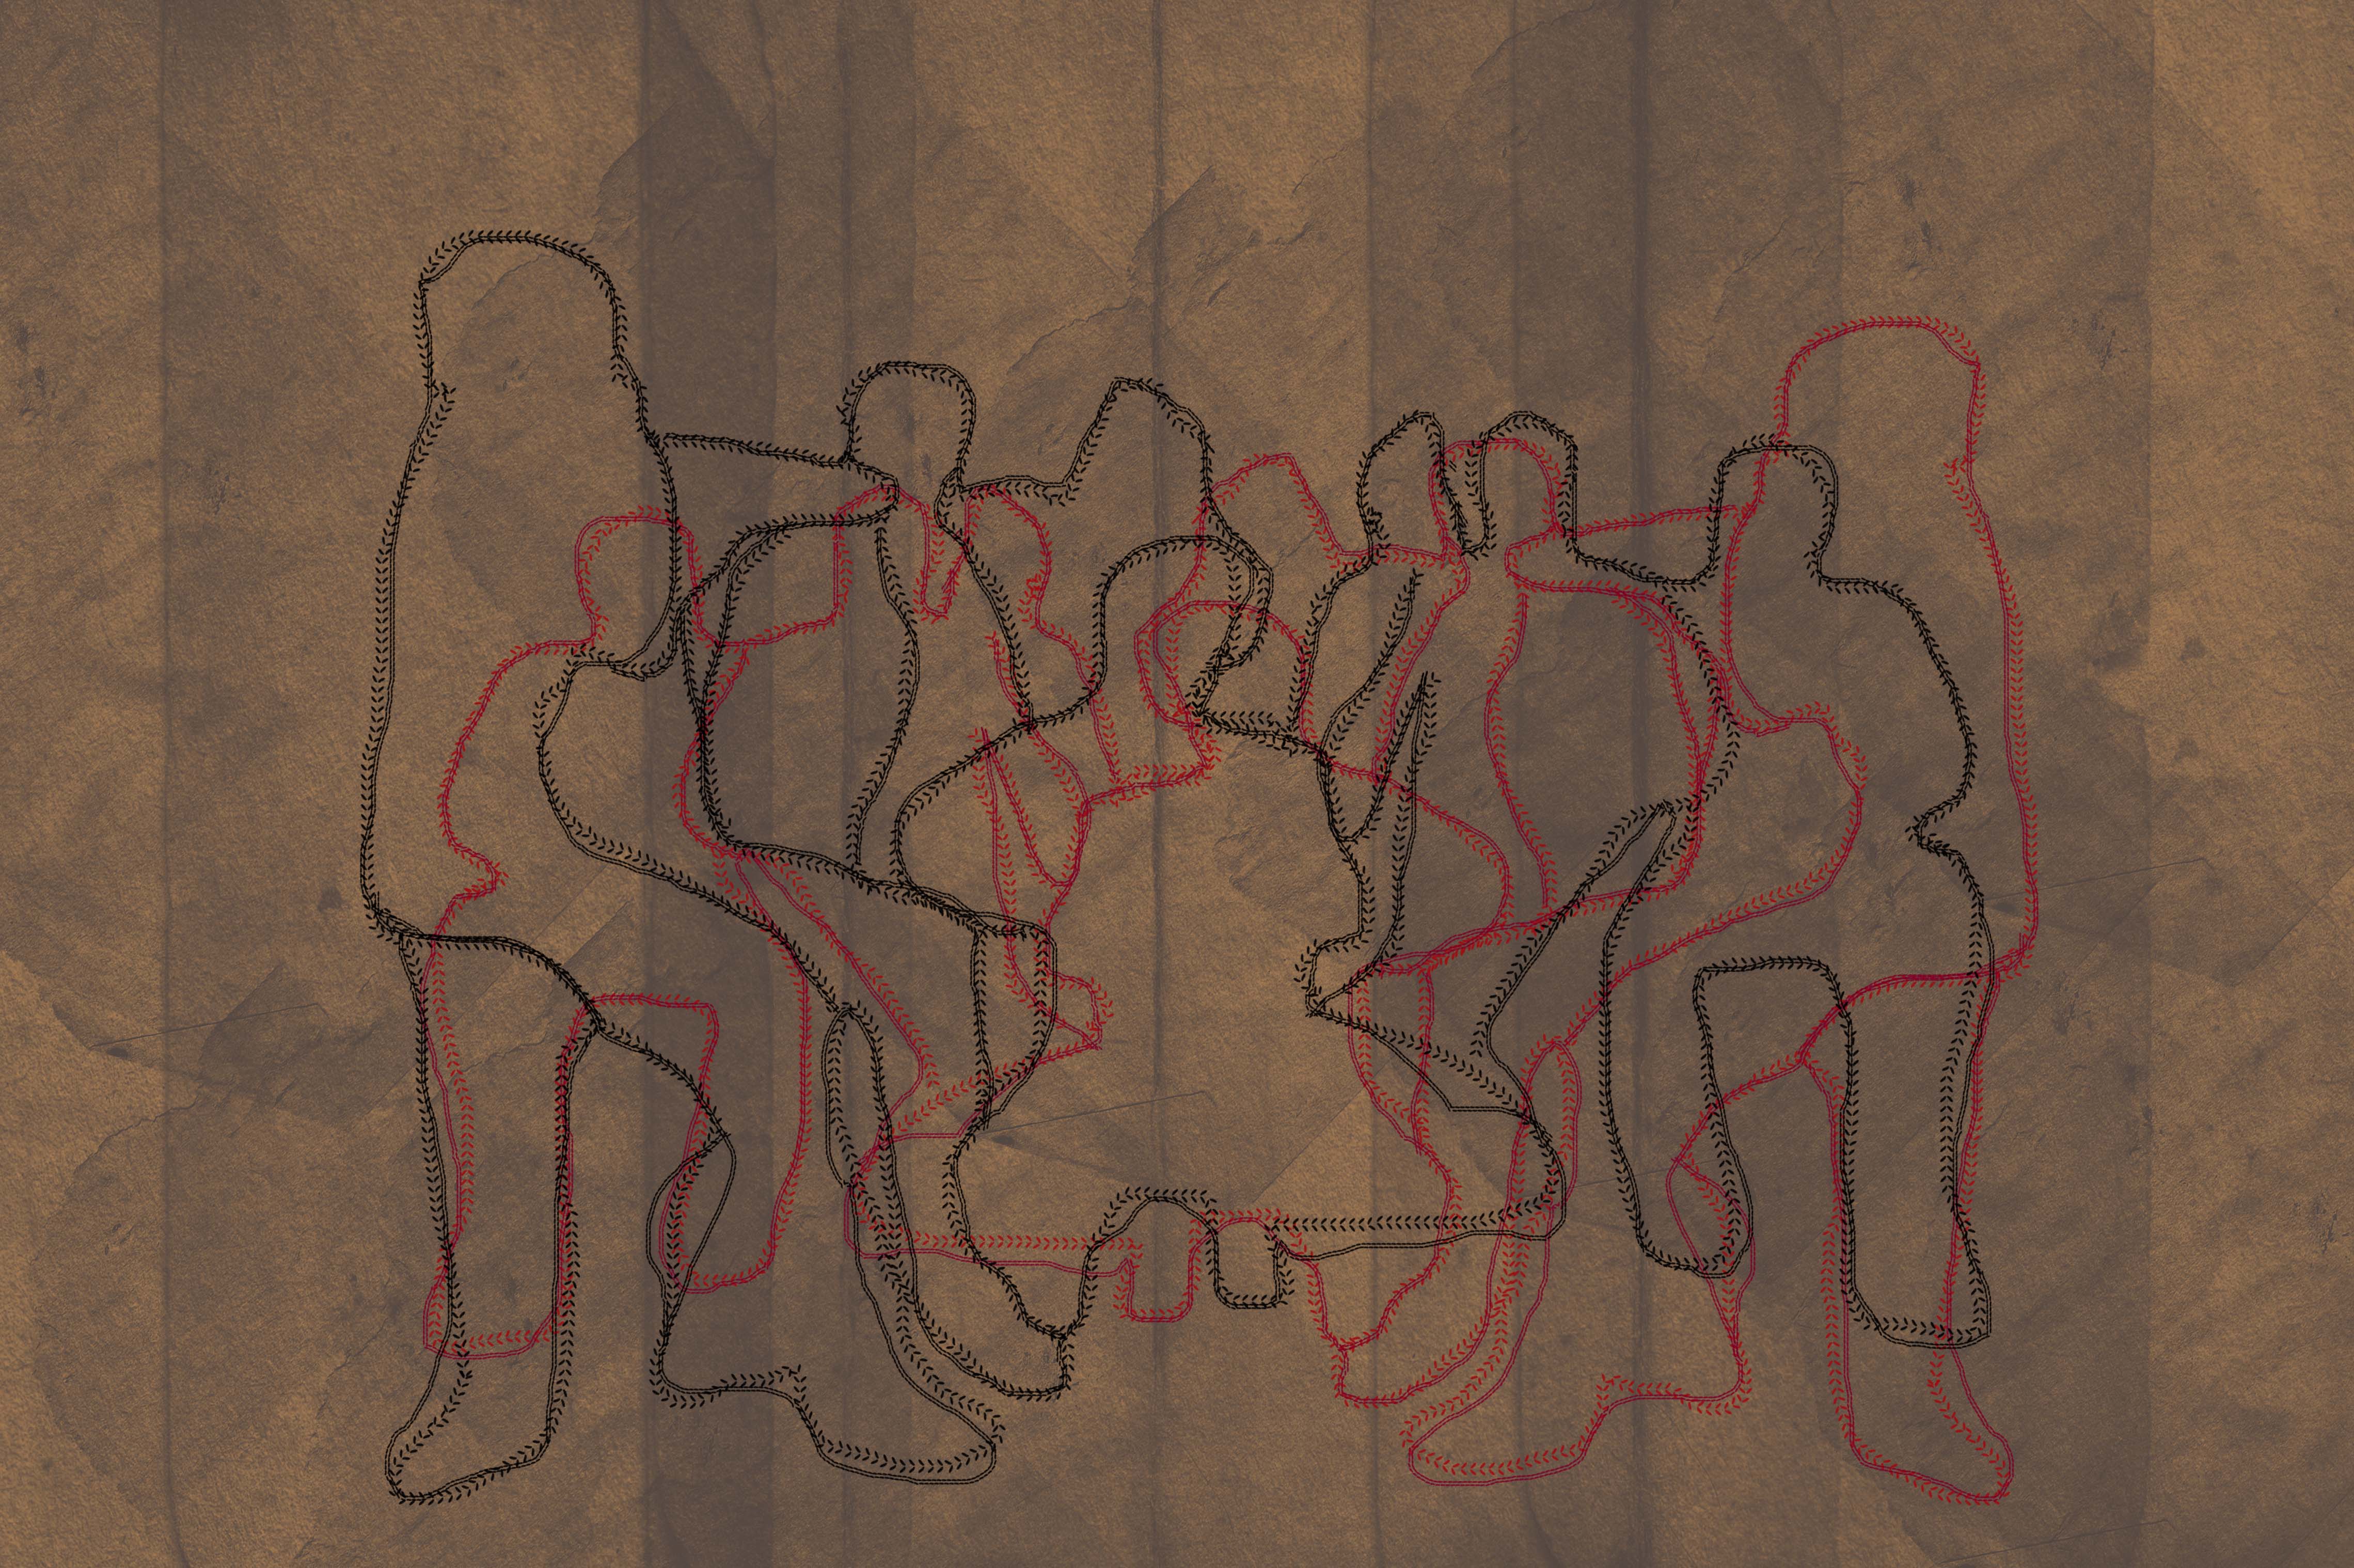 The photo montage above will be the second one that I will be showing a step by step on how I was able to achieve the look.
- For me to be able to create this photo montage I needed to use the same stitches brush presets that I had previously downloaded and used to be able to create my Liz Steketee visual responses. As we can see, this photo montage was very inspired by the work of Liz Steketee, however I decided to include in my own perspective responses and not hers as I did more manipulation to the photograph than what she has done.
- I also created my own background for this photo montage. I was able to do so by pressing ctrl+n and creating a new file. I then painted it a shade of brown. Then with a darker shade of brown I simply used different brushes with different effects from the brush collect that has been included with Photoshop to create the look that I wanted, which was a old, vintage paper effect.
- I then needed to open up the photograph that I wanted to use. To open up the photograph that I was wanting to use for this photo montage, simply and already on the same file / window as the file in which I created my background, I simply just dragged and dropped the photograph into Photoshop.
- I then re-sized the photograph, by pressing ctrl+t so that it would fill the space which I thought to be good enough for my idea.
- The next thing that I did, was to drag the photograph down in the layers panel so that it would be below the layer of the background.
- I then created a new layer in which I was going to be adding my stitches to. To do so, I just went to the bottom of the layers panel and select the button that looks like a folding piece of paper.
- I made sure that this new layer was at the top and this would allow me to have more control over the stitches, just in case I needed to do anything different or erase something.
- To be able to see both the background that I created as well as the photograph that I was wishing to trace. Therefore, I simply reduced the opacity of my background layer to the point where I was able to see both of my photographs.
- The next that I did, with my empty new layer on top and select, I just simply selected the brushes that I wanted to use and its colors and just started tracing around the people included in the photograph.
- The last thing that I did was that, after I had traced the people in the photograph, I duplicated the layer by pressing ctrl+j, changed the color by pressing ctrl+u and inverted it so it would create almost a mirror image by pressing ctrl+t. Then you can either delete your photograph or simply turn the opacity of the background back up to 100% and you are done.