The type of photographs and photo montages that I have analysed and used as influence for my own exam project are all quite simple to create whether you create them by hand which is how Stezaker created his photo montages, by having the photographs all printed out and then just folding them in different ways and putting on top of other photographs, or even more simply by just placing one photograph on top of the other depending on what he was wanting to create with each of the photographs. I personally decided to respond to John Stezaker using a digital format to create the same look.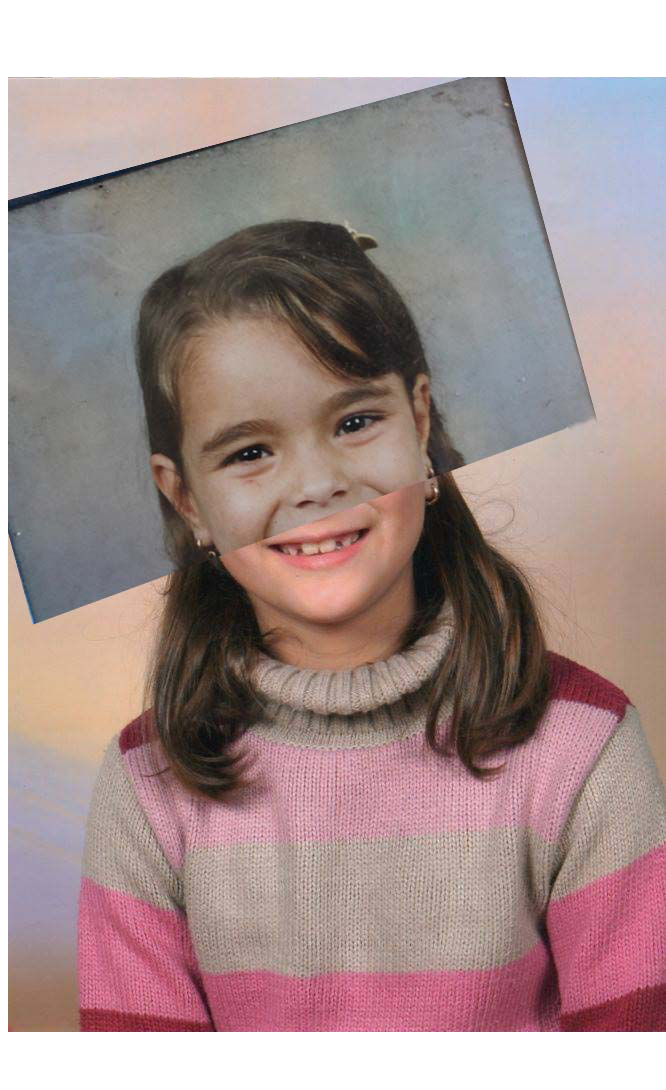 The example of my own response that is shown above, is a response that I created when looking closely at John Stezaker’s work.
- First of all I had to choose what photographs I wanted to use for this photo montage. To decide what photographs I was going to pair together, I had an overview of all of the photographs that I had, then started looking more at the relationships between the people, rather than just deciding on what I thought would look the best.
- The second thing I did after deciding the photographs I wanted to use I just opened them up using Photoshop.
- When you first open your photographs they will appear in two different windows, as they are two different files. However, what you need to do is to have both photographs in the same file. To do so all you need to do, is open one of the photographs, doesn’t matter which photograph it is, and press ctrl+a to select the whole photograph. Then to copy it, you will need to press ctrl+c. Once you have done that, you can then close that window as it will no longer be needed. Then the next thing that you will need to do is to paste it on top of the other photograph. To do so, all you need to do is to have the other photograph open, then press ctrl+v to paste it.
- The next thing you will need to do is to re-size the photograph to the scale that you want. You want re-size the photograph by pressing ctrl+t whilst holding shift as this will prevent your photograph from distorting and becoming out of proportion. As one photograph is on top of the other, it might be hard for you to see exactly where you want it to end up, according to the photograph underneath. Therefore, whilst you’re re-sizing the photograph, you can decrease the opacity so you can still see the photograph, but you will also be able to see the other photograph underneath.
- Then next and final step is to cut the photograph to create the classic Stezaker look. To do so, you will need to select the polygonal lasso tool. The reason to use this one is because it will allow you to select part of the image that you do not want in a straight line. To use this, you will need to go around the part of the photograph that you do not want and then press enter so that a selection can be made. Then all you need to do is to press the backspace key as that will delete the part of the image that is selected. Once you do so, you are done, and have created a classic Stezaker photo montage.
Another type of photograph that is also very popular although you might not think so when you are searching him up, and those types of images are the ones where Stezaker places, most likely landscape photographs on top of portraits. There are many reasons that I personally can think of for why John Stezaker could have done so. However, it has seen to prove effective, and I personally really like it and will be showing how I managed to create that look digitally using Photoshop.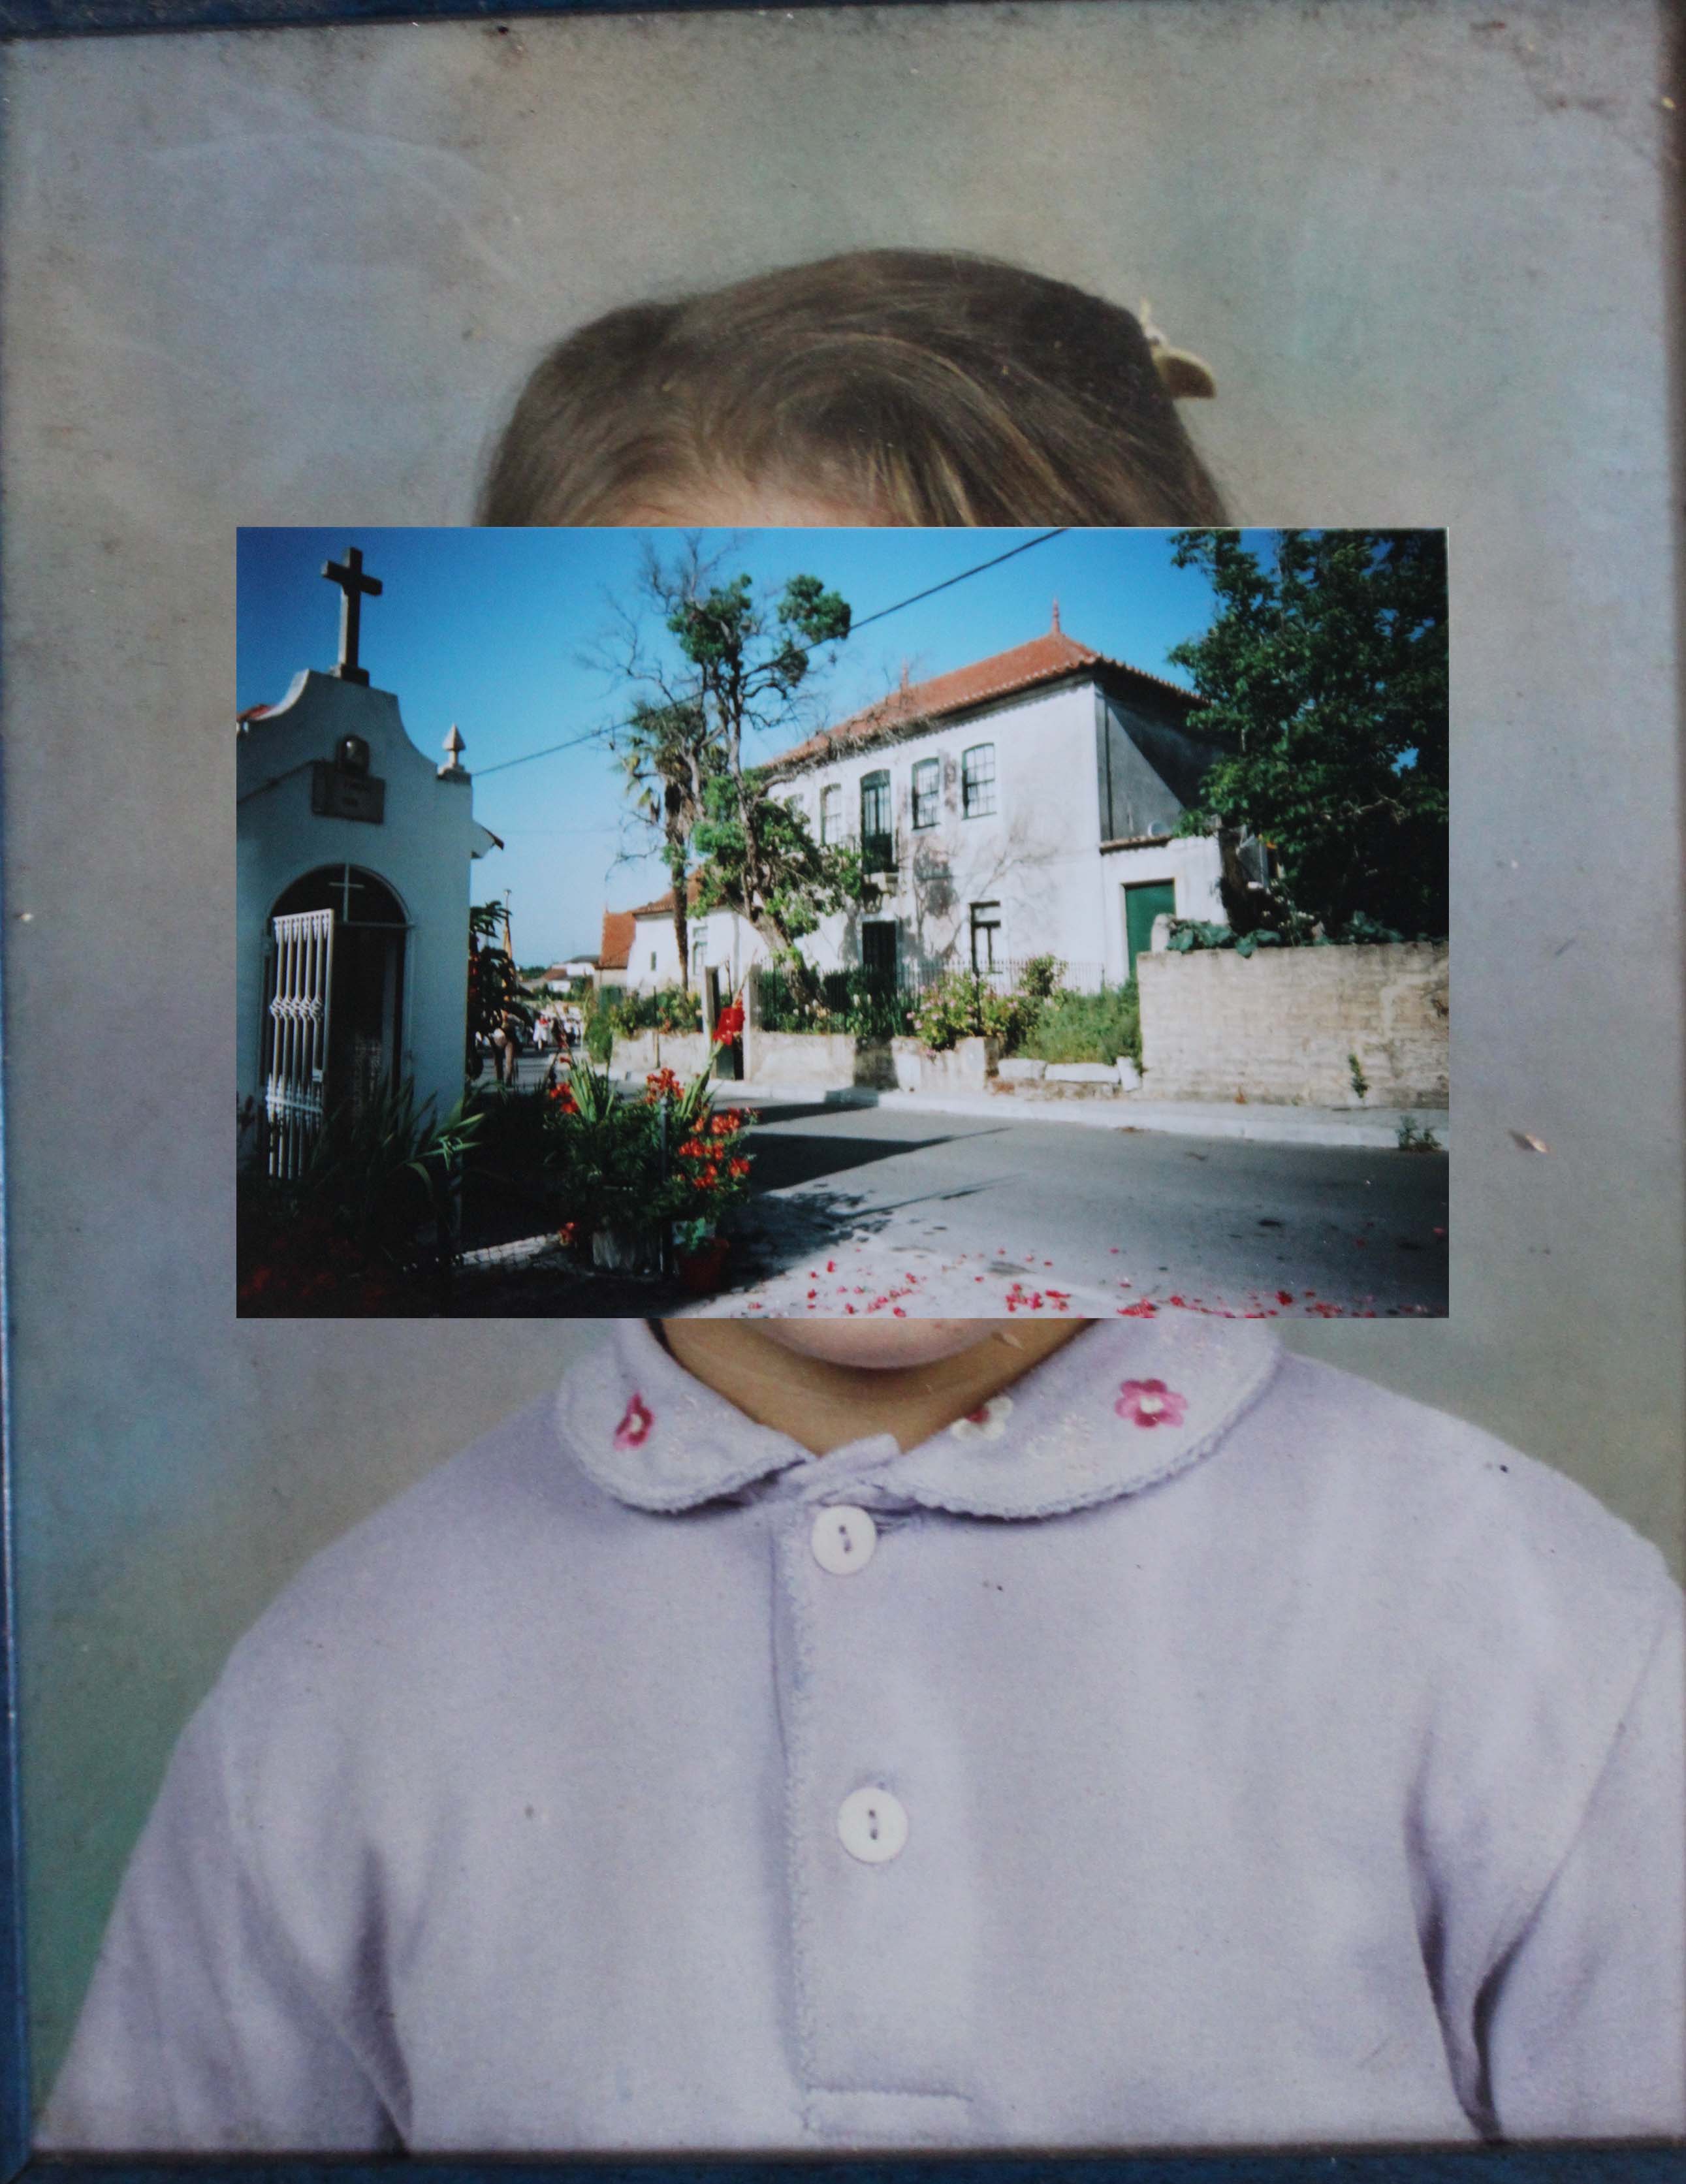
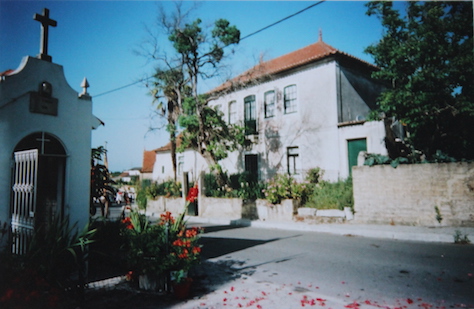
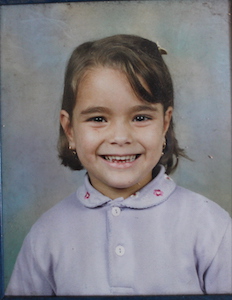
- The first thing I did, was that I decided what photographs I was going to be using. For the photographs, I had to think about who I was linking with what photograph to be able to create the truth that I wanted.
- After choosing one portrait photograph and one landscape photograph, I simply opened them up in Photoshop. To do so, I pressed ctrl+o and selected the photographs that I want to use.
- The next thing that I had to do, was to put both photographs together instead of having each photograph on separate files. To do so and the way to not have to mess around with layers, was to simply have the landscape photograph open and press ctrl+a to select it all and then press ctrl+c to copy the photograph. I then just closed that photograph window and just had my portrait open.
- After this all I had left to do was to paste the landscape photograph on top of my portrait. To do so, I just pressed ctrl+v to paste it and then pressed ctrl+t to re-size the photograph to whatever size I needed it to be.
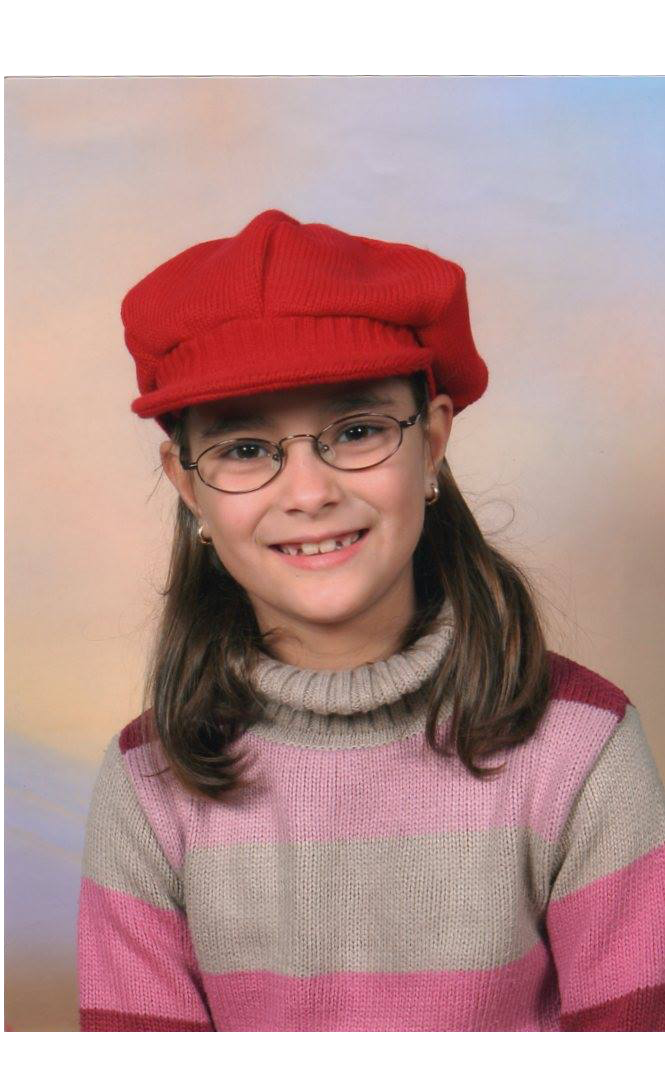
- And then you can either leave it like that, to have it exactly how Stezaker had it, however you can actually use the blending mode options that Photoshop comes with to create a unique look. However, that is all you need to do to be able to create that classic John Stezaker look with your own photographs.