
Ever since I started searching up for this exam project, I decided that I was going to want to have a photo book as a final piece. When I have previously designed my photo books, I had always used Adobe Lightroom and Blurb. However, after having a look at some books that had been created with this photo company called Albelli, I decided that that was where I was going to be creating my photo book for this project. One of the main reasons as to why I decided to use Albelli to create and design my photo book is because of the fact that the website and the company offer a software which in fact seemed much better to use than Adobe Lightroom has been to use.
Throughout this blog post, I am going to be designing my photo book using the Albelli software and posting my progress from when I start it to when I finish it. I am also planning on posting anything that I thought could have worked however may have not looked so good on the photo book or any other changes that come to mind as I am in the middle of designing it.

This is the software, Albelli, that I decided to use for the designing of my photo book for this exam project. The main reason as to why I decided to use this software instead of Lightroom is because I noticed that this company gives us the option to have a photo book that is lay flat. This means that the photographs that are placed in the middle of the photo book will not be distorted as a regular book would be as you would not be able to see then properly because some of the photograph would be lost. 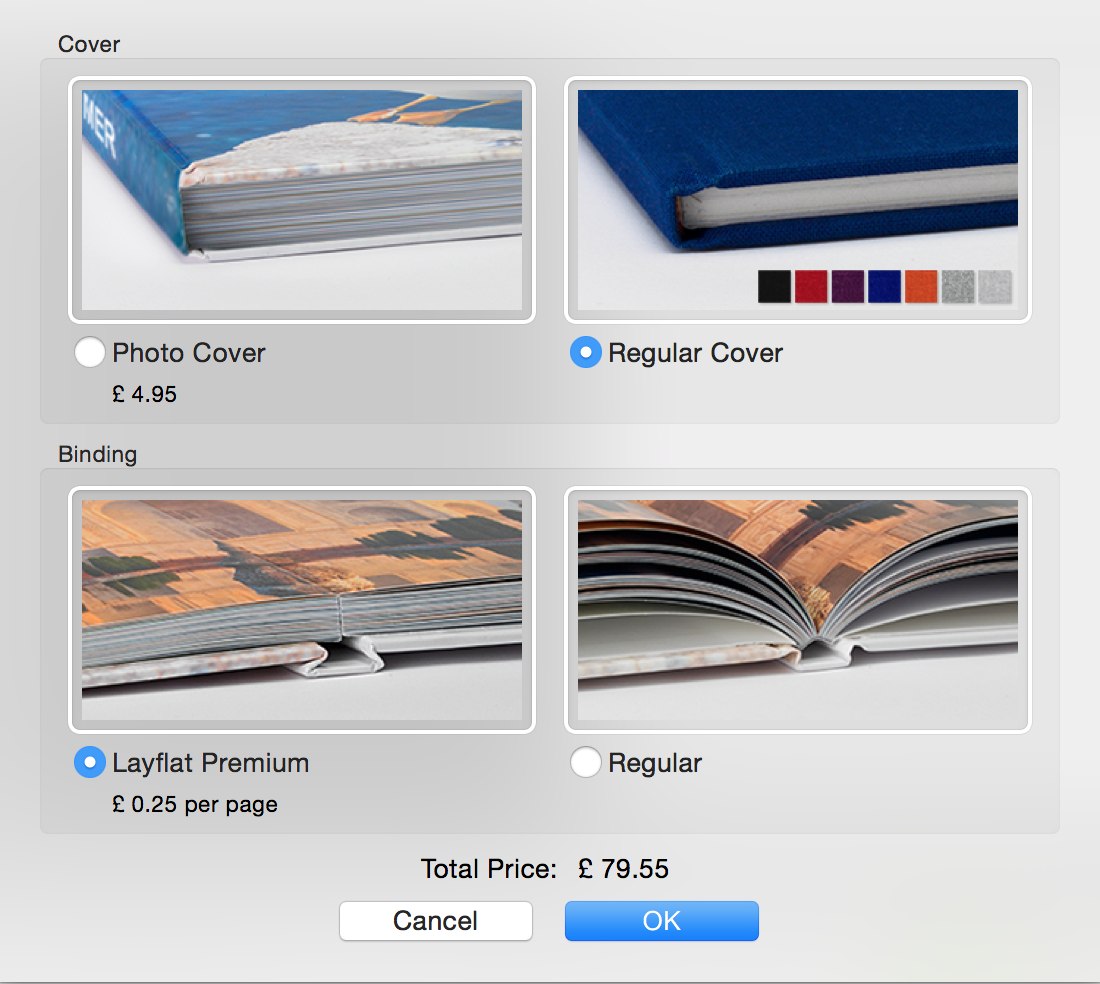 This is what comes up when you first start your photo book, once you have chosen what size and type of photo book you want. You can either chose to have an image wrapped around the photo book or have a regular rough fabric cover. I decided to have a regular photo book cover as I wanted my book to have a vintage and family album type of feeling to it. It also need that I can glue stuff on top possibly like Yoshikatsu Fujii on his Red String Photo book. I also decided to go for the lay flat option for the reasons that I mentioned above.
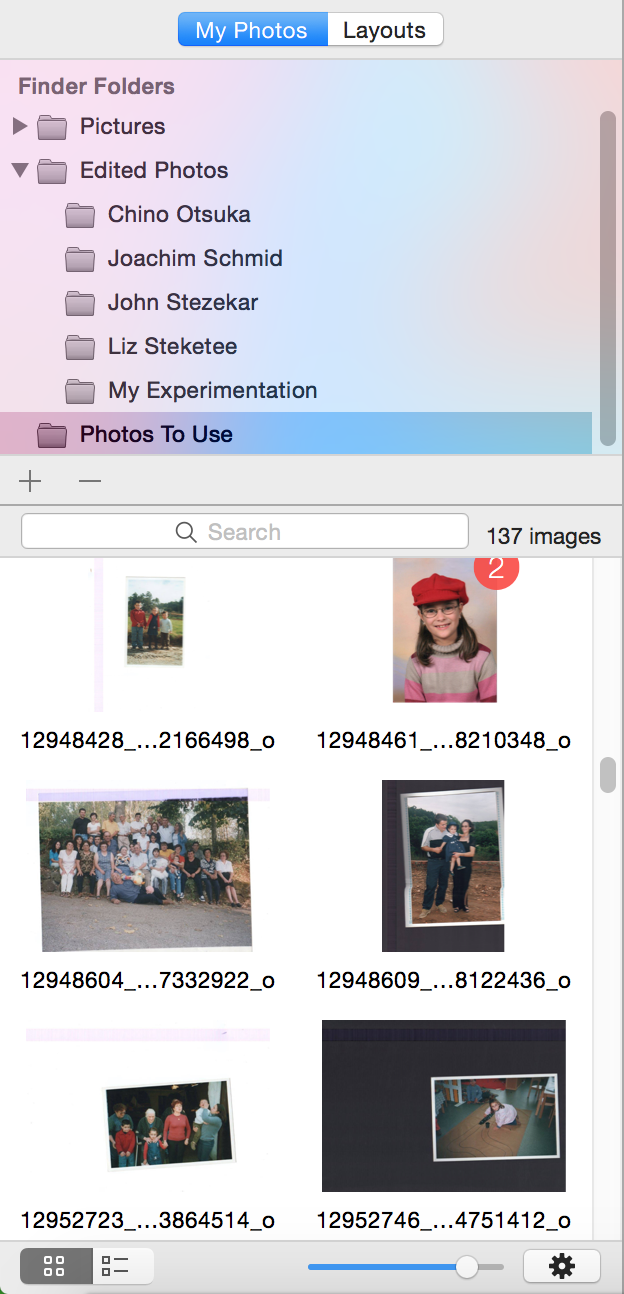
The next thing that you will need to do is to import your folder of photographs which you are wanting to use. One of the features that I really liked is the fact that you could import multiple folders, however they would not all merge together which meant that you would organize your images into different folder for the different purposes.
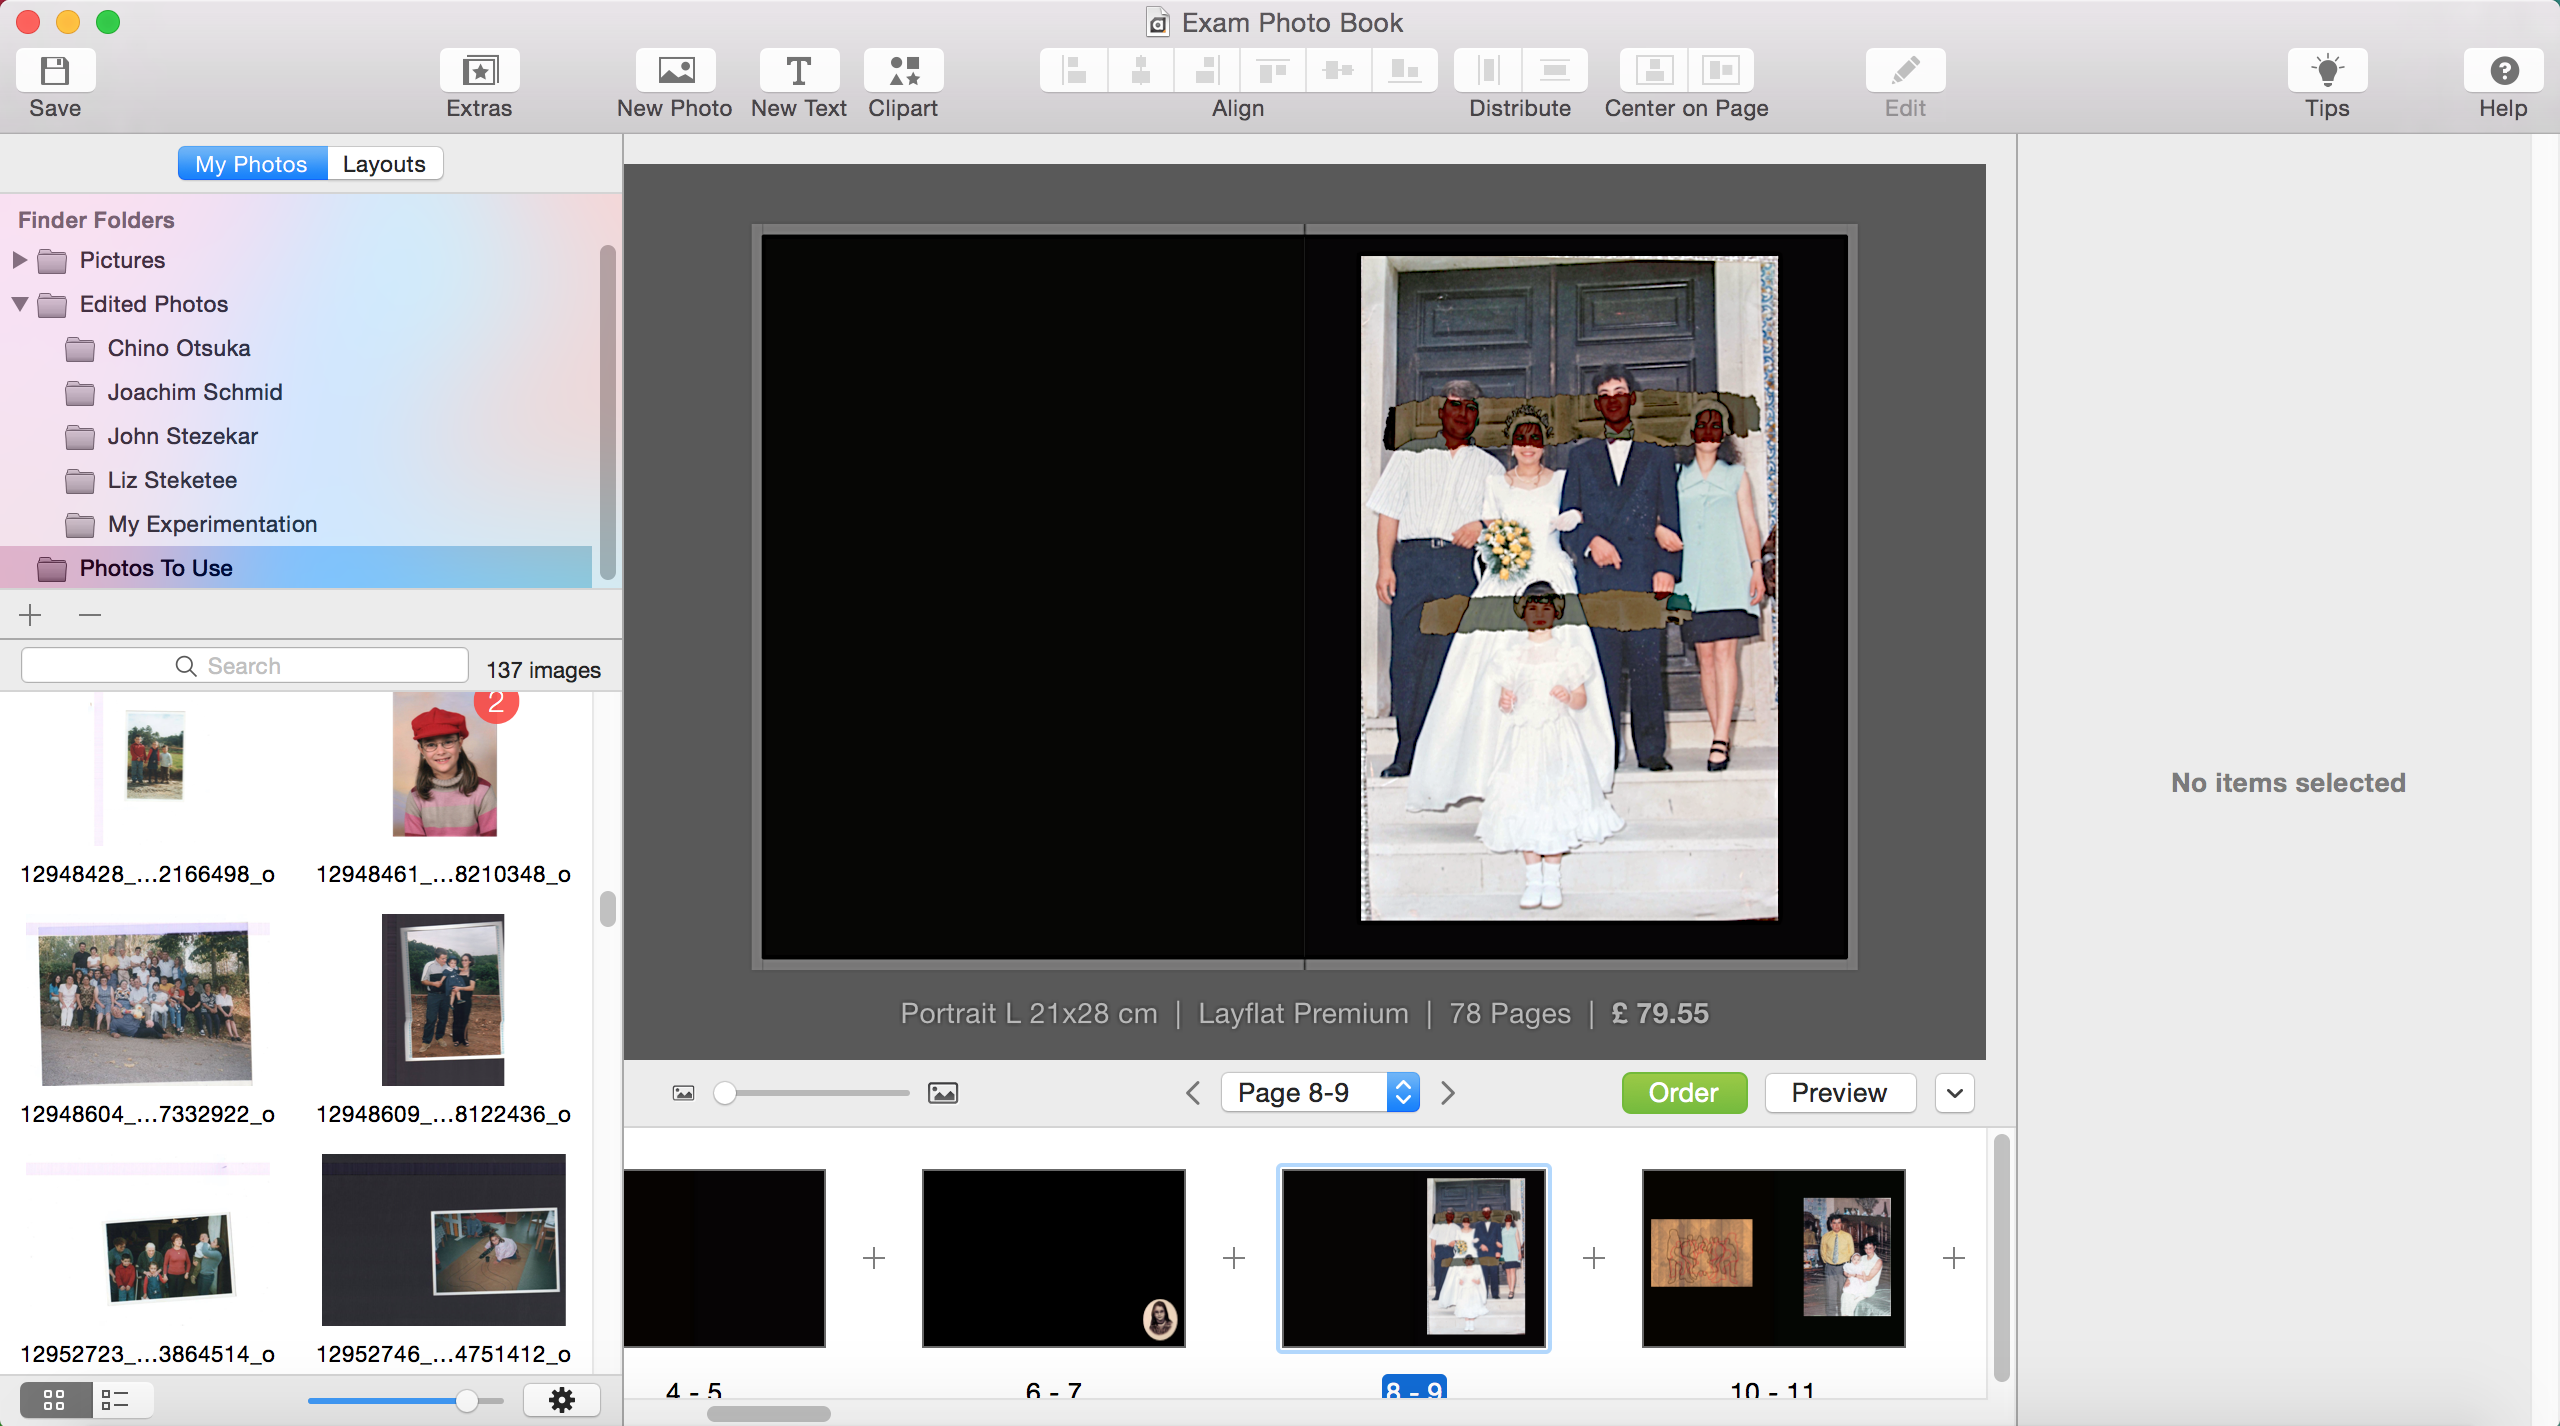
For the actual photo book designing, this is what I was working with. It was very simple to use. as well as customizing it. You can have different colored backgrounds as well as having a photograph as a background if you wish. You can also add as many photographs as you would like as well as being able to place the image wherever you would like on the page, which is something you would not be able to do if you were using Lightroom to designing your photo book.

This toolbar here appears on the left hand side of the software, and it allows you to to different things with / to your photograph like add borders, shadows, different effects, change the placement of the photographs if you want a more standard and neat look to your photographs.