
Here is a link to Martin Toft’s Project ‘Atlantus’ http://www.archisle.org.je/atlantus/


Here is a link to Martin Toft’s Project ‘Atlantus’ http://www.archisle.org.je/atlantus/
The text written in my picture story will be written from a third person perspective. This will entitle me to dictate the measure of change which has been taking place within my personal study: moving house. I want this text to be submerged around my pictures as I feel this will clearly clarify the subsidization of where my pictures fall regarding transitions of time. I almost want my text to be used as an under layer for the reader to establish my pictures more as a narrative than an article. With the supporting use of headings, titles and subtitles, I can support these notions throughout different areas I wish to discuss, ensuring the reader will understand clearly what I wish to establish.
I’ve decided to call this specific draft ‘Escape to the Shore’ as I feel it is a punchy way of incorporating my theme of moving by the sea. I had inspiration from the television program, ‘Escape to the Country’, as in this sense, it means exactly the same.
To create the document in Photoshop – New document, selecting ‘International paper’, size A3 and with RGB colour.
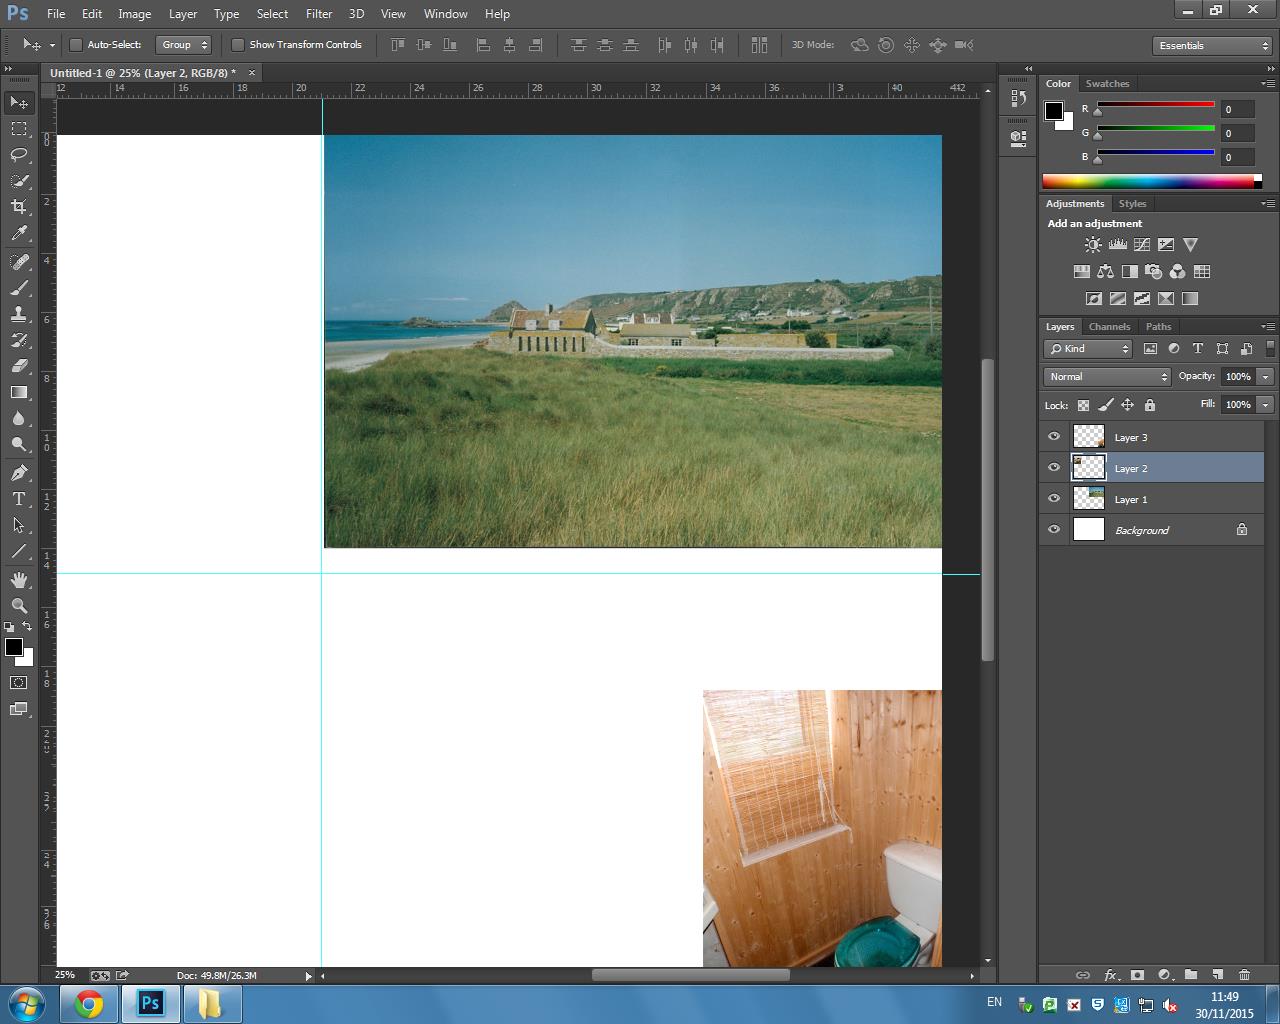
The first step is to place the images in Photoshop , putting them onto the page. Applying all of the images into a line and re-sizing them all to the same size for some of the image. Placing another image in the is larger which will be the establishing shot and tilt the image so that it is slanted. Then to place a shape into the picture story – elliptical marquee tool will make circle shapes that you can place into the picture story, you can use the paint bucket to change the colours of the shape. Polygon lasso tool will give you a triangular shape and rectangular marquee tool with give a rectangle shape. Then, place another image into Photoshop that can be placed into the background of the image, using blending modes to blend the image into the background so that it sits behind all of the other images. Adding a layer mask allows you to choose either black and white: black foreground, white black ground, then you can erase back and keep the the parts of the real images that you want to keep. In addition, changing the opacity of some of the layers will make the images more clear that you want, once you have used the blending modes as some of the images may be covered.

Designing a picture story in Photoshop allows you to set images out in a way which narrates a story, to show a set of images with the accompany of text, however, broadcasting these images to provoke the reader away from the words written. Opening the window, and selecting a ‘web’ layout, you are faced with a portrait white background in which you can place your images on top of.
You then flip this image to landscape mode by selecting the ‘rotate tool’, you then are left with a landscaped, white background. This then leads you to select the rulers on the side of the tool bar, which enables you to set up the exact adjustments you wish to make on where you want to apply your images and text. This also allows you to do it accurately as the ‘rulers’ tool promises an accurate position of where the middle is both vertically and horizontally.
The next stage is the uploading of the images I’m going to use, and deciding how much ratio of text / to image there is going to be on my picture story.
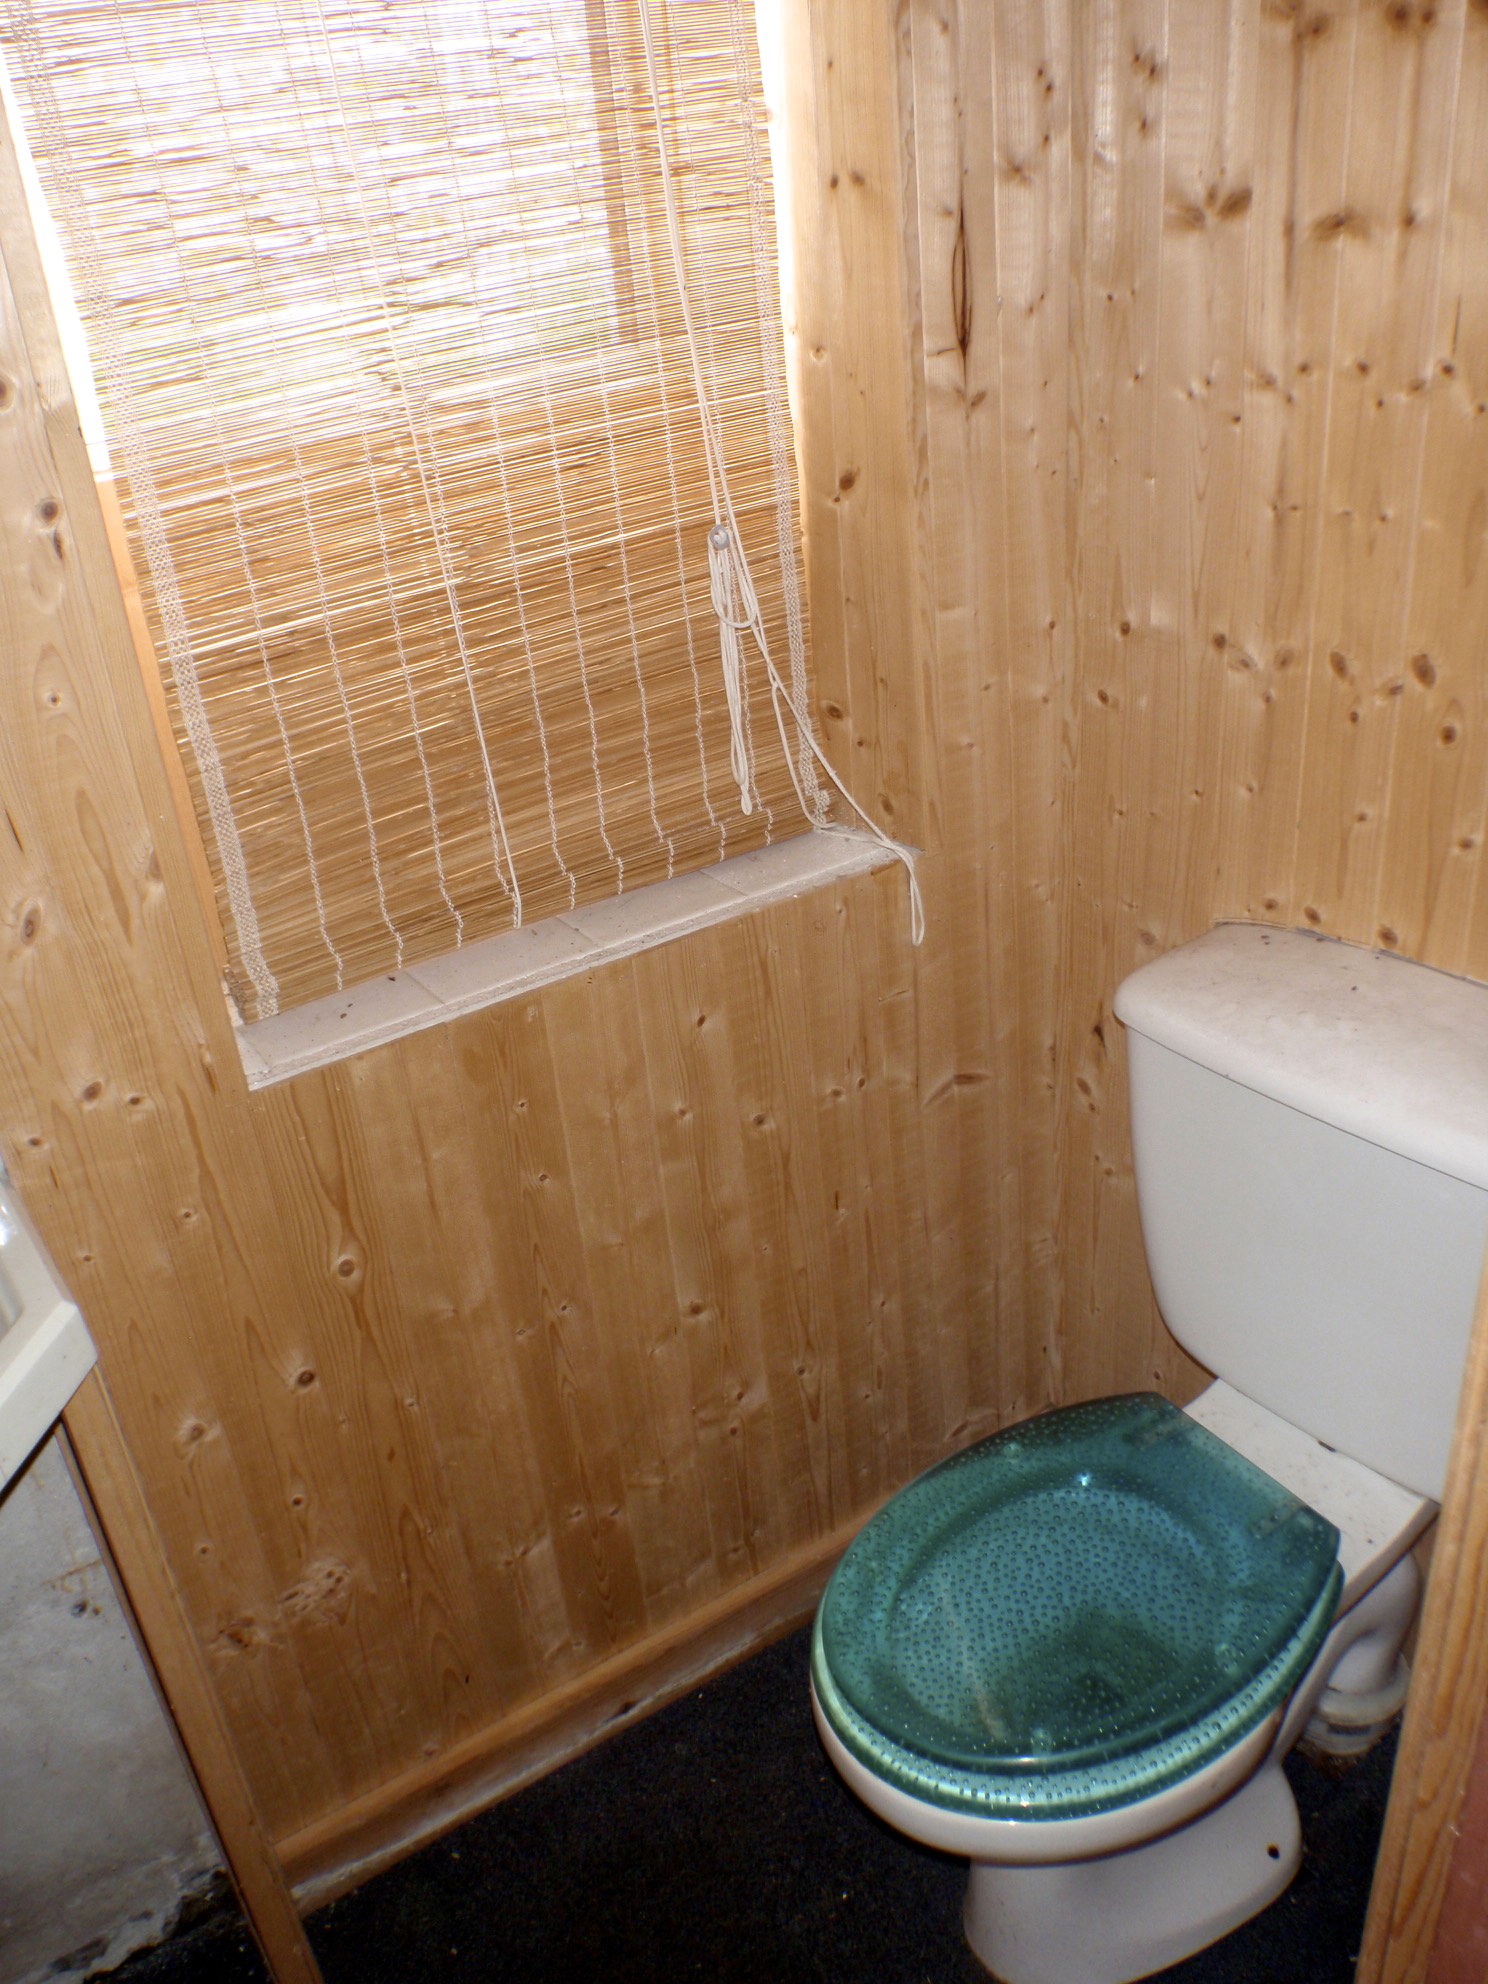
Ive managed to select the following images for my picture story:


Over the past half term, I have been working with the Societe Jersiaise Photographic Archive implementing key ideas to developing the Archive to my own personal project. These skills have made me develop various creative perspectives involving Archive extraction, research, experimentation and documentation. Exhibition and presentation design.
Some of the skills, which I have been contributing to my Archive experience, consist of:
My personal project has allowed me to evolve, as with help from Gareth Syvret, I’ve been able to manipulate photographs which relate to the history and period of my new house and how I can contrast the changes and traditions in everyday life today.