CREATING A STORY BOARD

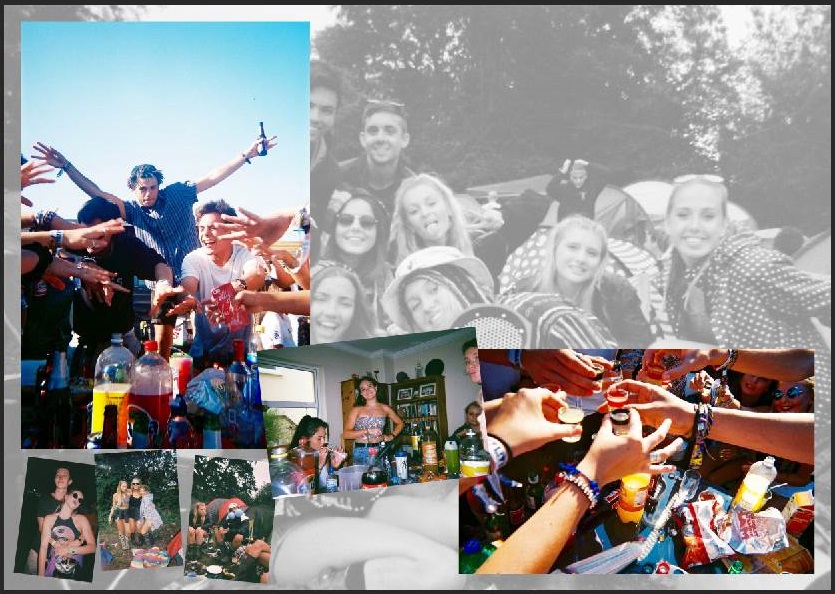
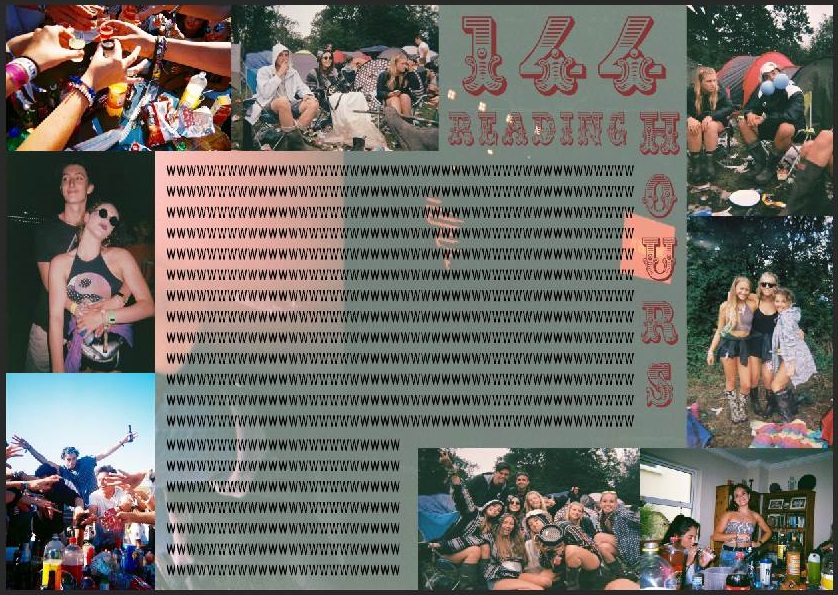
I have created my own story boards using my own images, similar to typical picture stories this story has the 6 or 7 key image categories – Person at Work, Relationship Shot, Establishing Shot, Detail shot, Environmental Portrait, Formal Portrait, Observed Portrait. Making these story boards proved harder than i thought as you have to make sure everything is aligned properly and sized well.

Here are some of my designs –

ll

Picture1

Picture2

Picture3

JEP Exhibition

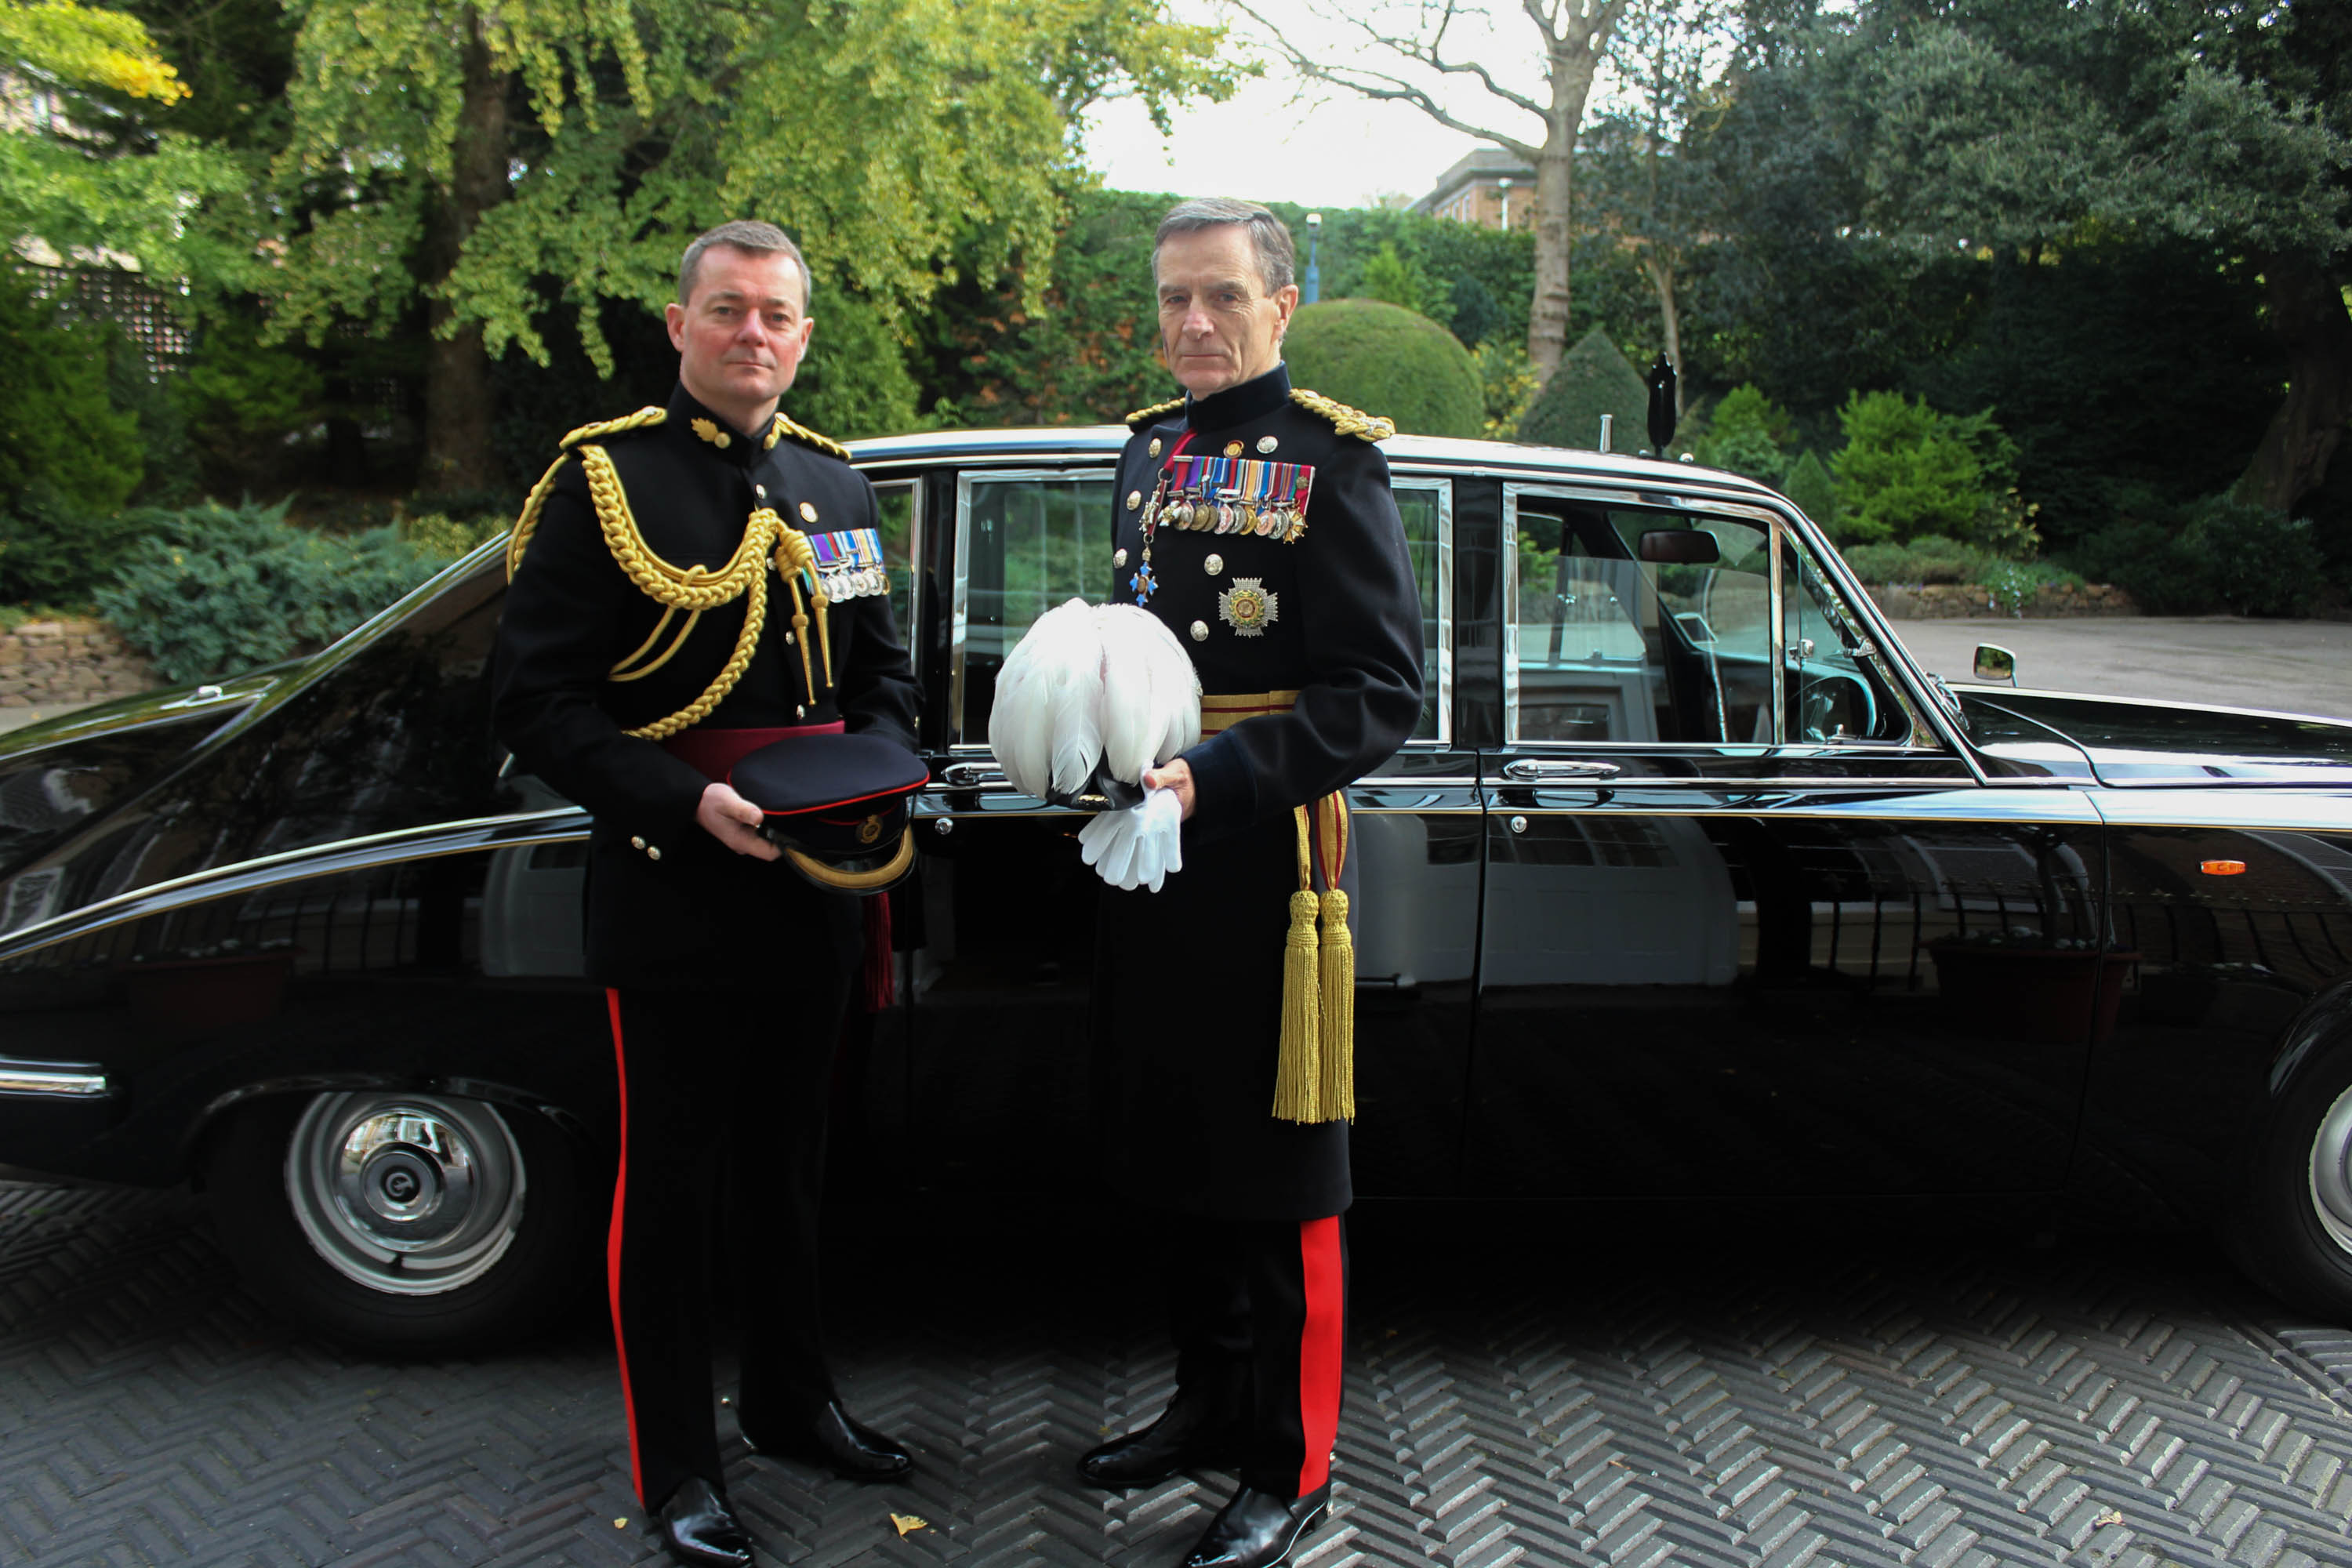
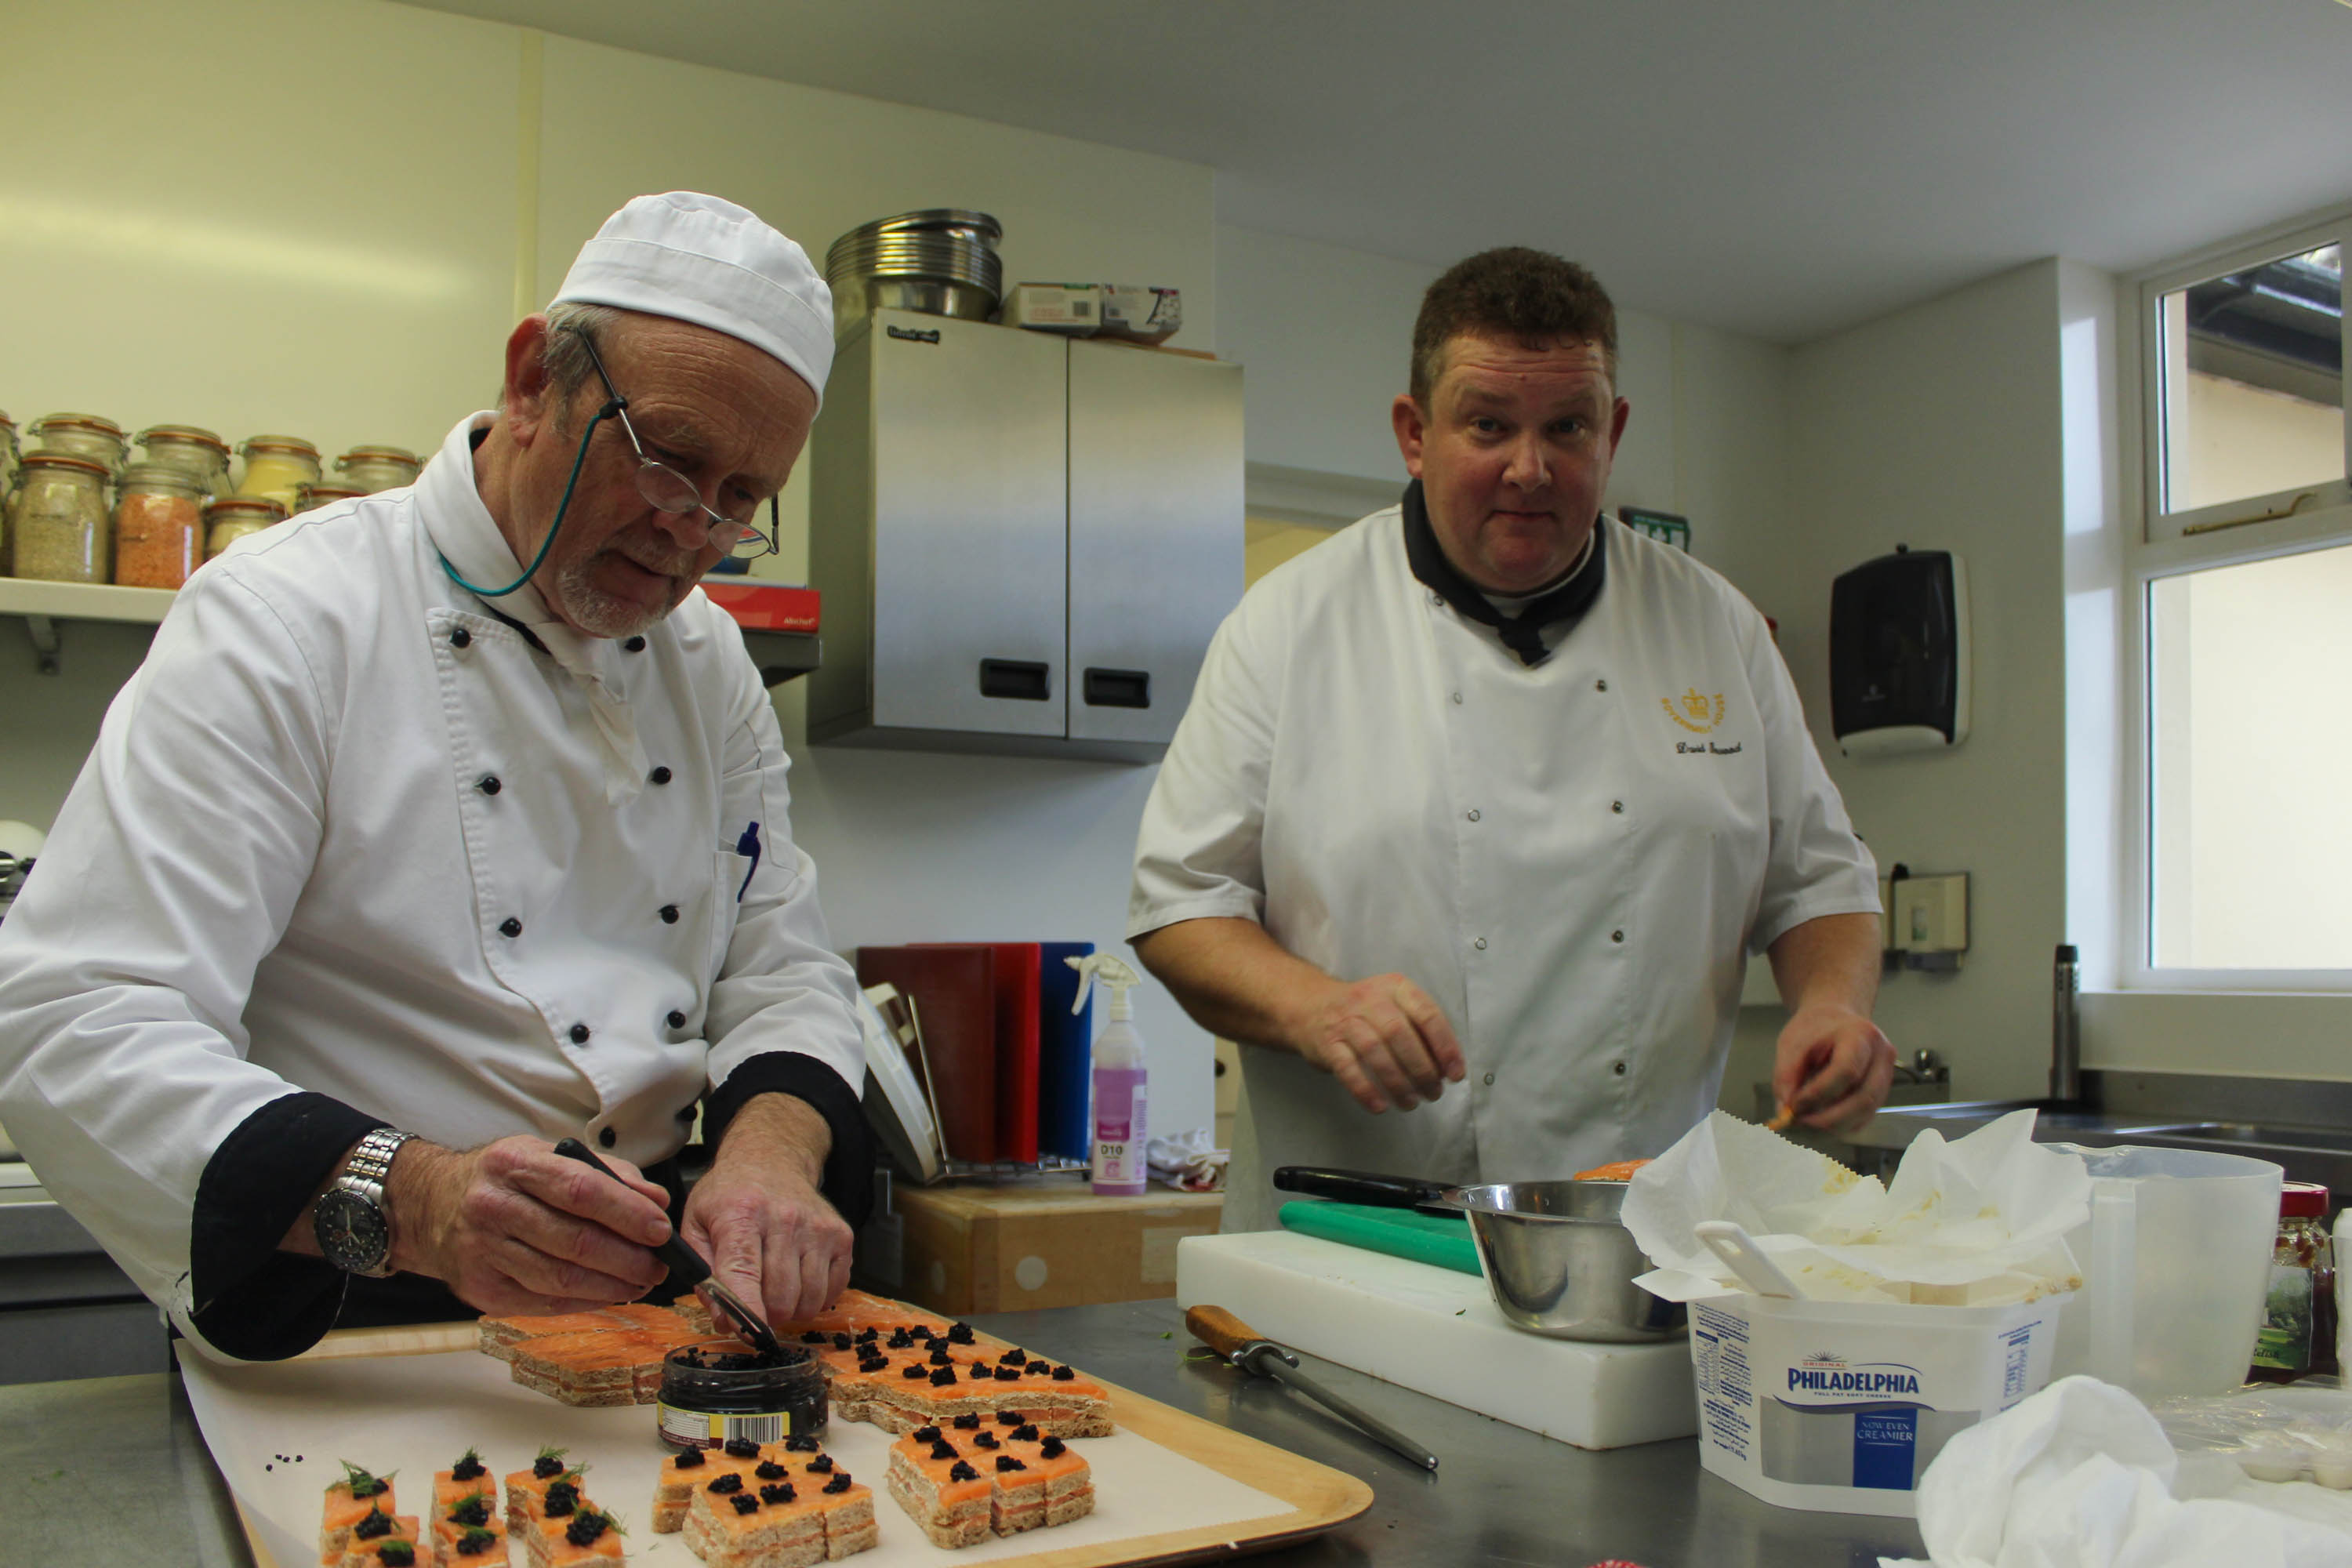
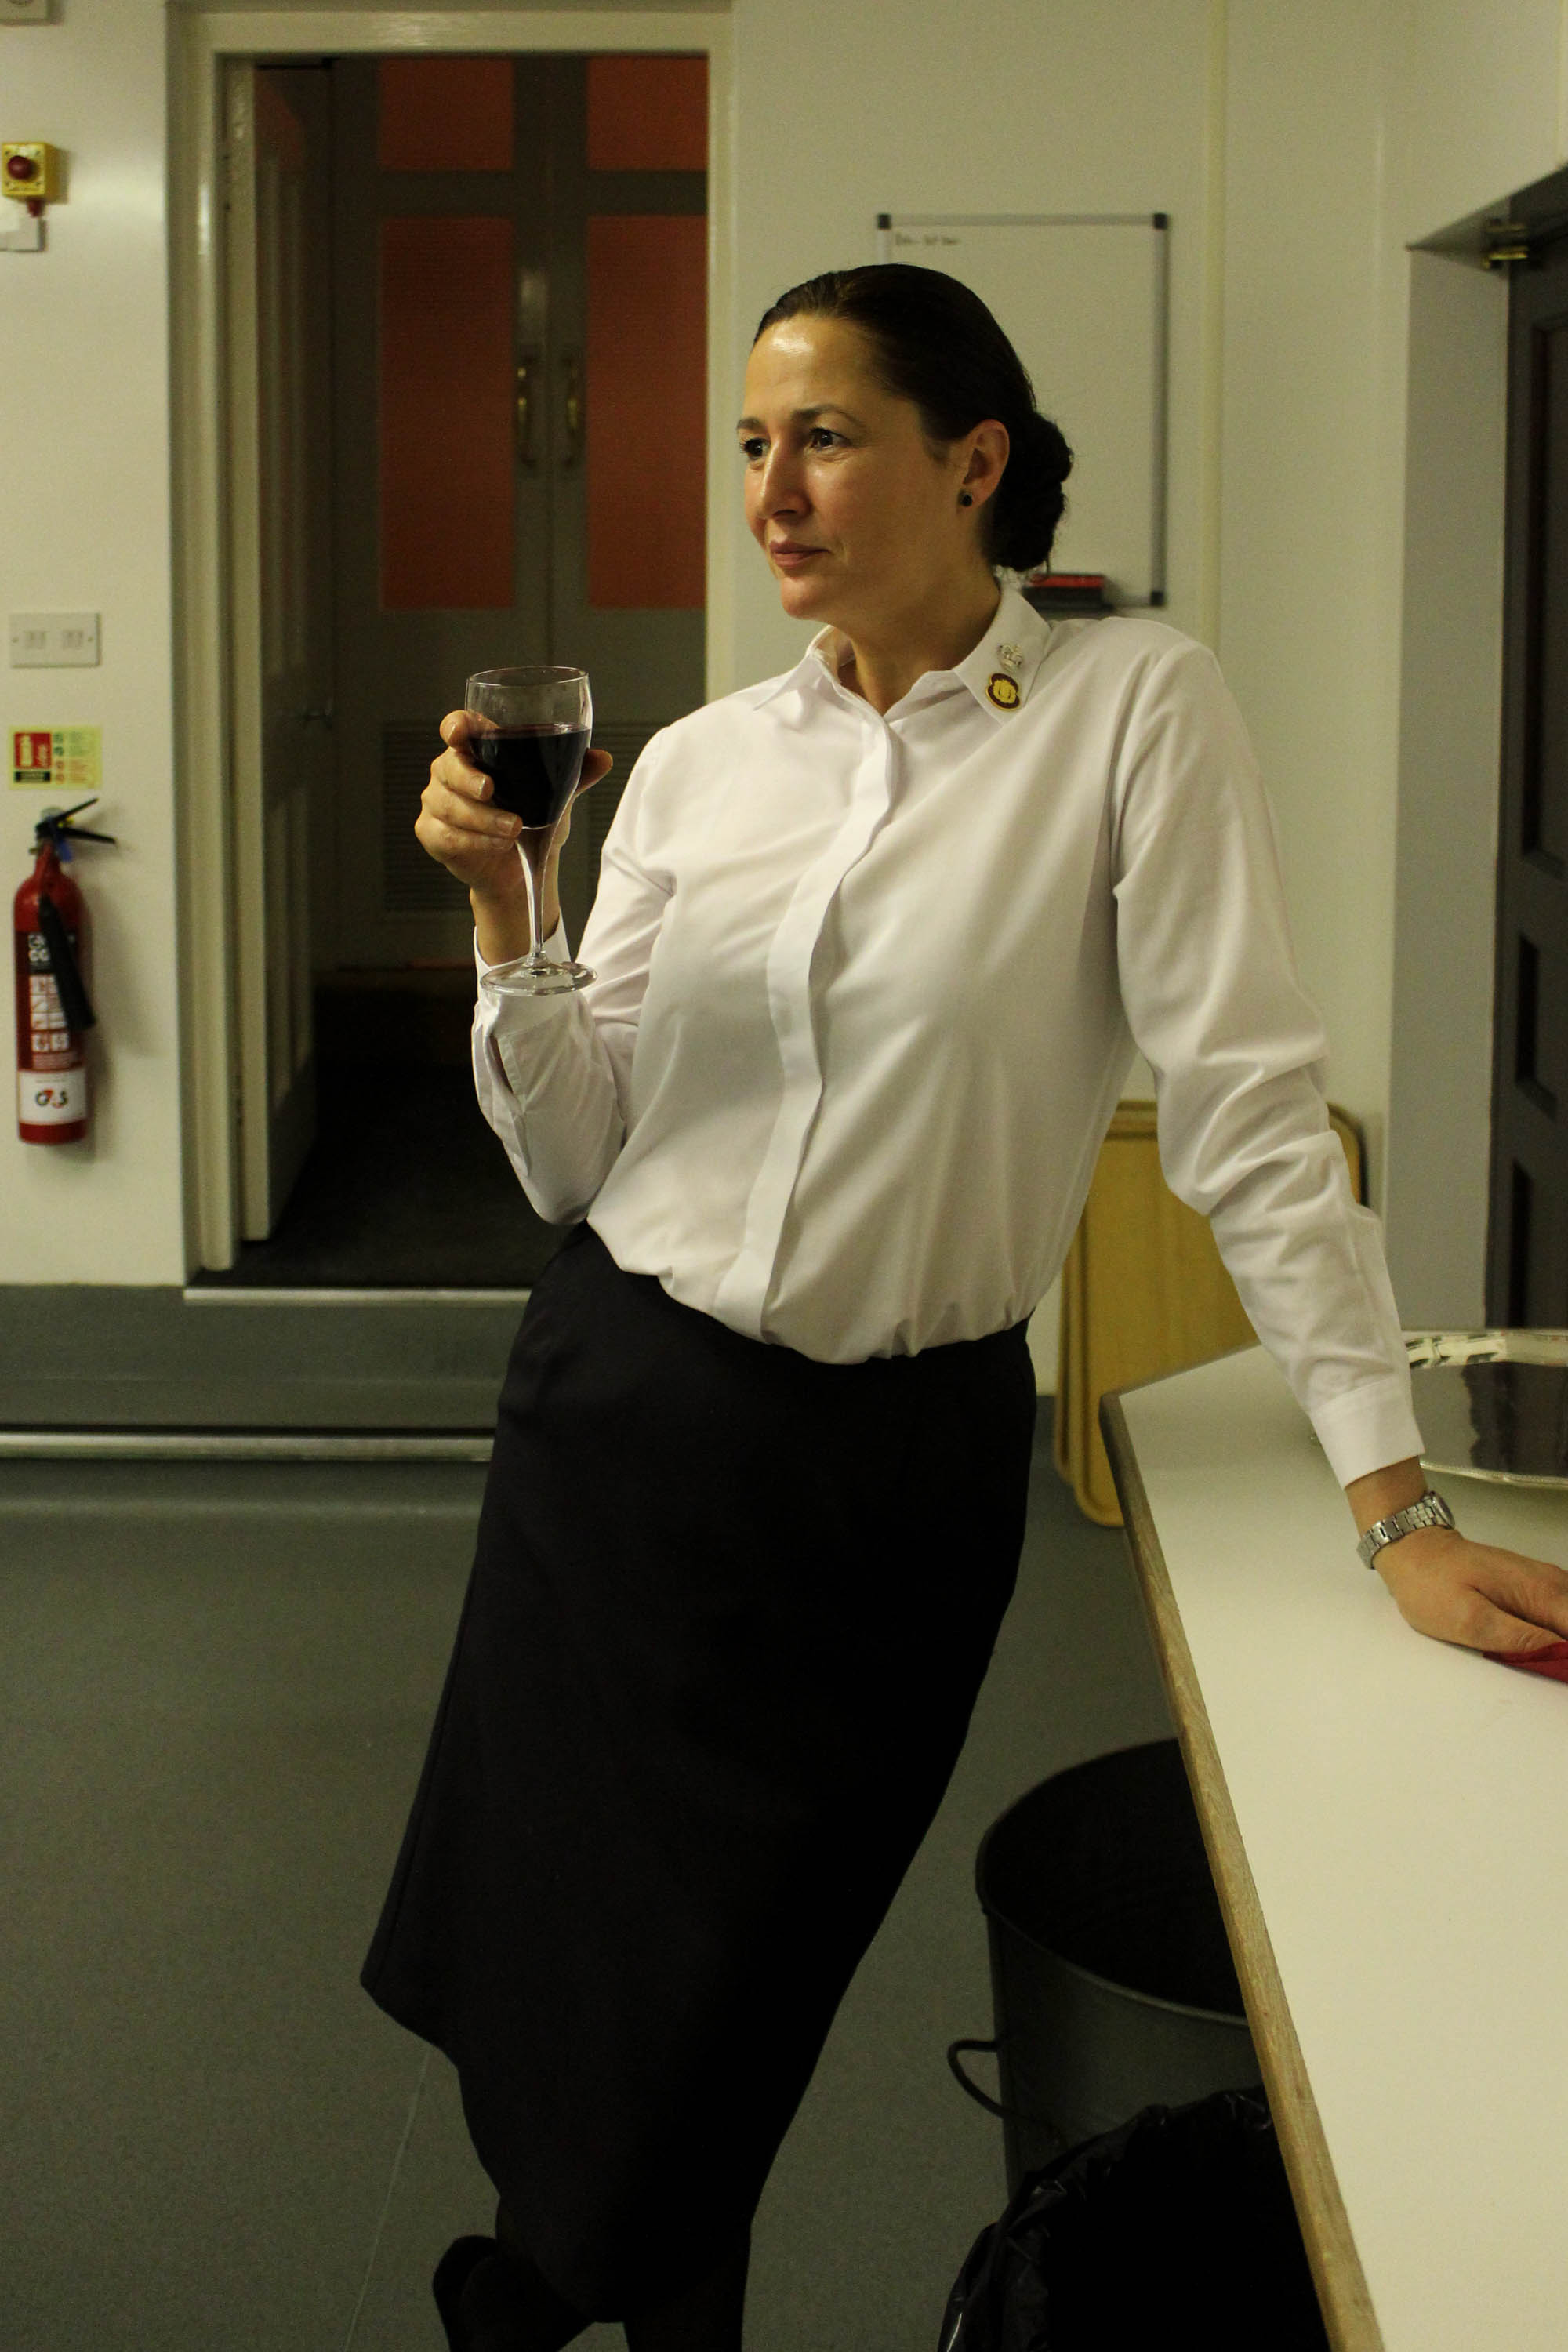
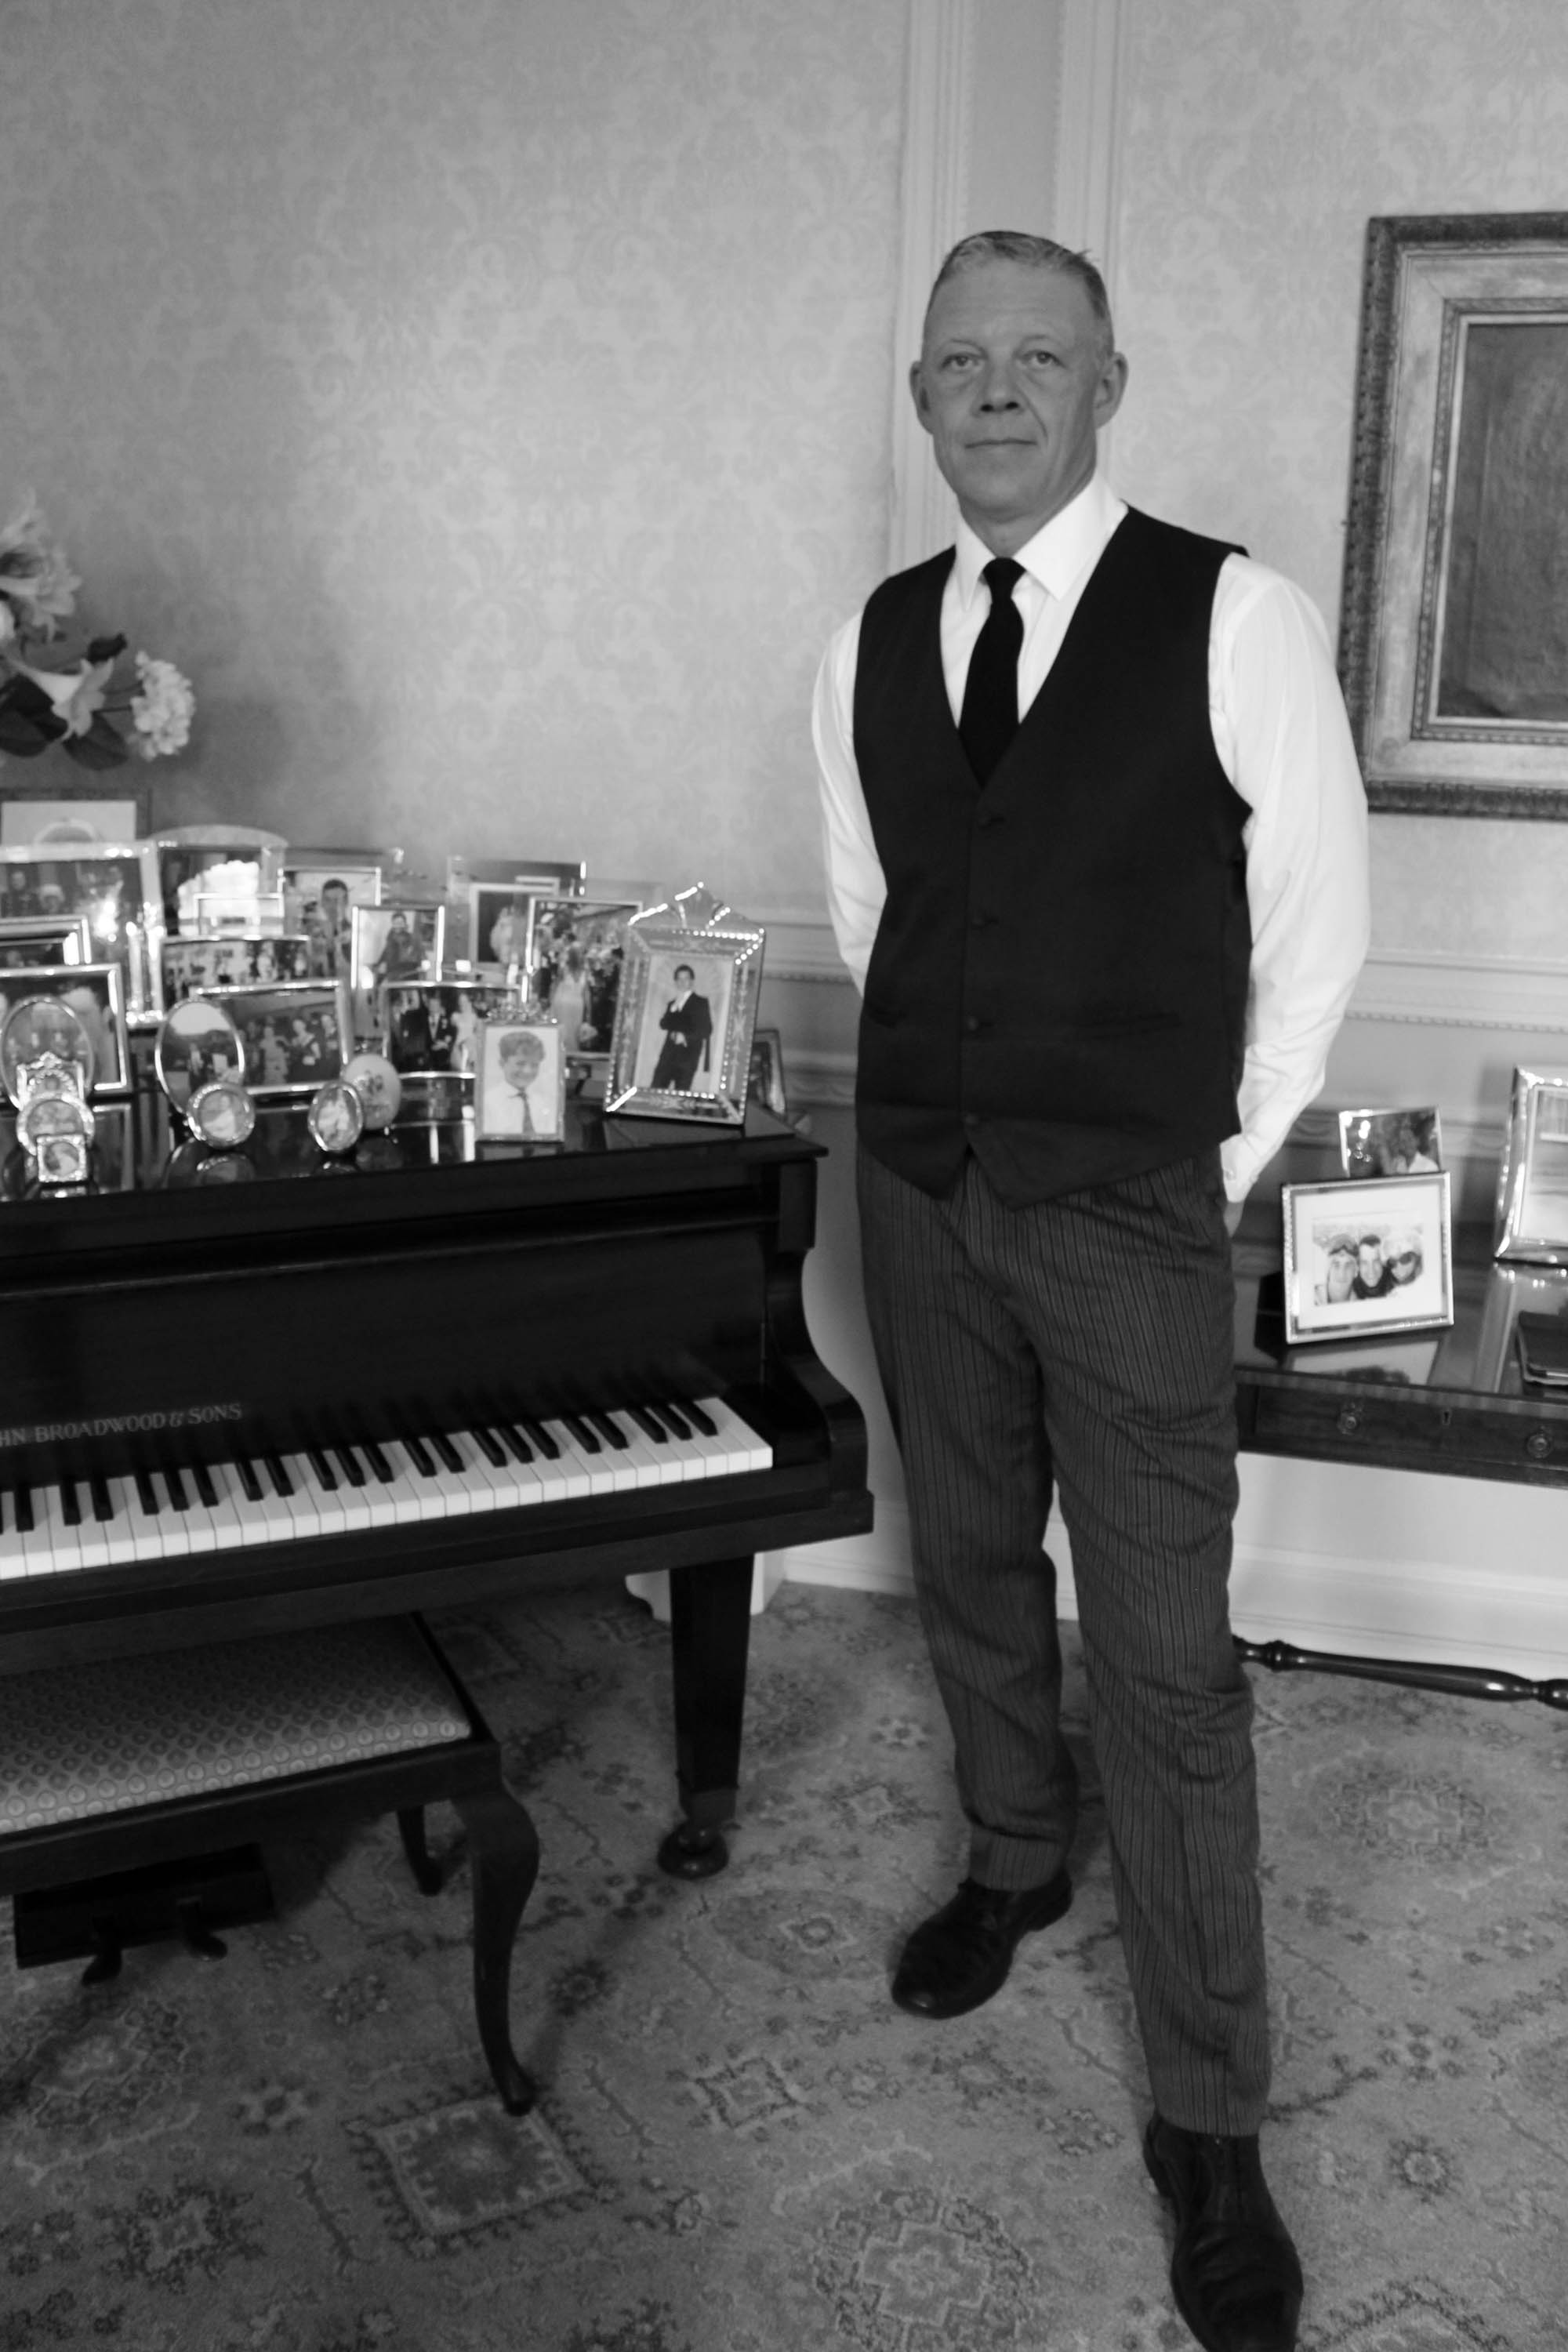
For the JEP Exhibition, I have chosen 5 photographs from my previous photo-shoots that tell the story about Government House. I thought that including a photograph from the archive will help support the story from decades ago about the life at Government House and the importance of the people who work there. I have chosen portraiture shots of the main people in my story, such as my dad and the Governor. I like the image of Monica drinking a glass of wine during work as it shows something that no-one else could capture if they came to government house as it is a a behind the scenes type of picture which shows a story in itself. This has helped me start to think about what my picture story is going to look like. I am going to take more personal pictures of the Governor and then big events like his annual Christmas Party.

JEP

JEP-3  JEP-4

JEP-5

JEP-2

JEP EXHIBITION IMAGES

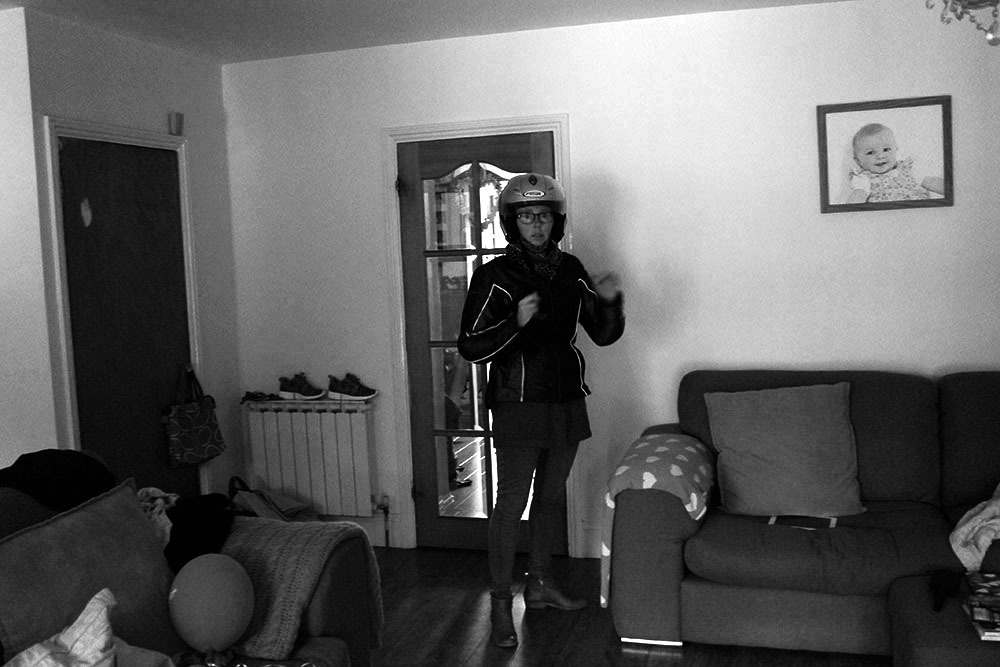
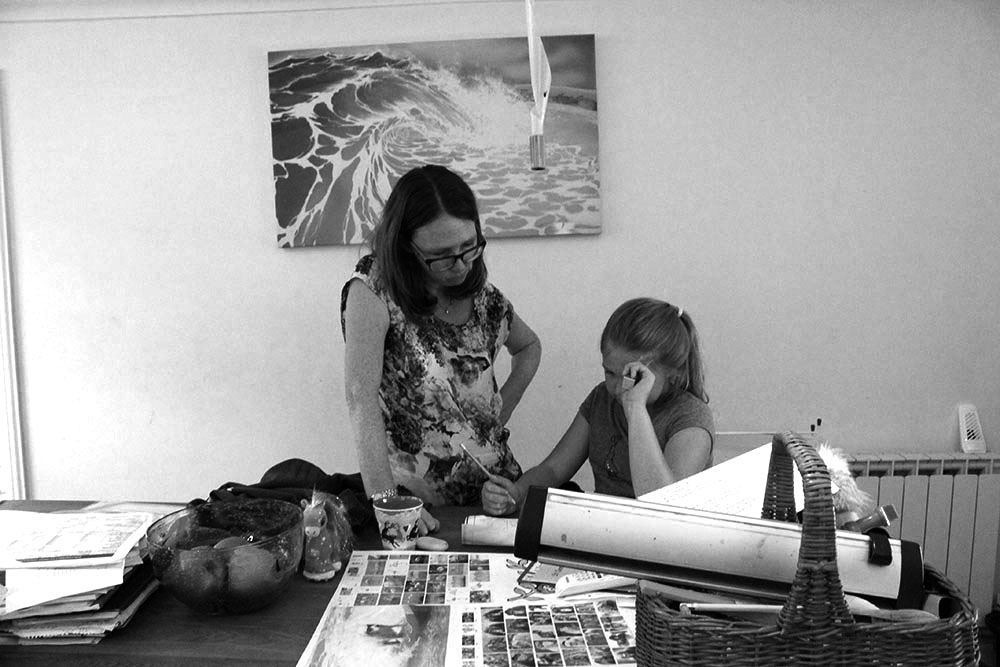
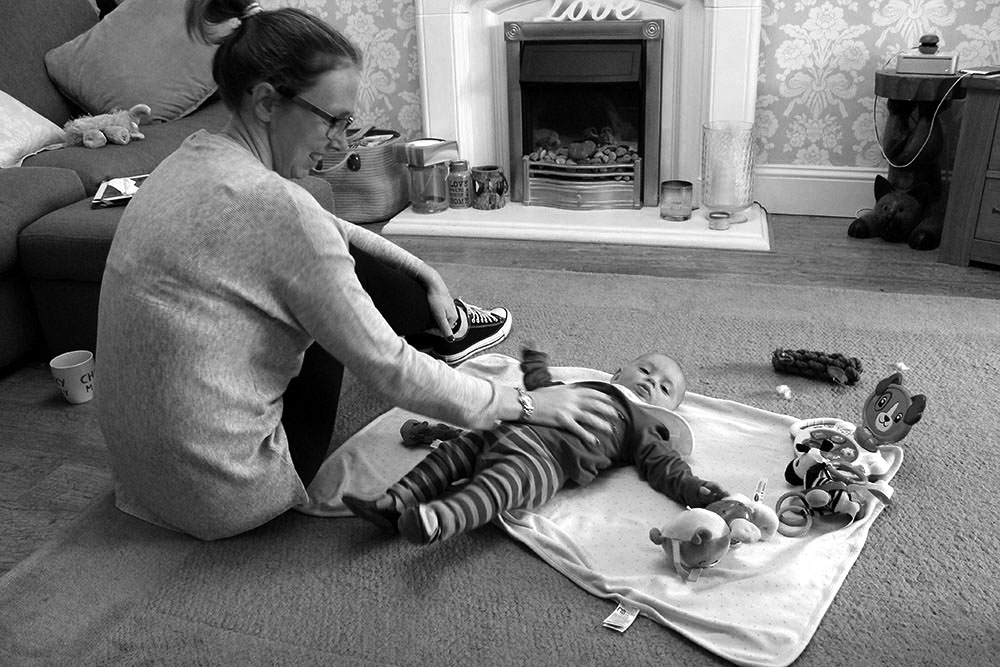
These are the images that i have put forward for the JEP exhibition that will be displayed in the Jersey Museum. At the exhibition Channel 103 and Channel TV will be there viewing these images. As these images are suppose to be of a picture story, everyone had to choose 3-5 images that tell a story. These images tell a story of my mums life and what she does on a weekly basis, some of these images the things get her stressed and others are things that she does and they relax her. 

Emily_Vetier_JEP_1This is an image of my mum before she goes to work, in this image she is about to go onto her bike. As my mum has fallen off her bike a couple of times this makes her very anxious. Some days are better than others, but most of the time she gets very stressed about going on her bike. This is why i took this image as my story is about my mums anxiety and this is something that arouses her anxiety. 

Emily_Vetier_JEP_2This image is of my sister and my mum as my mum is helping her with her homework. I like this image as it shows the relationship between my mum and my sister. This image is a relationship shot and i think that as i have taken this image from far away it shows the environment in which they are working together. There is a lot of junk in this image which i think arguably distracts from the actual thing happening in this image. Emily_Vetier_JEP_3This image is of my mum and my little cousin, twice a week my mum looks after him. I think that this time with my little cousin relaxes her as she is not thinking about herself, but she is looking after him. I think that this is good for my mum as she thinks too much about how she is feeling. I think that it is important that in this image my mum is smiling, as this image shows that she is happy and enjoying time with her nephew. 

Community

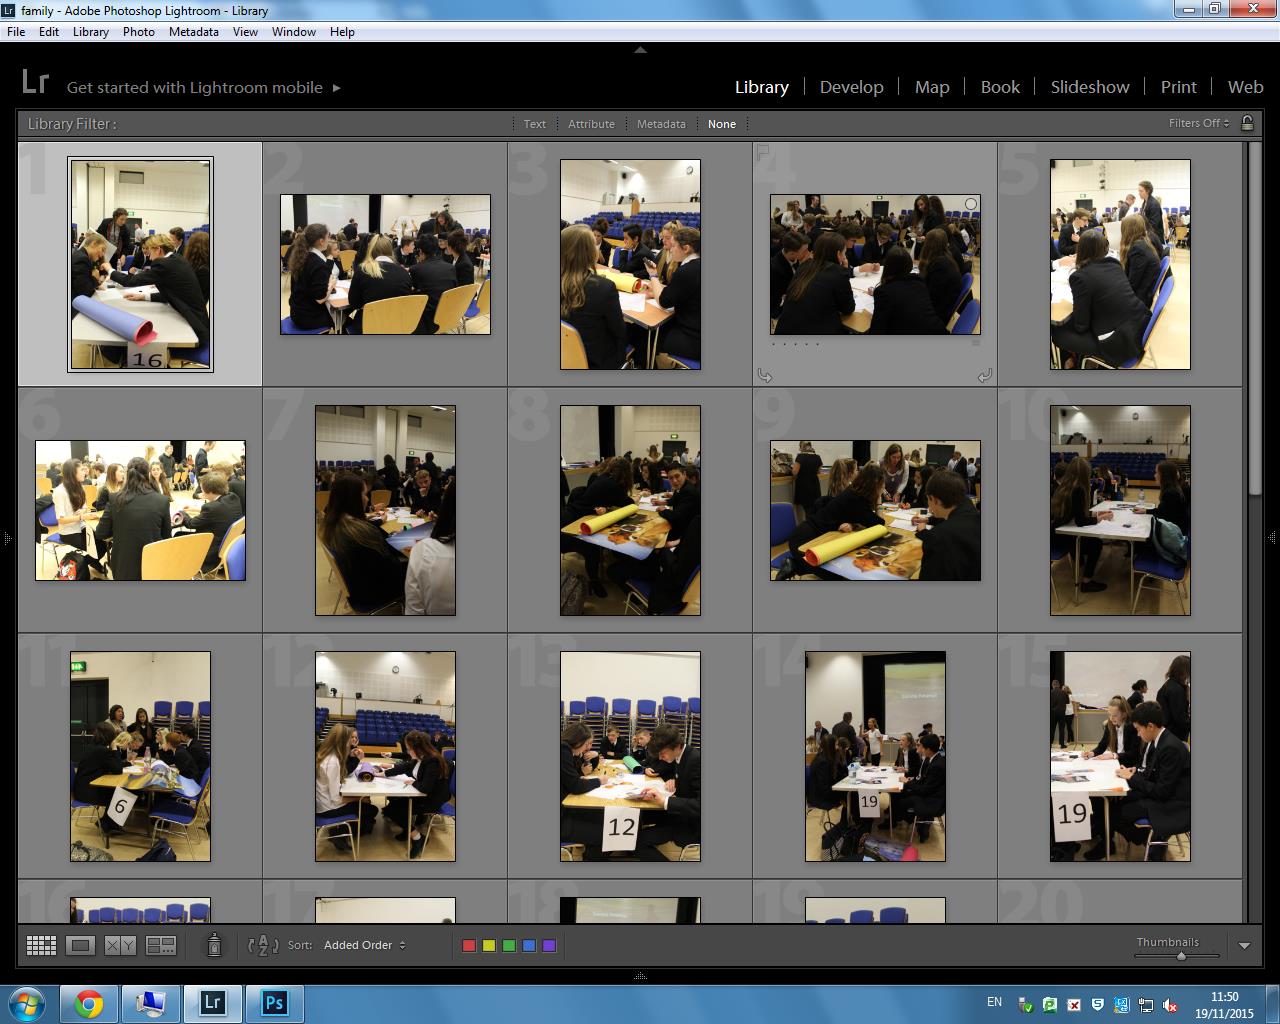
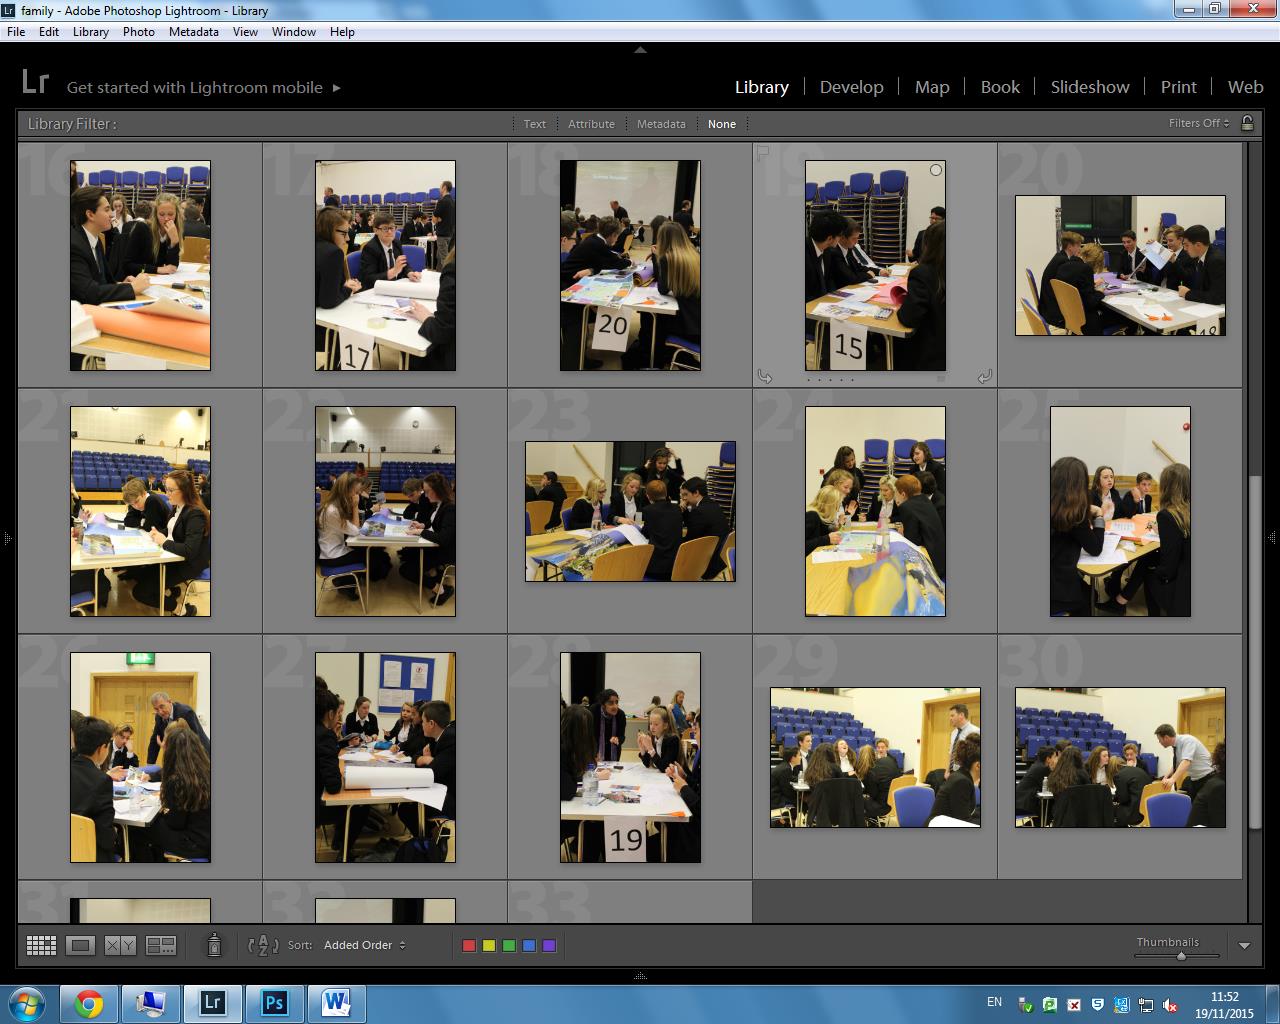
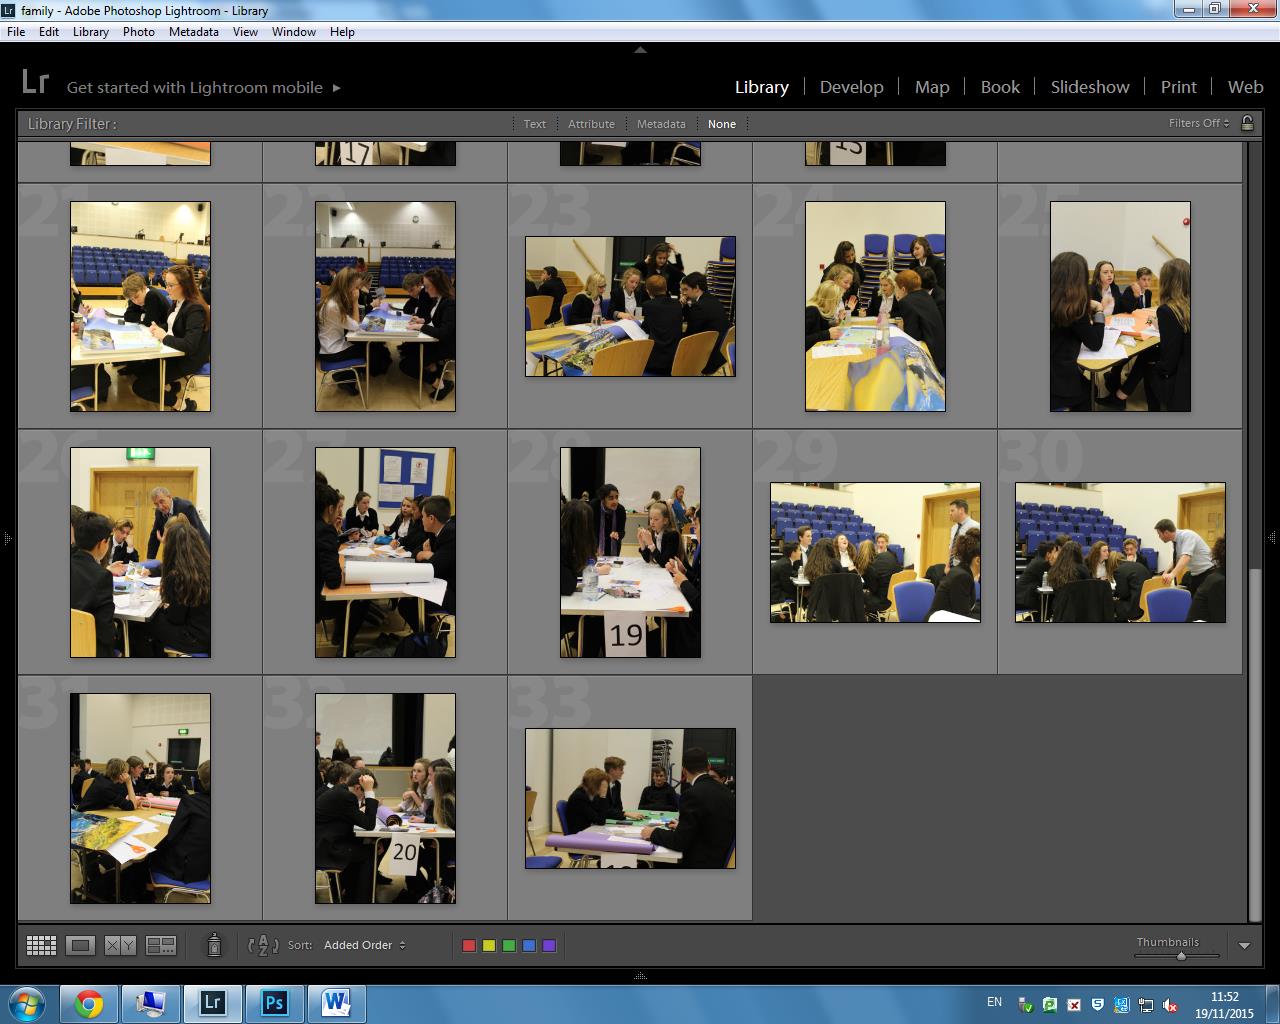
I was asked to take photographs of the year 10 Enterprise day, which I think fits in well with the community theme for this project, because the photographs show not only the school community but the ‘business’ community within school. Most of the photographs I took were environmental and observed portraits. I’ve made a contact sheet with the photographs I took.

Enterprise 1

Enterprise 2

Enterprise 3

Photographs for the JEP Exhibtion

Photographs for the JEP Exhibition

These are the photographs I am entering into the JEP exhibition at the Jersey Museum. There will be Channel 103, Channel T.V and lots of members of the school at the event.

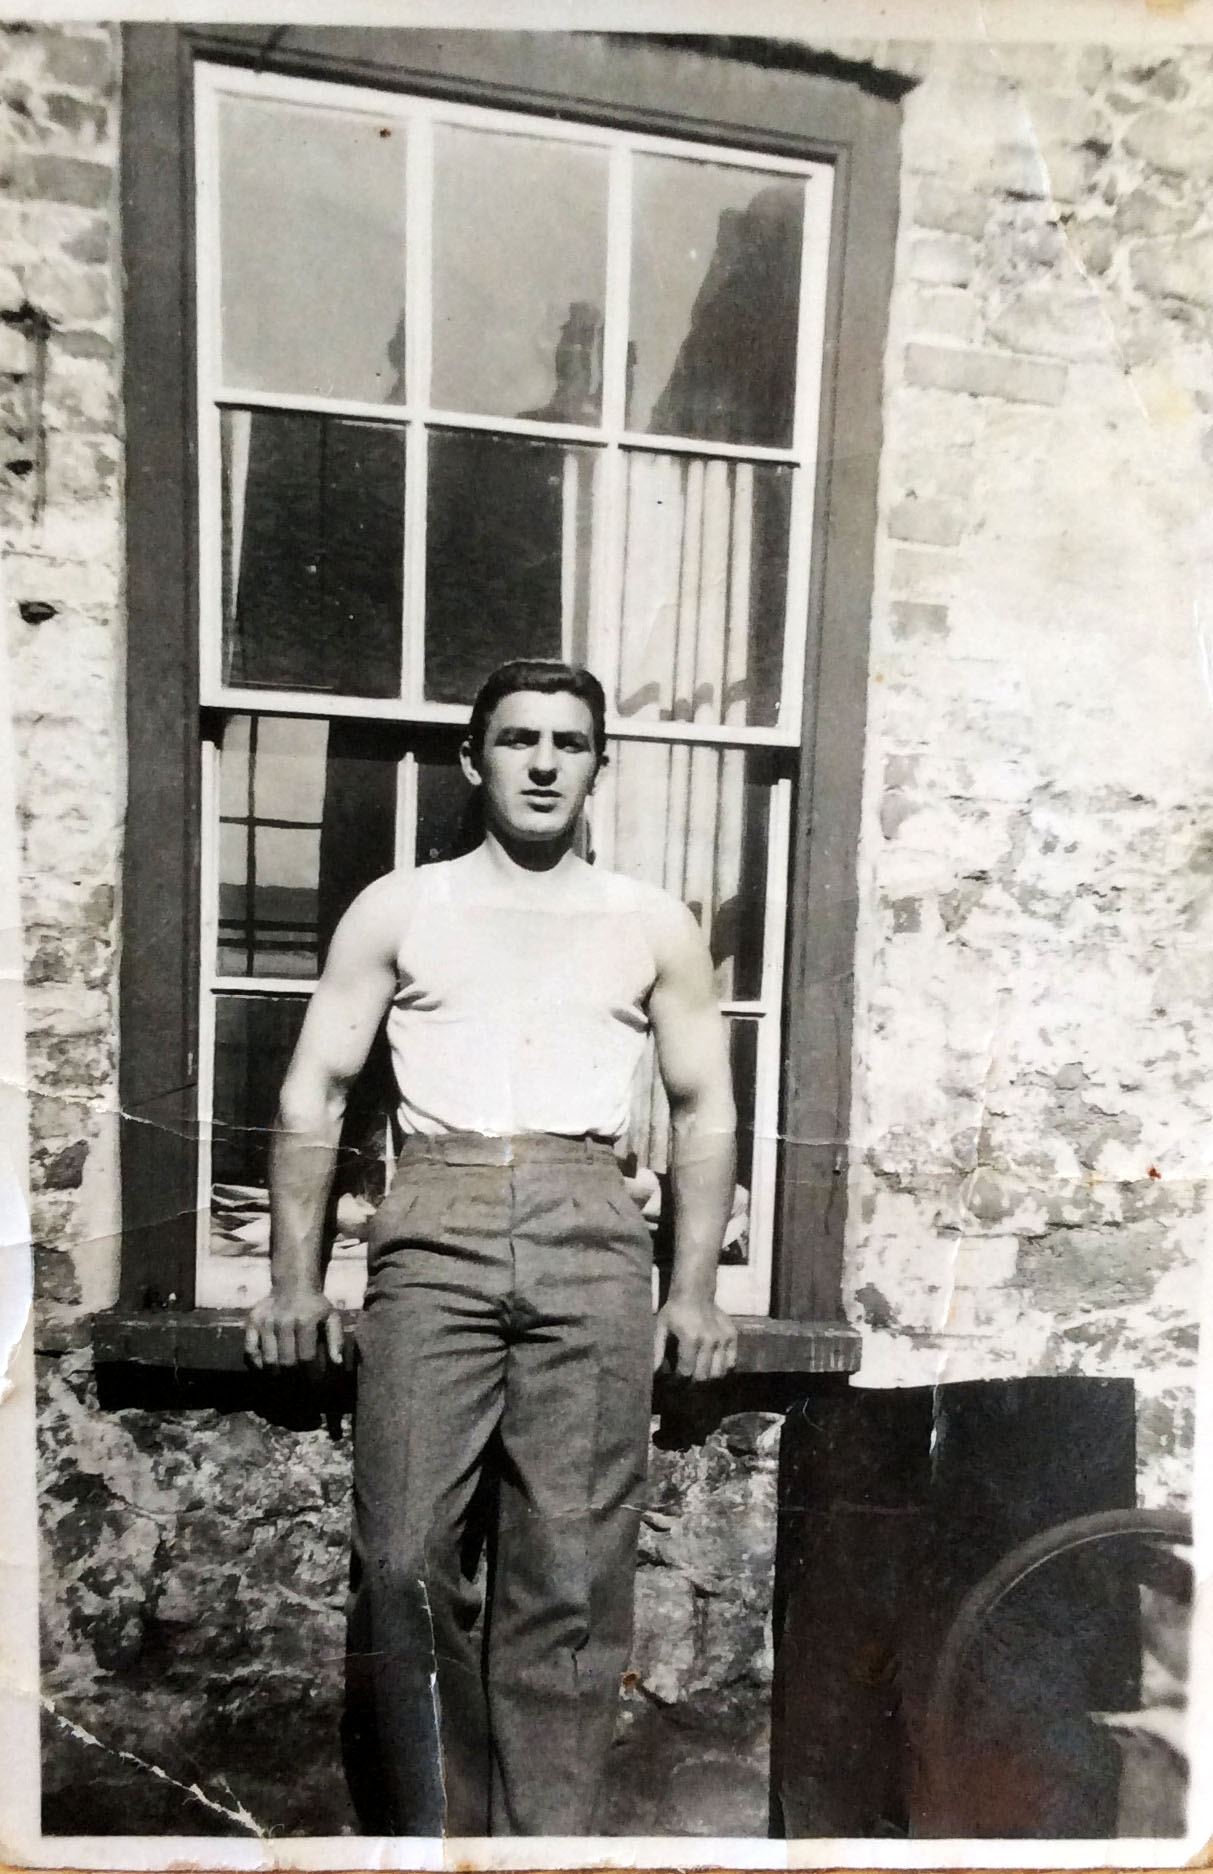
IMG_5961

This is one of the main photographs in my picture-story because it is a portraiture shot of my grandfather, there are not many images of him on his own. I think it shows off his personality massively, he was a very strong and brave individual who fought in the war and raised eight children. I like the texture of the image and how it looks old and vintage. There are creases through the middle of the photograph and it is slightly discoloured around the edges but I think this adds to its style. 

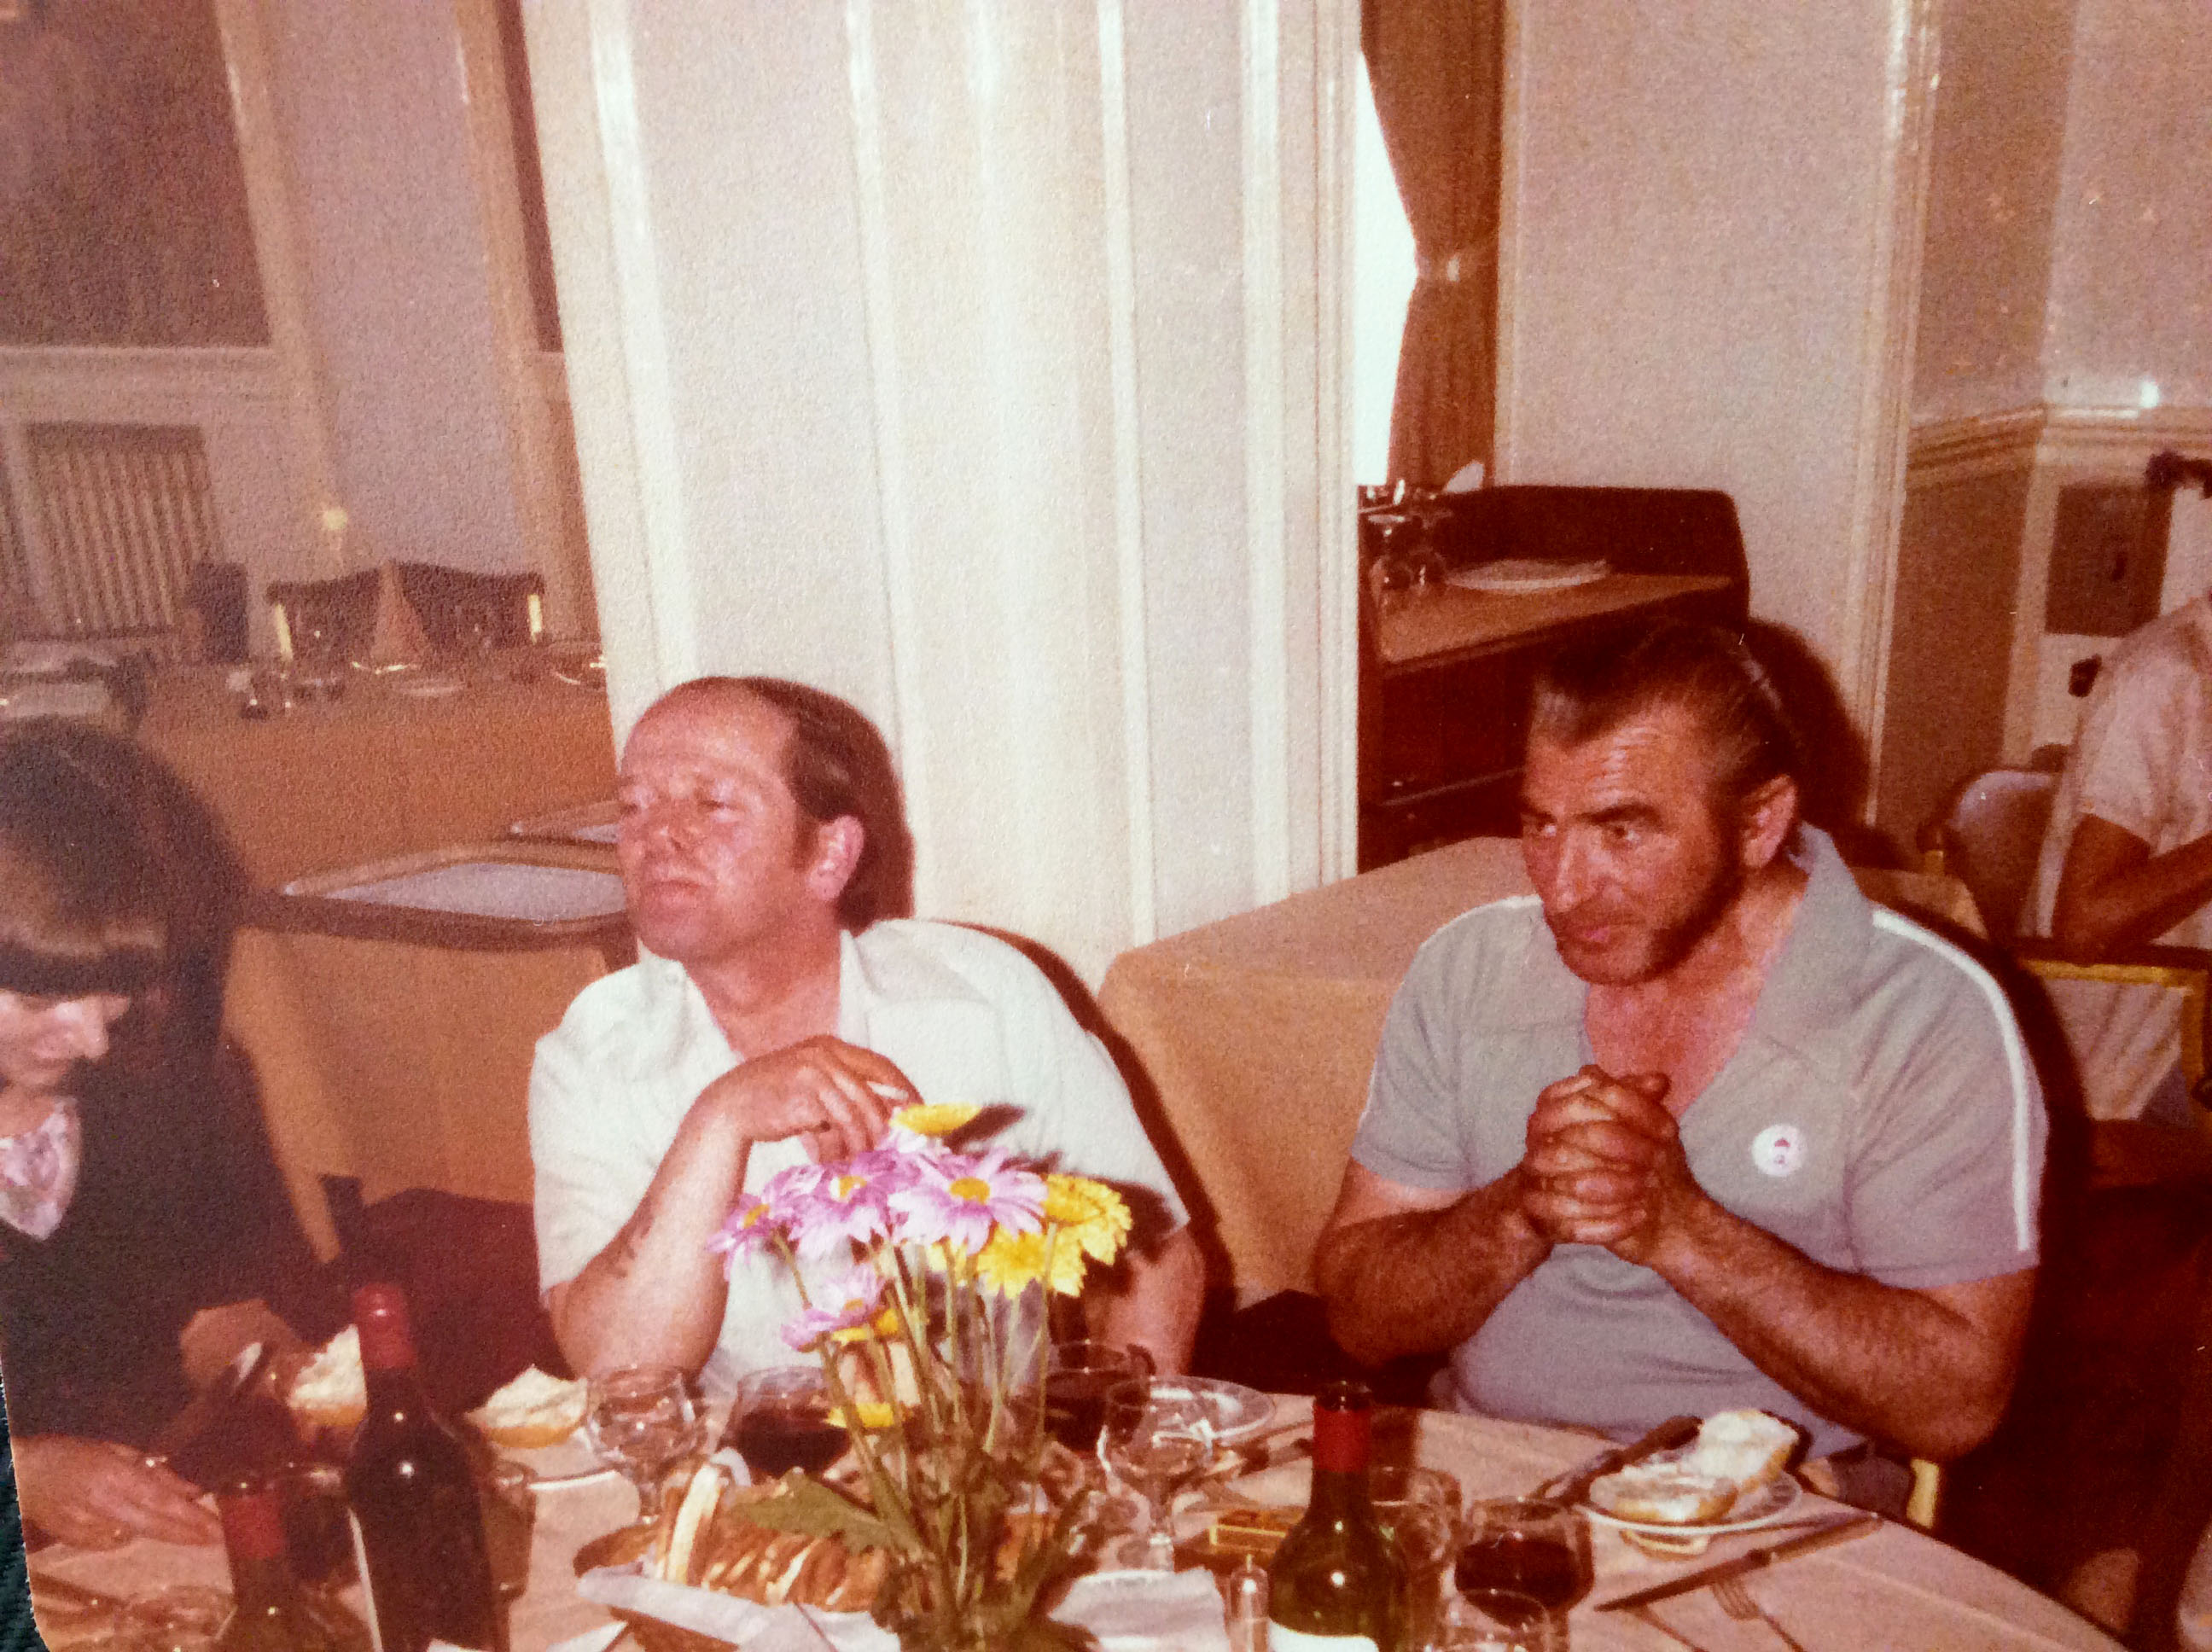
IMG_5962

This is one of my favourite images from all the photographs from the albums, I think the the way the man is just sitting reading his paper makes everything look very casual and everyday. The black and white style is also representing the time period the photograph was taken in, as my grandfather did not have the money to afford photographs in colour. 

IMG_5959

Picture Story Plan: Double Page Spread

Here are a few example of double-page-spread picture stories which I would like to base my picture stories on. I feel like using a double-page-spread would be a good technique to use in order to convey a story, and passages of time. This is because, as you can see, the images are complimented by text and subtitles. This allows the story to flow as the major images are places usually on the right side of the page, due to the right side being the first page you seen in a newspaper, magazine or any literary text presented in a book form. This major image, as you can see, in accompanied by various minor images. This allows for stories to flow, for the major images to be understood more clearly by the minor, in awe that they help translate and narrate stories without the affect of reading any text.

How to make a picture story using Light-room

Light-room is a good programme to design a picture story in. It has multi-functional purposes, allowing you to easily select, edit and then arrange photos. Light-room is much easier to work in then Photoshop because unlike Photoshop, all of your images are in the same place to where you edit. You can also plan out the narrative structure to your picture story, and then export your photos manually whilst presetting the size at the same time. This means the process is quicker with a lot less stress and hassle to deal with.


Step 1 – Storing your Images

Export all the images you want to create your picture story with onto the school M Drive. When you open your Light-room Catalog, import these images. Then make a ‘collection’ folder and move these images into a new folder. This means that you will be working with all of the relevant images.

3


Step 2 – Making a Pre-selection

Now you have stored your images, you need to cut down on all the images you don’t want, leaving the best ones. You can separate the different images my changing the ‘star’ rating of the images, which is a view-able format in ‘library’ mode. My method is to leave the image I don’t want, images that i might want to use ‘3 stars’, and images I definitely want to use ‘4 stars’. It is a good idea to you over all the images again 2-3 more times, just to ensure you have made a right choices.

2

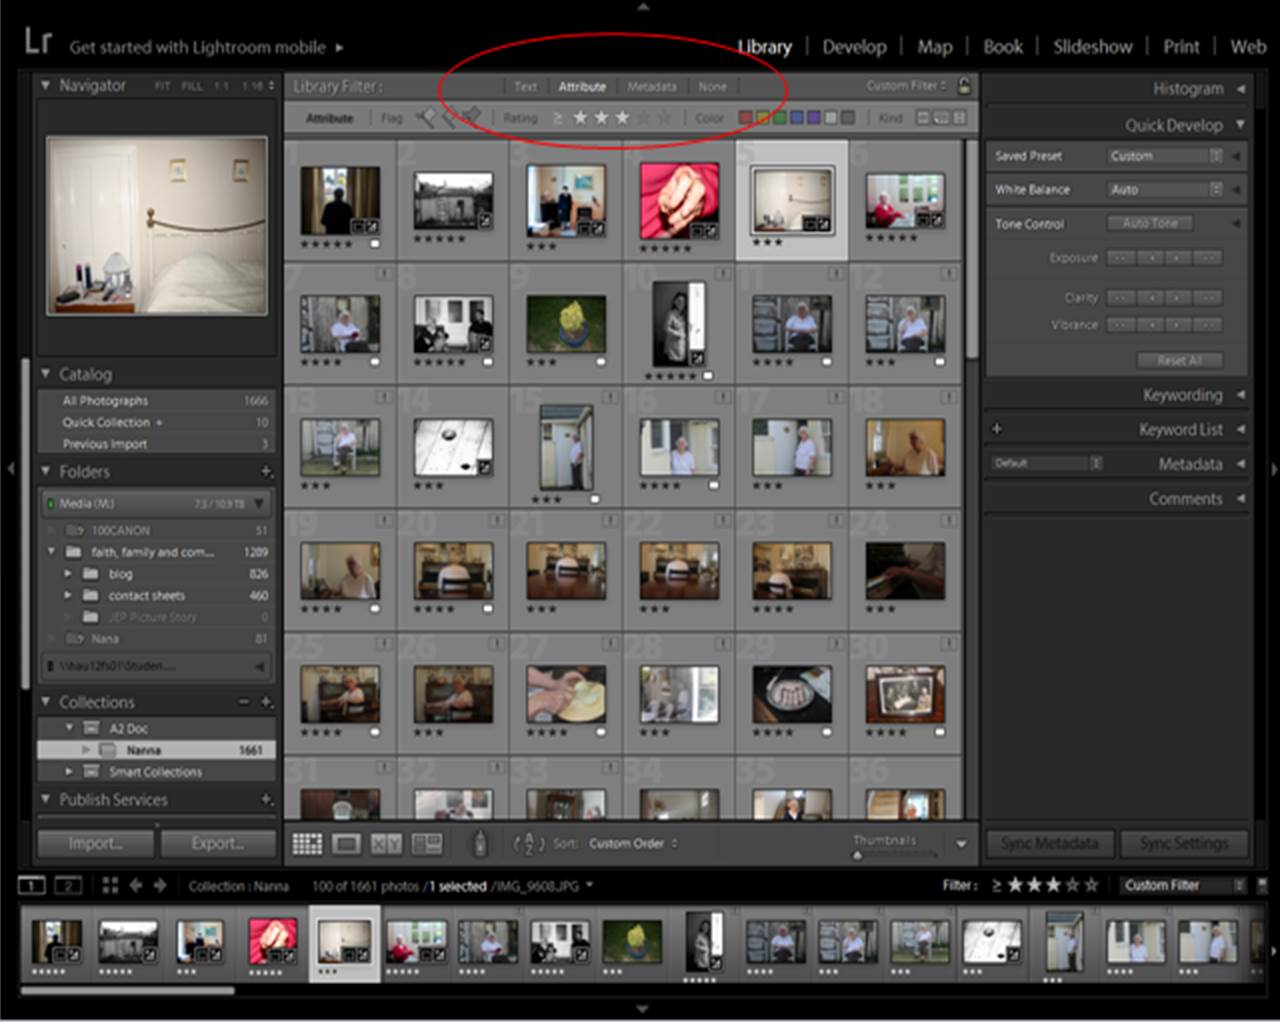
Step 3 – Filtering Pre-selection

To filter out to images you don’t need, select ‘attribute’ on the library filter section. If you want all your rated images, select the lowest star rating, if you want your highest, select your highest.

Picture1

Step 3 – Editing your Pre-selection

With your 15-20 images, make a quick edit of the images. Small adjustments and auto-corrections only. This will give you an idea of what your images may look like in a picture story. To edit images, go to ‘develop’.
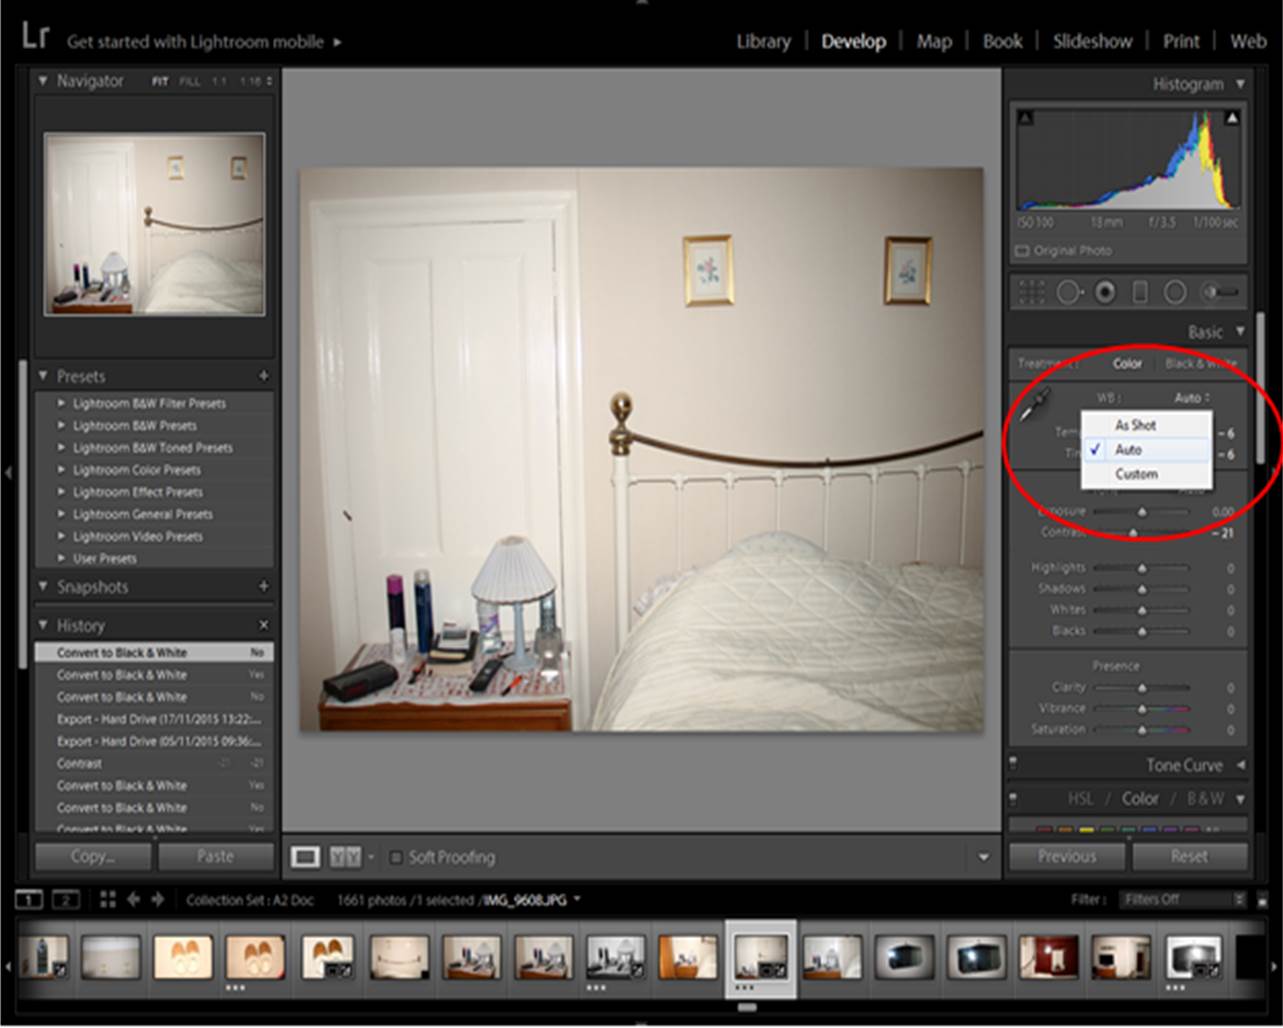
edits 2

Step 4 – Cutting Down on Your Pre-selection

For a picture story you need 10-12 images. Play around with different images and orders until you have the section you want. When choosing/selecting the images you want, select ‘5 Stars’, this will create a fresh filtered page which can mimic a narrative order. Make sure all of your images are imported into the collection you are in, because otherwise you will not be able to swap the order of your images around!
edits 3

Step 5 – Re-arranging Order

Now you have selected your best 10-12 photographs, consider how it is best to re-arrange your images. Consider different types of images (i.e. establishing/secondary establishing shot, detail shot, environmental portrait, relationship shot and people at work image), and how certain images will fit into certain parts of the story. You may need to change some of the final images around to make the images effective, strong and relevant in the particular story you want to create.

Picture1

Step 6 – Final Edit

Once you are happy with your order, re-edit the images. Think about particular themes, (e.g. b/w, high contrast, high satuaration etc.)

Picture2

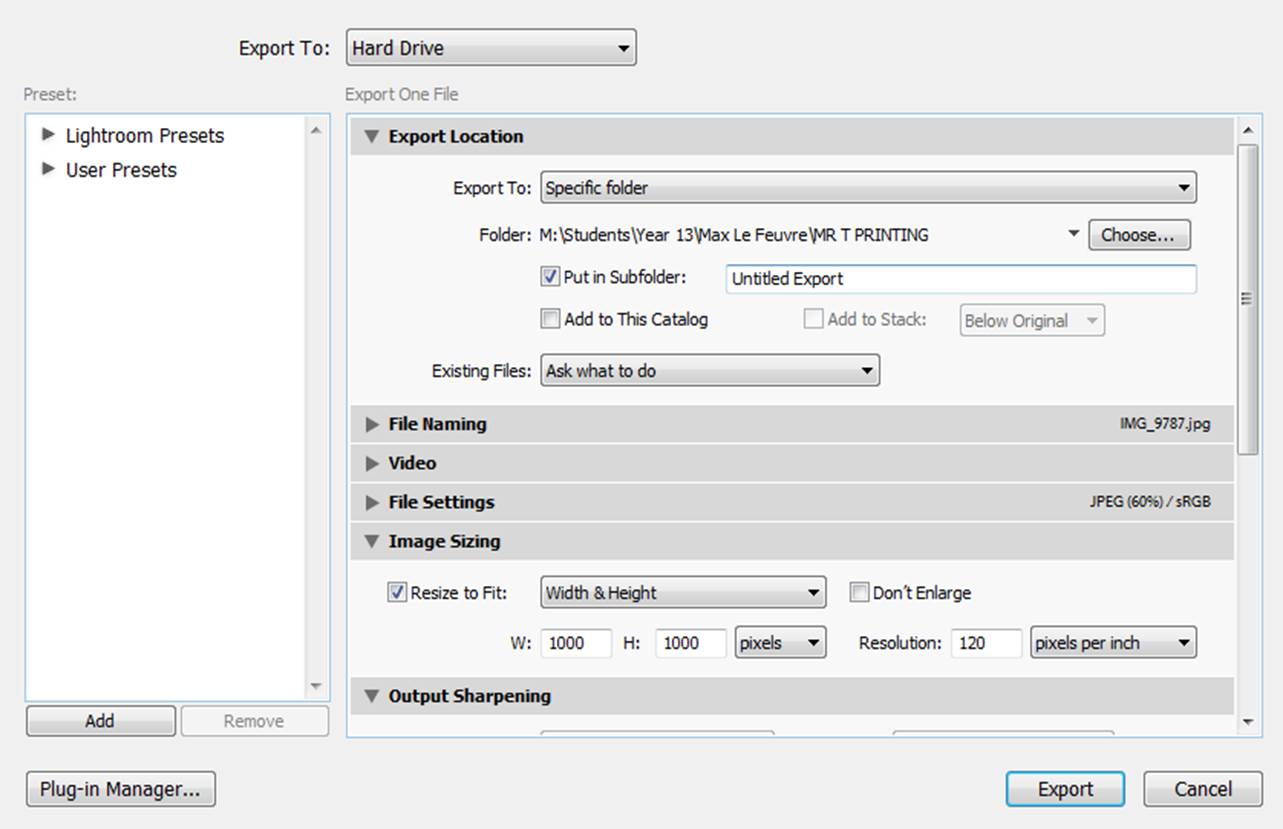
Step 7 – Export Images

To export your final selection, go to Export>Export to>Specific Folder>Select Folder>Choose
Picture4