
Previously we looked at conventional shot sequencing: how you introduce a place, a character and a detail for each of your sequences.
In this lesson we will look at how to structure a sequence of dialogue.
As we are looking at the use of camera, please make sure you are on MANUAL FOCUS, that you try to capture DEPTH OF FIELD, that you are using a RANGE OF SHOT SIZES & ANGLES.
AND MAKE SURE YOUR EYE-LINES MATCH!

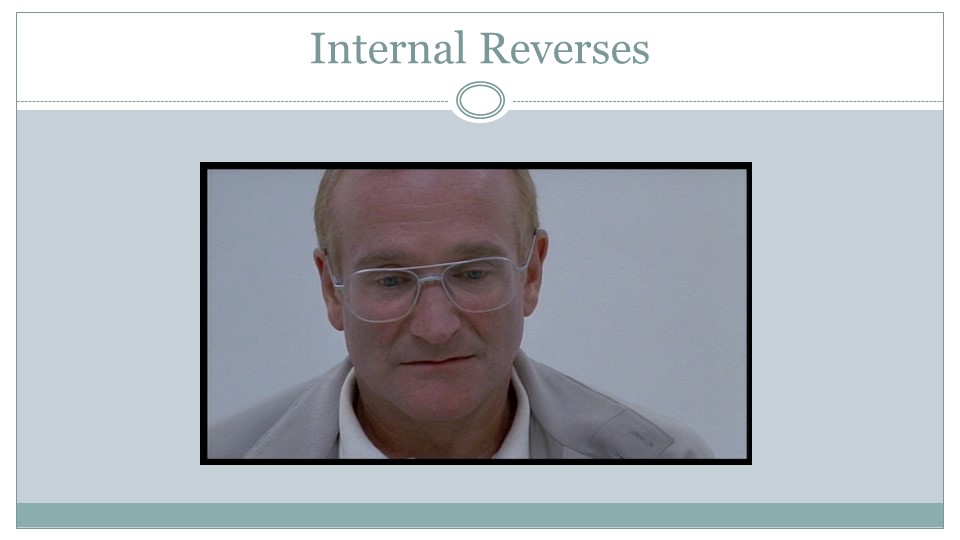
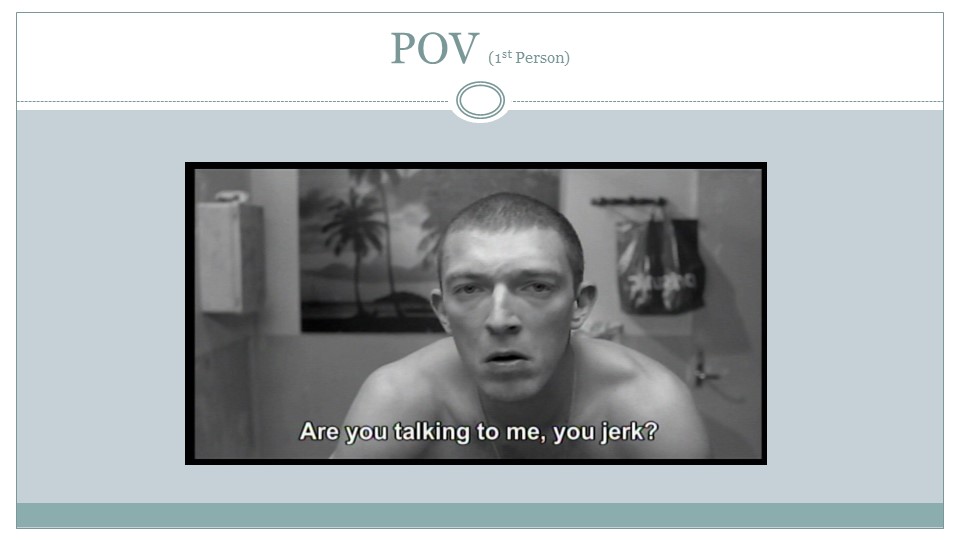
NOTE THE DIFFERENCE BETWEEN AN ‘INTERNAL REVERSE’ AND A ‘POV’ SHOT (POINT OF VIEW)
TASK: In groups take still images that structure a dialogue – shot / reverse shot. This doesn’t necessarily have to be between 2 people . . .
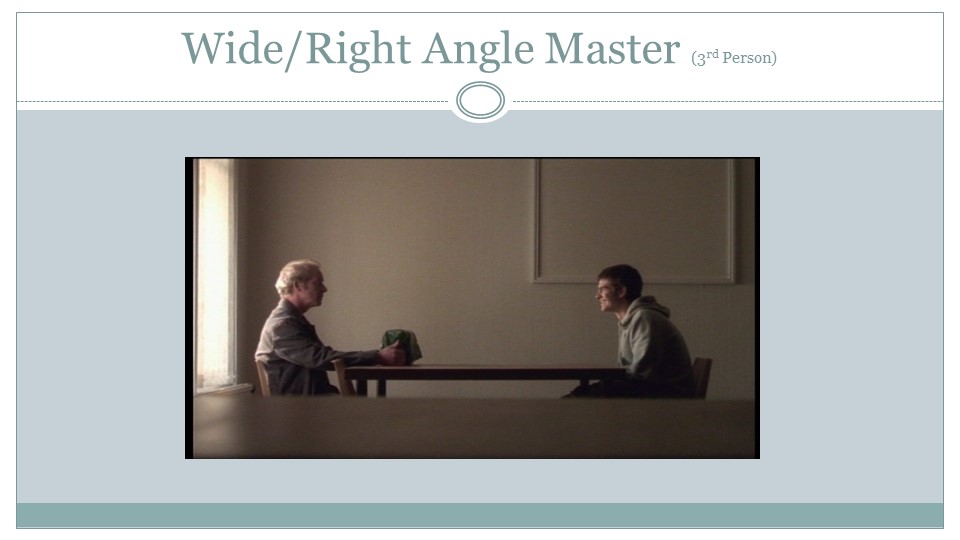
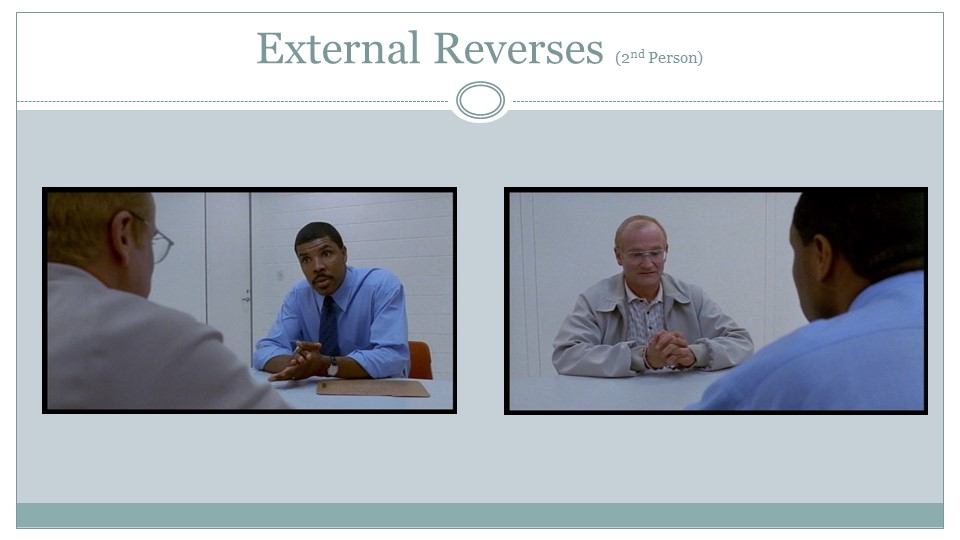
Remember to move from a wide angle master to external reverse (over the shoulder shots) to internal reverses. Think about your FRAMING, COMPOSITION, SHOT SIZES, ANGLES, DEPTH OF FIELD.
Share your photos, but write up your own notes, ideas, reflections on this task. Feel free to include a video or some other research material to support your creative knowledge and thinking.