First of please try to make your blog look like a creative document that reflects you and your creative ability. At present, it is used more as a repository to drop in word docs, pdf’s etc, so from now please write and upload direct to the blog.
As a start can I ask you all to (individually) make a Header for this Film Studies blog in photoshop? You need to make a new document in photoshop that is 1260 x 240 pixels, create a Film Studies Header, save as a JPG and email me it to me. As Ms Magowan is away on a Film Studies course, you can complete this over the next few lessons.
Next please make sure that you have uploaded all the photos that you have been taking with me in the last couple of Thursday lessons as a Gallery post. Please upload all of your images along with some annotation that shows what you have learned – ISO, Aperture, White Balance, Shutter Speed.
Moving Forward / Moving Image?
Coventional shot sequencing
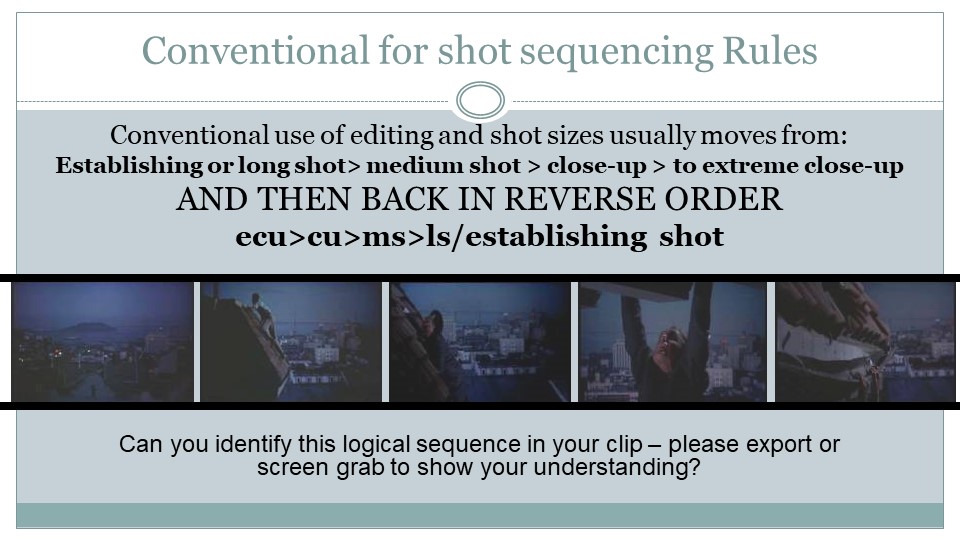
Take 6 pictures of different shot size to show you understand conventional shot sequencing. Upload them to your blog as a gallery. Import these pictures into Premiere and edit together. Export this edit (H264 & match bit rate high) . Upload to your own (and new) Film Studies Youtube account (you set it up yourself). Embed the link into your blog.
TASK: embed an extract from a film that shows conventional shot sequencing
Next I would like you to revisit the skills that we started last week, which was creating a dialogue (shot/reverse shot) sequence. So repeat the exercise that we did last week, only this time plan it out in more detail. You will need:
Two characters, a setting, a short dialogue, a camera (you can use your phone).
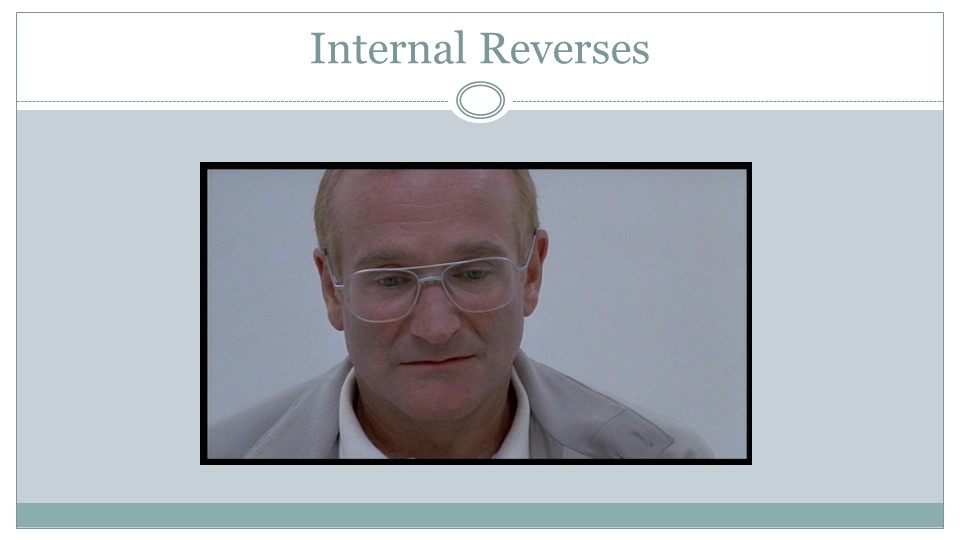
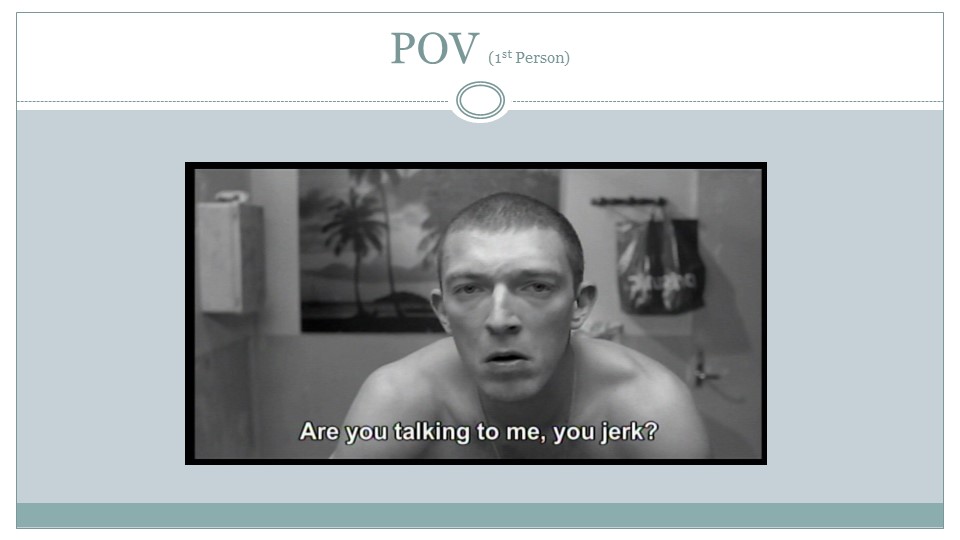
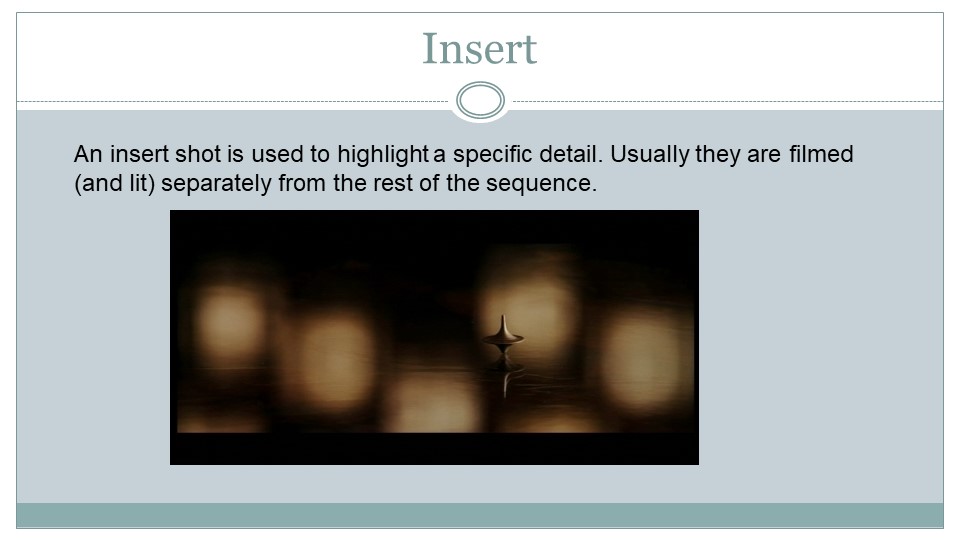
Record another set of STILL IMAGES, specifically using: wide angle master shot, a series of external reverses, a series of internal reverses, a single POV shot and an insert shot. Upload your images to your blog and make sure they are on one of your network drives so that we can upload them to a video editing programme next week.
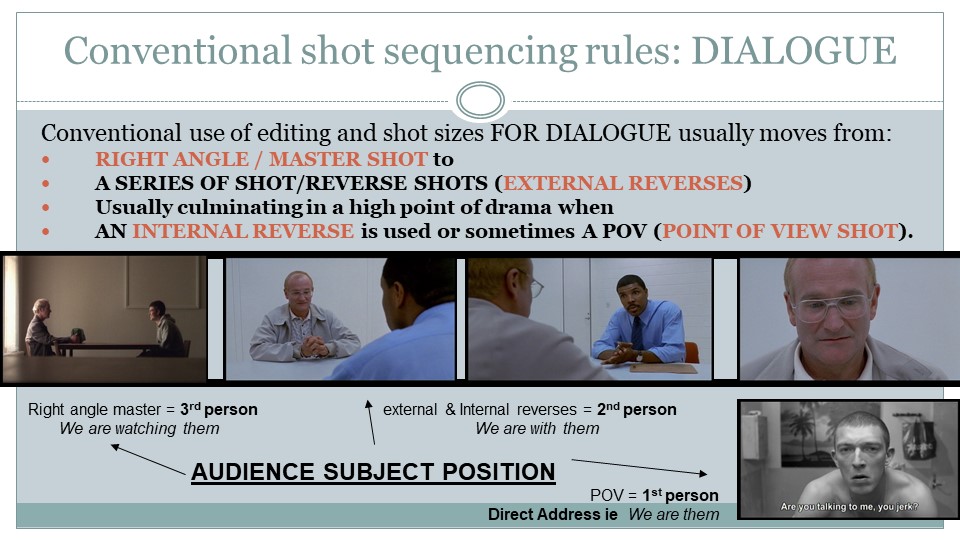
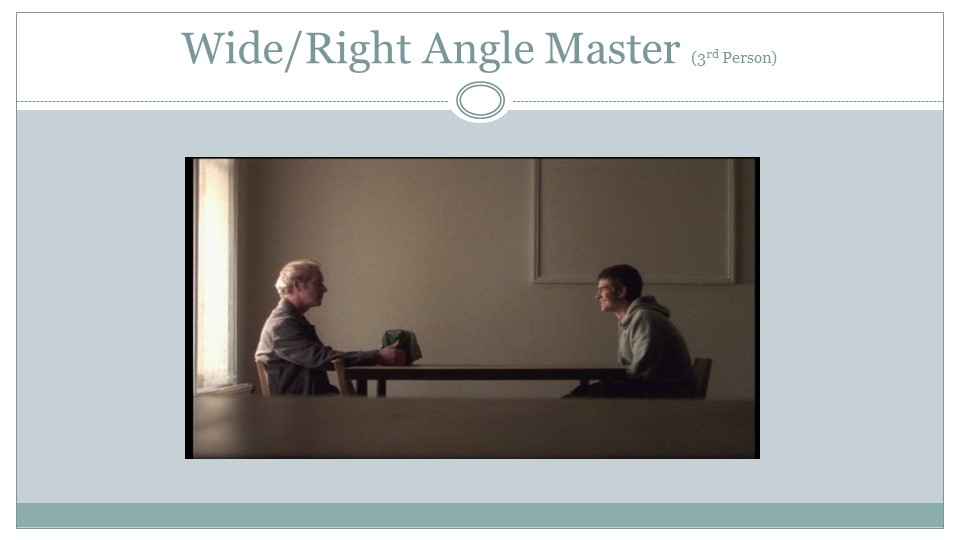
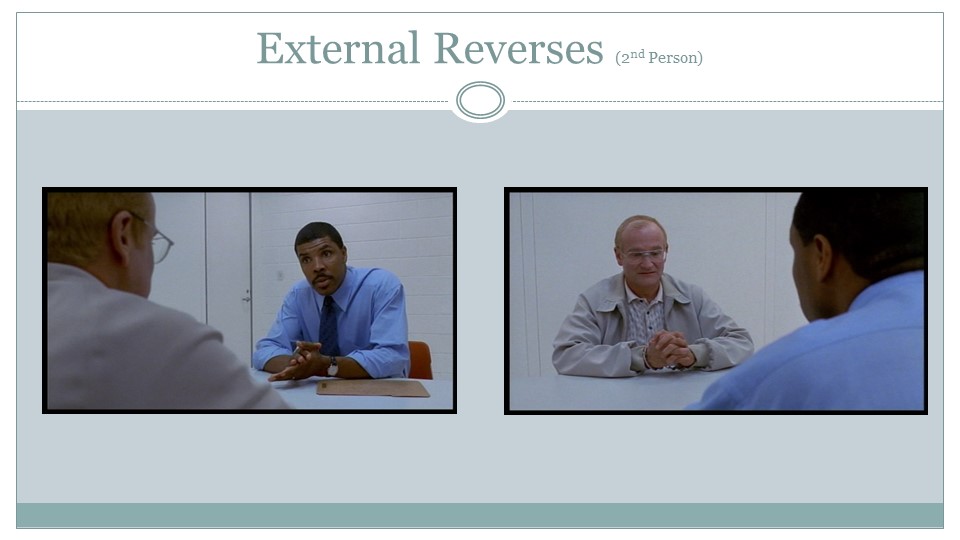
Next we will try to record some video, as shot reverse shot, we will then try to edit it together in Premiere, we will then export this edit as an AVI and upload to a YouTube account (you will need to make one that is JUST for Film Studies) and then we will embed the Youtube video in our blogs. This will take a couple of lessons. To help you see the images below
