All posts by lsyvret

Filters

Author:
Category:

Pop Art Portrait

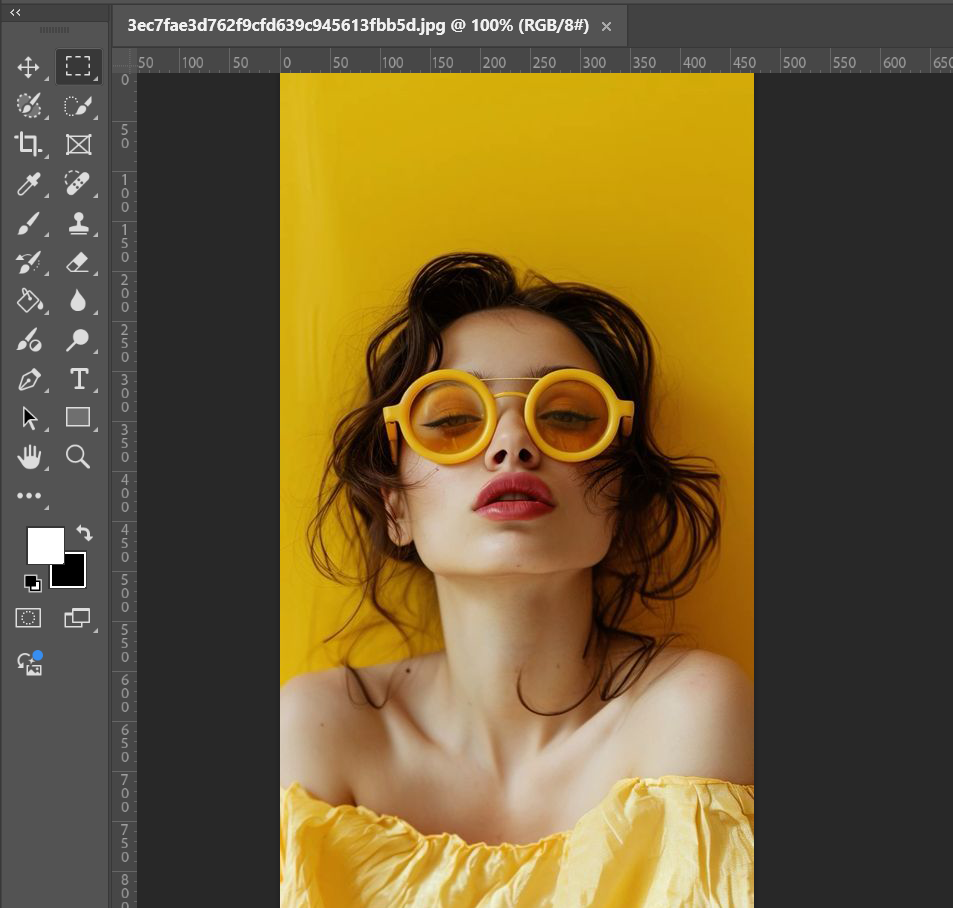
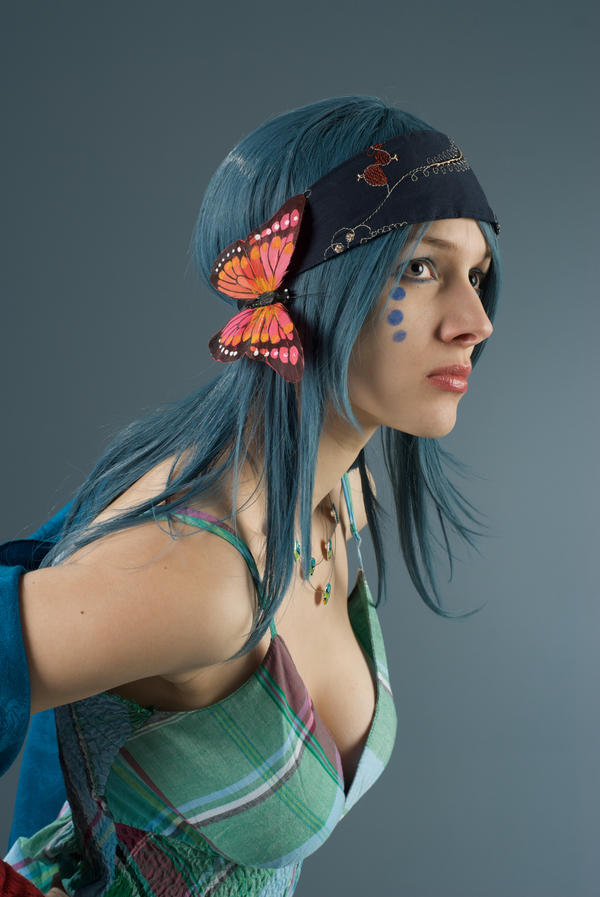
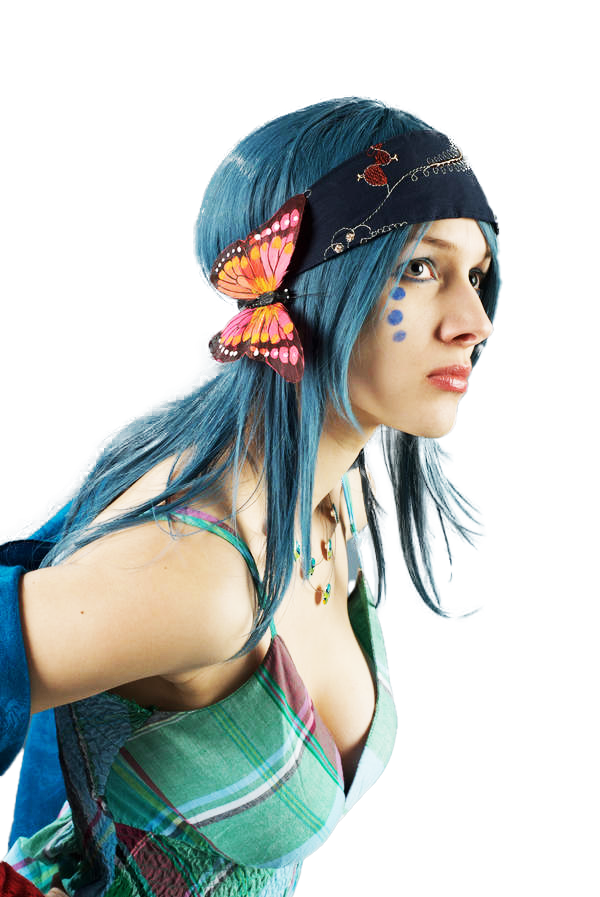
  1. Open your portrait in photoshop

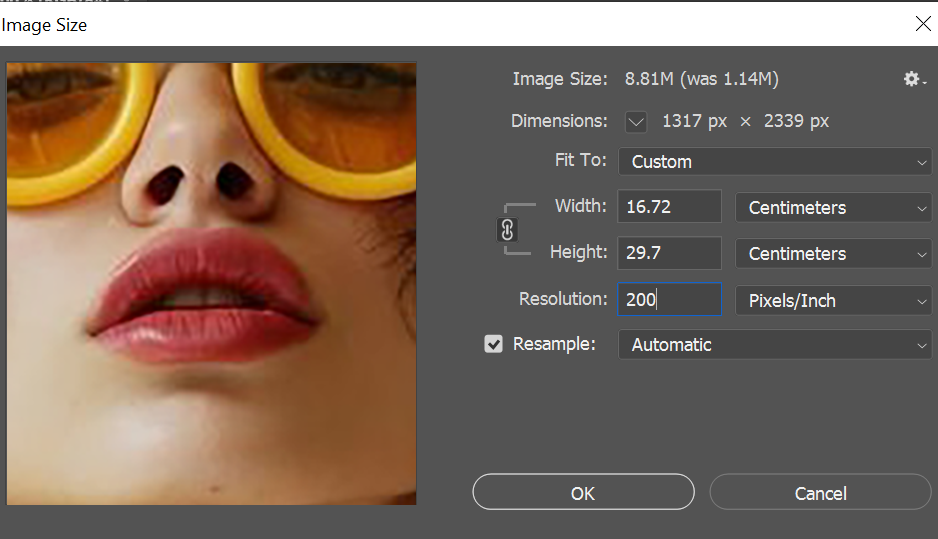
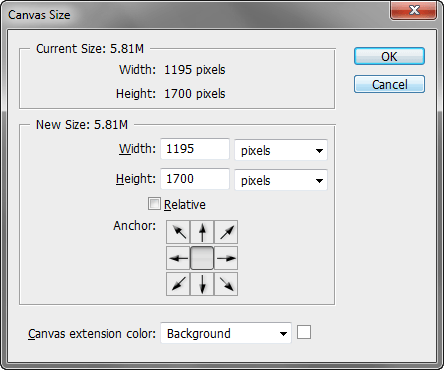
2. Check your image is high resolution… Go to Image > Image Size … Resolution should be between 150 -300… If it’s not, change it to be between this value.

When you press OK, you might need to zoom out on your image.

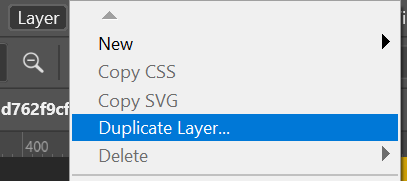
3. Go to Layer > Duplicate Layer

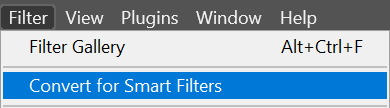
4. Go to Filter>Convert to Smart Filter

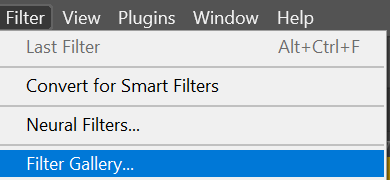
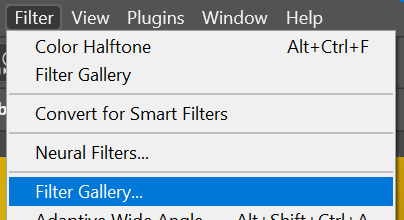
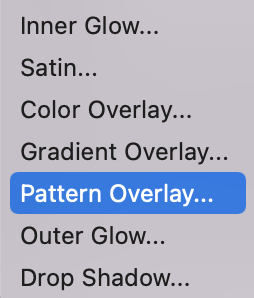
5. Apply some filters… go to Filter > Filter Gallery

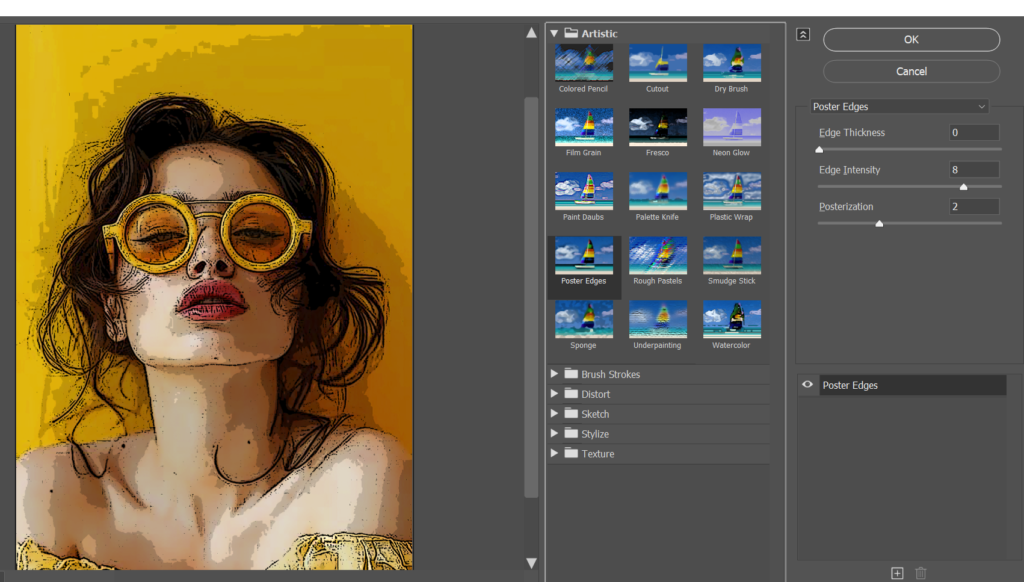
6. Select Artistic…. then Poster edges. These were the levels I entered:

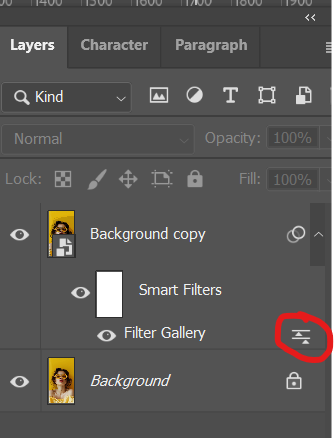
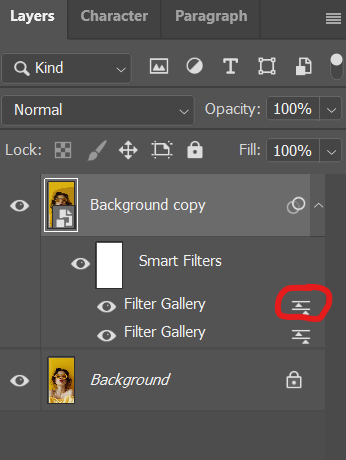
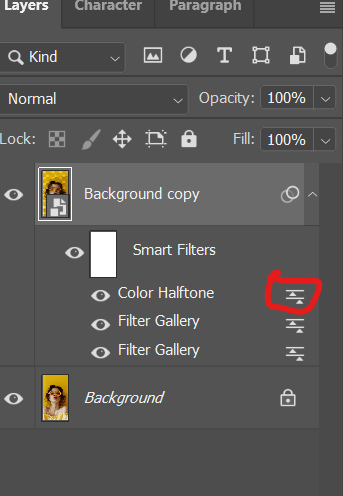
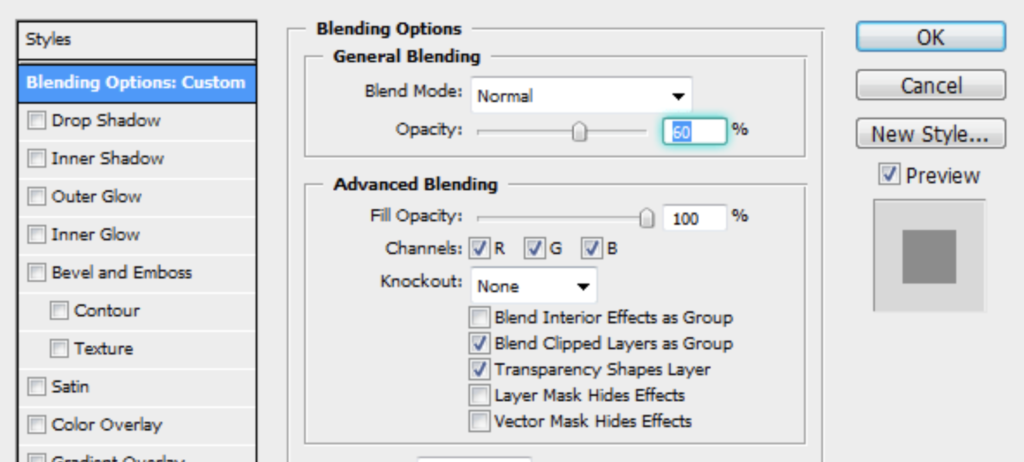
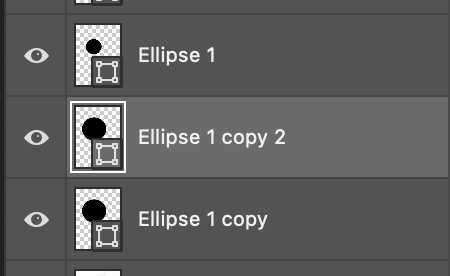
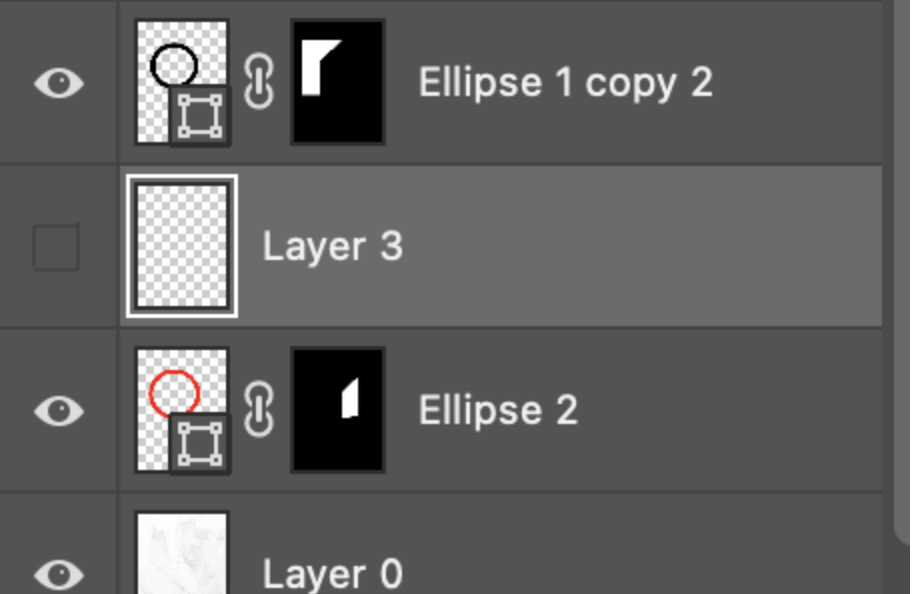
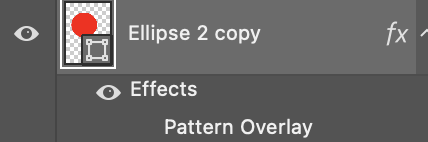
7. Double click on the below icon next to ‘Filter Gallery’ (In your layers panel)

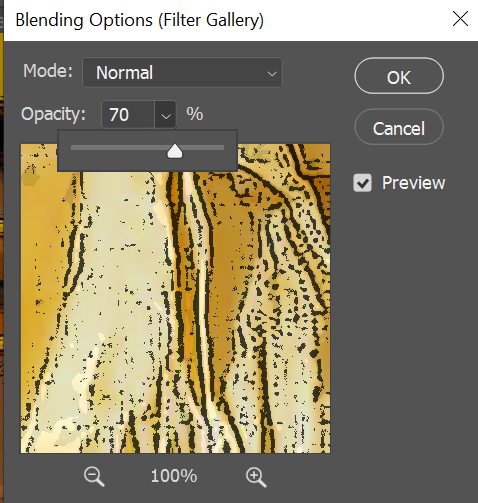
8. Change blending to 70%

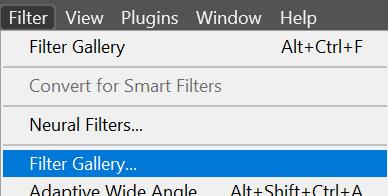
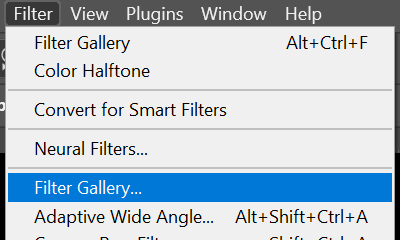
9. Go to Filter Gallery again (don’t click on the top filter gallery option as this will just be a quick shortcut to your previous filter)

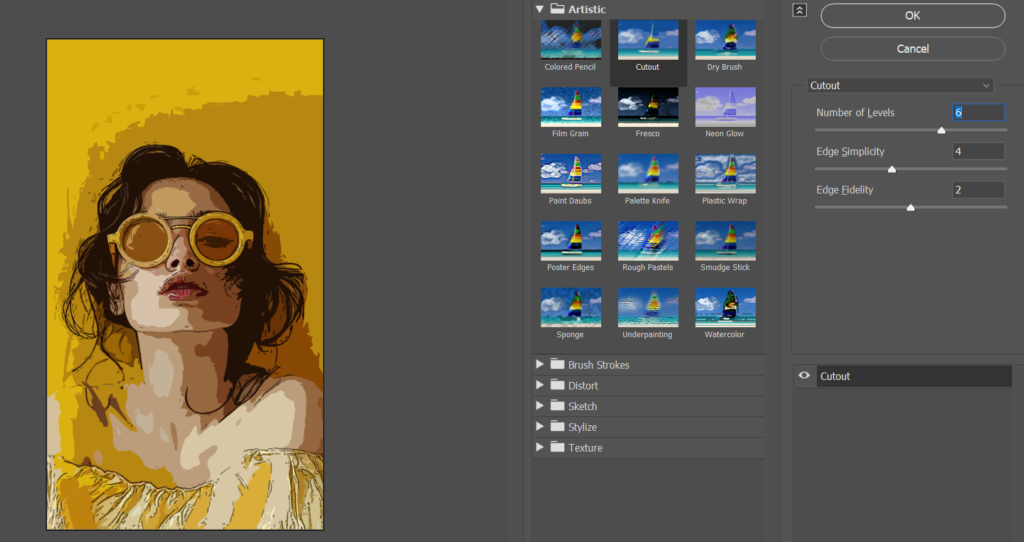
10. Select ‘cutout’ and apply these levels

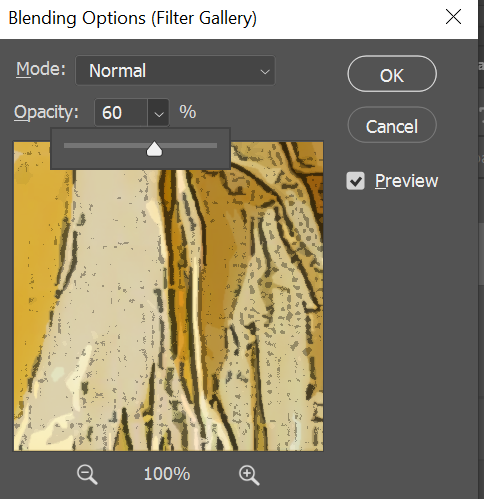
11. Double click on the icon next to the new ‘Filter Gallery’ (In your layers panel)

12. Reduce it to about 60%

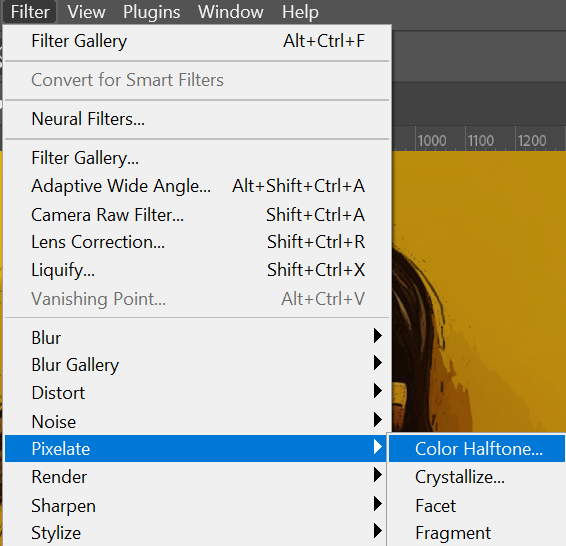
13. Now go to Filter > Pixelate > Colour Halftone

14. Apply the below levels

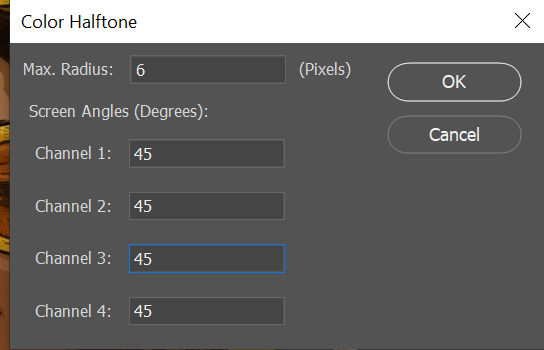
It will look very blurry to begin with

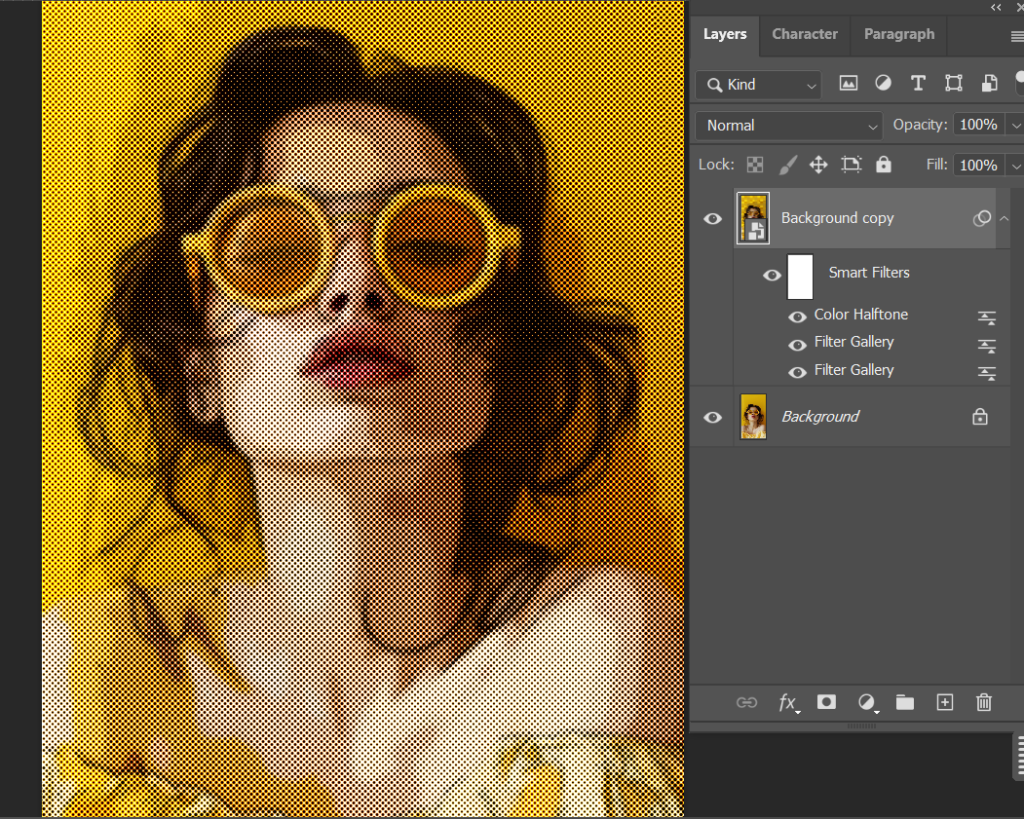
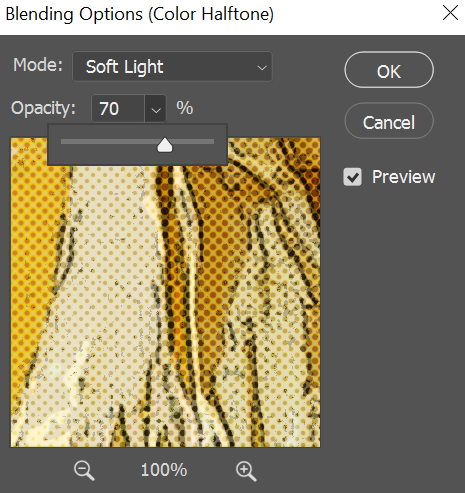
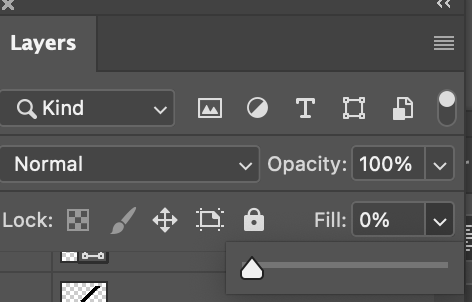
15. Click the icon next to Colour Halftone (in the layers panel)

Change the mode drop down to soft light

Change the opacity to 70%

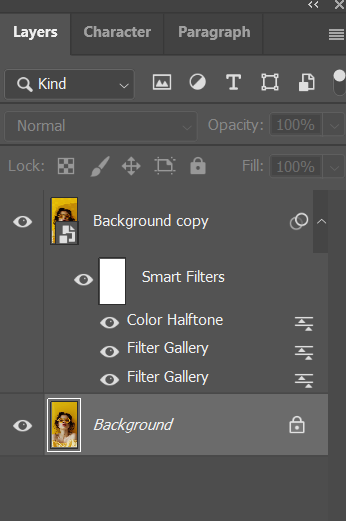
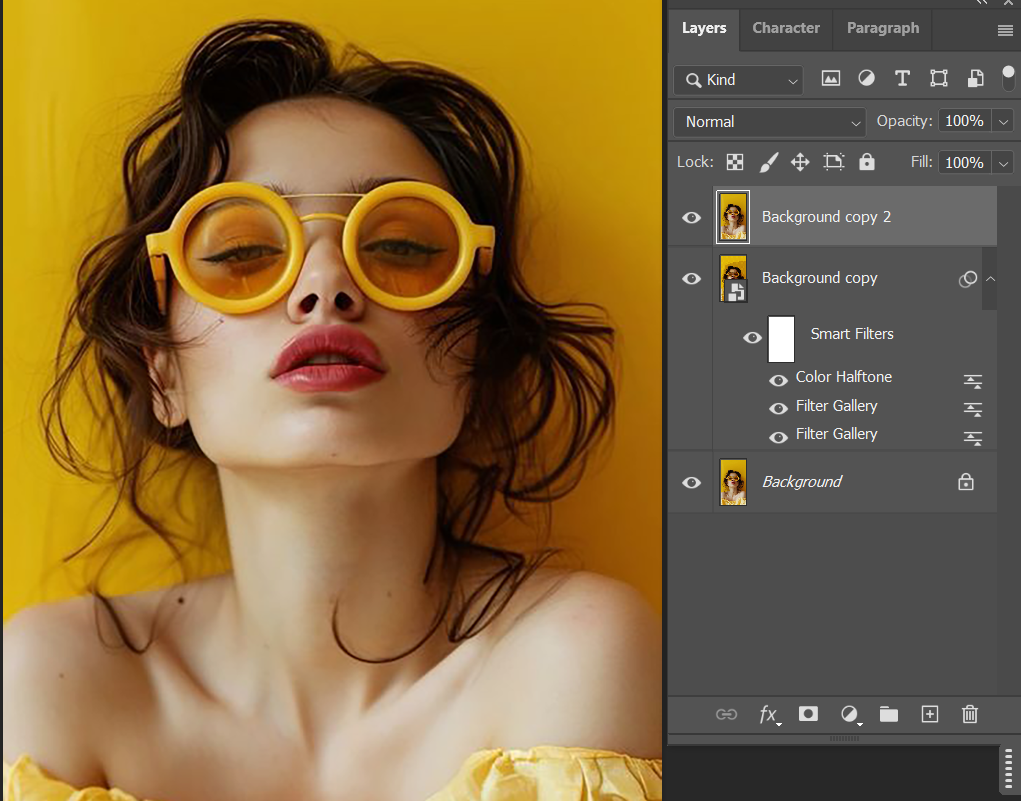
16. Click on your original background layer in the layers panel

17.

  • Duplication layer: Layer > Duplicate layer
  • Then drag that layer to the top of the layers panel (this will hide the filters you have applied so far)

18. Go to Filter > Filter Gallery

  • Select ‘Stylize’
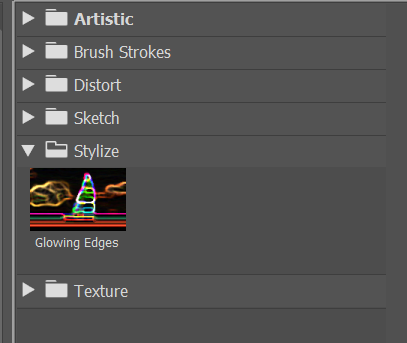
  • Select ‘glowing edges’
  • Apply the below levels

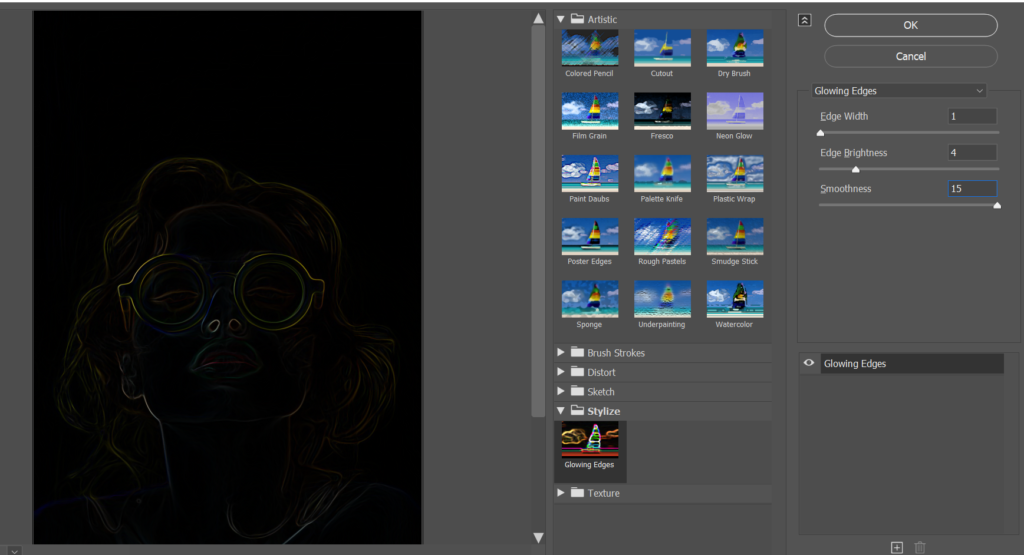
19. Again, go to Filter Gallery

  • Adjust the settings until you can see an outline of most details

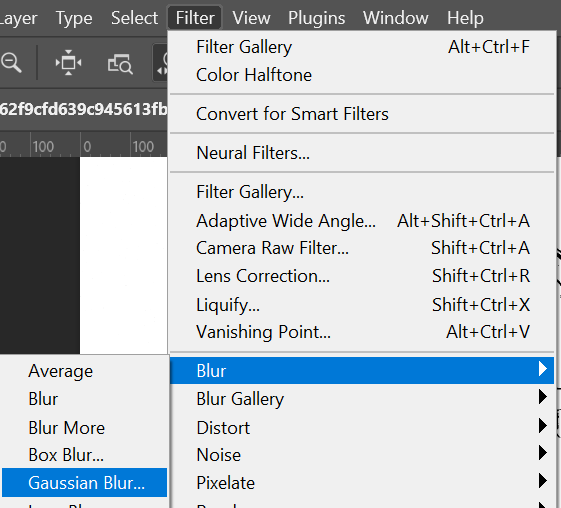
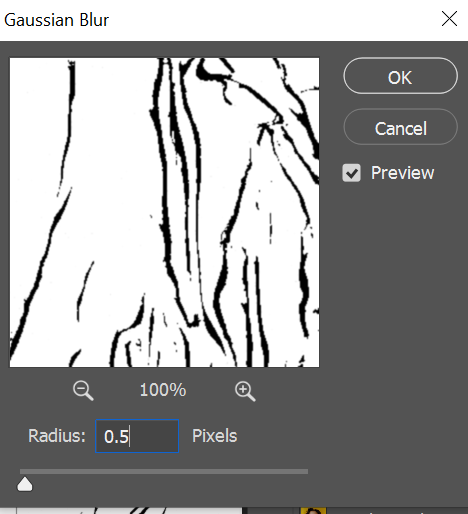
20. Go to filter > Blur > Gaussian Blur

21. Set to 0.5

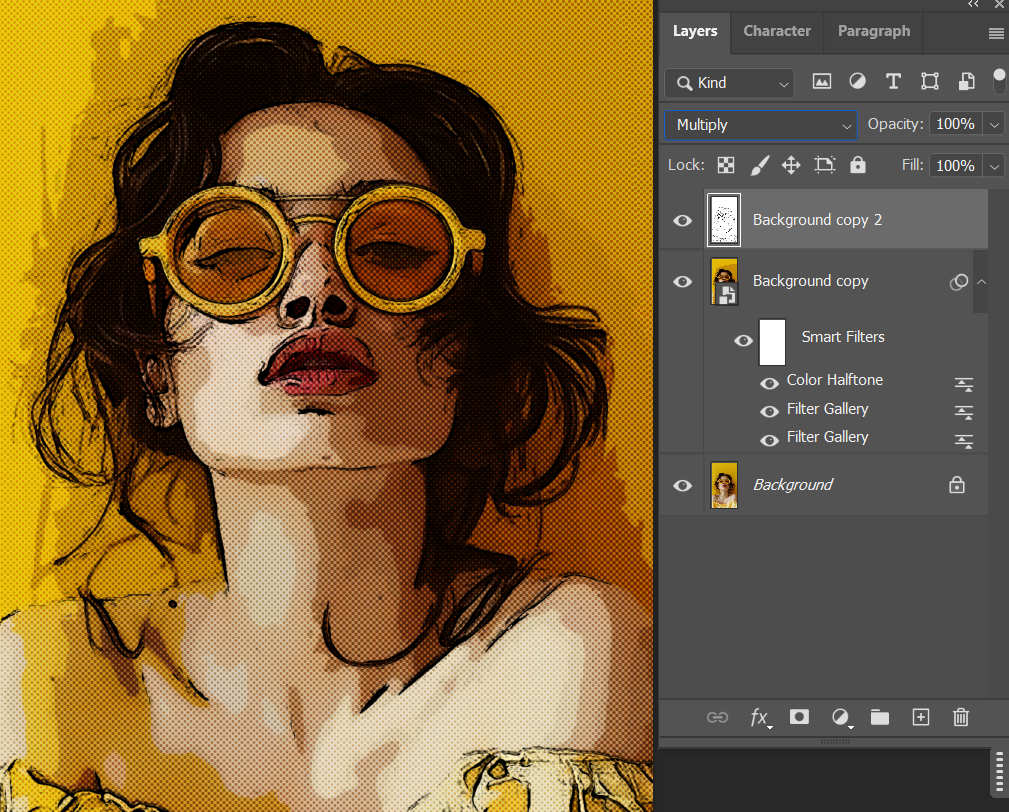
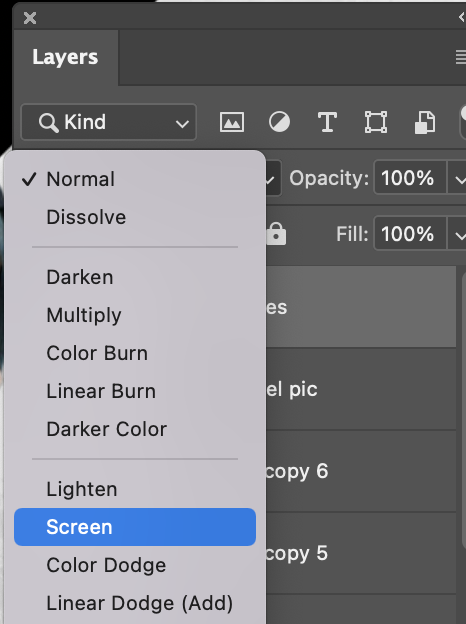
22. In the layers panel, click where it says ‘Normal’ to change the blend mode

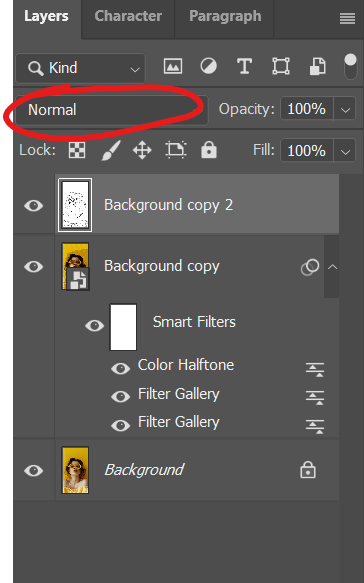
  • Change the blend mode to ‘Multiply’
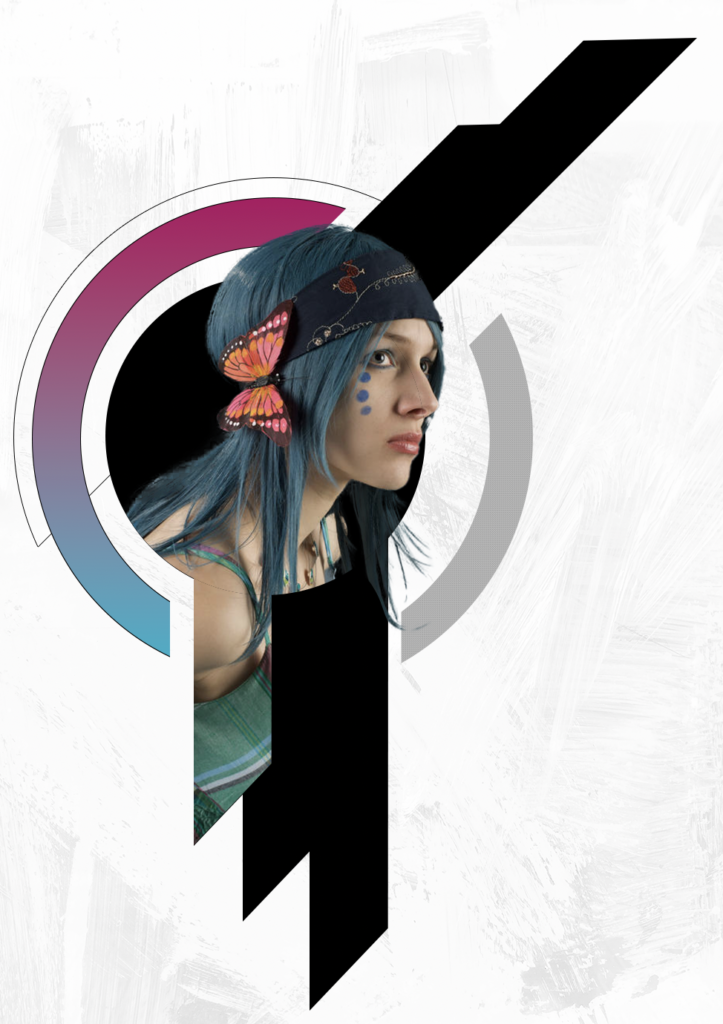
23.

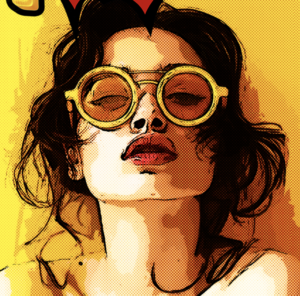
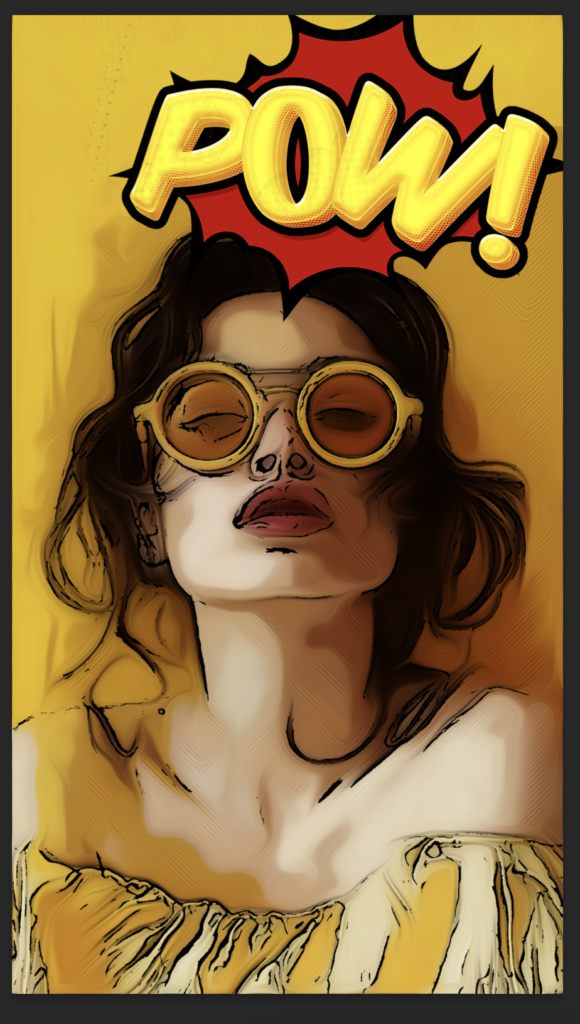
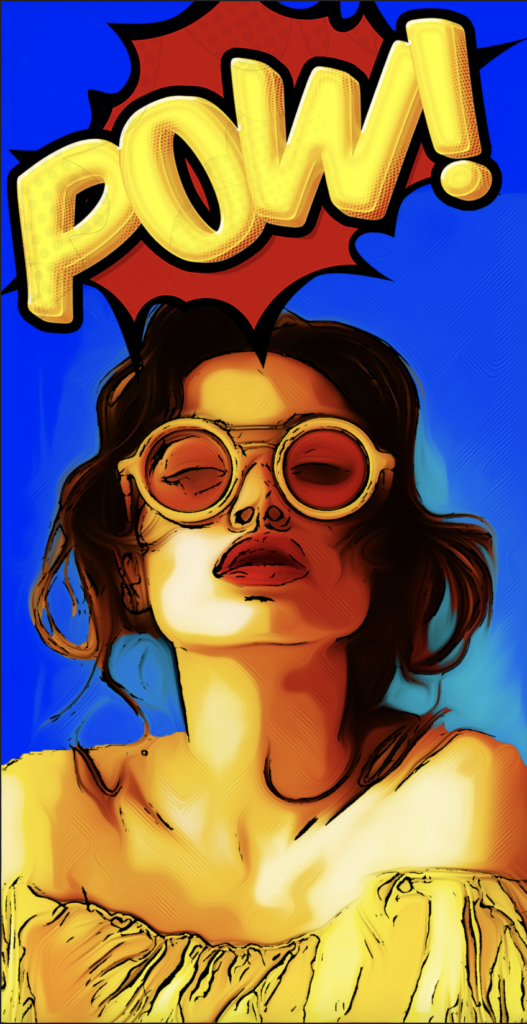
Now combine with Comic Typography from your previous tutorial.

Drag your Typography into the photoshop document. (You may want to remove the typography background first).

Please note: The word in my typography isn’t really relevant to my image. To have a better result, create a word that is relevant to your image. For example, I could have changed mine to ‘WOW’

24. The pop art portrait style has slightly more texture than the Typography design.

To create a smoother portrait style you can:

  • Make sure you are on the coloured portrait layer
  • Go to Filter > Stylise > Oil Paint
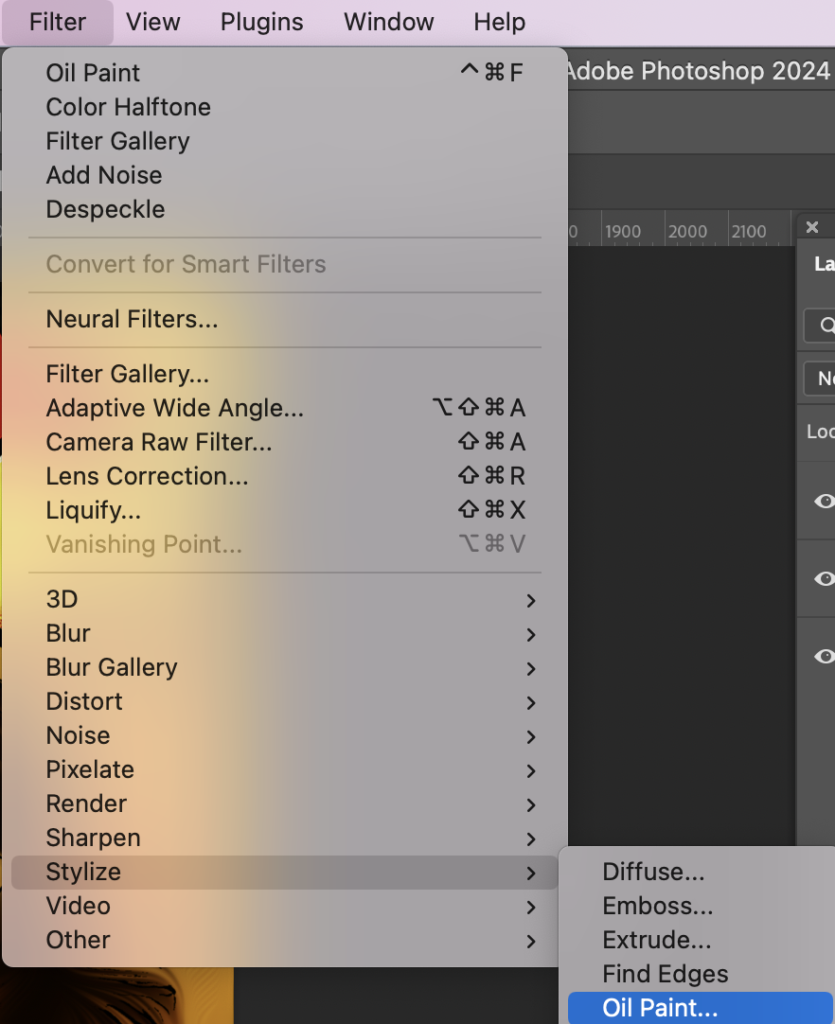
  • Repeat this step 4-5 times to get a smoother portrait
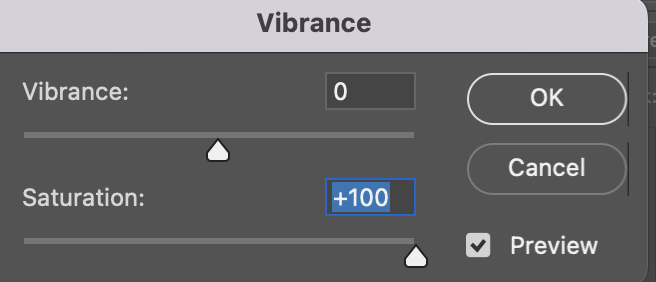
  • For my portrait, I also wanted to increase the vibrancy / saturation, to match the vibrancy of the typography.
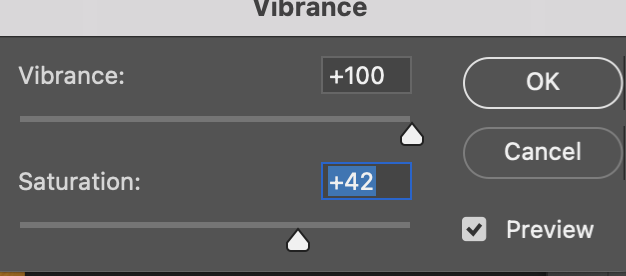
  • Go to Image > Adjustments > Vibrance

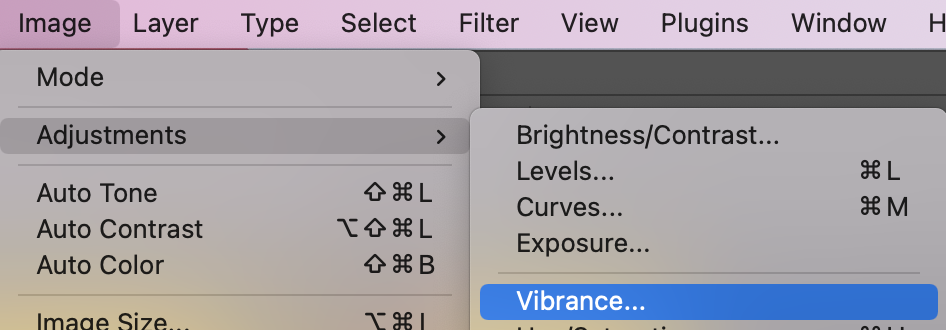
You can adjust to suit you:

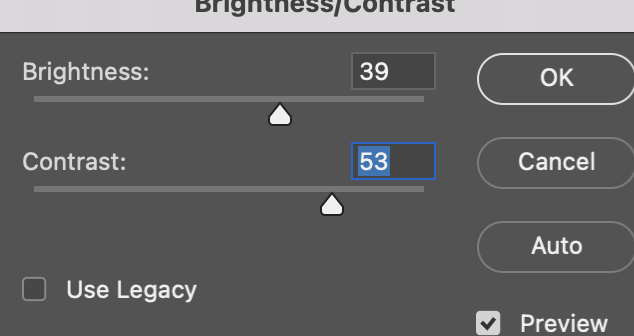
I also increased the brightness and contrast: (image >Adjustments > Brightness/Contrast

25. Option to develop this even further:

I wanted to change the background colour of my portrait. To do this:

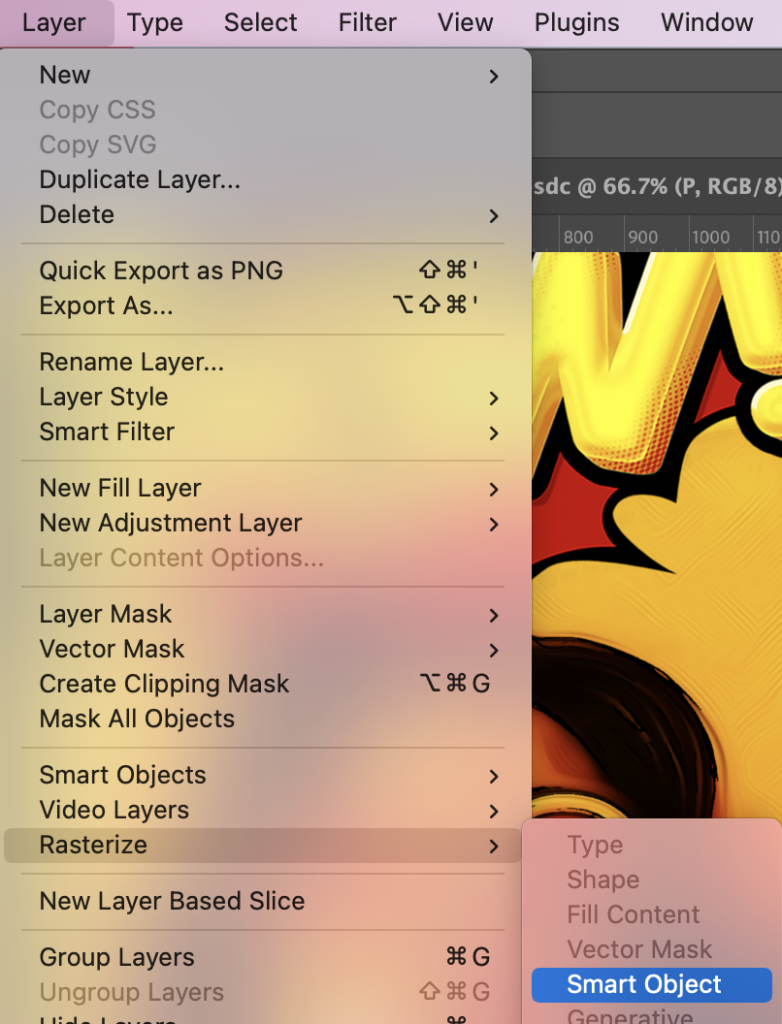
  • Click on your portrait layer in the layers panel
  • Go to: Layer > Rasterize > Smart Object
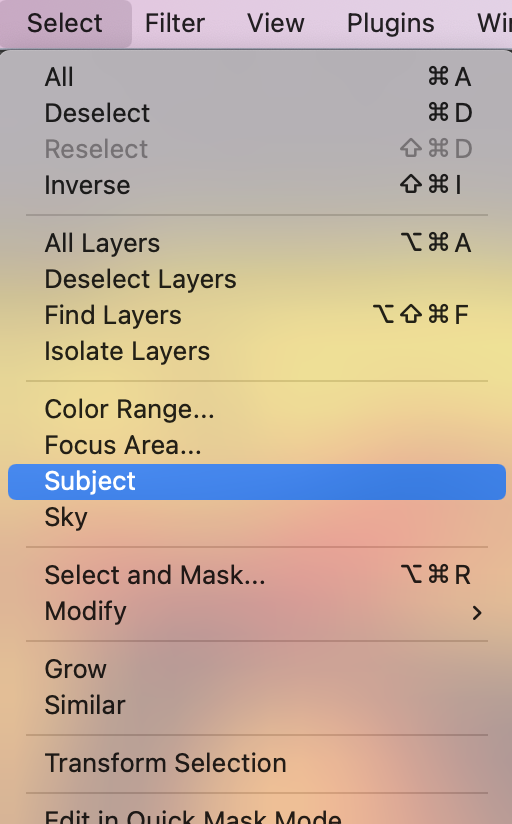
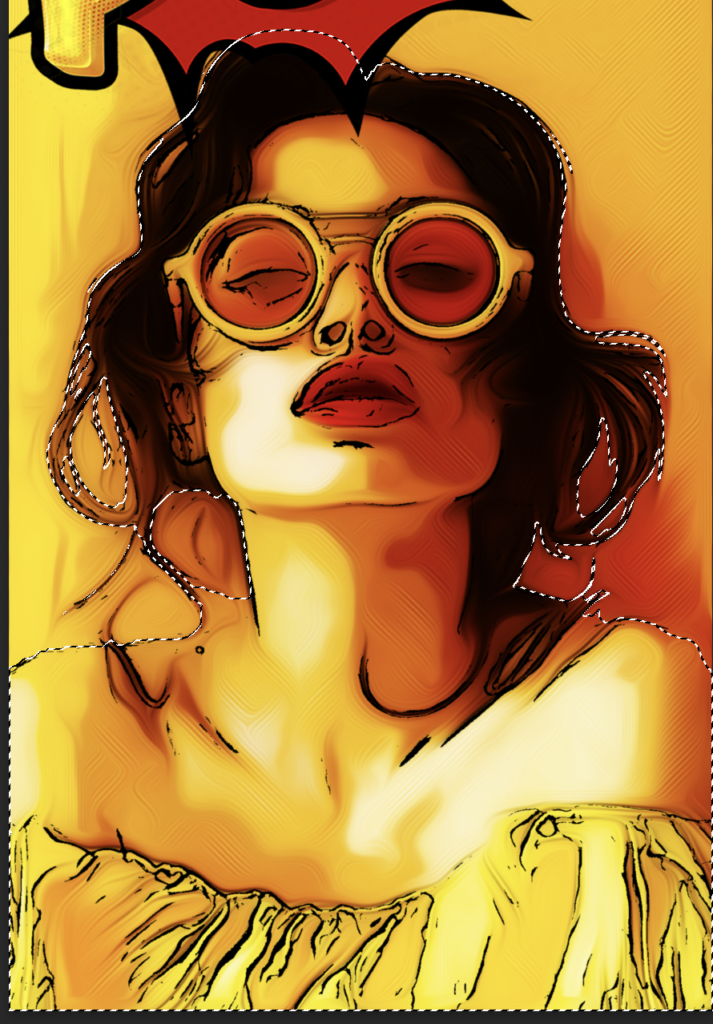
  • Go to ‘Select’ > Subject – Photoshop will try to select around the subject as best it can
  • If photoshop has missed any areas in its selection, you can use the quick selection tool to add or remove from the selection….
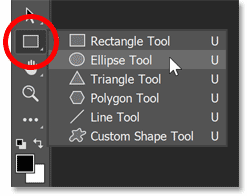
  • Select the quick selection tool:
  • Click and drag over the ares you want to select
  • Hold ALT while you click and drag to minus the selection and remove any areas you don’ t want selected.
  • When you are happy with the selection, click Select > Inverse
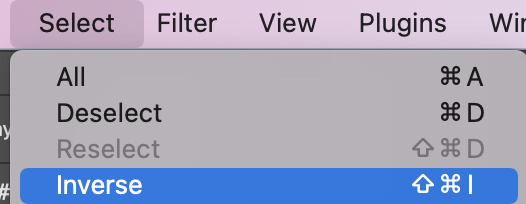
  • This will reverse the selection so that it has the background selected instead of the subject
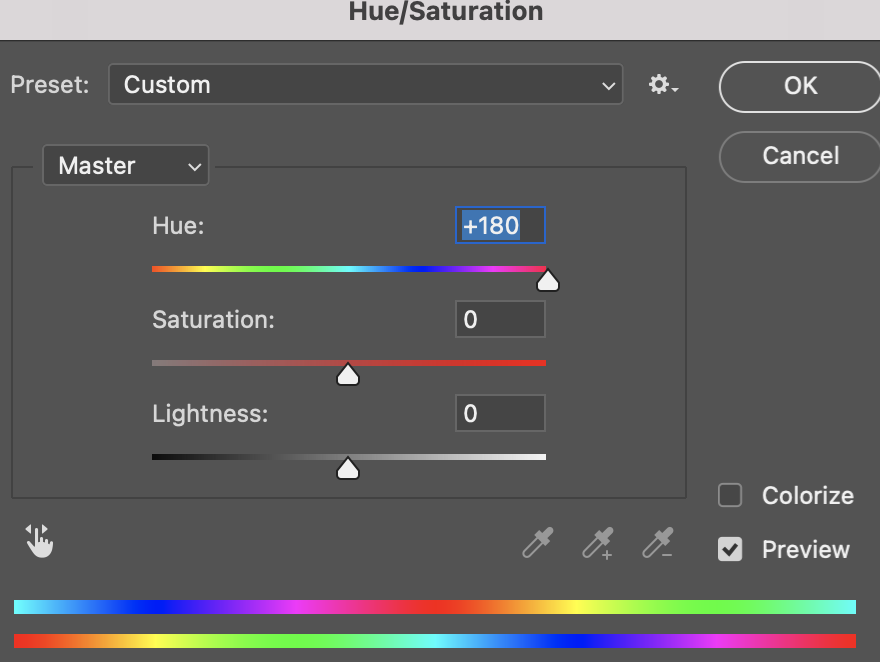
  • Now you can edit the colour of the background by going to Image > Adjustments > Hue and Saturation … then changing the Hue Levels
  • Please note, if the background you started with is white or black, then changing the Hue will likely not work. Instead, try to use the fill bucket tool

Mixed Media Design

  1. Open Photoshop. Click File, New. Create a blank document similar to these dimensions:

img(1)

2. Download this subtle paint texture and drag it into your photoshop file.

3. Double click on the textured paint layer thumbnail to load Blending Options

4. Adjust the layer Opacity and blending to make it subtle.

5. We now need to create several shapes that will define the overall design and contain other graphic elements.

  • Select the ellipse tool
  • Set the fill and stroke colours to black
  • Hold shift and alt to get a perfect circle. Click and drag your curser out, until it says approx 520px
  • Choose the Shape layers option on the Options panel. Working with shape layers is very productive and time saving. They are resolution independent and can transform them without losing any quality.

6. Draw a rectangle under the circle, approx W:700px H:107px

7. Select the ‘Direct Selection’ tool

with the direct selection tool selected, edit the corners like so… (Tip: hold shift to keep a straight horizontal line)

8. Select the move tool

Press Ctrl+T, rotate the shape by -45 degrees. You can type this in the top bar for accuracy.

9. Reposition the shape.

10. Duplicate the layer 2 more times and stack the layers like so….

11. Duplicate the rectangle again and rotate 135 degrees to make it vertical.

Move to below the circle so it looks like this…

12. Duplicate the vertical rectangle two more times, and construct this image…

13. Click on your Ellipse layer

Duplicate it.

14. Click Ctrl + T and where it says width and height along the top bar, type 125%. Then press enter. This will make your new circle bigger than your first circle.

15. Now Duplicate the larger Ellipse layer. (this will give you 3 ellipse layers)

Press ctrl +T and resize the new ellipse to 80% of the original size. Then press enter

16. Select the two larger ellipse layers (hold shift to select them both)

With both layers selected, go to ‘Layers’ along the top bar. Go down to ‘Combine Shapes’ and click, ‘Subtract front shapes’

You should have something that looks like this:

17. Select the Polygonal Lasso tool from the left toolbar

Draw a shape around your design like this. Press enter when you want the ends to connect

Now Click the Layer Mask button in the layers panel. This will hide the part of that ring that is not selected. Like this.

18. Duplicate the smallest ellipse layer (the only ellipse you haven’t cut out).

Now drag this new ellipse layer so it is below all the other shapes in the layers panel.

Click Ctrl + T and make it 160% bigger in width and height. Press enter

Now make sure the shape tool is selected in the left toolbar and change the fill and stroke colour to red.

19. Duplicate the red circle.

Click Ctrl +T and make the new circle 80% in width and height

20. Select both red ellipses layers but holding shift.

Then go to Layers – Combine Shapes – and click, ‘Subtract front shapes’

21. Use the polygonal lasso tool to draw around the right corner of the red ellipse. Press enter when you want the ends to connect

Now Click the Layer Mask button in the layers panel. This will hide the part of that ring that is not selected. Like this.

22. Create a new layer above the cut circle.

Select the Pencil Tool

In the top left corner, select 100% hardness with 1px diameter

Zoom right in so you can see each pixel and draw this patter:

Select the Marquee Tool and draw around the pattern to select it.

Choose Edit > Define Pattern.

23. Zoom out. Click select, deselect along the top bar.

And hide the layer that had your pattern drawing by clicking on the eye next to the layer

24. With the red ellipse layer selected, click fx along the bottom of the layers panel

Click Pattern Overlay

Select the pattern you made and press ok

You may need to make the stroke of the elipse transparent

25. Now duplicate that layer.

Right hand click on the layer mask and click delete.

26. Select the direct selection tool

Select the inner circle

Click delete until the whole circle is filled in again.

27. Untick the eye next to the pattern overlay to hide the pattern

On the layers panel, set the fill opacity to zero

Click fx along the bottom of the layers panel

and select ‘stroke’

28. Use the polygonal lasso tool to select the top left corner of the circle outline

Then click layer mask so only that selection is revealed.

29. Download this model stock image and drag into Photoshop.

30. Click ctrl + T to resize and reposition image.

Right Click on the layer and convert to smart object

31. Ctrl and click on the small circle layer so that it selects that shape.

Select. back onto the model layer

Click layer mask – this will start to hide parts of the model image

32. Reveal some more portion of the model… Click ctrl and the vertical rectangle layer.

To add this to the existing mask, click on the the model layer mask (The layer mask is the black and white thumbnail)

Then go to the fill bucket

Set the colour to white

Fill the vertical shape selection in white – this tells Photoshop to reveal more of that mask.

33. Select the lasso tool

We are now going to reveal more of the head…. draw a rough shape around the head

Click on the the model layer mask (The layer mask is the black and white thumbnail)

Then go to the fill bucket

Set the colour to white

Fill the shape selection in white – this tells Photoshop to reveal more of that mask.

34. Apply gradient to the outer ring… Select the ring in the layers panel.

Select fx, then gradient overlay

Click on the gradient and then select the colours using the little square icons.

35. Download this ‘flames’ image and drag into your photoshop file

Click ctrl + T and reposition like so.

Hold ctrl and select the thumbnail for the layer with the gradient colour. This will select that shape.

Then click back on the flame layer and click layer mask

36. Make sure the flame layer is selected. Where it says ‘normal’ at the top of the layers panel. Click the drop down and select ‘screen’

This will make it slightly translucent but makes it blend well into the background.

To make it stand out more, go to Image – Adjustments – Vibrance… and increase the saturation

37. Download the petals image and drag into photoshop

38. Drag the petal layer so it is just above the layer you want to clip it to.

Press Ctrl and click the thumbnail of layer for the diagonal shape. This will select the shape.

Now select the petal layer and click ‘layer mask’ to cut out the petal.

39. Download the water splash image and complete the same process.

40. Download image and clip to vertical rectangle.

41. Add other elements

When adding the swirl, resize to fit over the whole page. In the layers panel, where it says ‘normal’, change the blending option to ‘darken’