- Open your portrait in photoshop

2. Check your image is high resolution… Go to Image > Image Size … Resolution should be between 150 -300… If it’s not, change it to be between this value.
When you press OK, you might need to zoom out on your image.

3. Go to Layer > Duplicate Layer

4. Go to Filter>Convert to Smart Filter

5. Apply some filters… go to Filter > Filter Gallery

6. Select Artistic…. then Poster edges. These were the levels I entered:
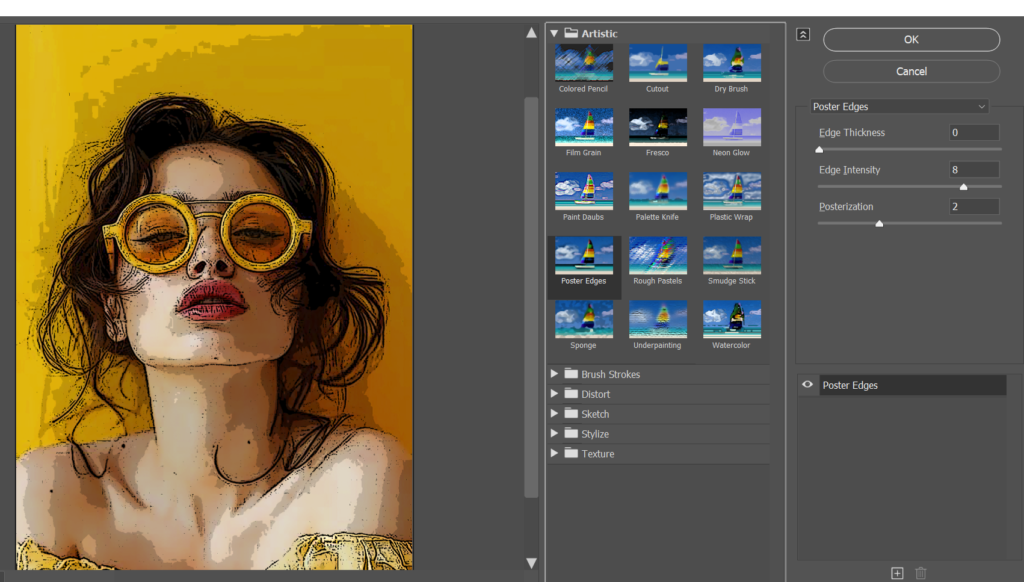
7. Double click on the below icon next to ‘Filter Gallery’ (In your layers panel)

8. Change blending to 70%

9. Go to Filter Gallery again (don’t click on the top filter gallery option as this will just be a quick shortcut to your previous filter)

10. Select ‘cutout’ and apply these levels
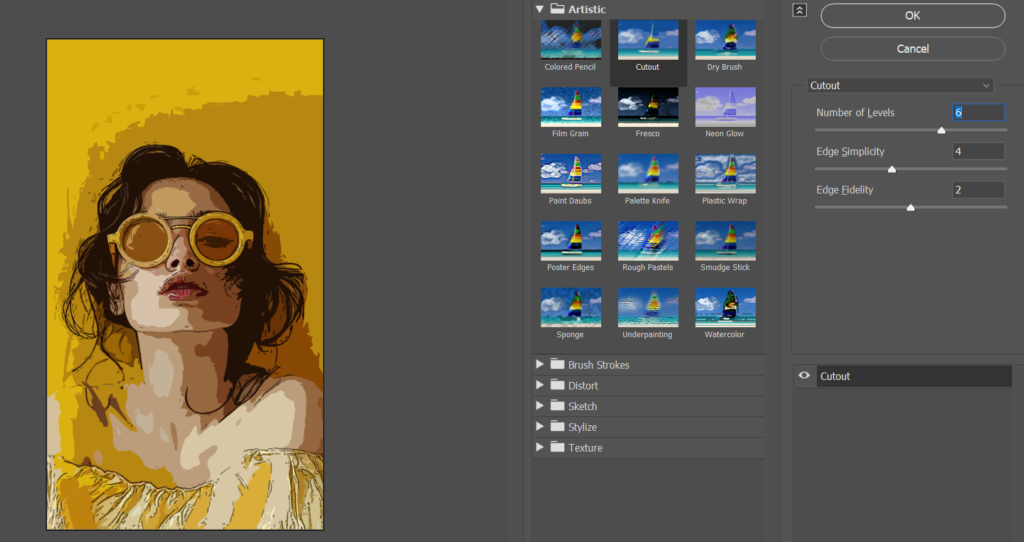
11. Double click on the icon next to the new ‘Filter Gallery’ (In your layers panel)

12. Reduce it to about 60%

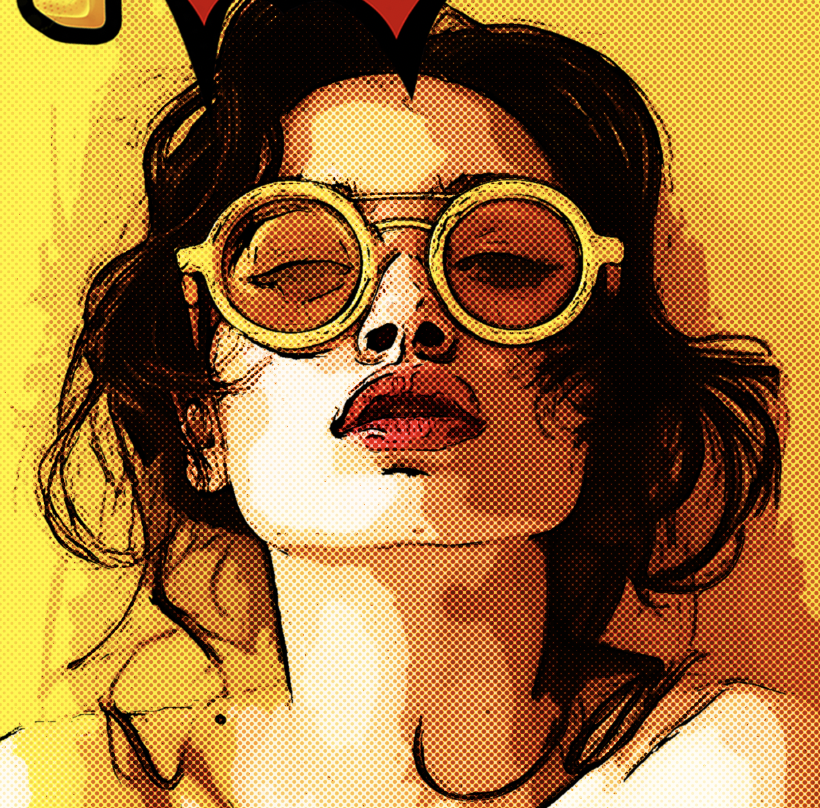
13. Now go to Filter > Pixelate > Colour Halftone

14. Apply the below levels

It will look very blurry to begin with
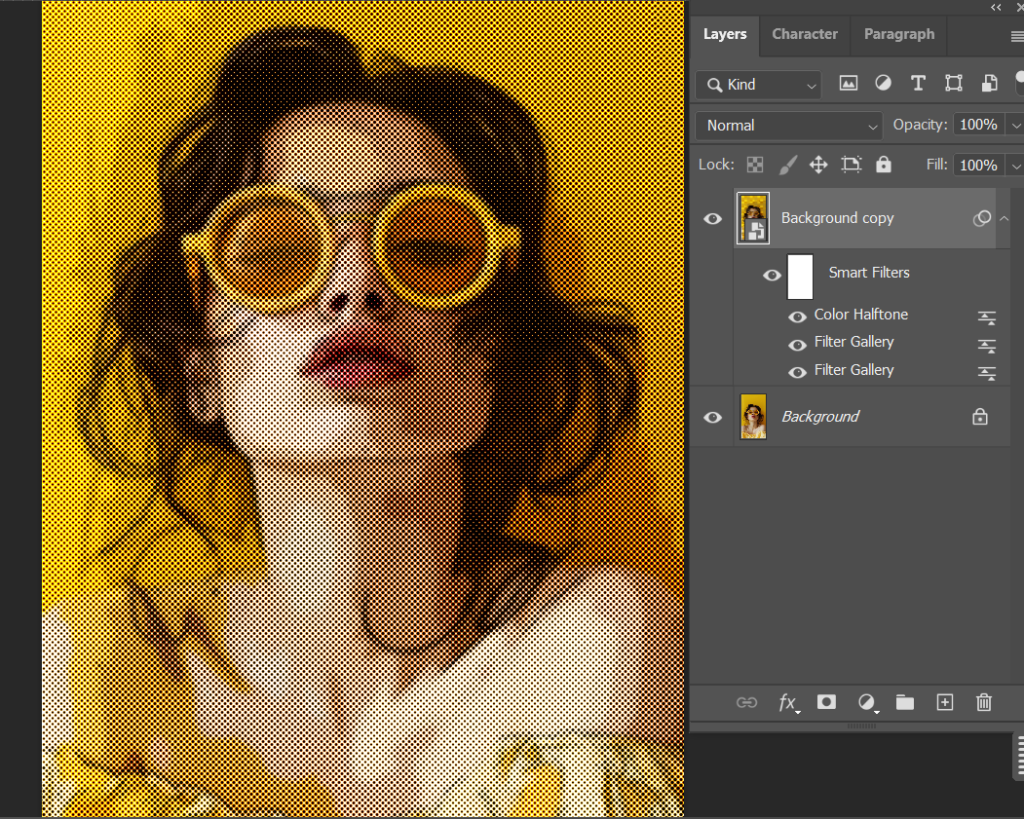
15. Click the icon next to Colour Halftone (in the layers panel)

Change the mode drop down to soft light
Change the opacity to 70%

16. Click on your original background layer in the layers panel

17.
- Duplication layer: Layer > Duplicate layer
- Then drag that layer to the top of the layers panel (this will hide the filters you have applied so far)

18. Go to Filter > Filter Gallery

- Select ‘Stylize’

- Select ‘glowing edges’
- Apply the below levels
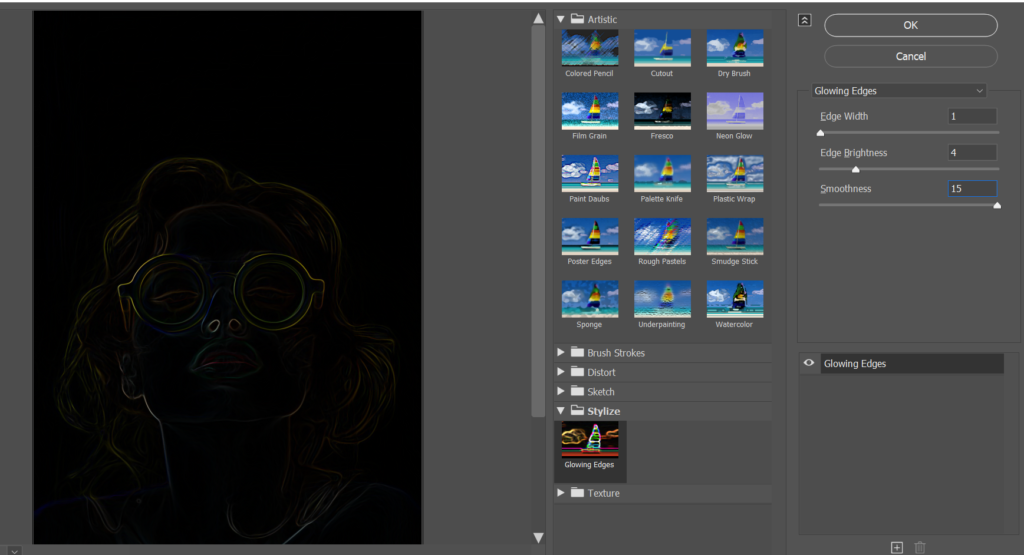
19. Again, go to Filter Gallery

- Adjust the settings until you can see an outline of most details

20. Go to filter > Blur > Gaussian Blur

21. Set to 0.5

22. In the layers panel, click where it says ‘Normal’ to change the blend mode

- Change the blend mode to ‘Multiply’

23.
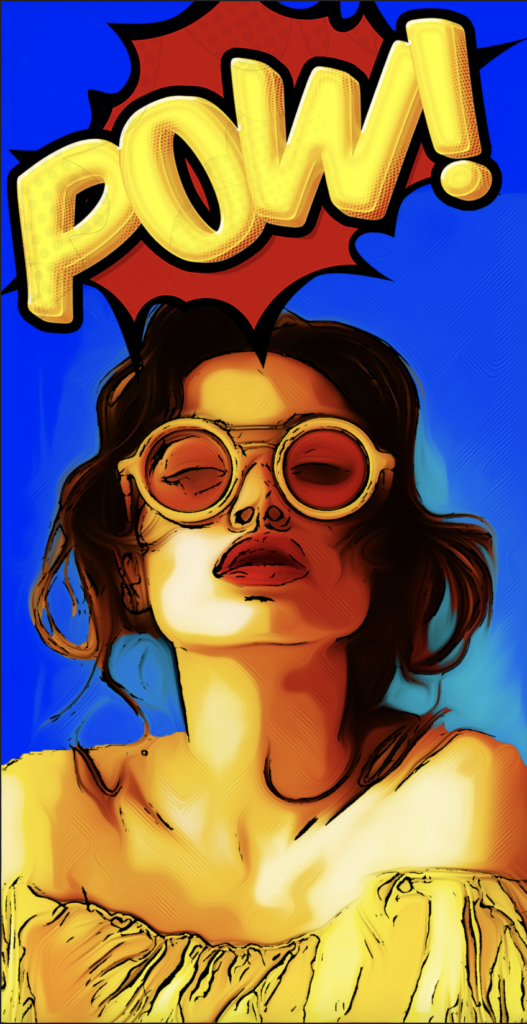
Now combine with Comic Typography from your previous tutorial.
Drag your Typography into the photoshop document. (You may want to remove the typography background first).
Please note: The word in my typography isn’t really relevant to my image. To have a better result, create a word that is relevant to your image. For example, I could have changed mine to ‘WOW’
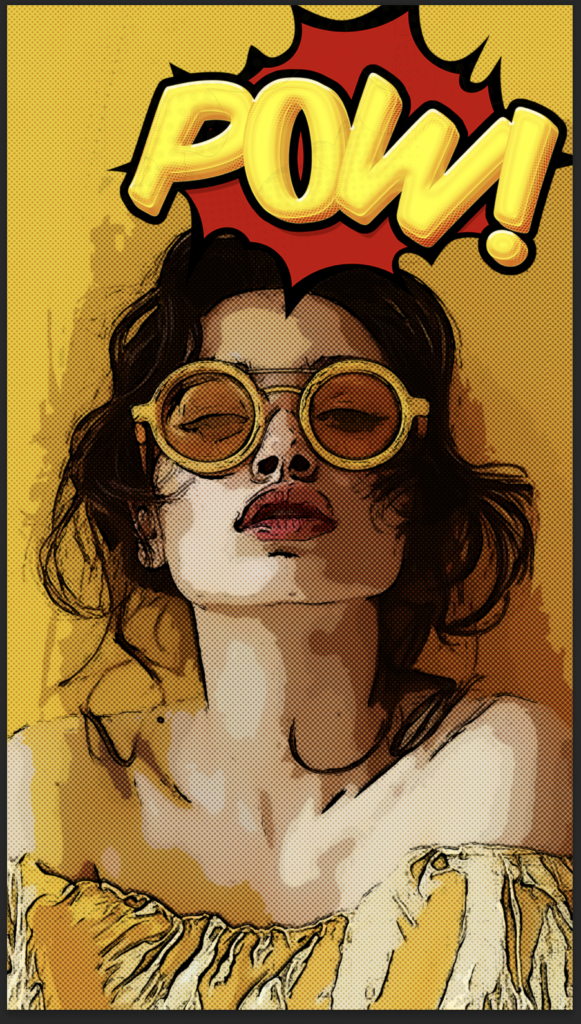
24. The pop art portrait style has slightly more texture than the Typography design.
To create a smoother portrait style you can:
- Make sure you are on the coloured portrait layer
- Go to Filter > Stylise > Oil Paint
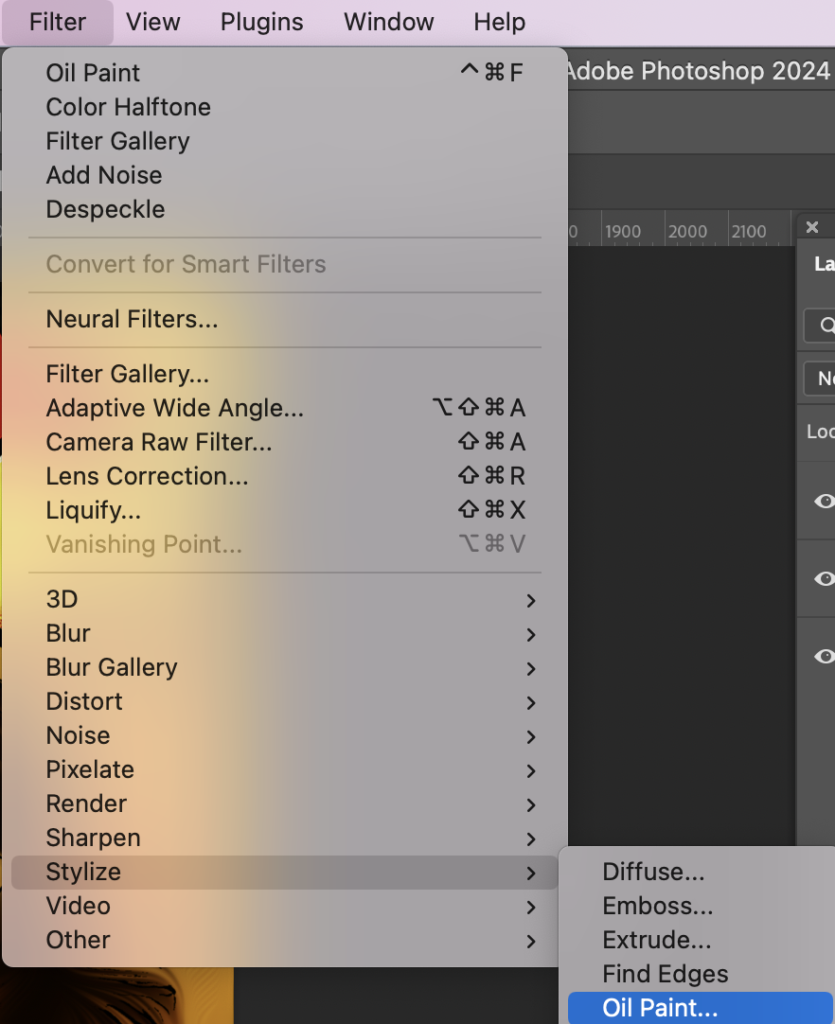
- Repeat this step 4-5 times to get a smoother portrait
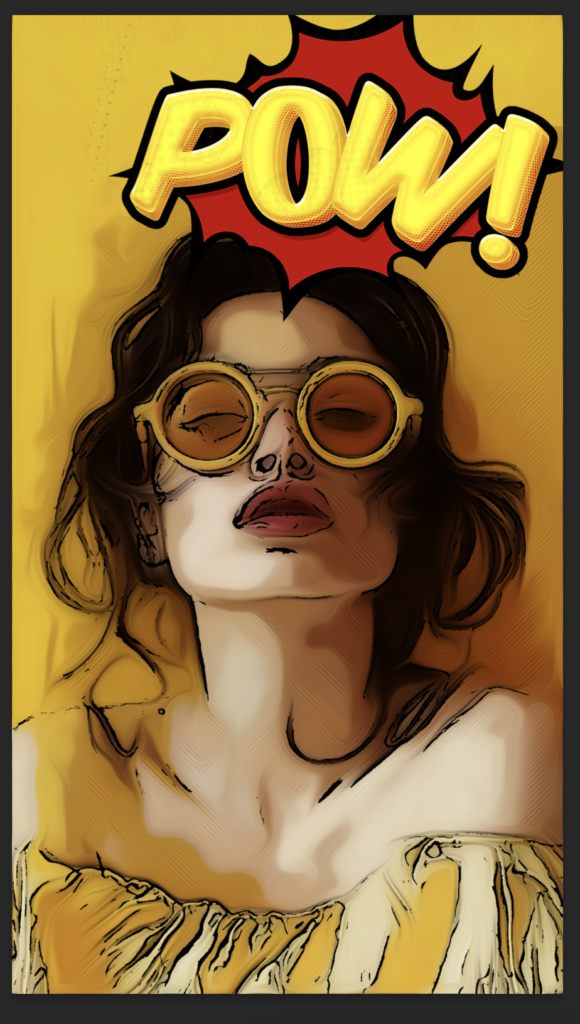
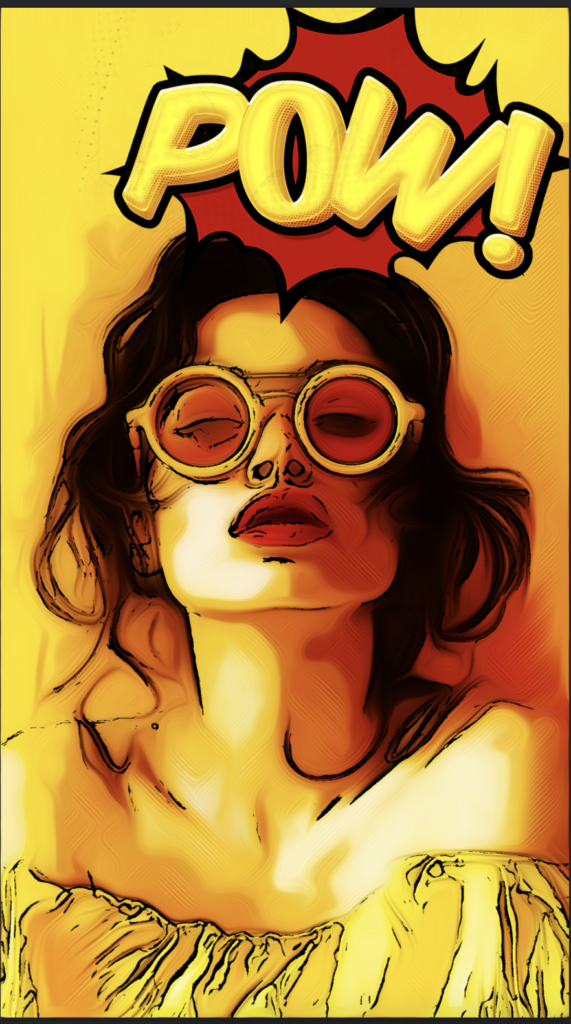
- For my portrait, I also wanted to increase the vibrancy / saturation, to match the vibrancy of the typography.
- Go to Image > Adjustments > Vibrance

You can adjust to suit you:

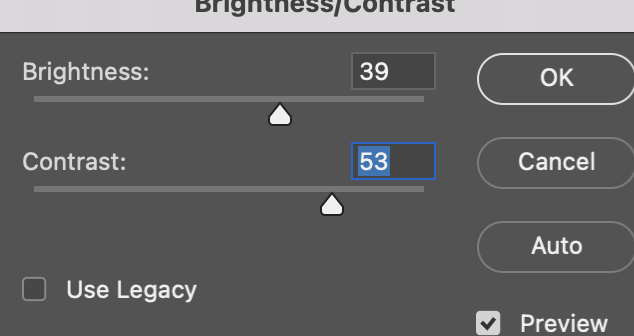
I also increased the brightness and contrast: (image >Adjustments > Brightness/Contrast
25. Option to develop this even further:
I wanted to change the background colour of my portrait. To do this:
- Click on your portrait layer in the layers panel
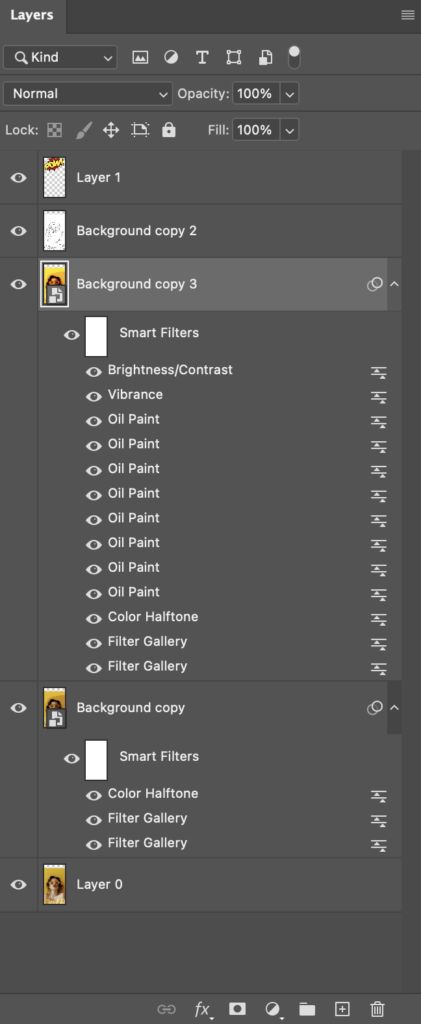
- Go to: Layer > Rasterize > Smart Object
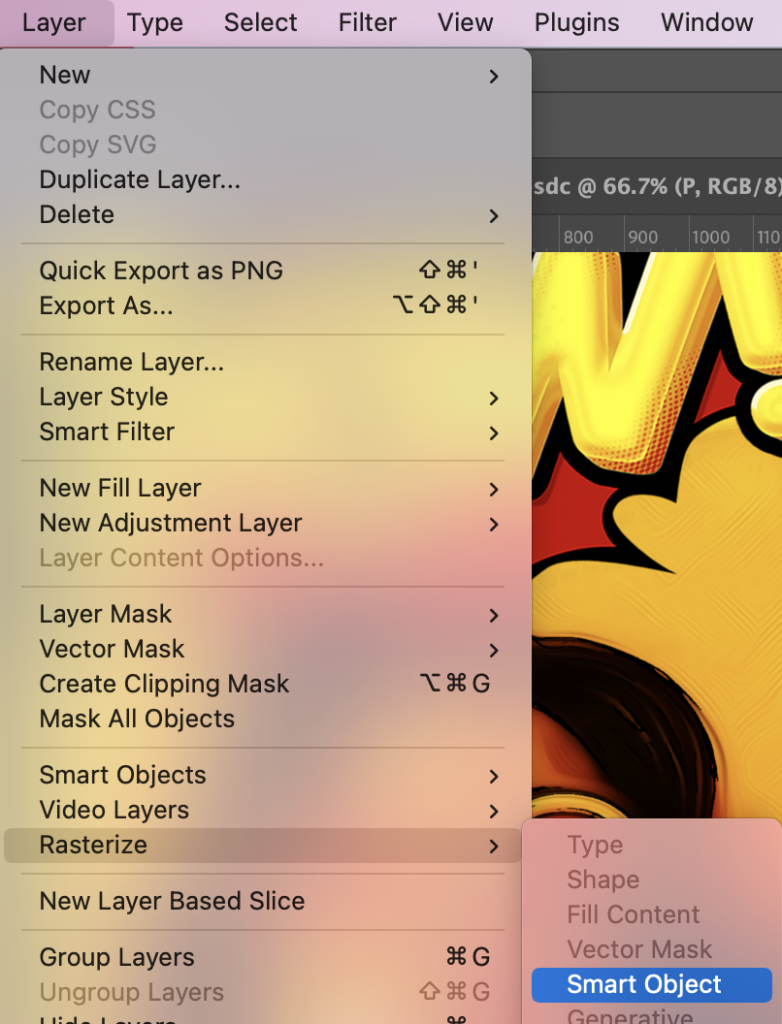
- Go to ‘Select’ > Subject – Photoshop will try to select around the subject as best it can
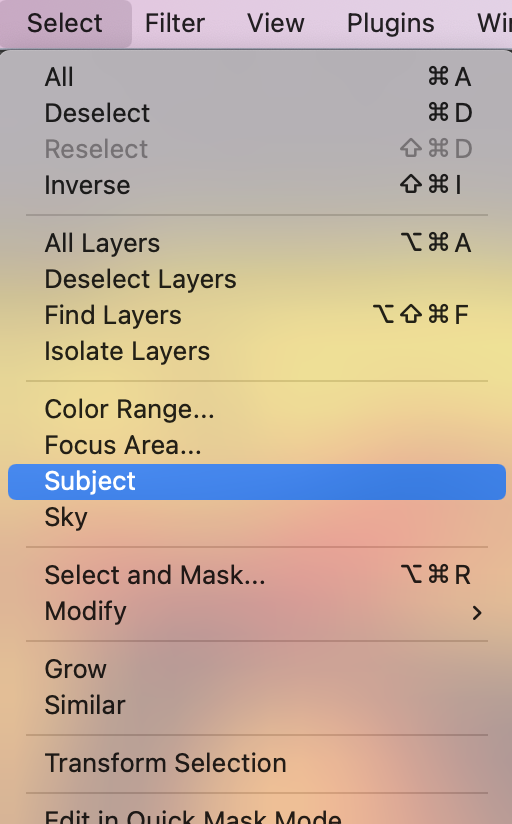
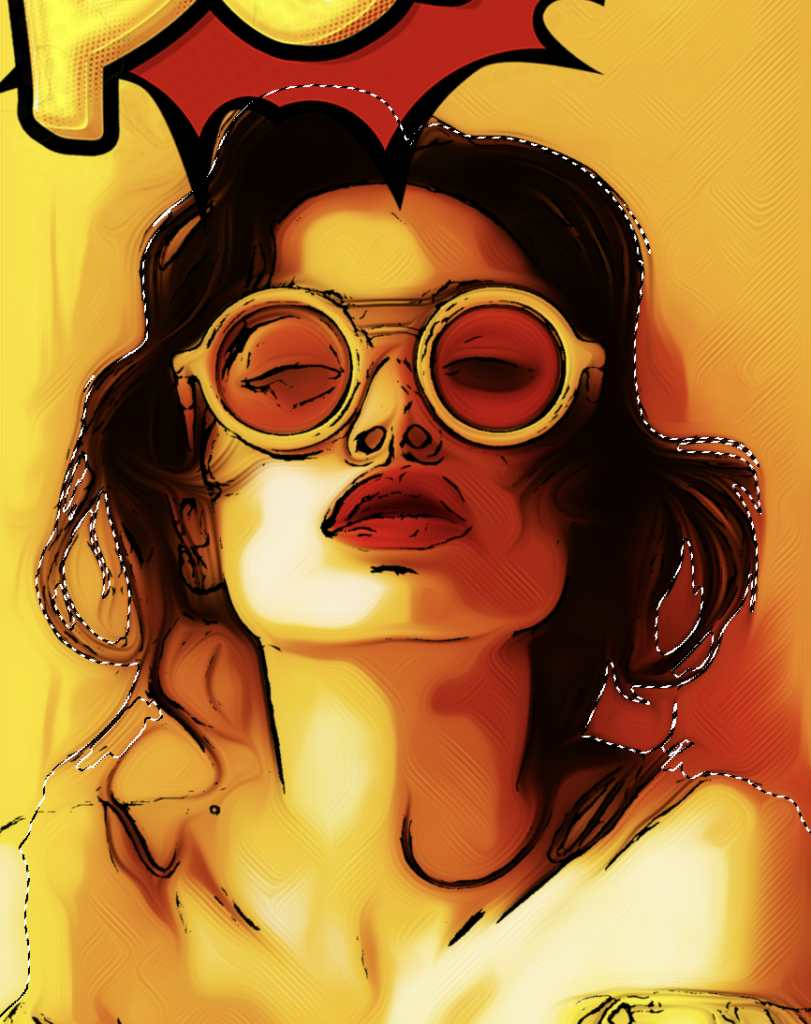
- If photoshop has missed any areas in its selection, you can use the quick selection tool to add or remove from the selection….
- Select the quick selection tool:

- Click and drag over the ares you want to select
- Hold ALT while you click and drag to minus the selection and remove any areas you don’ t want selected.
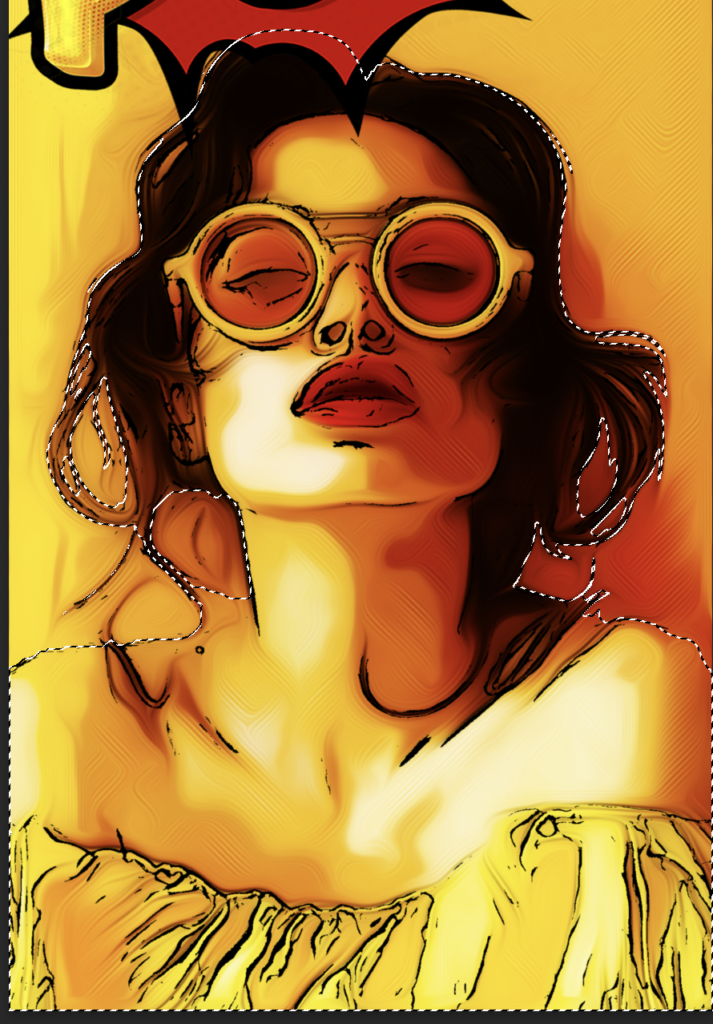
- When you are happy with the selection, click Select > Inverse
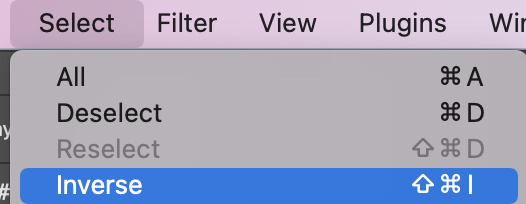
- This will reverse the selection so that it has the background selected instead of the subject
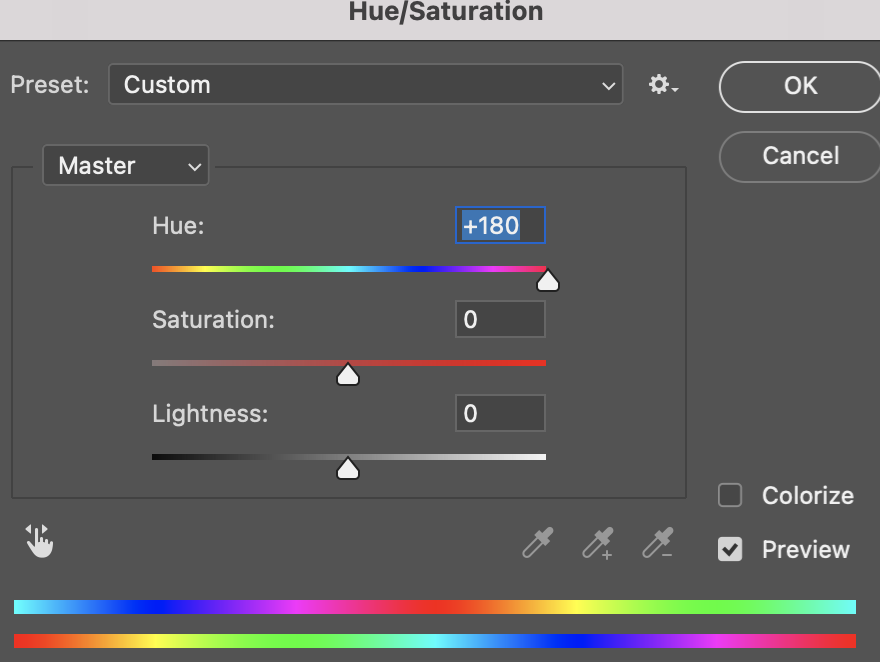
- Now you can edit the colour of the background by going to Image > Adjustments > Hue and Saturation … then changing the Hue Levels
- Please note, if the background you started with is white or black, then changing the Hue will likely not work. Instead, try to use the fill bucket tool
