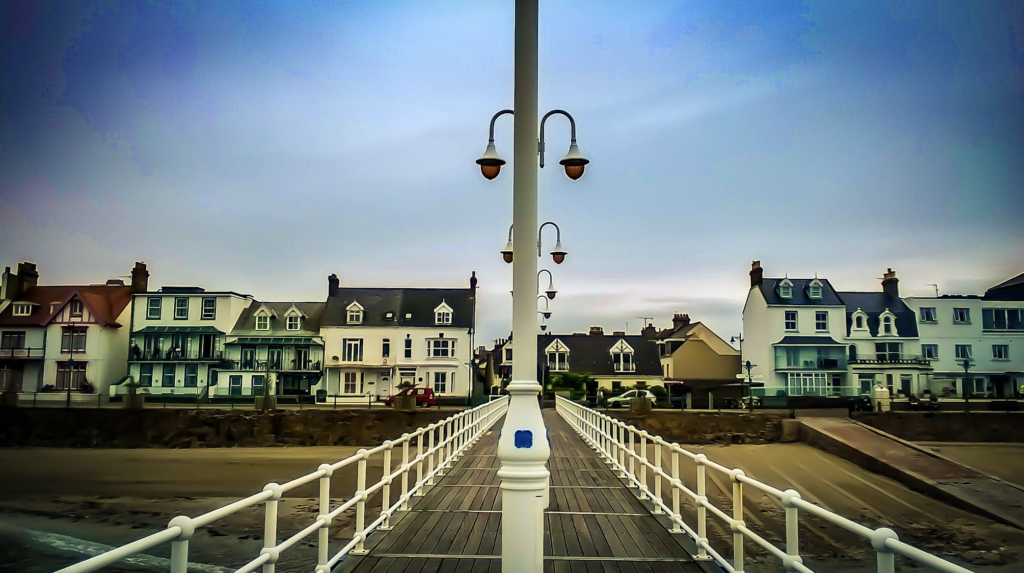
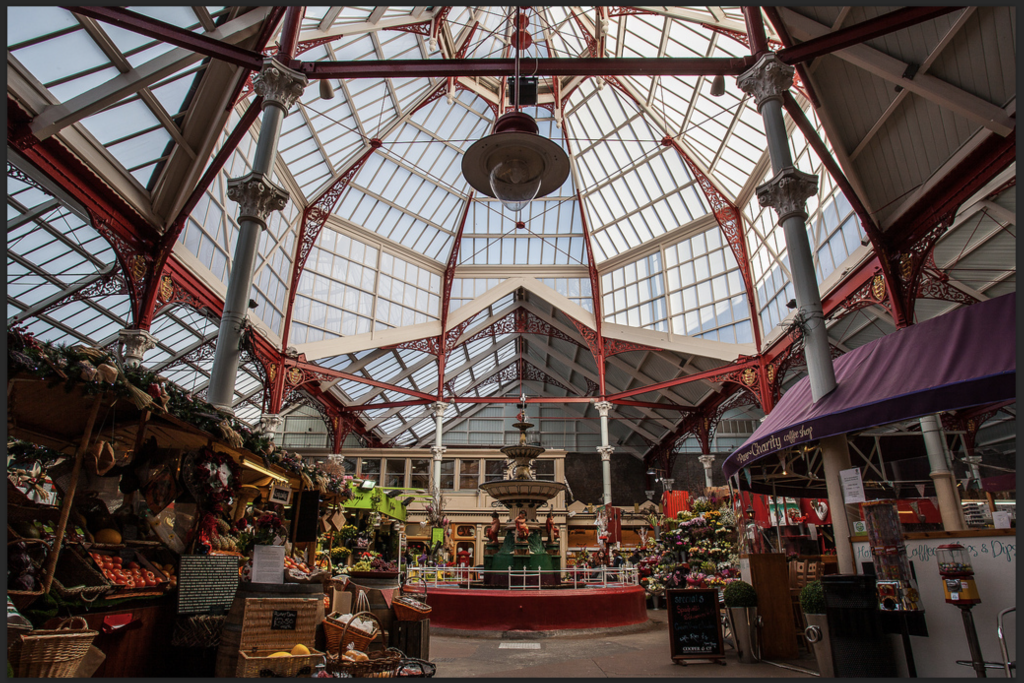
- Download one of the images below or find your own.

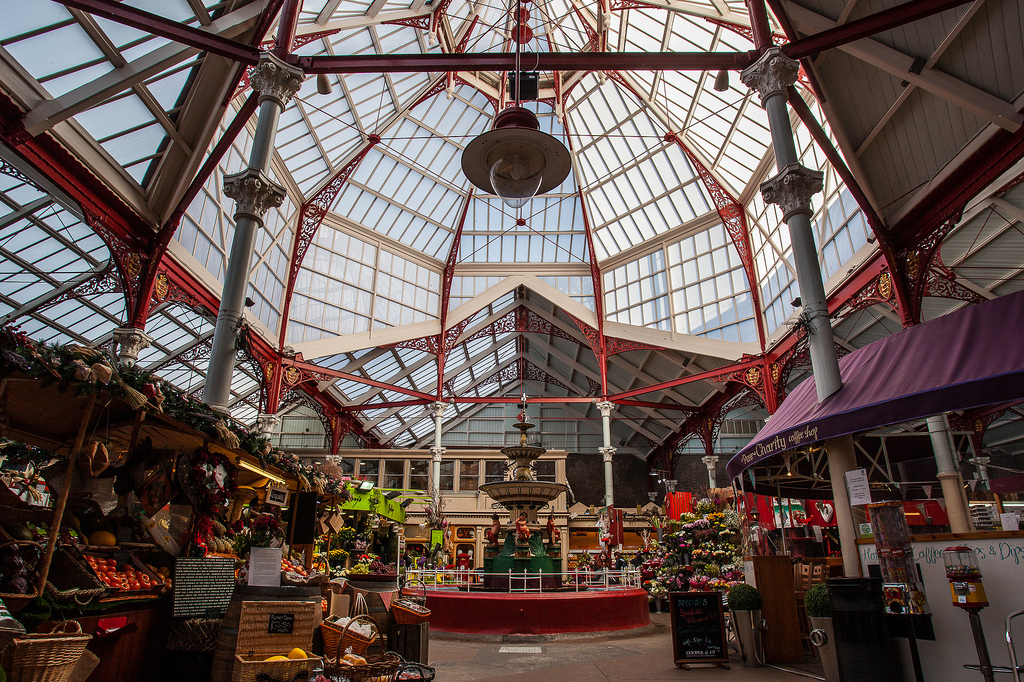


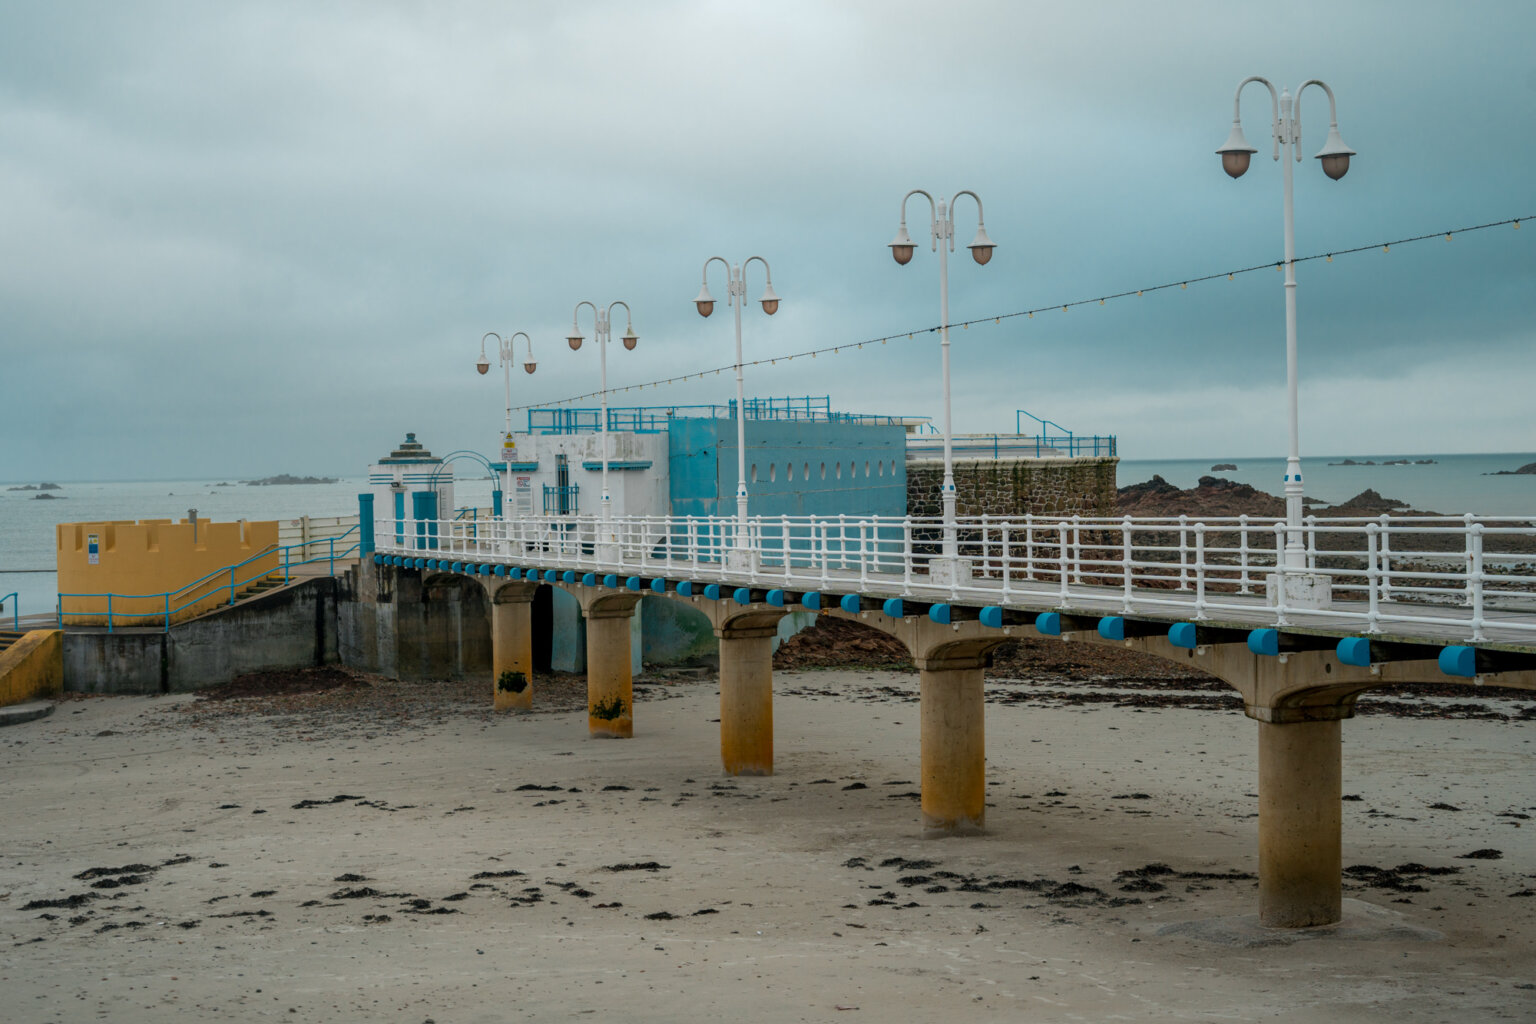
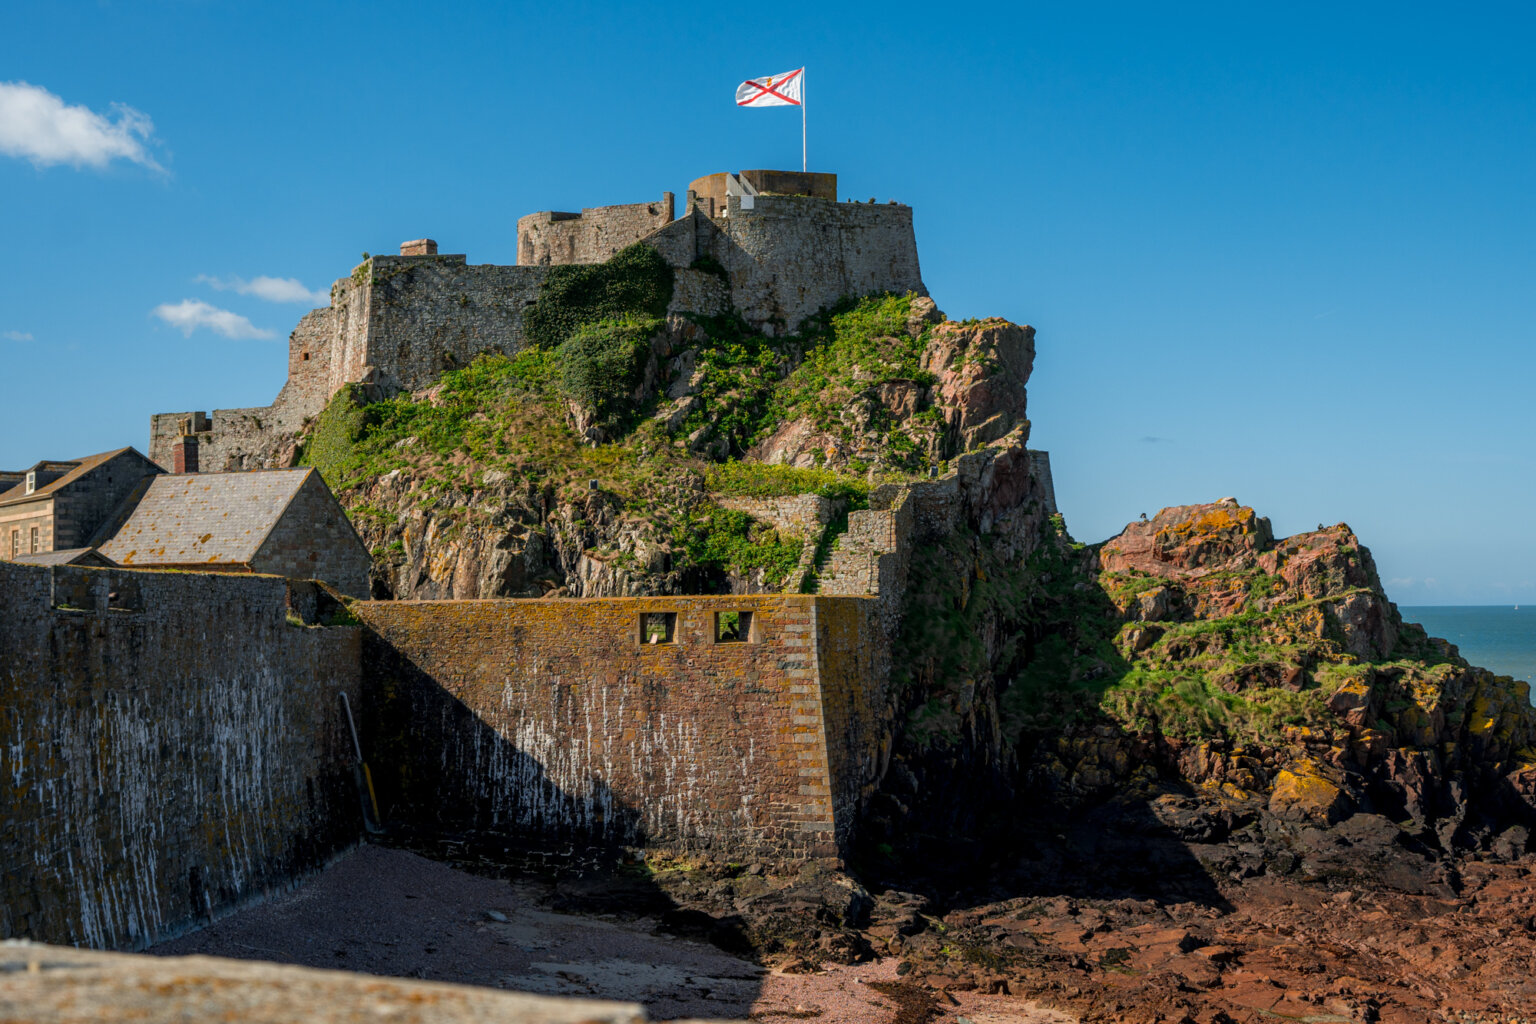
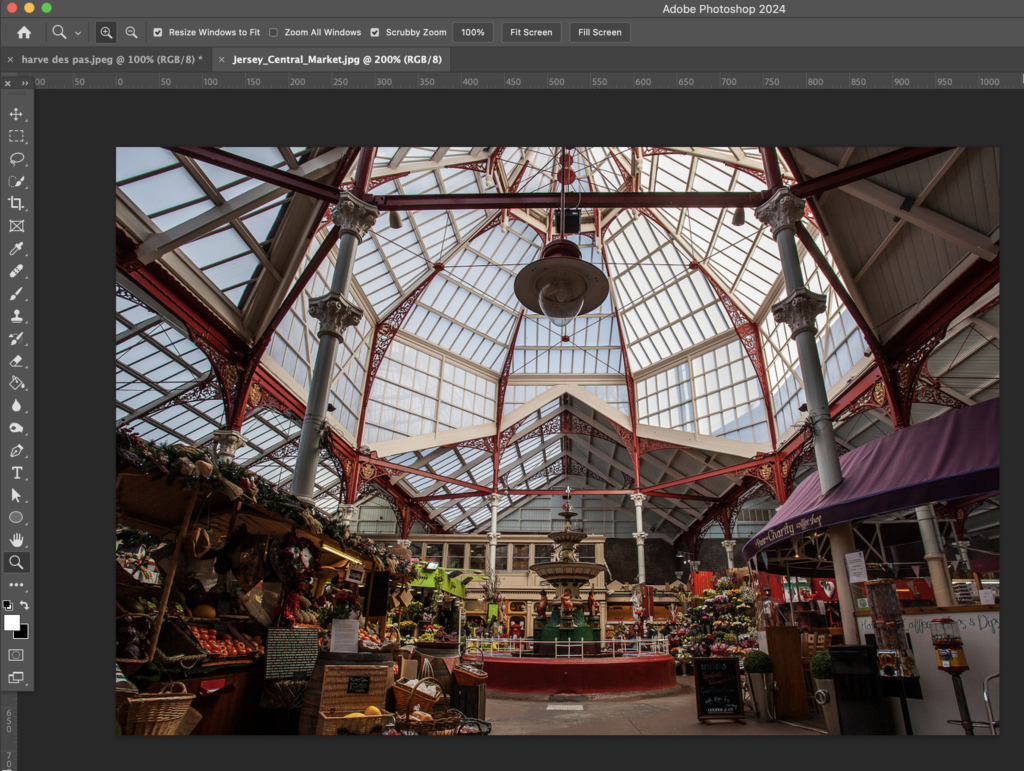
2. Open the image in Photoshop: Right click on the download and select ‘Open With’… then choose ‘Photoshop’
3. Shift the Hue…
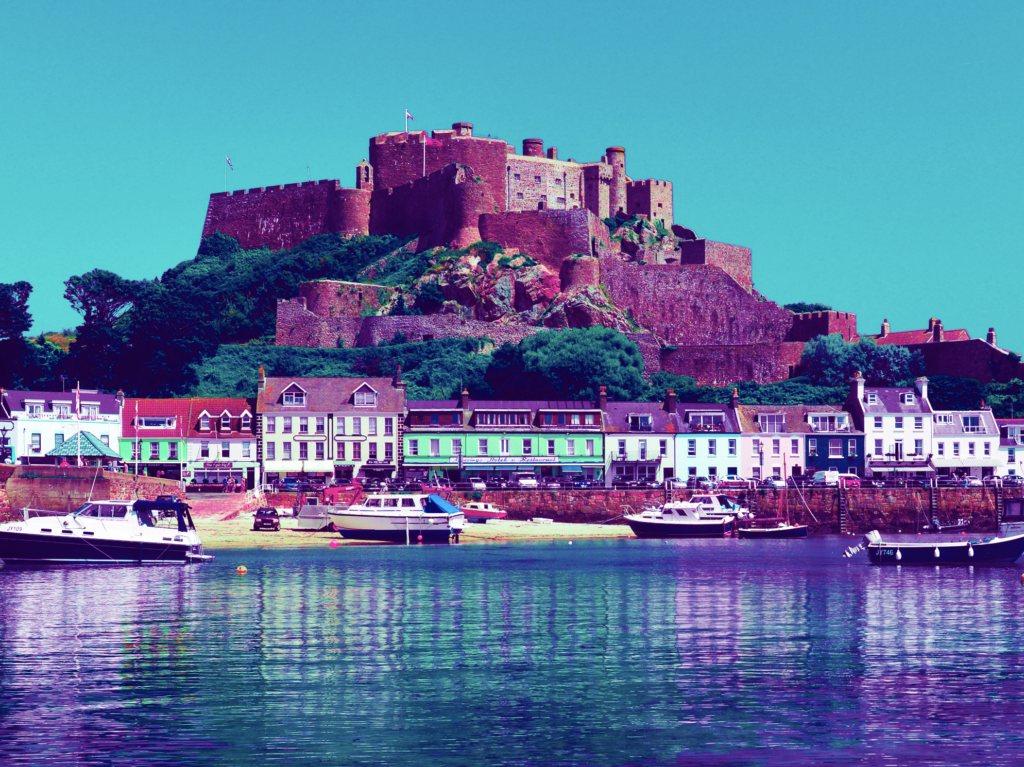
First, you’ll pick two colours and shift the rest of the colours towards those two colours. This technique simplifies the colours.
In Photoshop, go to Filter > Camera Raw Filter.

4. Go to colour mixer
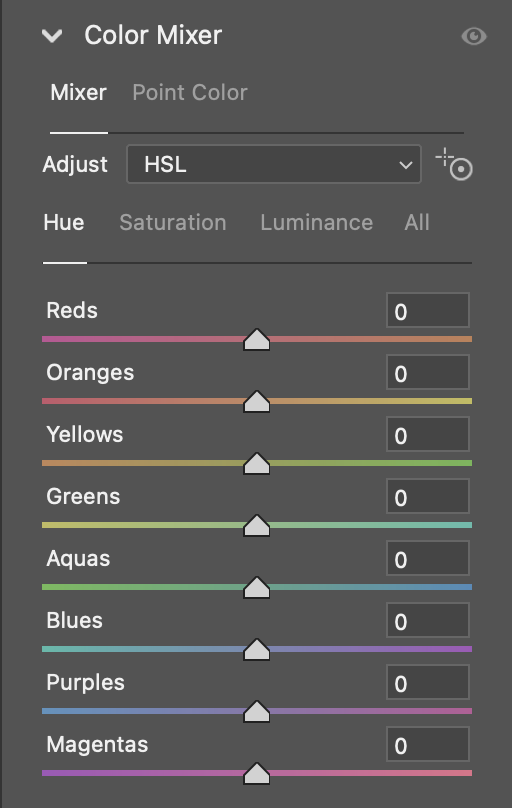
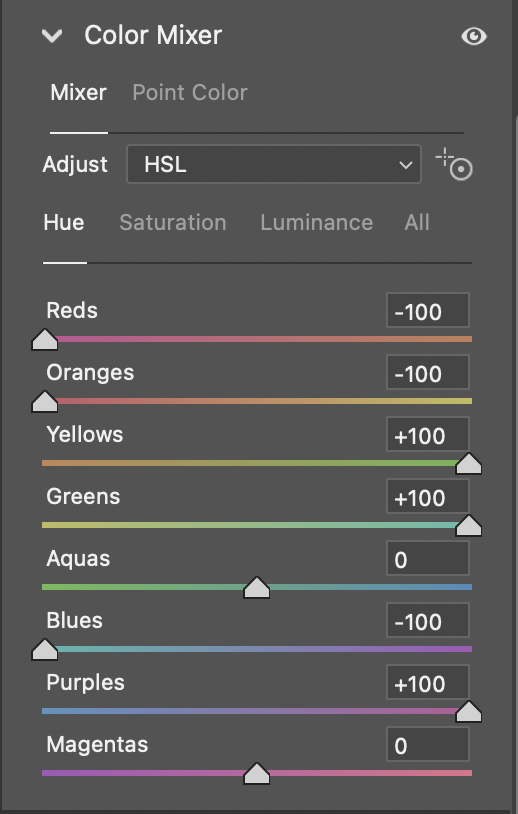
5. Pick 2 colours from the list (preferably two colours that aren’t near to each other). I will picked ‘Aqua’ and ‘Magenta’. You keep the two colours you have picked at zero…. then you move the other colours as close as you can to the colours you picked.
For example… I will shift red as far as I can to the left as this is more of the pink end of the dial that is closest to magenta.
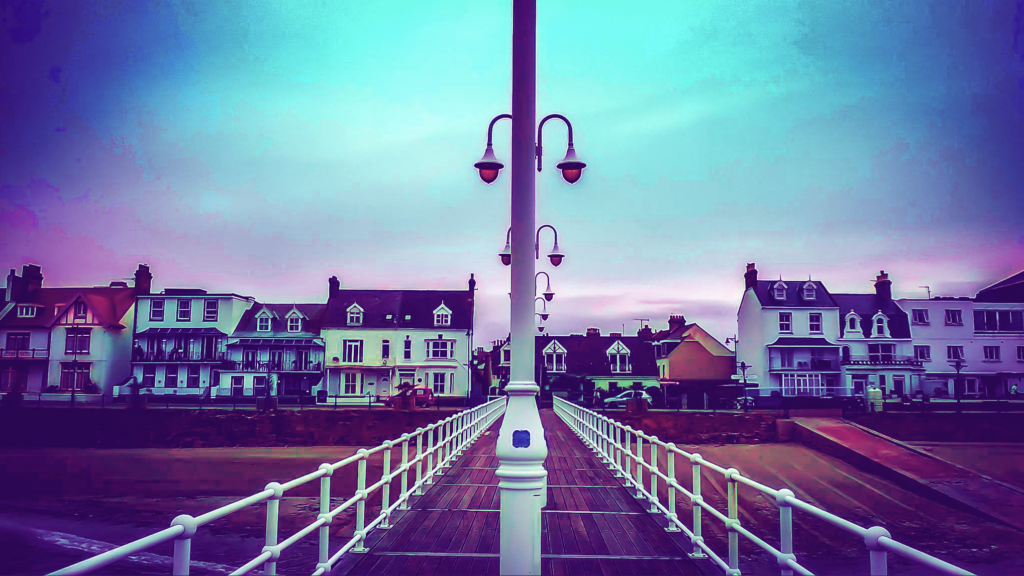
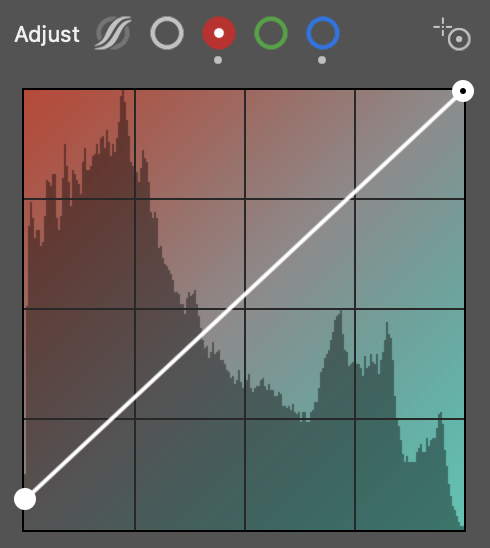
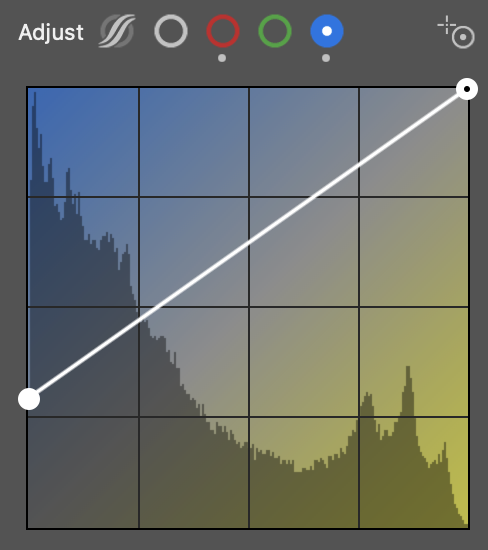
6. Now we need to adjust the shadows by clicking on the ‘Curve’ tab (still in the Camera Raw Filter settings).
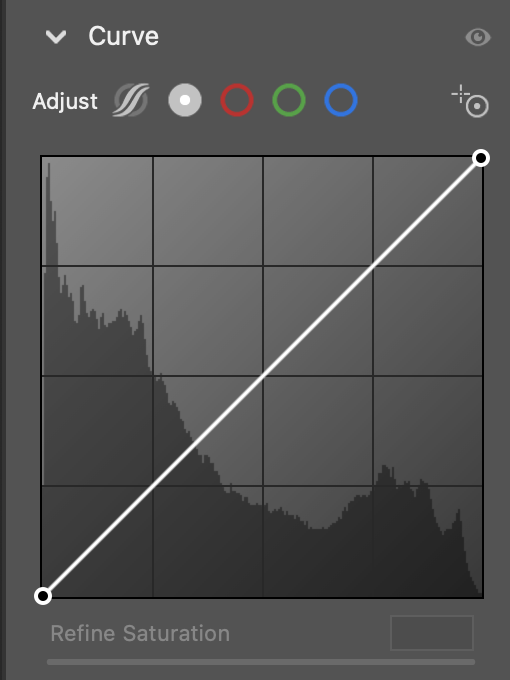
7. To tint the shadows purple, I need to select the blue and red channels, and drag the bottom left point upwards.
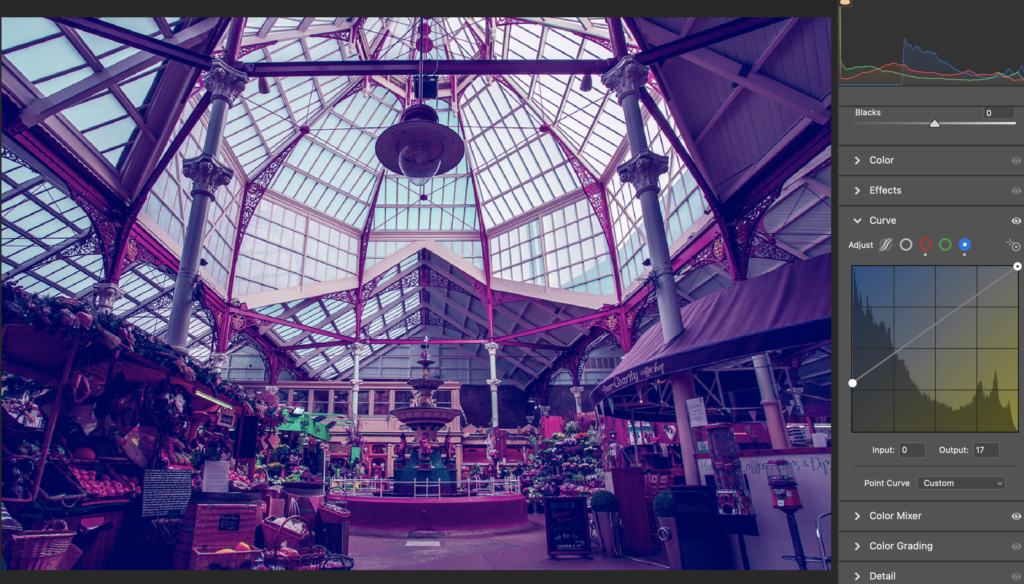
8. Click ok when you are happy with the colours

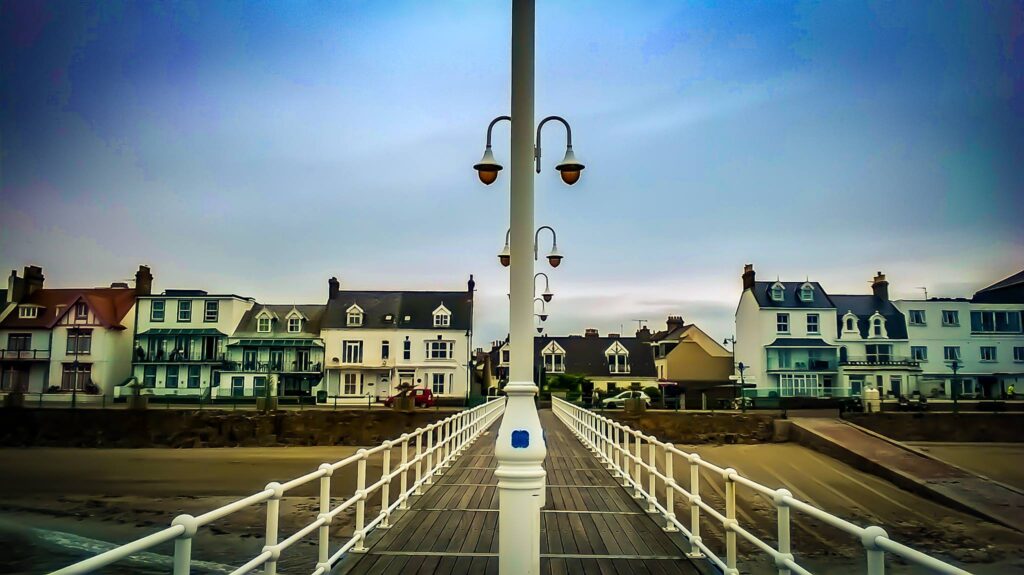
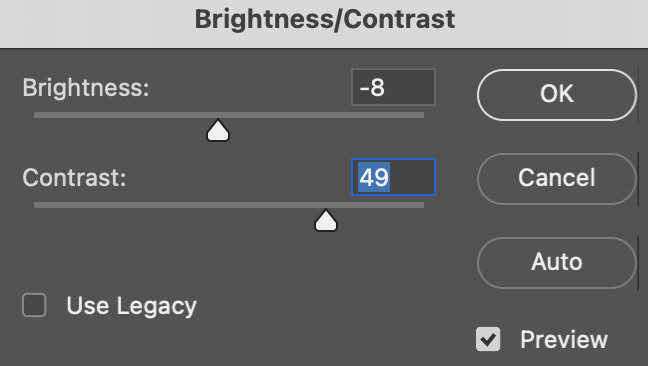
9. Go to: Image, Adjustments: Brightness and Contrast

Adjust the brightness & contrast to your liking
10. Go to Image, Adjustments: Vibrance
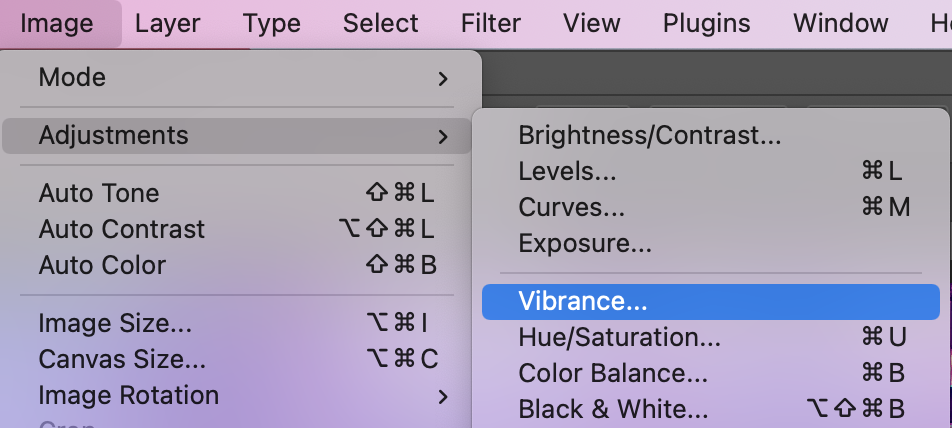
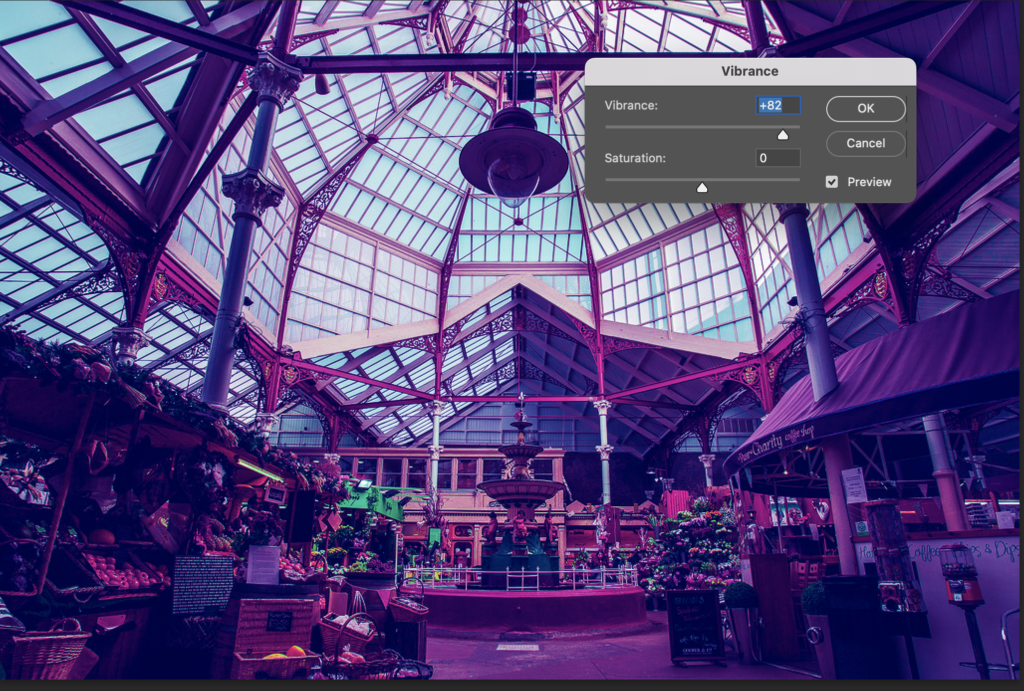
Adjust the vibrance to your liking
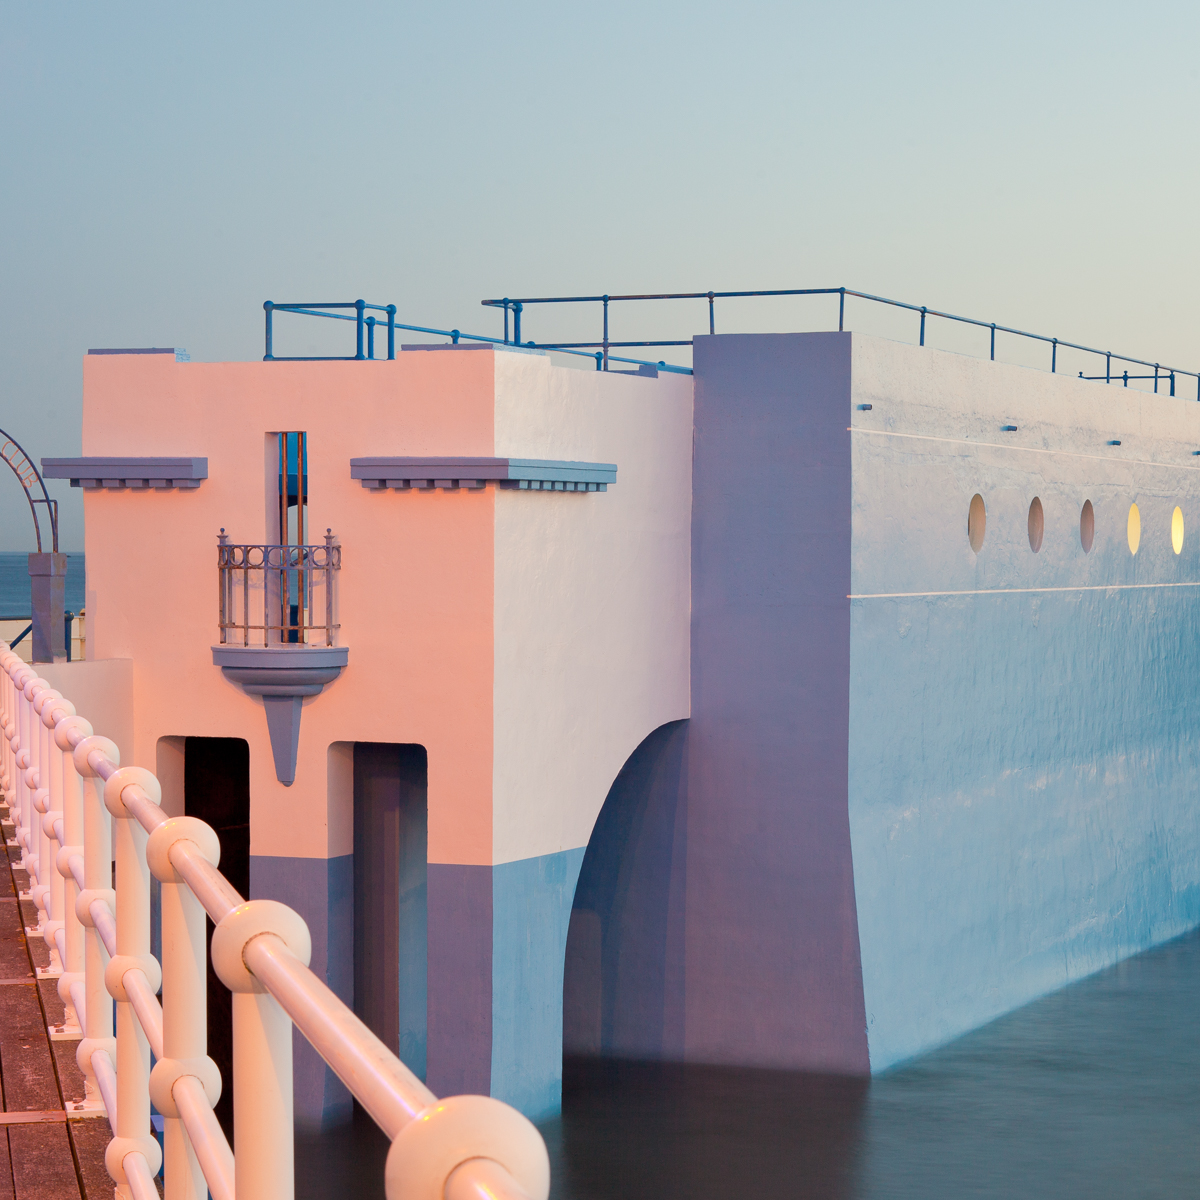
The results (Before and After)
11. Try creating a series of surreal photos as a triptych (A group of three):