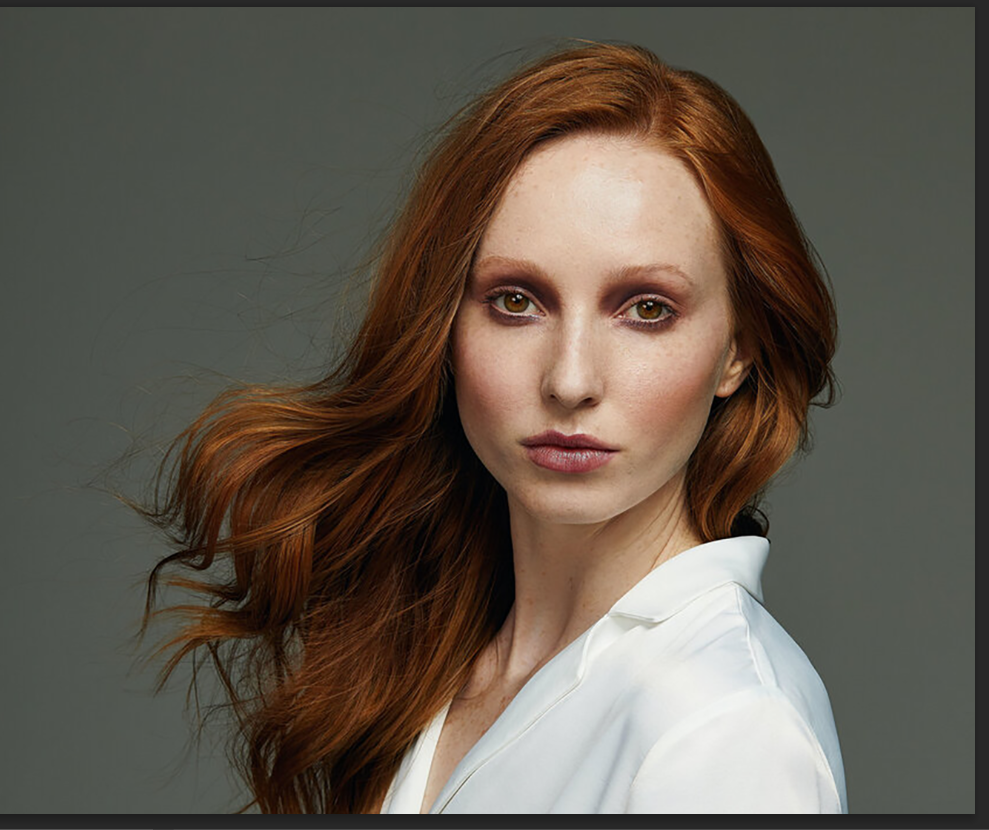
- Open your chosen portrait photo in photoshop
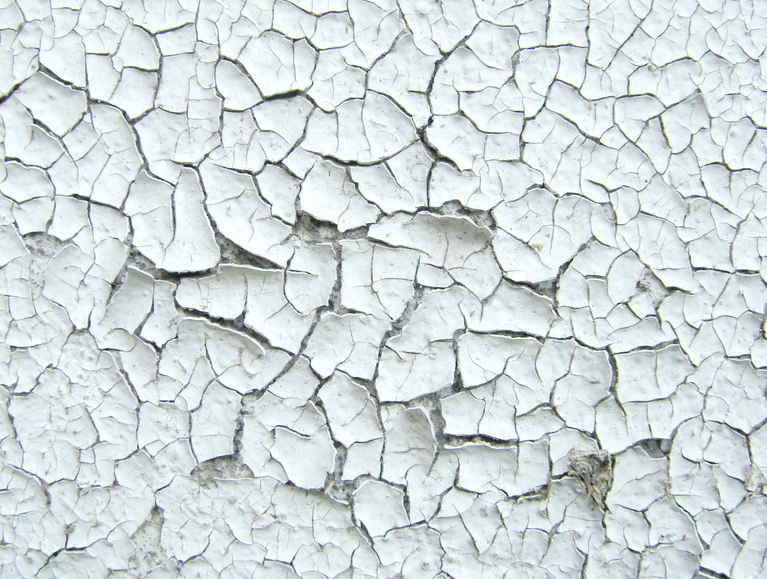
2. Drag your cracked texture image on top of the portrait layer. You can download the below image or chose your own.
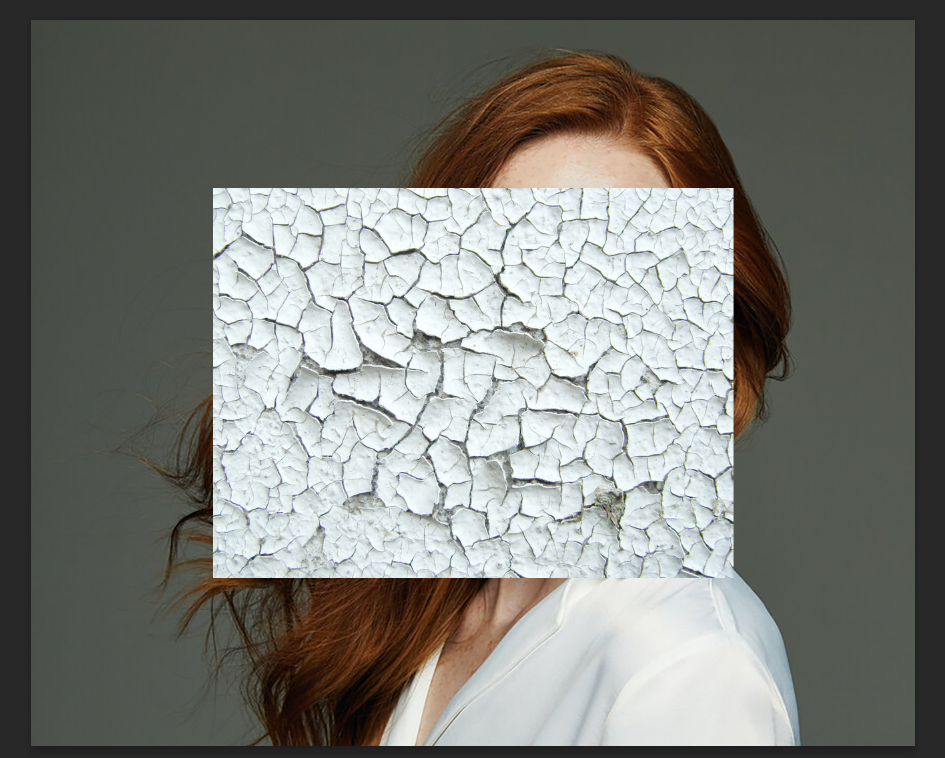
3. Press CTRL + T to activate free transform. This will allow you to move and resize the image where you want it. You can either add the cracked effect to the whole portrait or to one side.
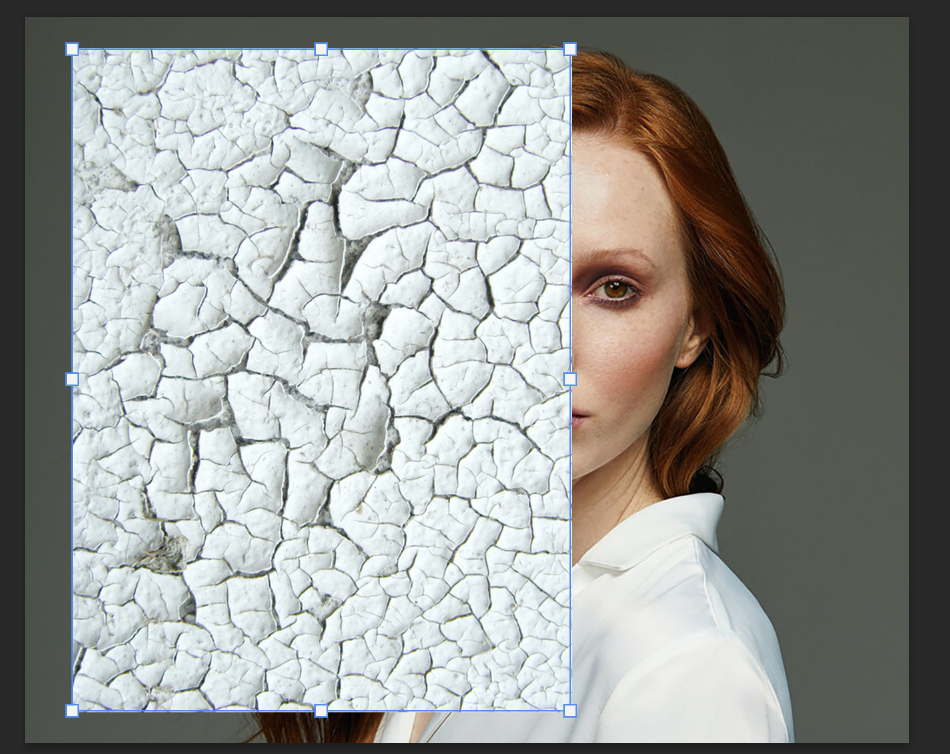
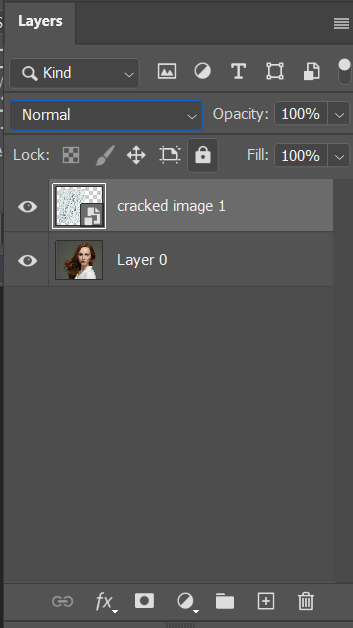
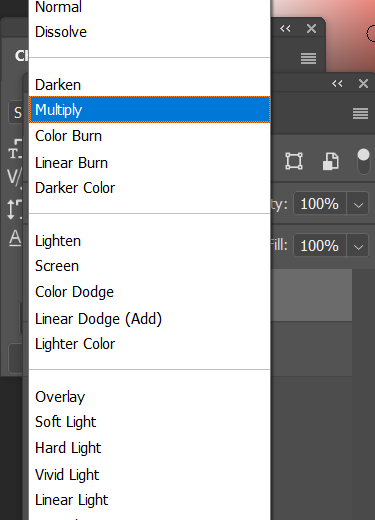
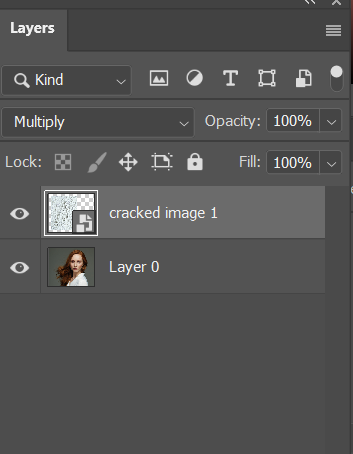
4. In the layer panel, where it says ‘normal’, change the blend mode to bland the two images together. I chose ‘Multiply’
My image now looks like this:
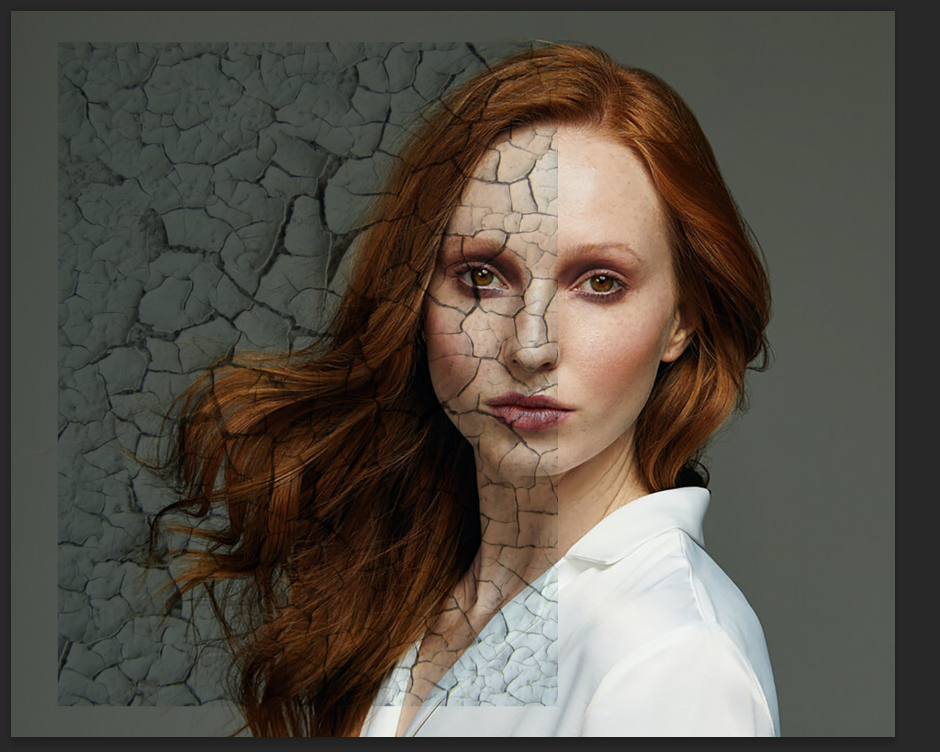
5. Now I am going to modify the cracked layer to make it look like it is shaped to the face. To do this, make sure the cracked image layer is selected in the layer panel
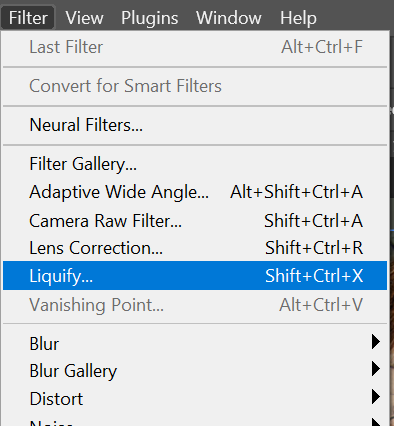
6. Now go to Filter along the top toolbar and click ‘liquify’ from the drop down.
7. In the pop up box, you need to make sure that ‘Show Backdrop’ is ticked. This will enable you to see both layers. You can adjust opacity to suit you. (This is not what your image will end up looking like, it’s just to help you as you liquify the cracked image layer)

8. Use your mouse to click and drag areas of the cracked texture to manipulate it so it looks like it folds around the curves of the face.
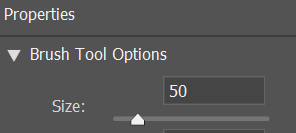
You can also adjust the brush size while you do this.
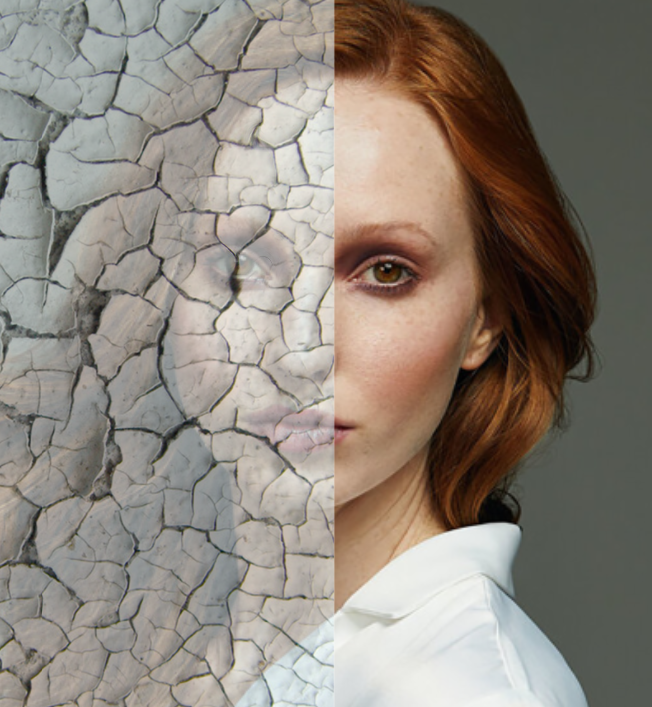
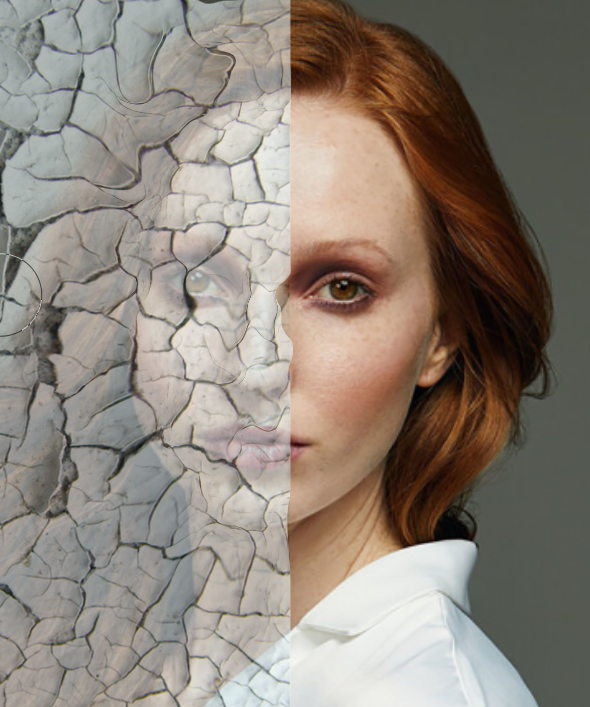
Tip: you only really need to concentrate around the eyes, nose and mouth. You can also compress the cracks around the edge of the face.
Press OK when you are happy with the result.
9. You can adjust the contrast of your cracked layer to enhance its visibility. Go to: Image > Adjustments > Brightness and Contrast
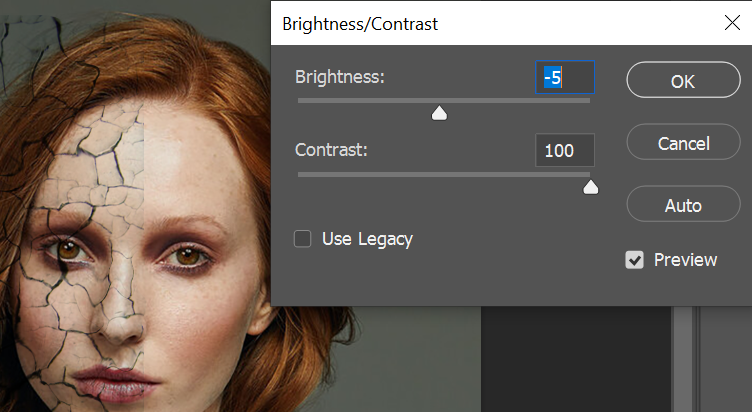
10. In the layers panel (make sure you cracked image layer is selected), click the new layer mask icon

11. Select the paint brush tool

12. Reduce the hardness of the brush and adjust the size to suit you.
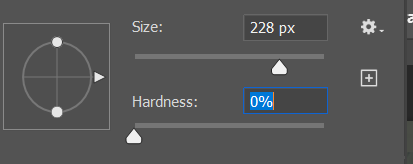
13. In the layers panel, make sure you have the mask selected (the white box) rather than the original image.

14. Set the foreground colour to black for your paintbrush

15. A mask layer works by erasing areas that are black, so you can paint anywhere you want to erase your cracked effect. This enables you to remove the edges of the image.
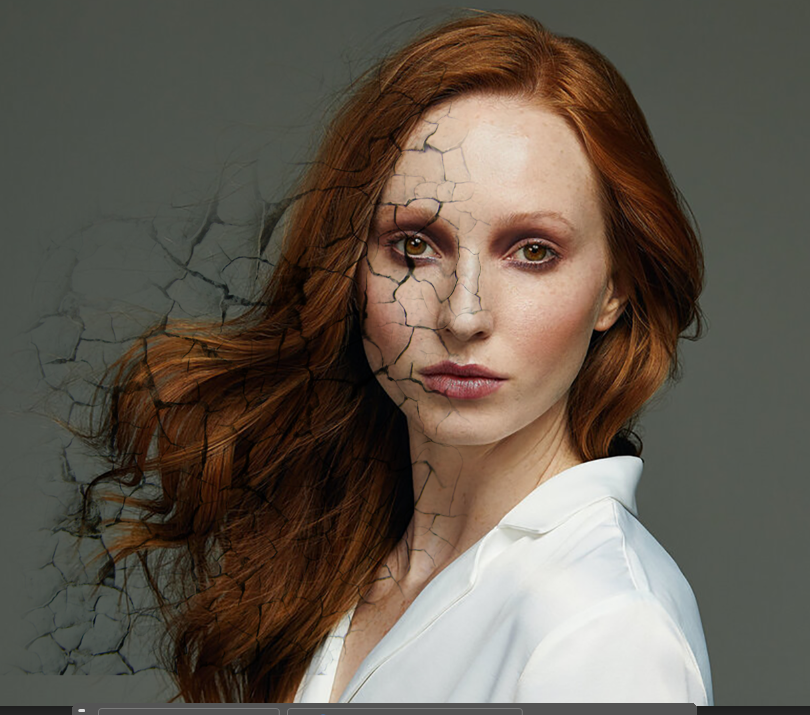
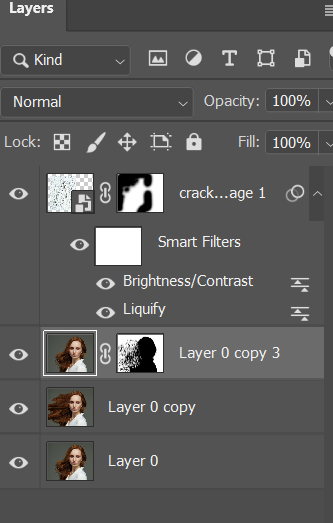
16. Now we are going to start creating the dispersion effect. To begin with, duplicate your layer with your portrait on. Make sure your layer is selected in the layer panel.
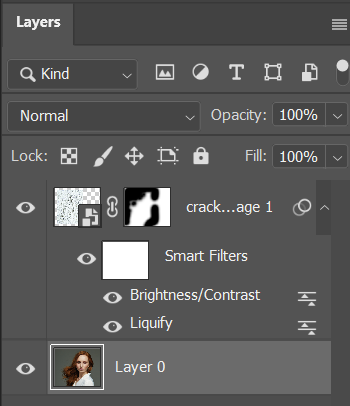
Go to Layer > Duplicate Layer
You should now have two portrait layers
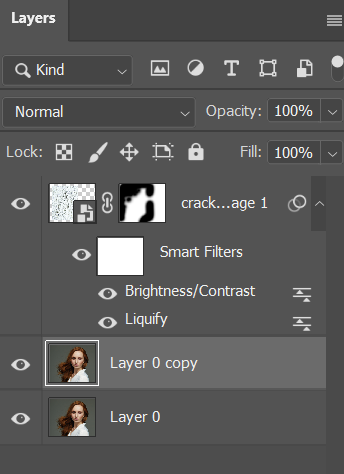
17. Select your image. You can do this by going to Select along the top toolbar and then clicking ‘Subject’ in the drop down.
If this doesn’t work, you can use the quick selection tool. Click and drag around your portrait to select them. Tip: hold alt to delete a selection that is wrong.
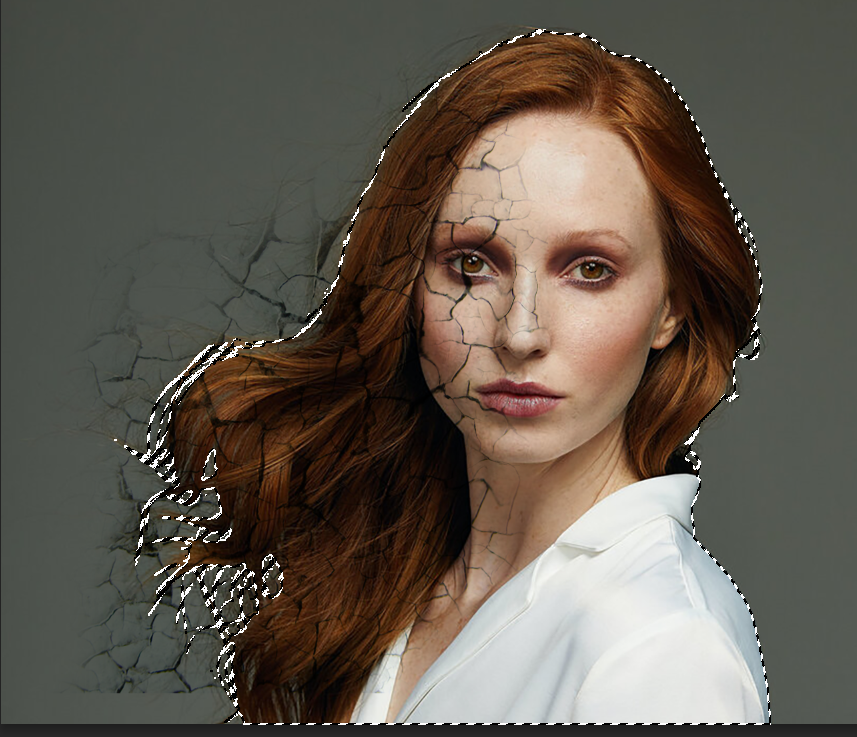
18. Now you have your person selected, we need to invert this selection so that the background is selected instead. Go to Select > Inverse
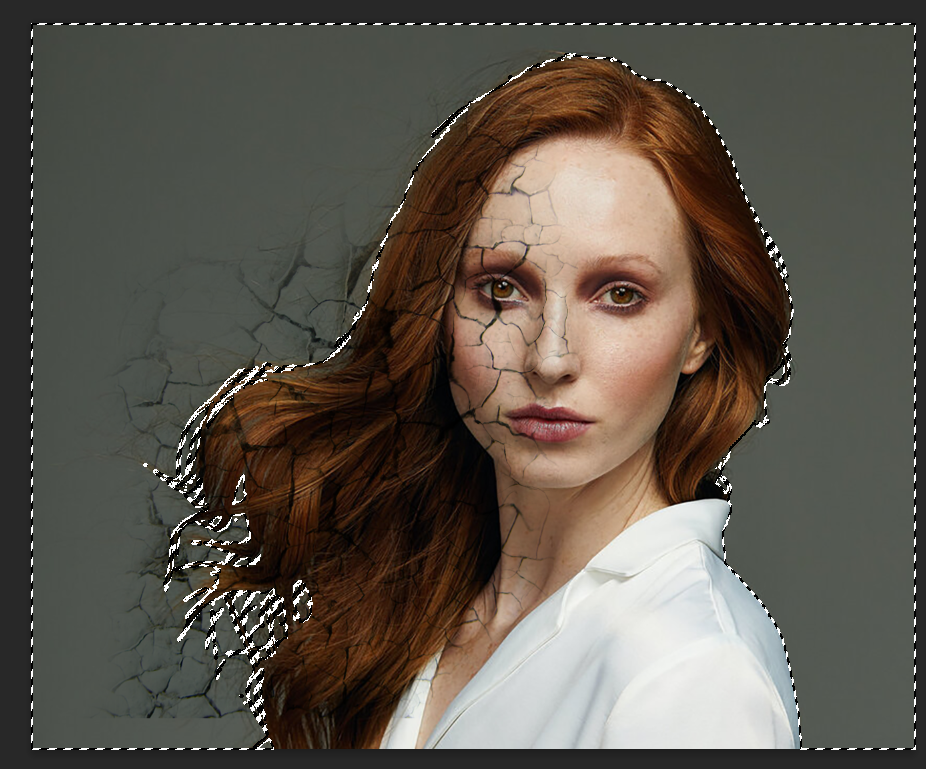
19. Click the new layer mask icon

Your layer mask will appear like this next to your top portrait layer.

20. Now click back onto your bottom portrait layer.
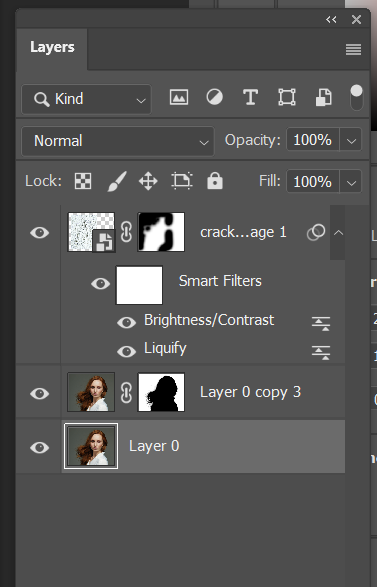
Duplicate this layer again… Layer > Duplicate Layer. You will now have another portrait layer between your bottom and top portrait layers.
21. With this middle layer selected, go to Filter > Liquify
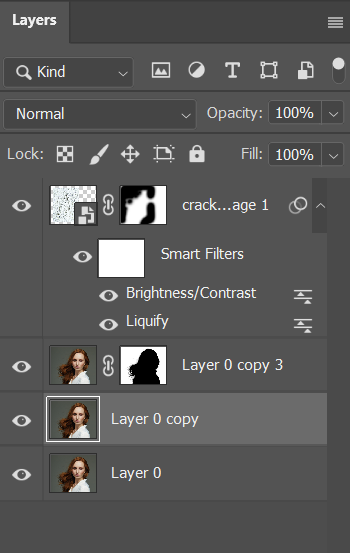
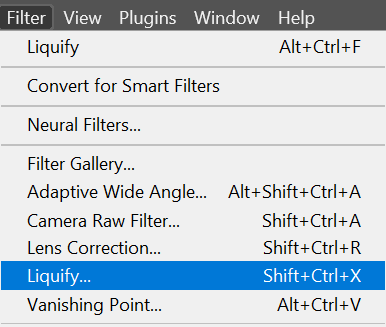
22. Your photoshop may automatically recognise that you have a portrait in the photo and will automatically go onto the portrait aware tool (Along the left hand side of the pop-up). Instead, you should click on the top ‘Forward Warp Tool’

23. Drag part of your portrait out to the side like in the image below
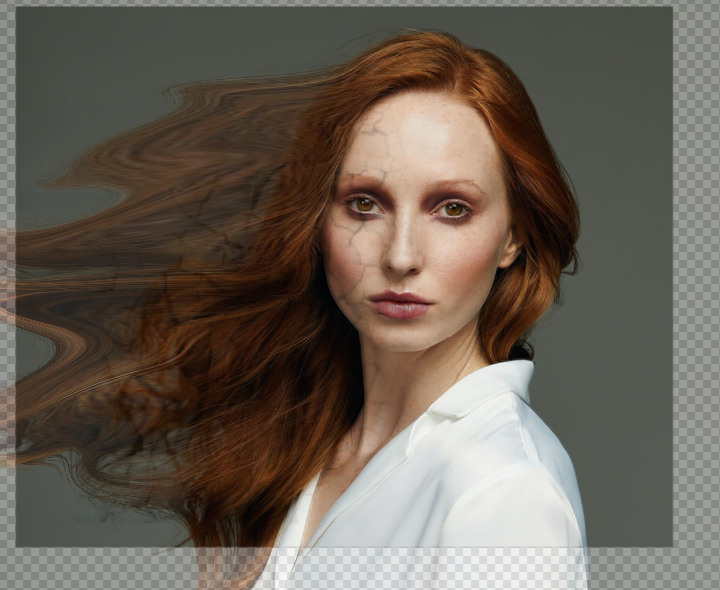
24. When you click OK, it may look like your liquify hasn’t worked, but that is because it is behind a layer mask (on the layer above it).
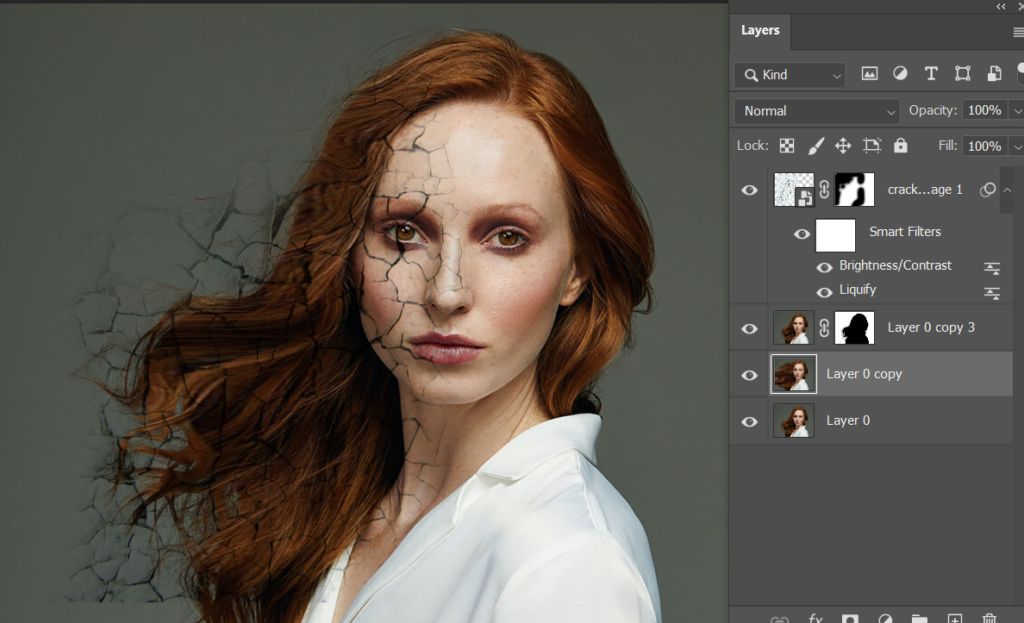
Now we are going to work on the mask of the top Portrait Layer. Make sure it is selected in the layer panel.
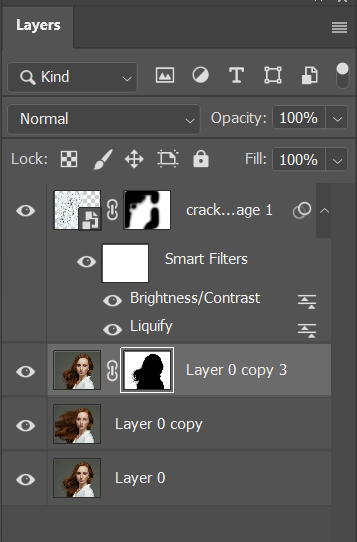
25. Select the brush tool

26. From the drop down in the top left, check if you have ‘Dry Media Brushes’ available.
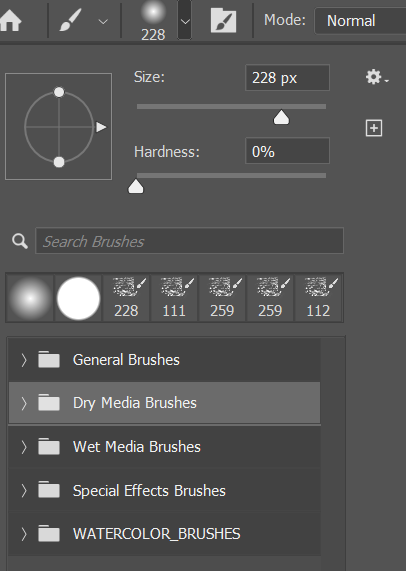
If you don’t have Dry Media Brushes, you can download them from SharePoint: Here
27. From the Dry Media Brushes, select the chunky charcoal

28. Select your foreground colour as Black

29. Adjust the size of your brush as suits you. Start to paint (one click at a time… don’t drag your brush) into the background of your image. Remember, where you paint black, it will reveal the image below (so it will reveal the portrait that you liquified).
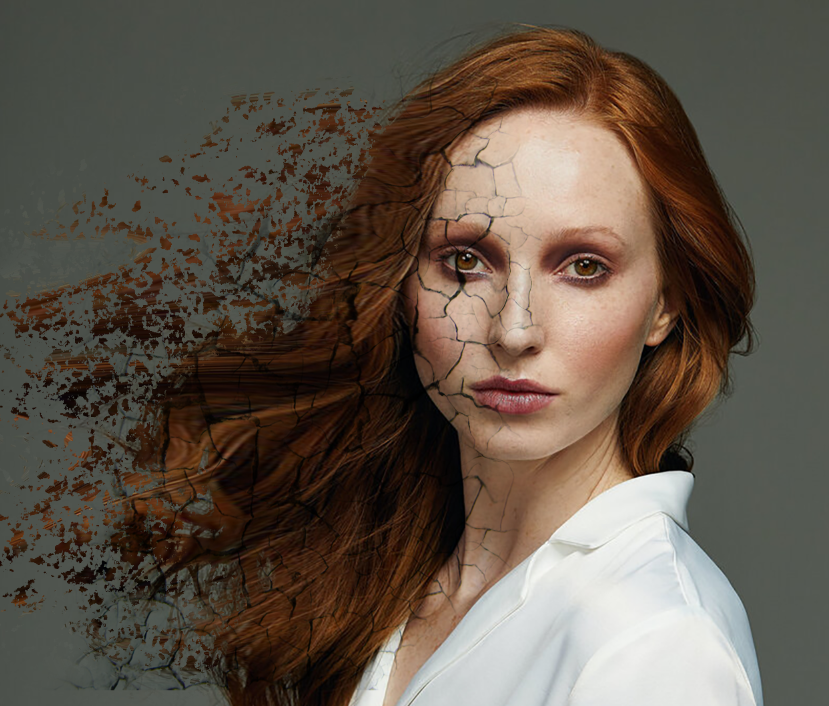
30. If you want it to look like there is more broken away, you can use the same brush to add the background colour. First, make sure you select the image, not the mask in the layers panel.
31. Now hold ALT on your keyboard which will activate the dropper tool.

While holding alt, click the background colour that you want to use. This will match the colour from the background with the colour you are using for your brush tool.

32. Now paint the background over the top to make it look like the image is breaking up more.

Extension:
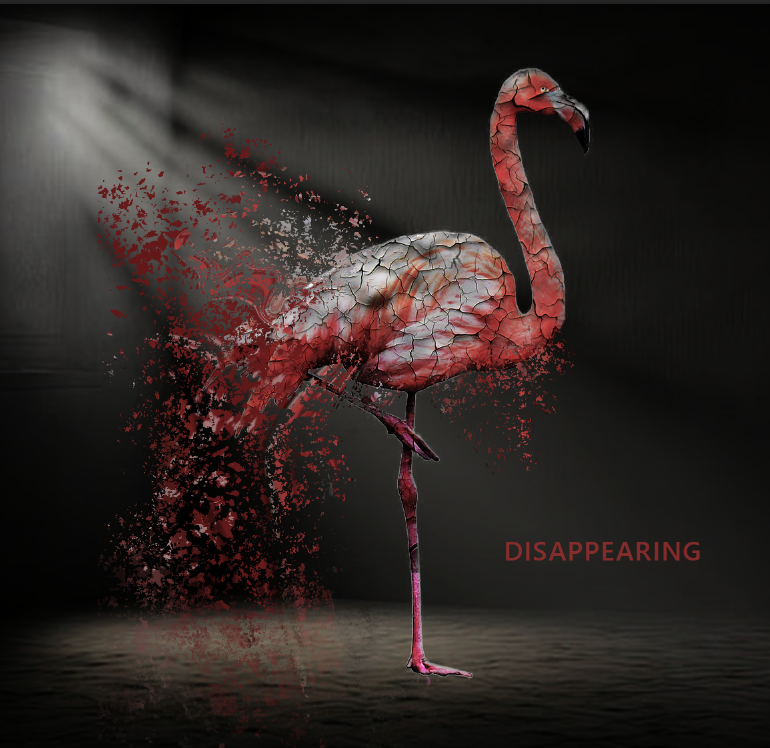
Try this with other images…. Here is one created with a flamingo to show how species are disappearing and becoming extinct:
