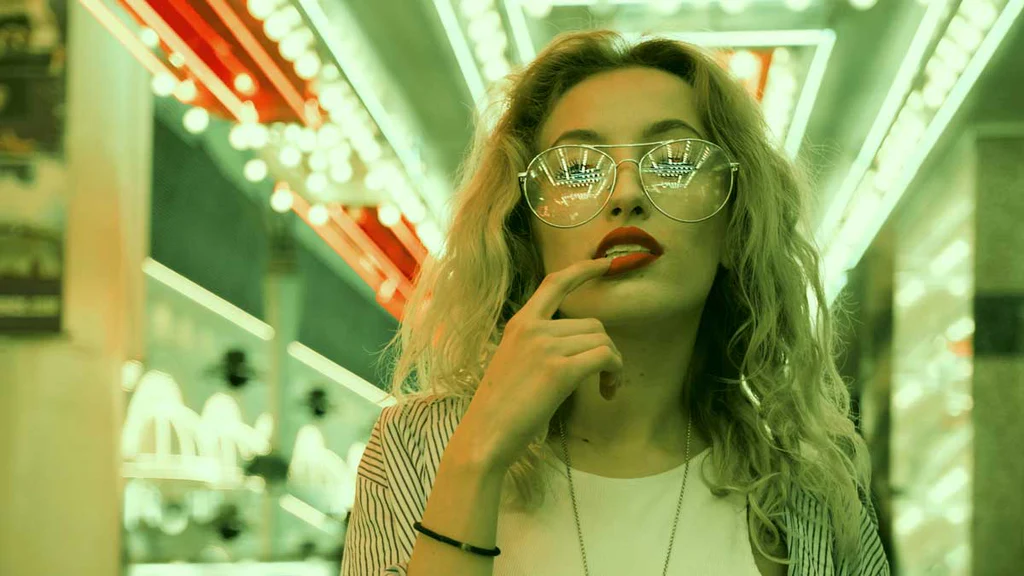
- Right-hand click and save this image so that you can use it in photoshop.
2. Open Adobe Photoshop 2024
3. Click File, Open and locate the image you just saved

4. Photoshop toolbar overview:
Your Photoshop tools are located in a bar on the left of the screen.
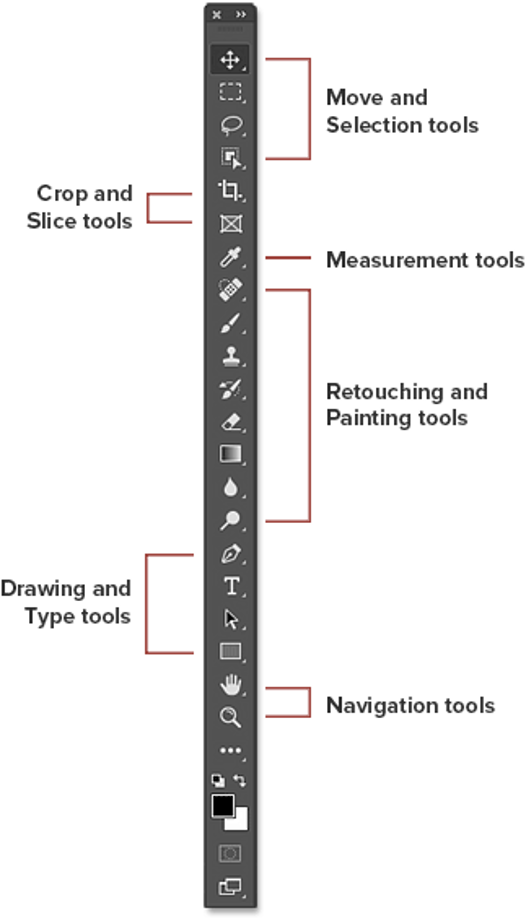
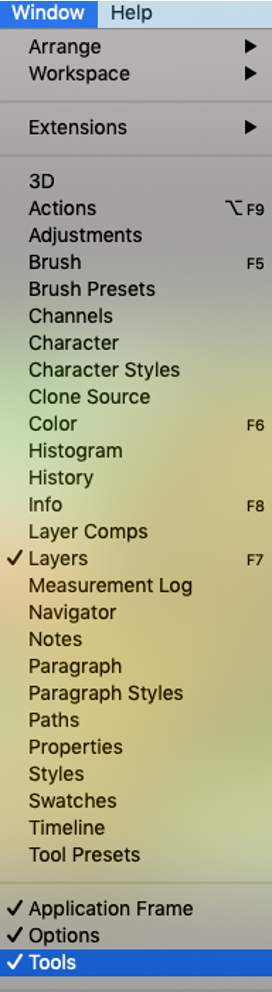
If you cannot see the toolbar on the left, you can open it by Clicking: window > scroll down and click ‘tools’
How to hide and show toolbar:
5. How to Zoom in and Out

- Click on the zoom tool icon in your toolbar (it looks like a magnifying glass).
- With the zoom tool selected, click on your photograph to zoom in.
- To Zoom out: Select the zoom tool and hold Alt on your keeyboard (Windows) / Option (Mac) and click on your photo.
6. How to crop a photo
- Crop: means to remove the unwanted edges of a Photograph.
- With your image open, click the crop icon
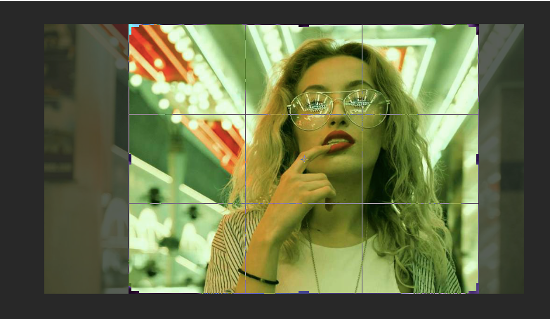
- Drag the box around your image to select the are you want to crop
- When you are happy with your selection, click enter
7. How to Undo
- You can undo an edit you have made by:
- Clicking ‘edit’ along the top bar > then scroll down and click ‘undo’
- You can then redo the edit by clicking ‘edit’ along the top bar, scrolling down and clicking ‘redo’
- Another way to undo is to click ‘Ctrl’ and ‘Z’ on your keyboard
8. Hidden Tools

- A small arrow in the bottom right corner of a tool icon means that there are more tools hiding behind it in that same spot.
- To view the additional tools, click and hold on the icon. Or right-click (Win) / Control-click (Mac) on the icon. A fly-out menu will open listing the other tools that are available.
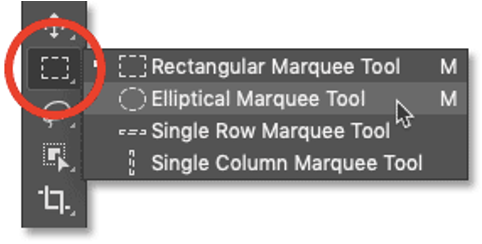
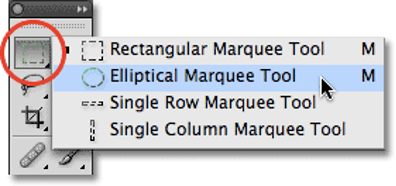
- For example, if you click and hold on the ‘Rectangular Marquee Tool icon’, the fly-out menu shows that there is also the Elliptical Marquee Tool, the Single Row Marquee Tool and the Single Column Marquee Tool.
9. Automatic Correction Tools
Automatic correction tools in Photoshop can be found by:
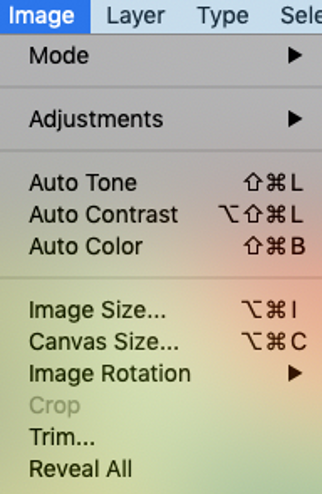
- Click ‘Image’ on the top bar of Photoshop, scroll down to select the ‘Auto’ tools.
- You can also find ‘Auto’ Options within certain tools. For example: ‘Image’ > ‘Adjustments’ > ‘Brightness and Contrast’ > then select ‘Auto’
Try using:
- Auto Tone – Corrects the tone
- Auto Contrast – Increases contrast without shifting the color
- Auto Colour – Like Auto Levels it adjusts contrast and color balance but takes a different approach
- Auto brightness and contrast- can be found by going into image, adjustments, brightness and contrast.
- Hue and Saturation -Adjusts colours and vibrance/greyscale – Can be found by going into image, adjustments, hue and saturation
Before and after:
Video instructions:
10. Layers
Layers in Photoshop are very helpful. Layers are simply images laid on top of each other.
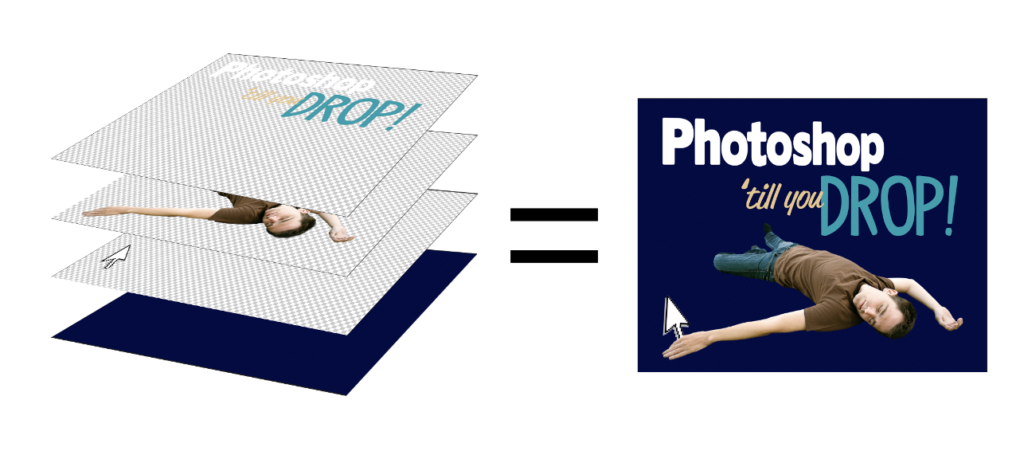
Imagine taking four sheets of clear plastic. You paint a picture on each sheet of plastic and then layer the sheets on top of each other. The individual pictures merge together to become one. This is how layers work in Photoshop.
By using layers, you can start with your bottom layer, then add a new layer to edit the image. This means that if you make a mistake, you can easily delete or modify the top layer with your edits, without ruining or altering your original bottom layer.
In order to use layers, you must be able to see the layers panel:

- Click Window along the top bar of Photoshop > then scroll down and make sure that ‘Layers’ is ticked.
- This will open the layers panel.
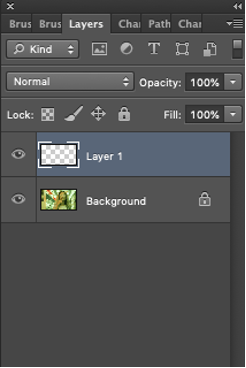
- At the moment, you should just be able to see one image (one layer) in the layers panel.

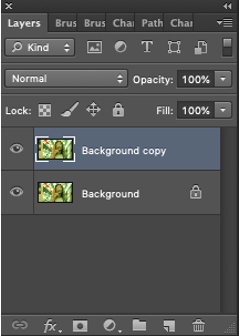
Layers Panel:
11. Creating Layers
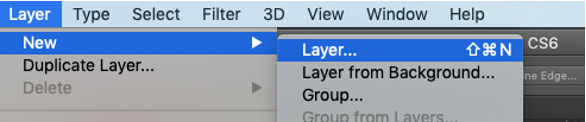
- With your image open in Photoshop, click ‘Layer’ > ‘New’ > ‘Layer’
- A pop up window will open where you can give your layer a name. Click ‘OK’
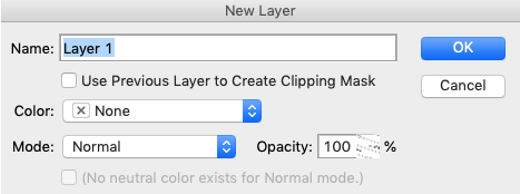
- You will see the new layer in the layers panel
12. Colour your new layer
- You can now edit the new layer and it will show on top of your original image
- Make sure your new layer is selected in the layers panel.

- Click the ‘paint bucket’ icon from the left toolbar

- Choose the colour you want to use by clicking the colour box at the bottom of the toolbar
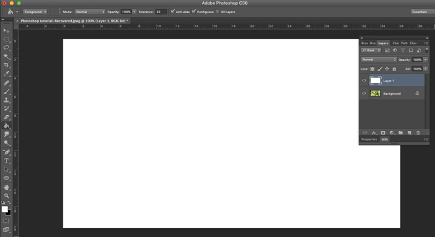
- When you have chosen your colour, select anywhere on your image to fill the page with that colour (I chose white).
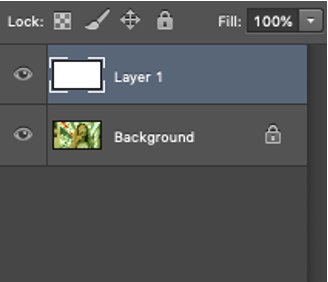
- You can click the eye next to your layer to show or hide the layer. This will reveal that your original image is still available beneath the coloured layer.
13. Create a blurred layer mask
- With your new coloured layer on top of your original image, select the Elliptical Marquee tool (remember you might need to hold down the Rectangle Marquee Tool to show the additional tools
- Click and drag to draw a circle. Tip: If you hold down shift at the same time, you will constrain proportions and be able to draw a perfect circle.
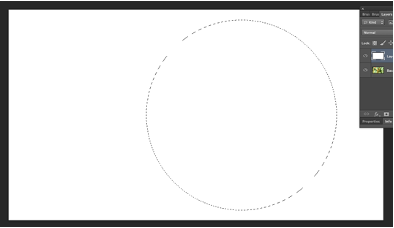
- With the circle drawn, click ‘delete’ on your keyboard, this will remove the colour that is within your circle and reveal your image behind.
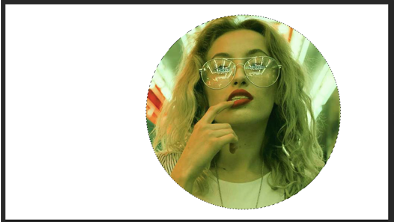
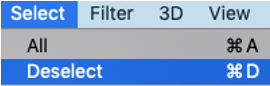
- To deselect the circle, click anywhere outside of it, or go to “Select’ on the top bar > ‘Deselect’
14. Create a blurred layer mask continued…
- Now that you have deleted a circle from your top colour layer, we can edit it further.
- Make sure you have completed the last step on the previous slide (deselected the ‘Elliptical Marquee’ circle by clicking “Select’ on the top bar > ‘Deselect’ ) otherwise it wont work
- Make sure your top layer (the one that you have filled with a colour is selected in the layer panel).
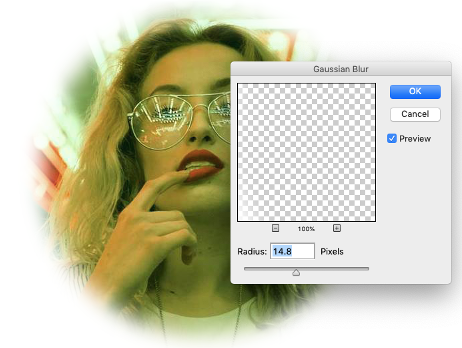
- Then click ‘Filter’ > ‘Blur’ > ‘Gaussian Blur’
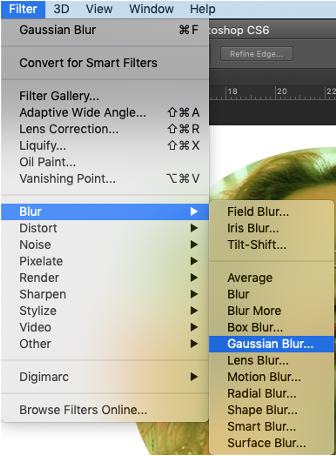
- A window will pop up. Try moving the toggle left to right and click ‘ok’ when you are happy with the effect.
15. Duplicating Layers
As well as ‘New Layers’, you can also create ‘Duplicate Layers’. This allows you to create a duplicate or copy of your original layer. This means you can edit the duplicated layer and preserve the original layer underneath, just in case you need to go back to it.
To duplicate a layer:
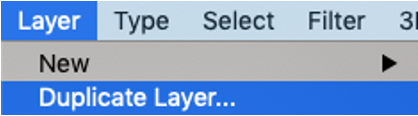
- With your image open in Photoshop, click ‘Layer’ > ‘Duplicate Layer’
- A pop up window will open where you can give your layer a name. Click ‘OK’
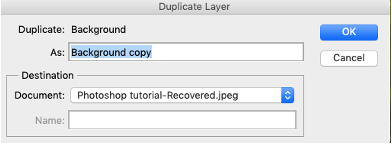
- You will see the duplicate layer in the layers panel