
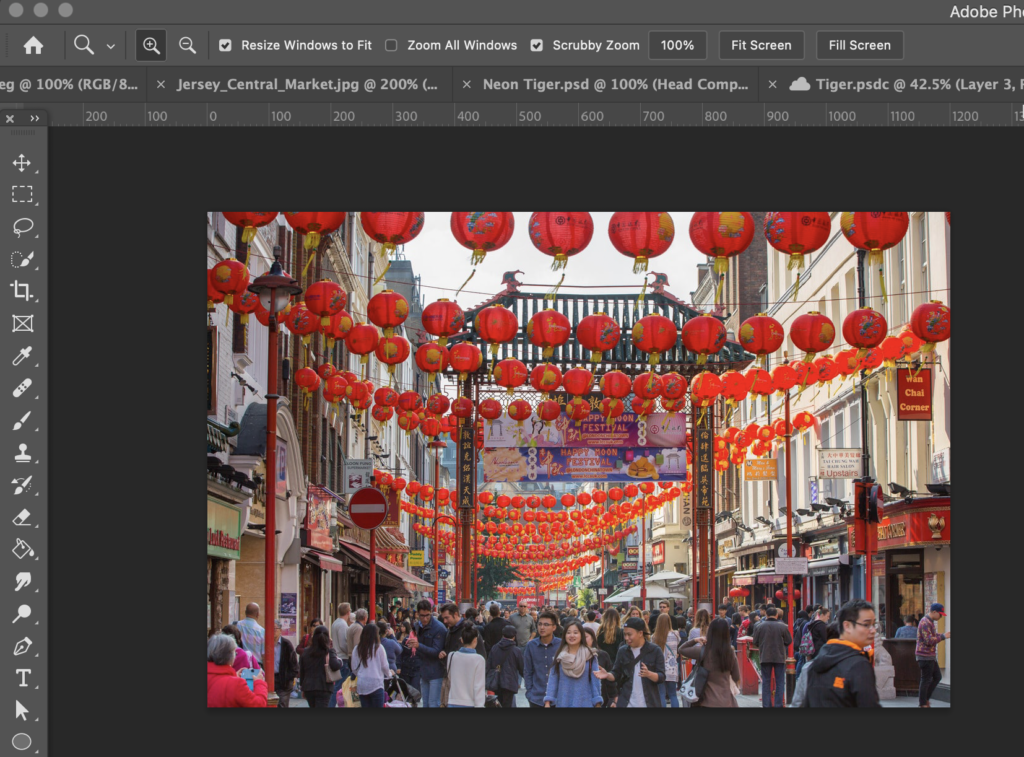
- Choose a photo from the internet, download the photo and open in photoshop.
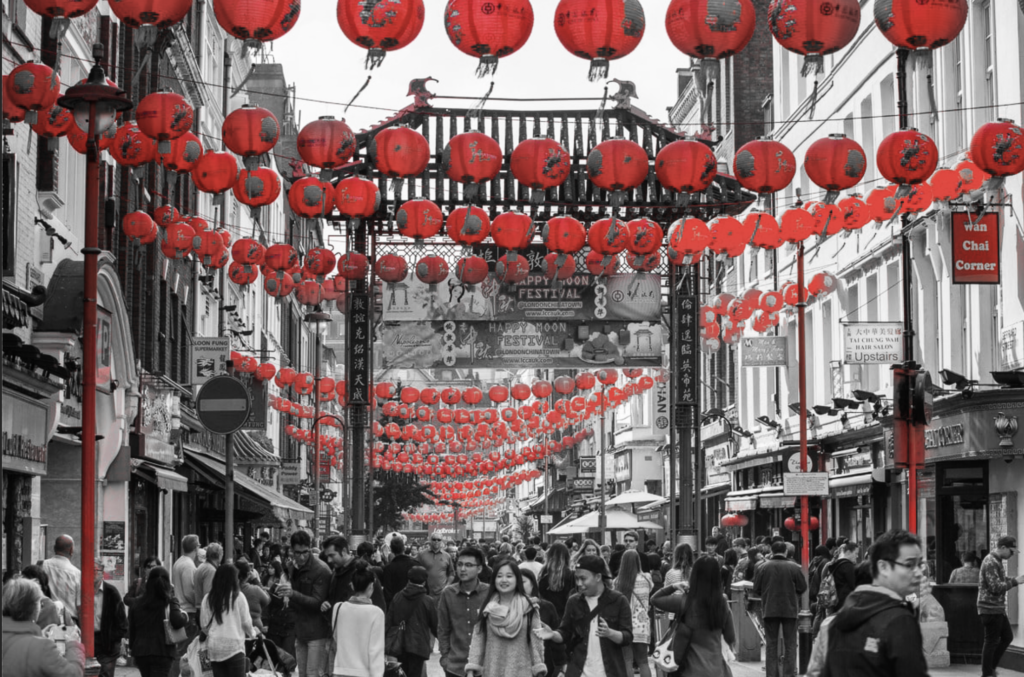
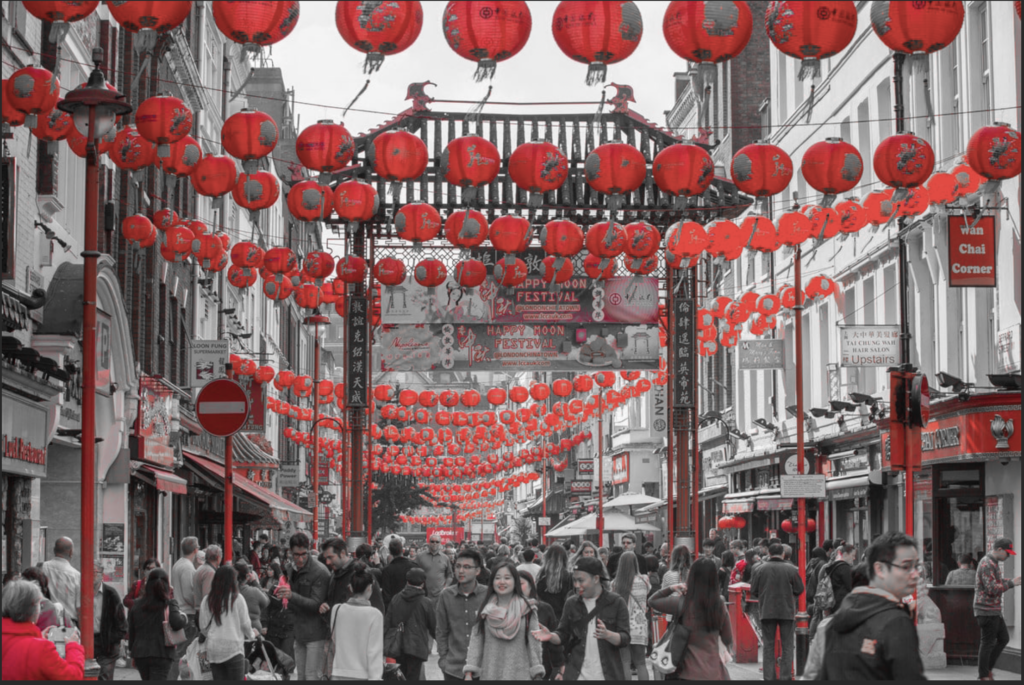
I chose one of China Town in London, I want to try and bring out the red lanterns, while turning the rest of the photo to greyscale.
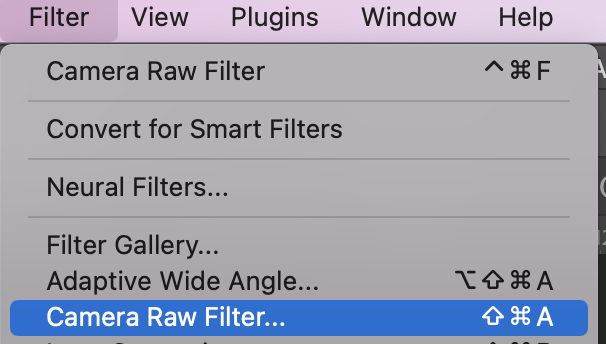
2. Along the top panel of photoshop, select ‘Filter’ > ‘Camera Raw Filter’
3. In the Camera Raw Filter, go to Colour Mixer / HSL
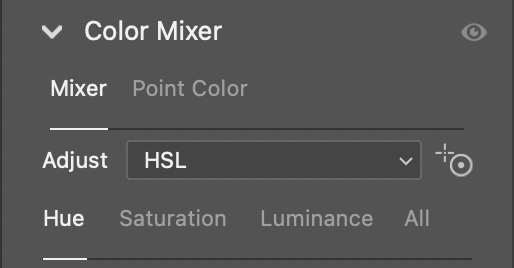
4. It will automatically be on ‘Hue’… change this to ‘Saturation’
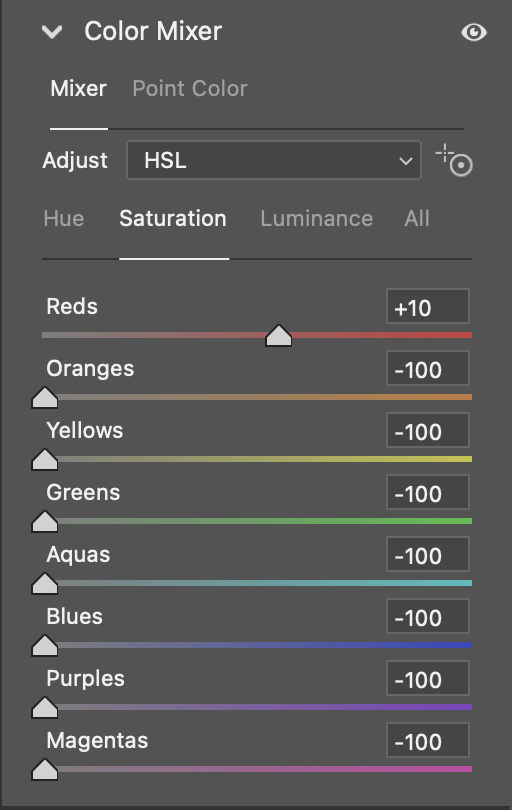
Pick the colour you want to keep in the photo (I am choosing red). And keep that one set at 0 or more.
For all the other colours, slide the saturation down to -100
This is the result: (press ok)
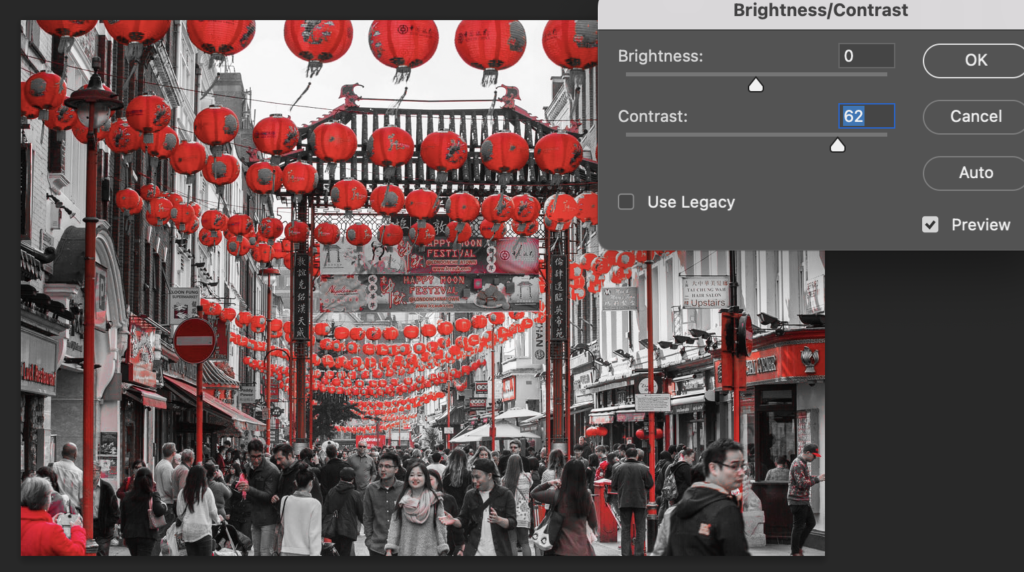
5. Adjust the brightness and contract: Click ‘Image’ along the top panel, then go to > Adjustments > Brightness & Contrast
6. Now we will remove any colour left in places that we don’t want it…. So I am going to remove some of the red that we can see on the people in the image.
To do this I am going to:
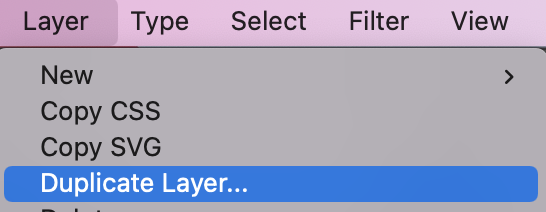
- duplication the layer… Click ‘Layer’ on the top panel > Duplicate Later
You should now have…

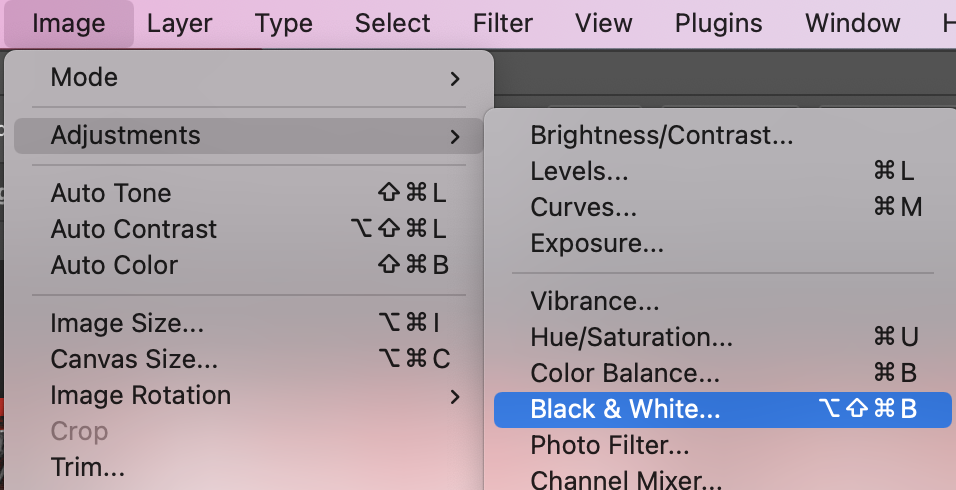
7. Click ‘Image’ along the top bar, > ‘Adjustments’ > ‘Black and white” and turn the whole top layer to black and white.
8. Now select the eraser tool

And erase the parts of the grey layer that you want to go back to being red (This will reveal the layer below).
The result: